Bike Trailer
This is a build log for a bicycle camper trailer that I've been working on.
It's only viewable on a large-ish screen, not on phones/tablets. Sorry. (CSS, man!)
Newest entries are at the bottom.


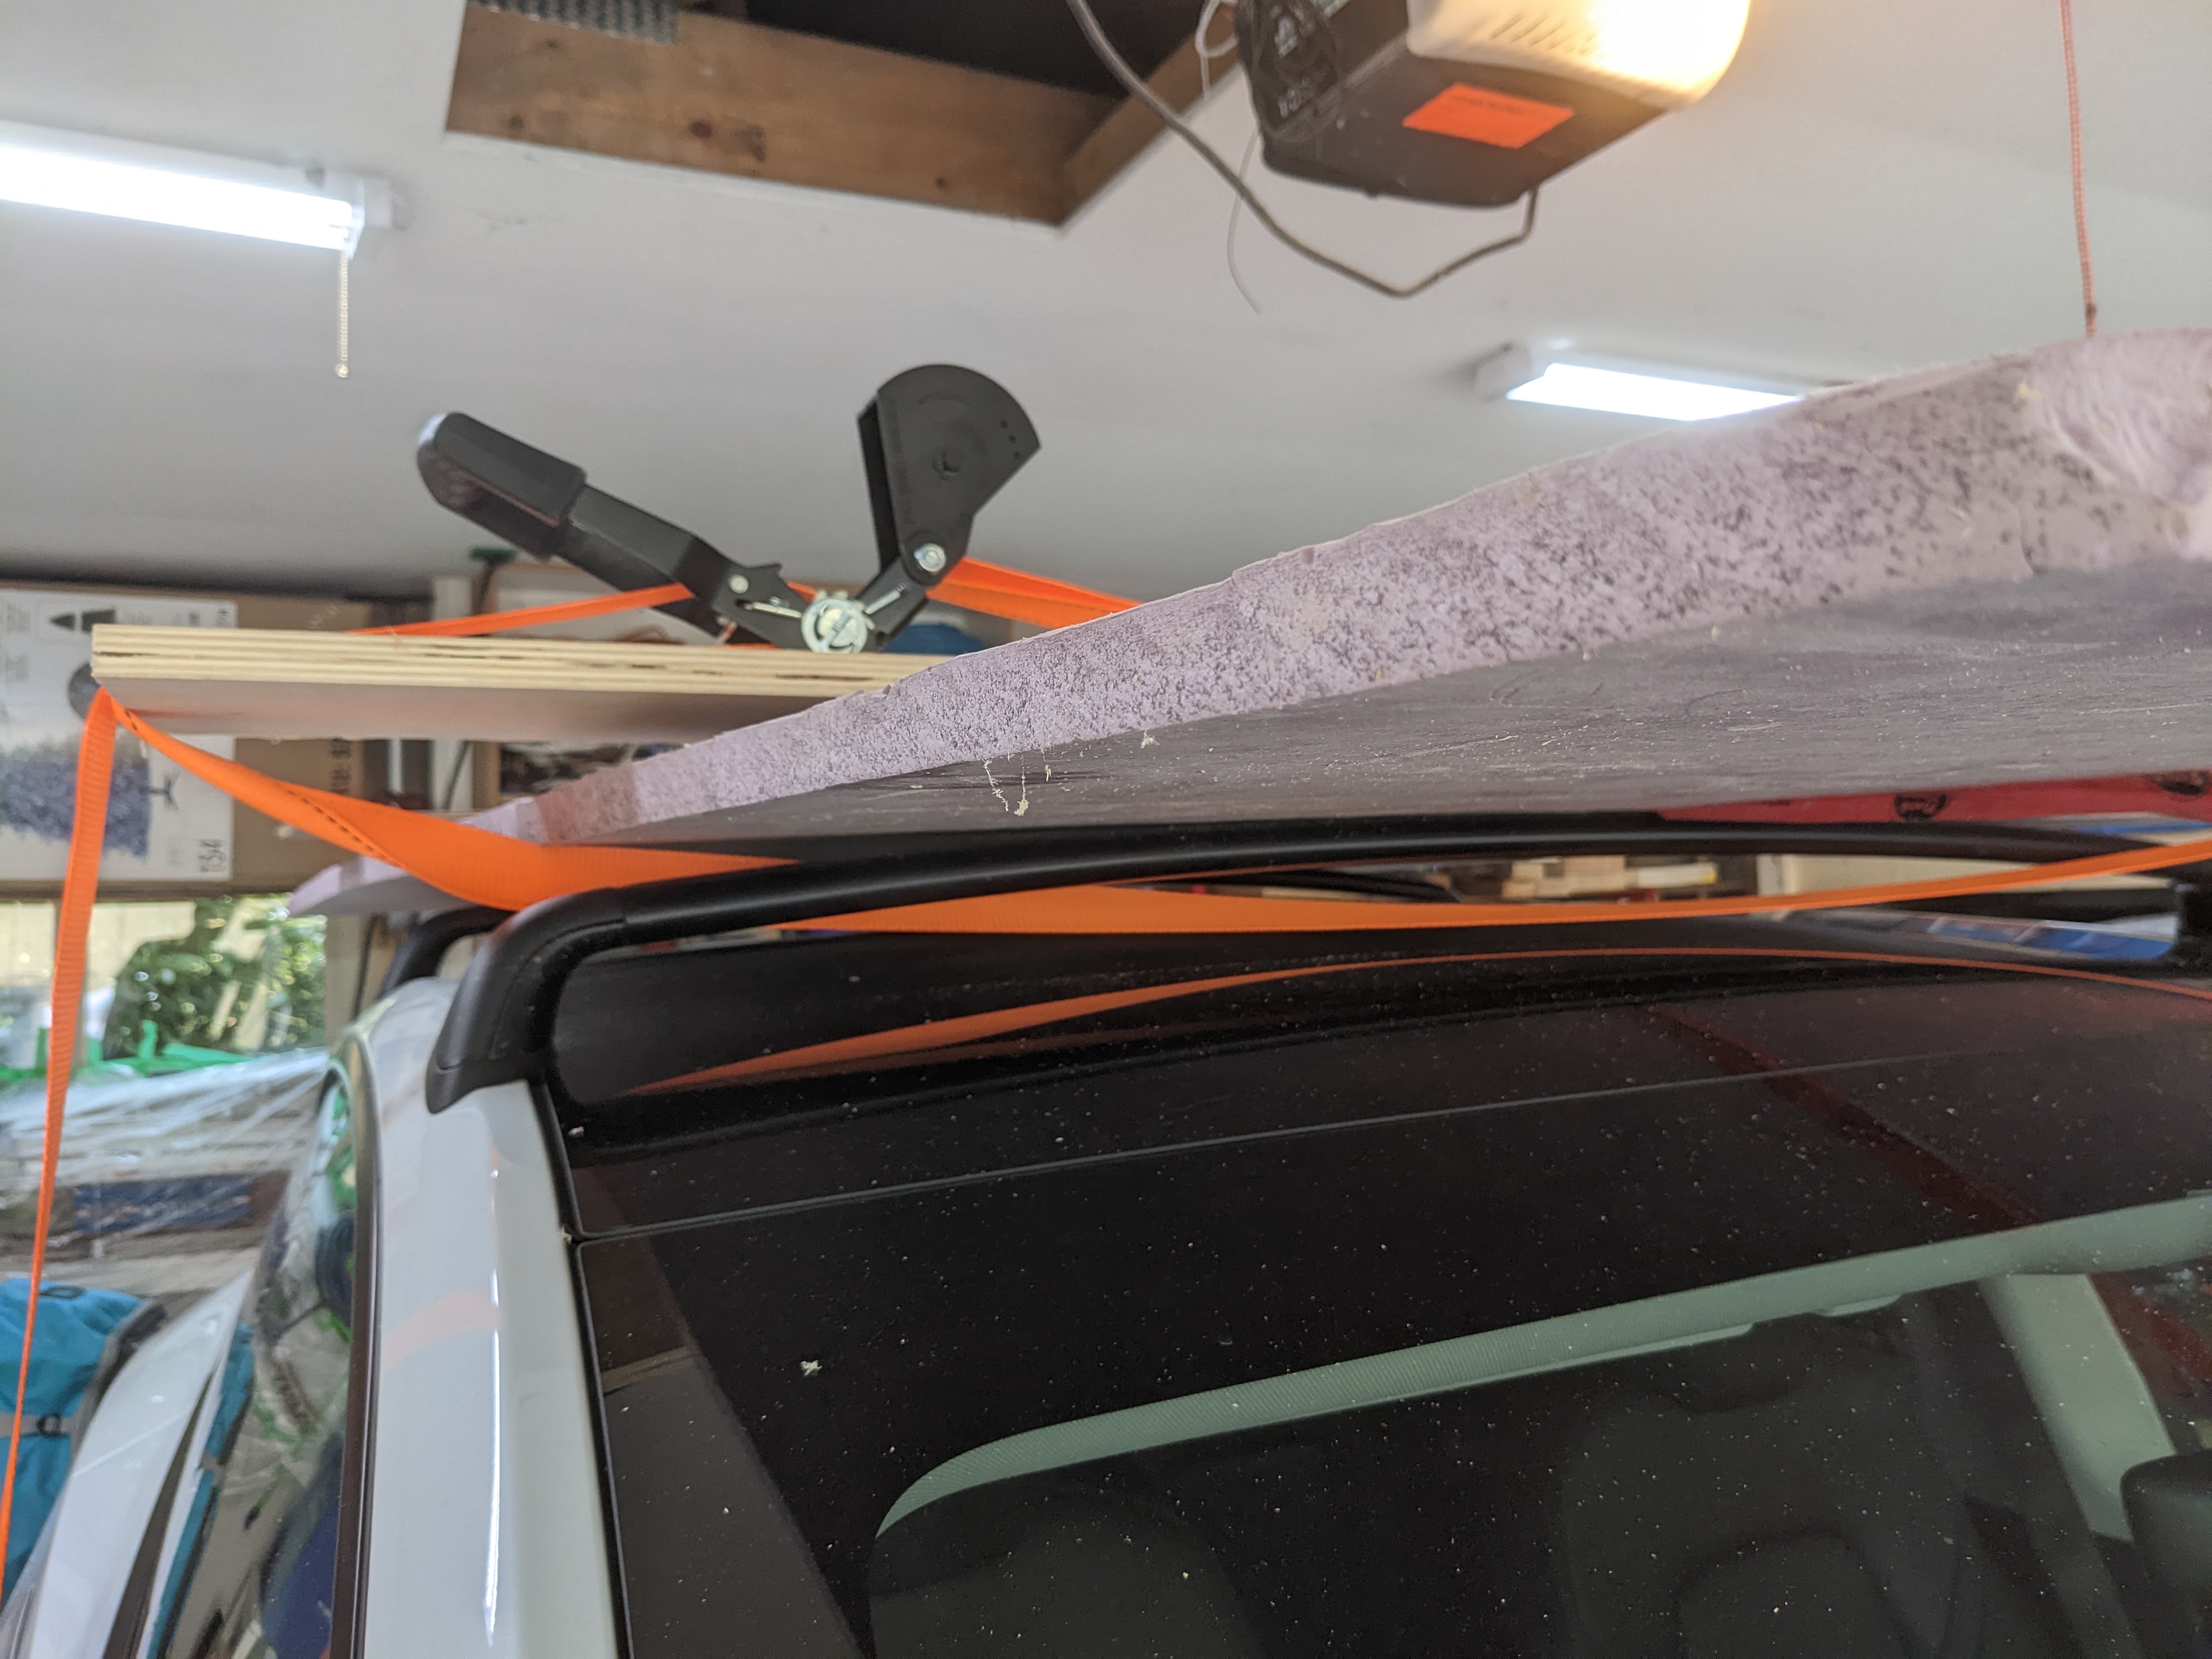
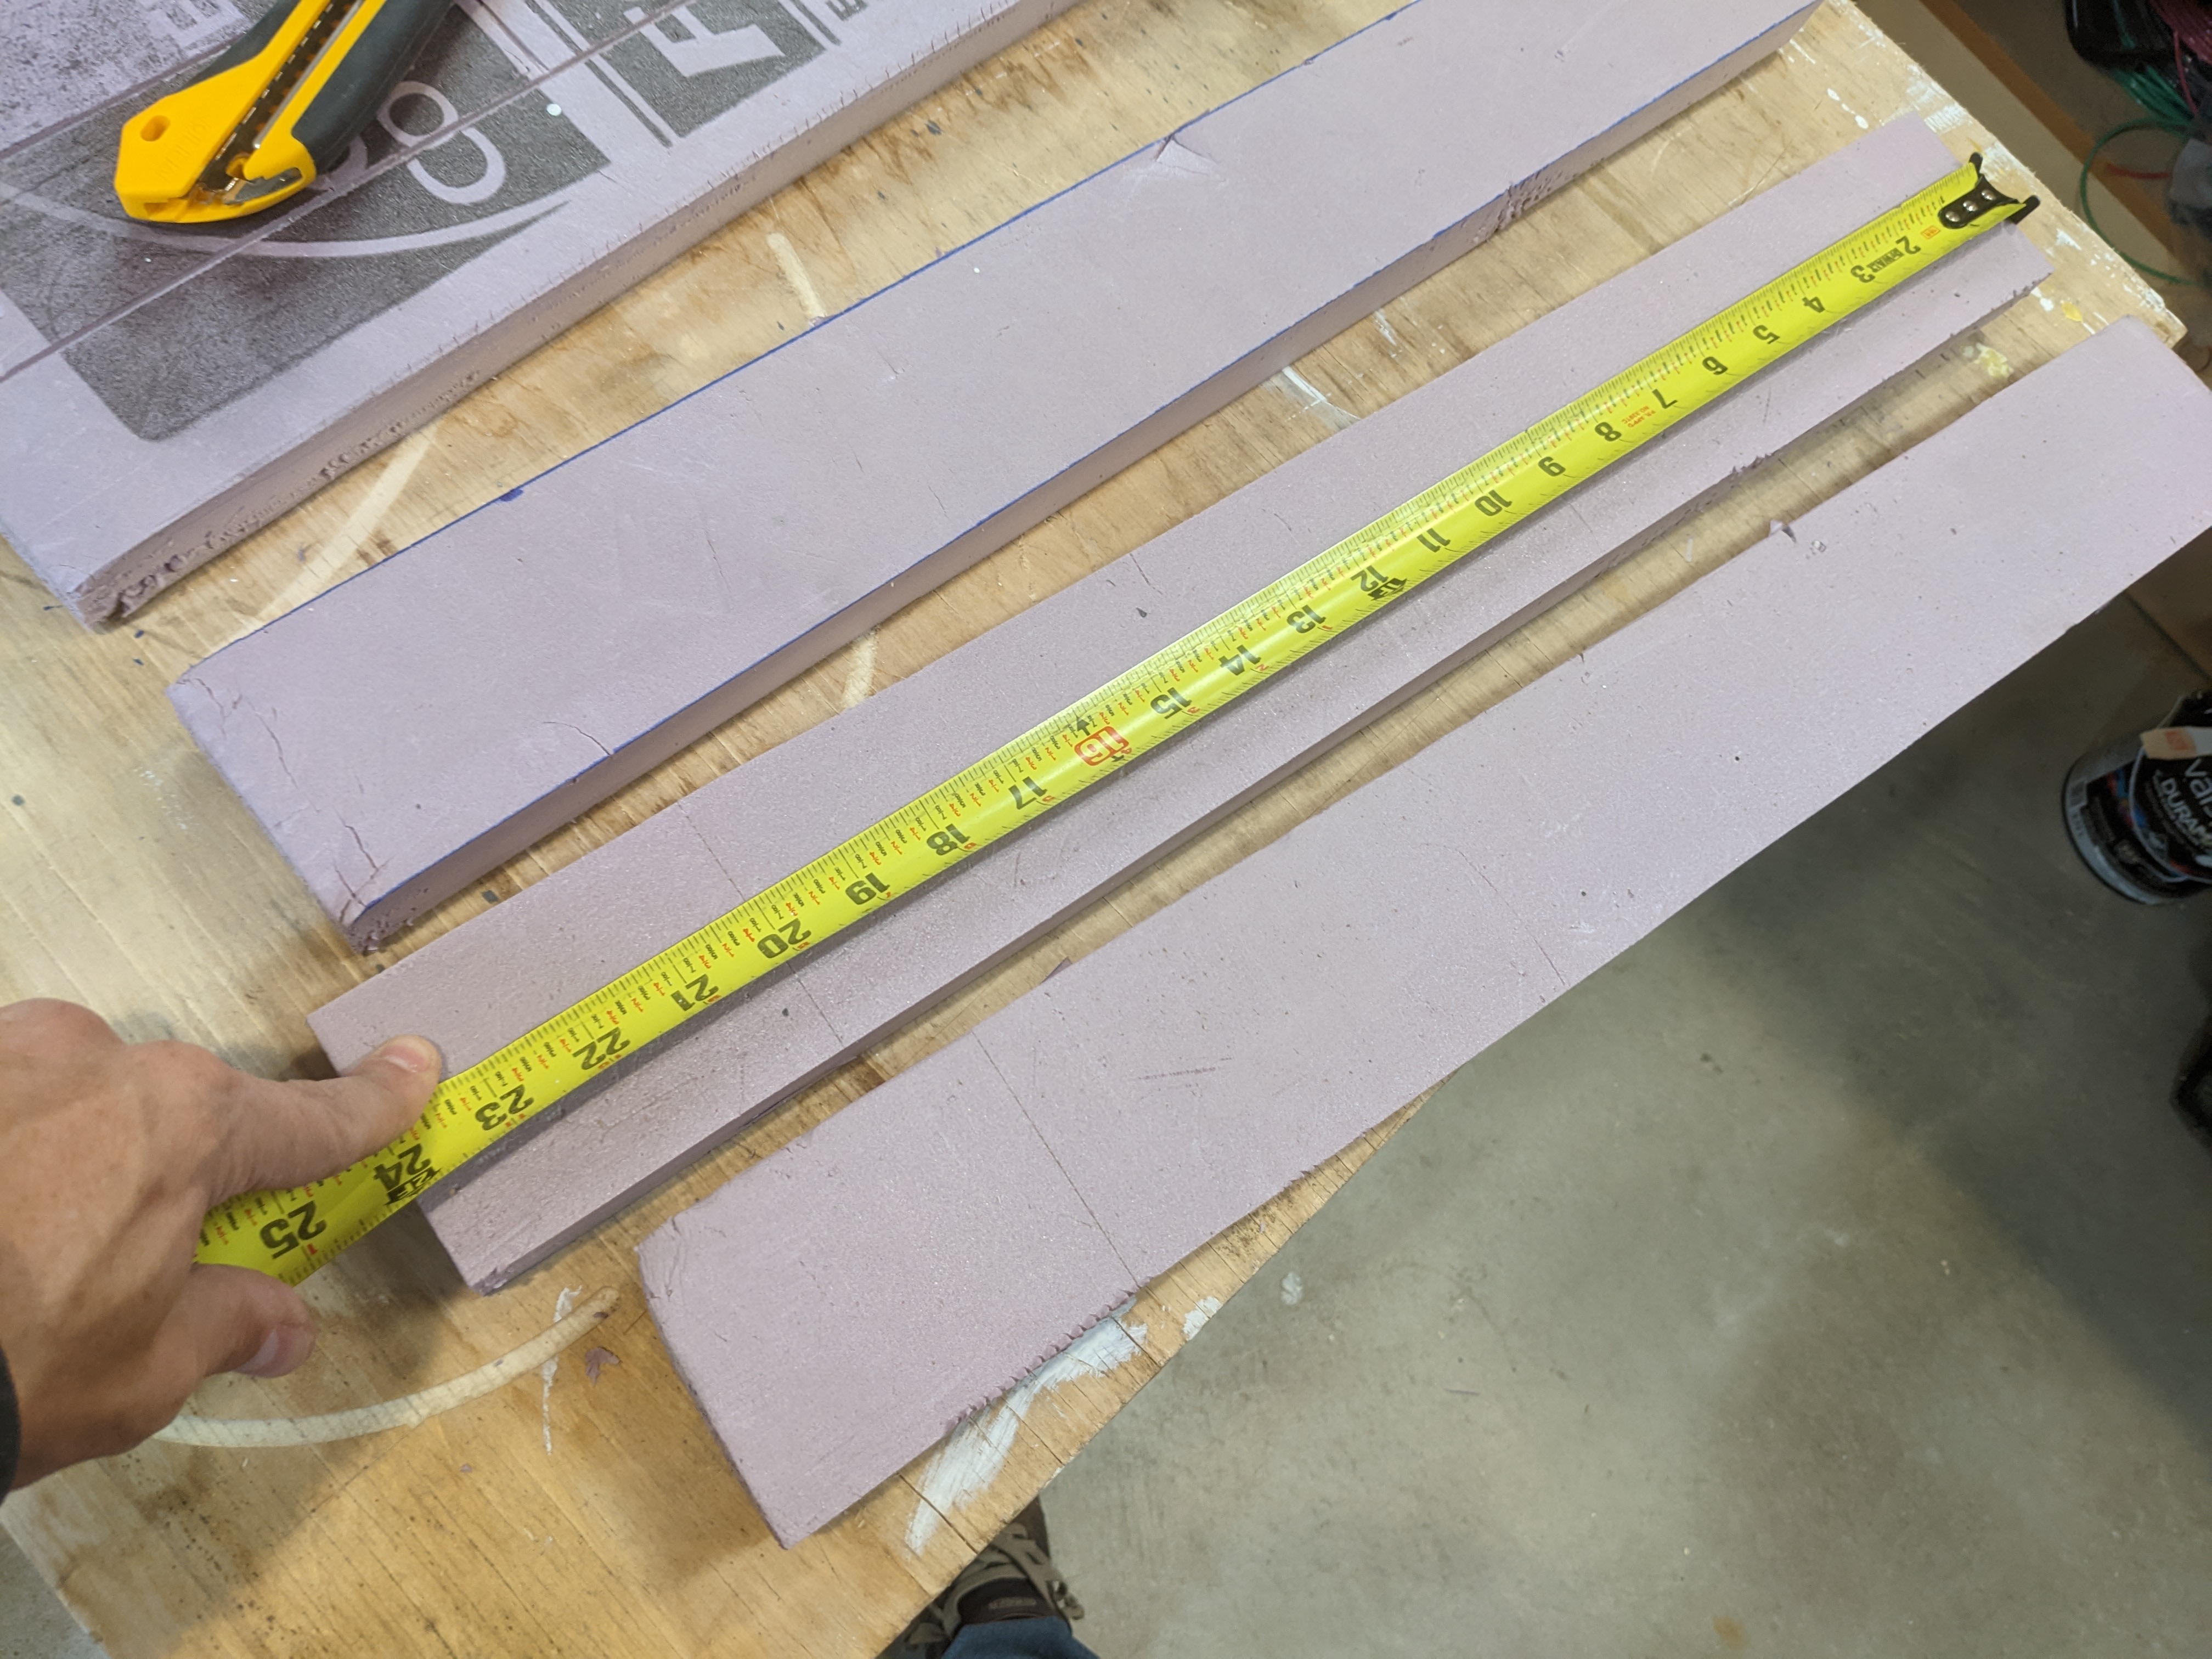
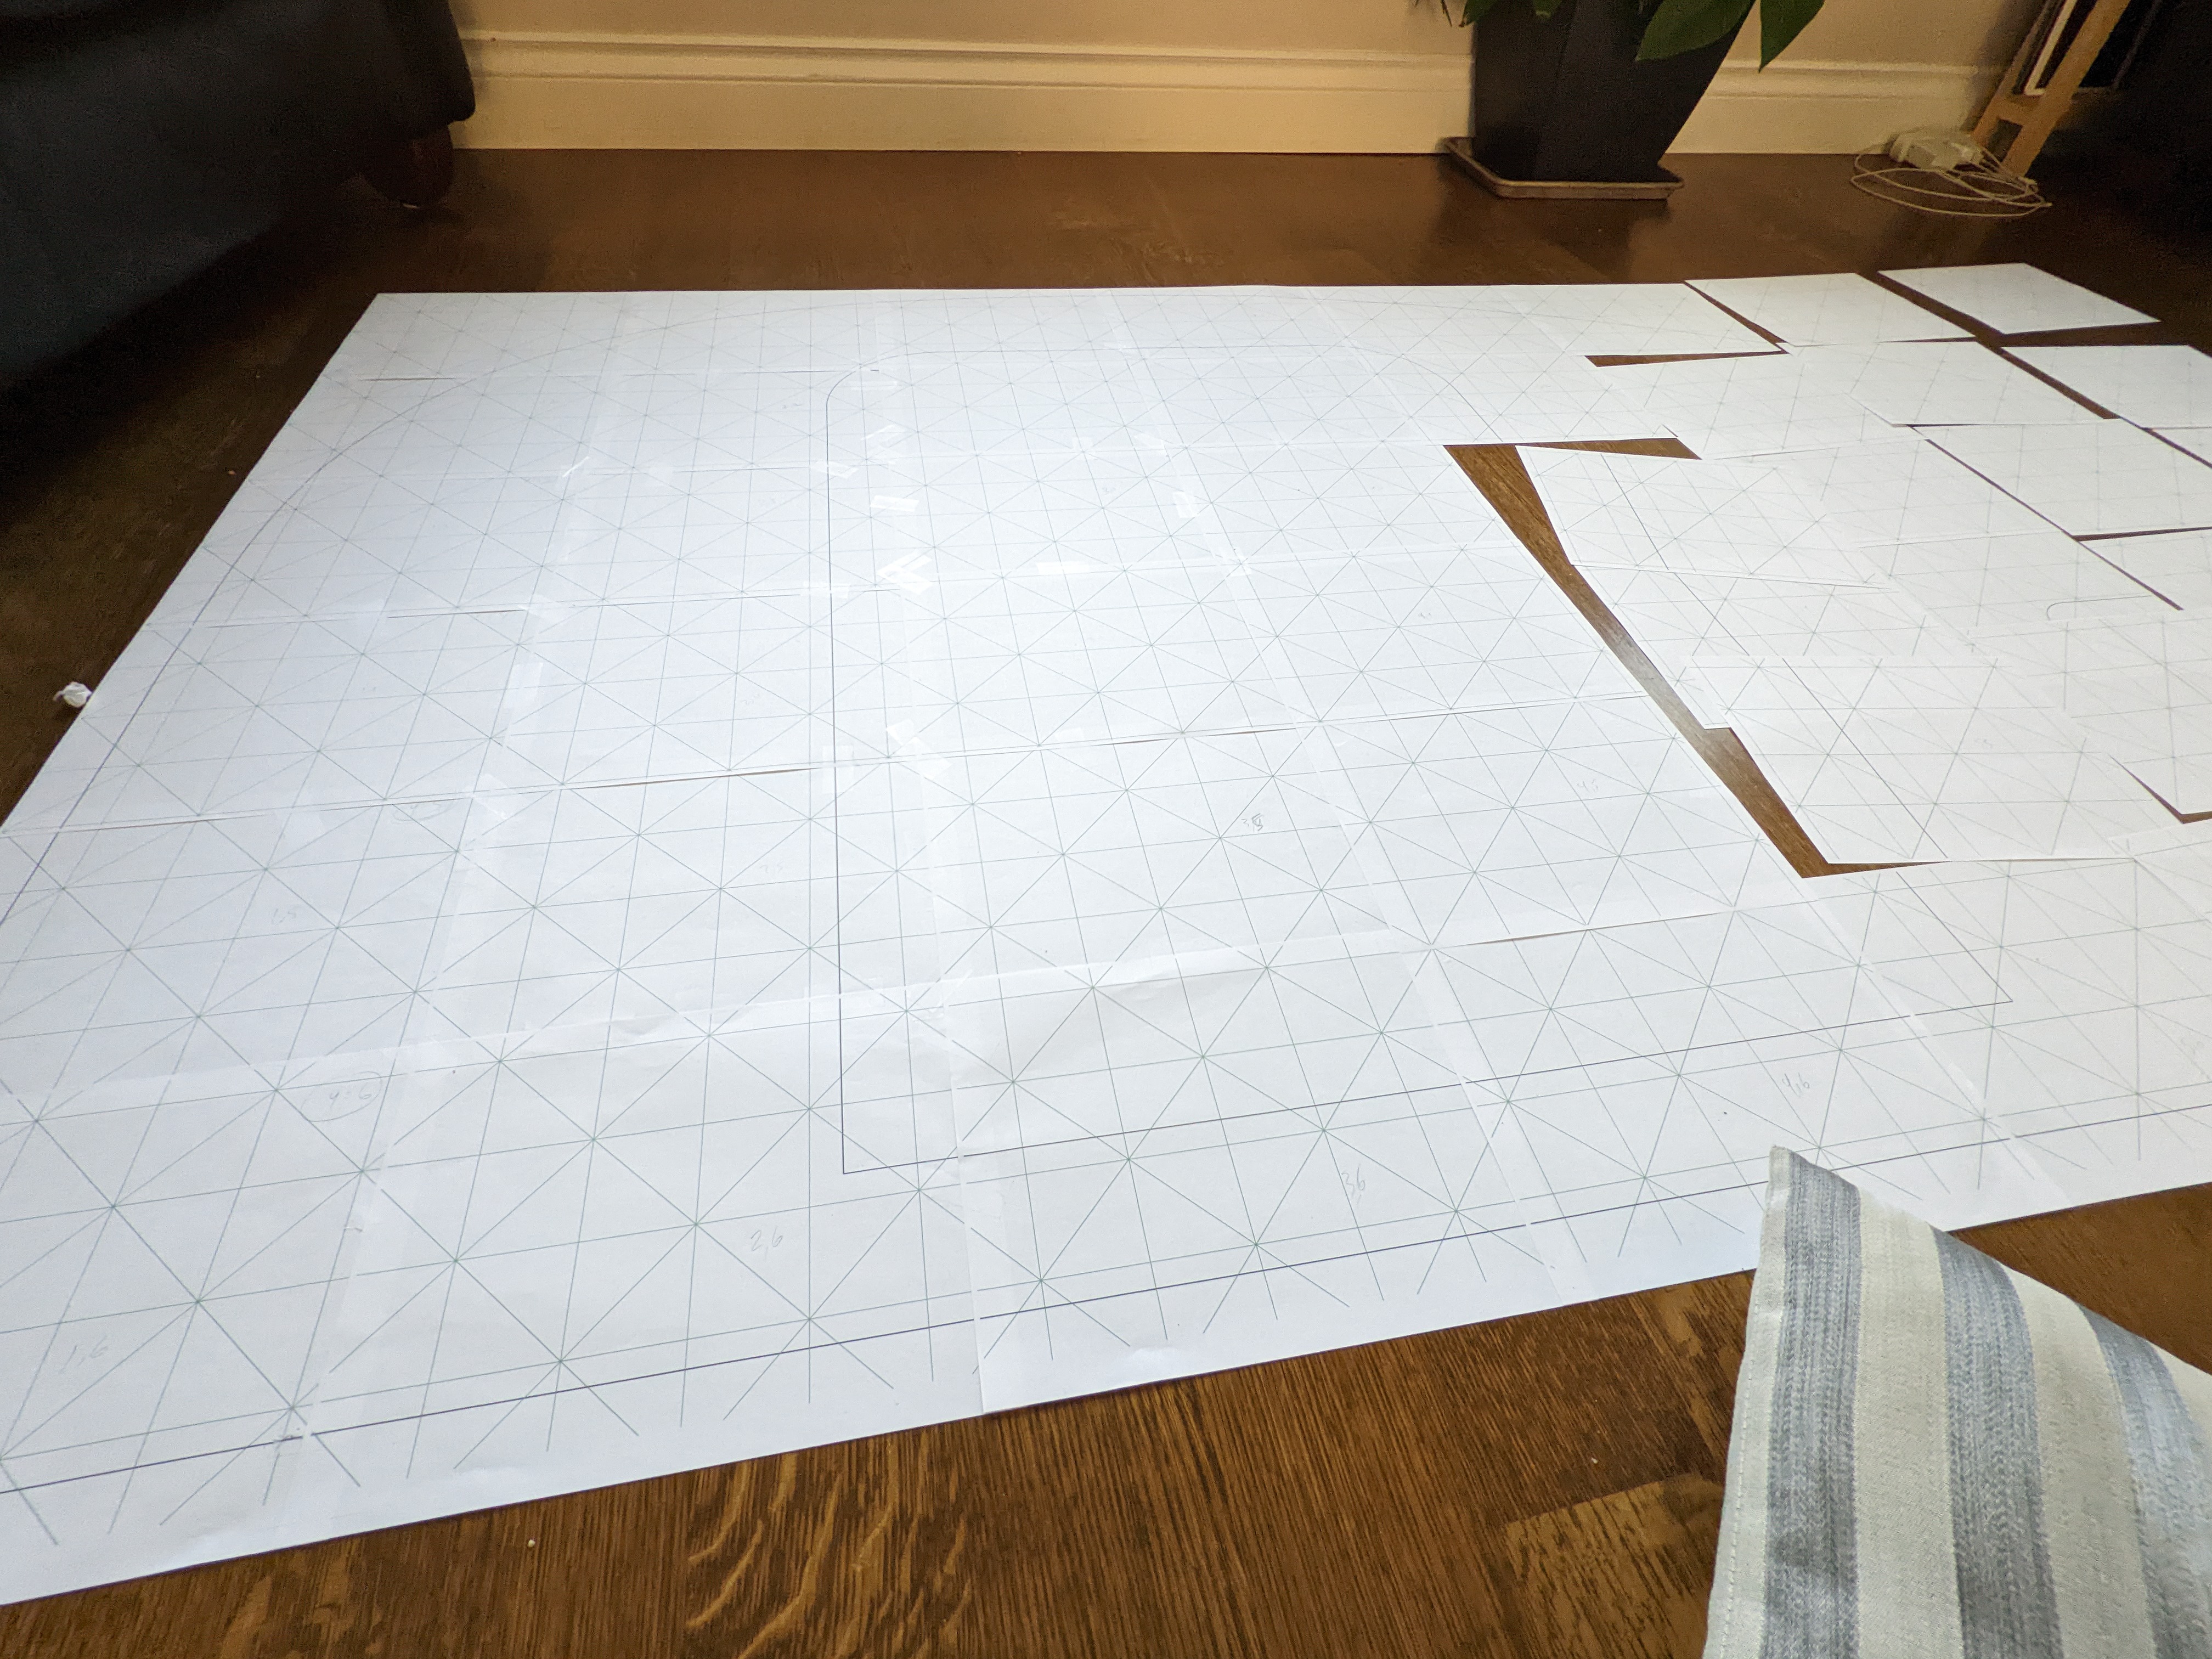
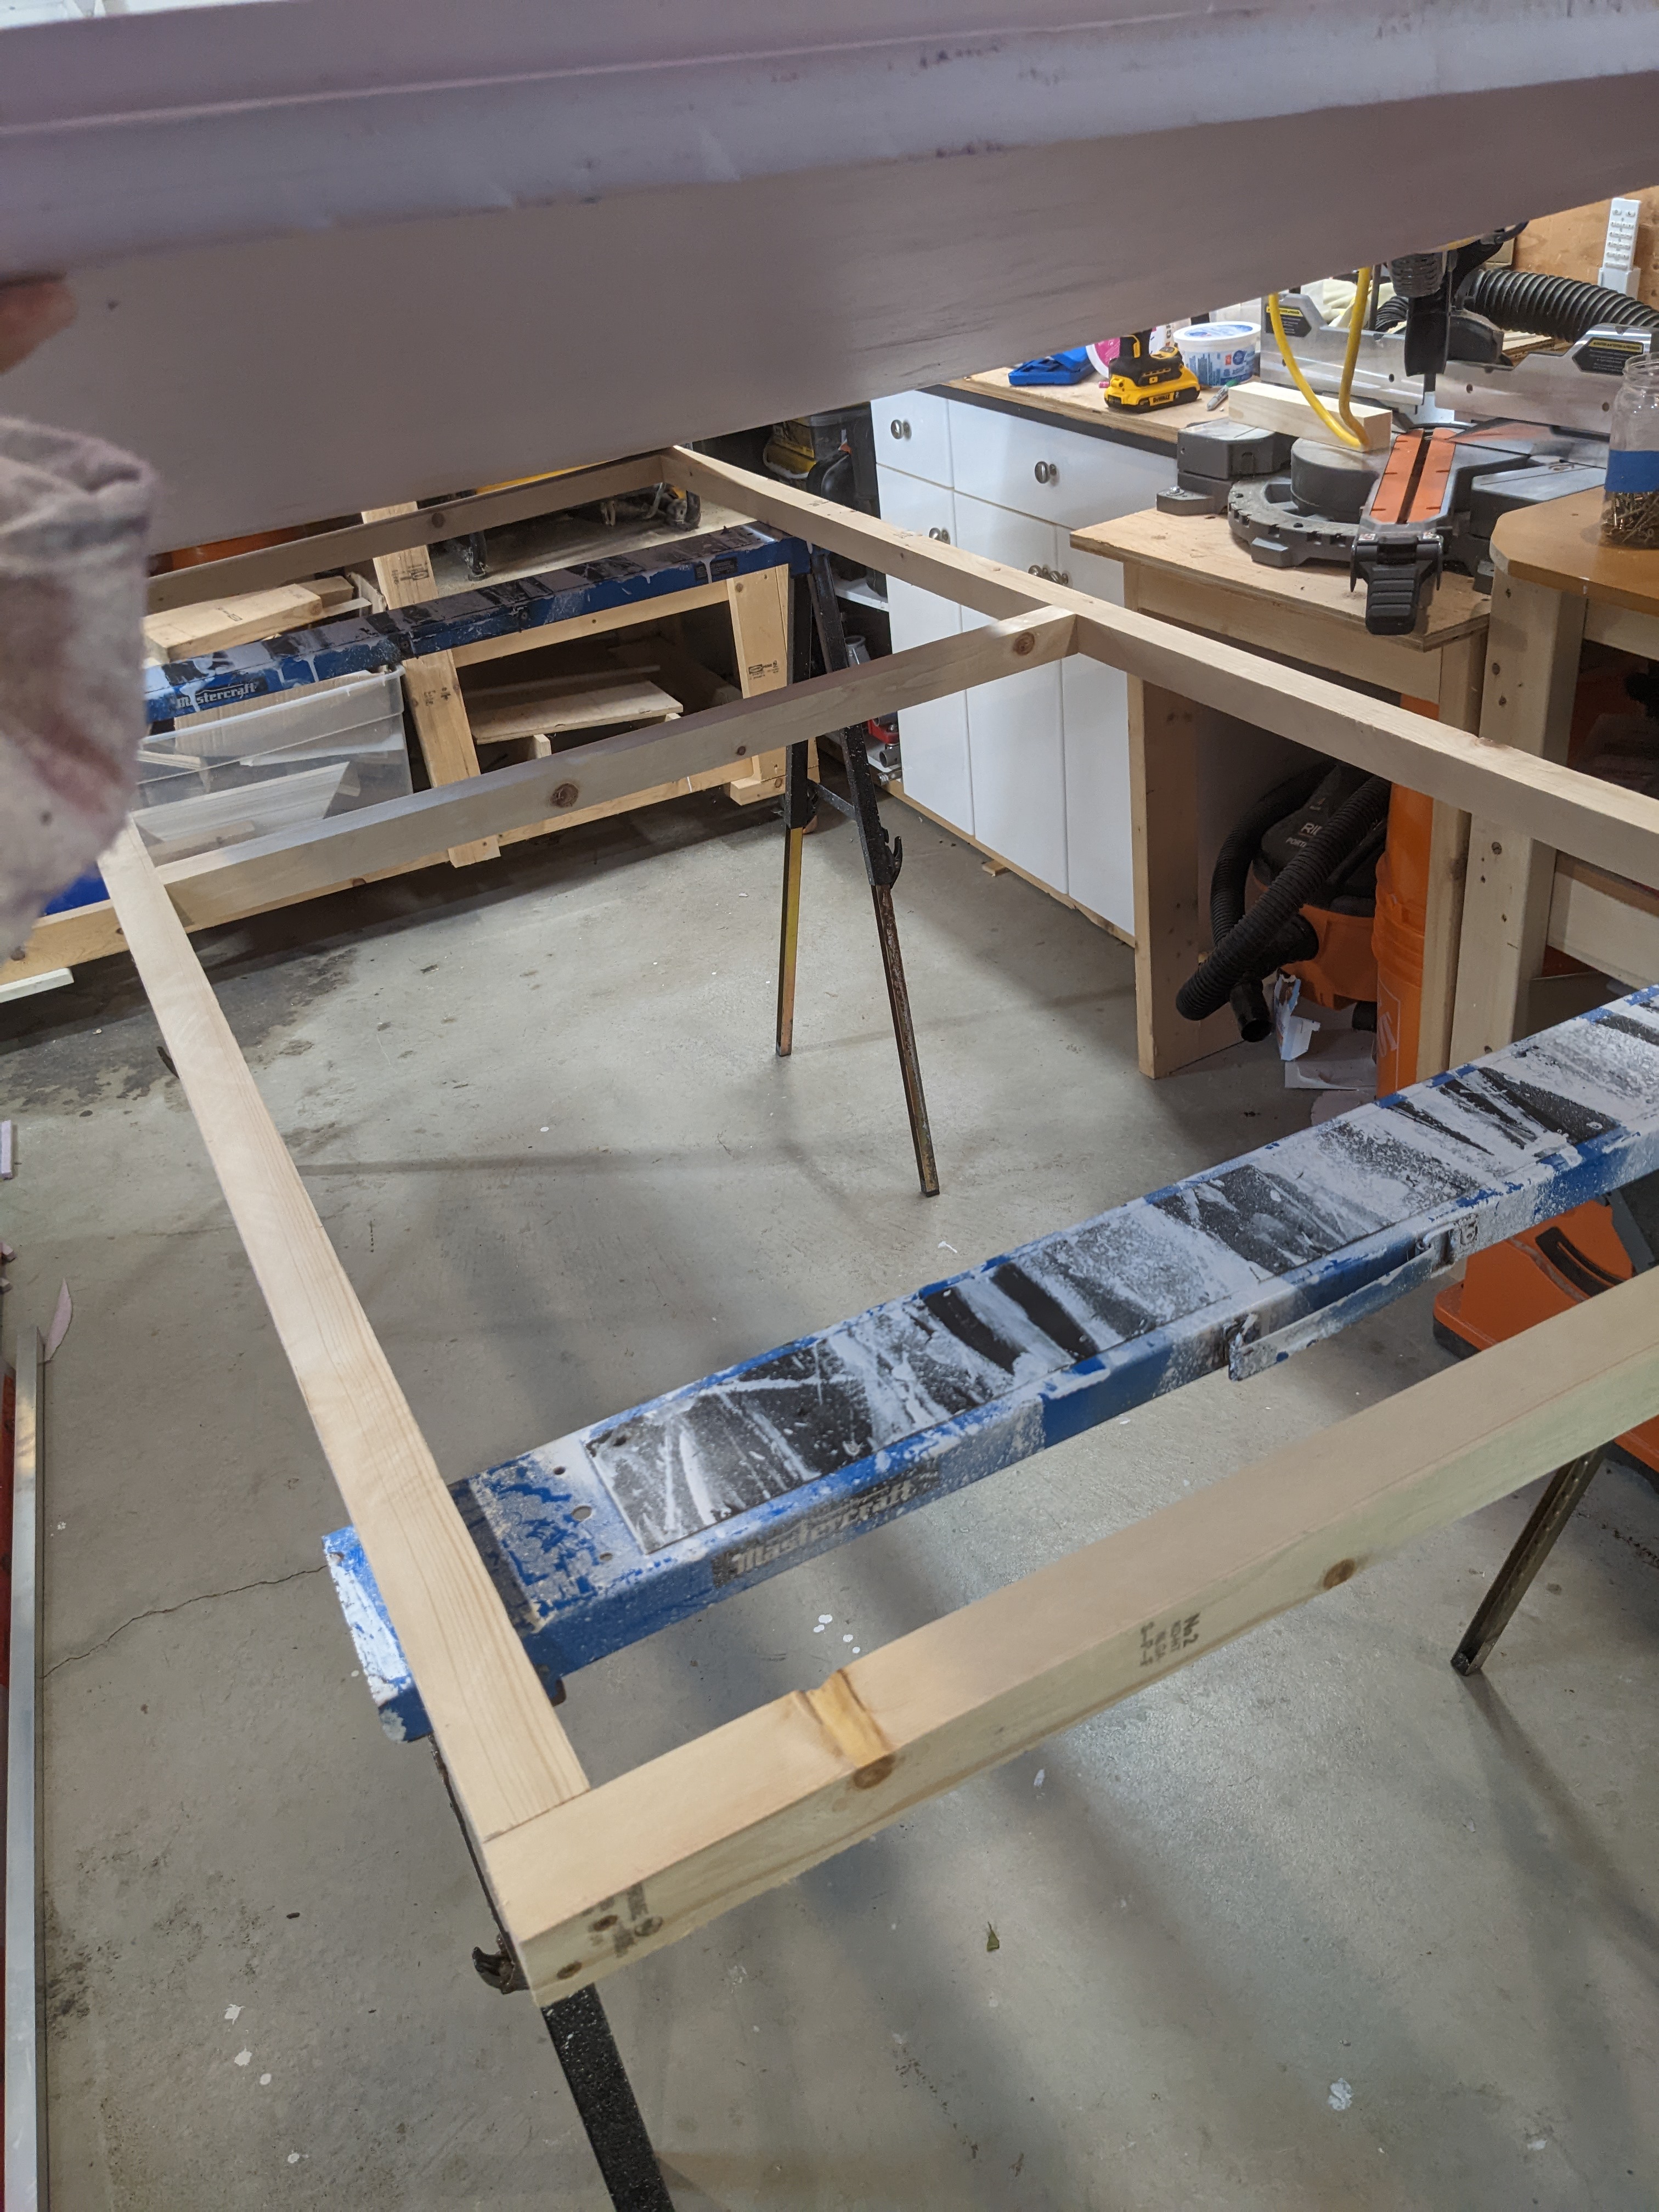
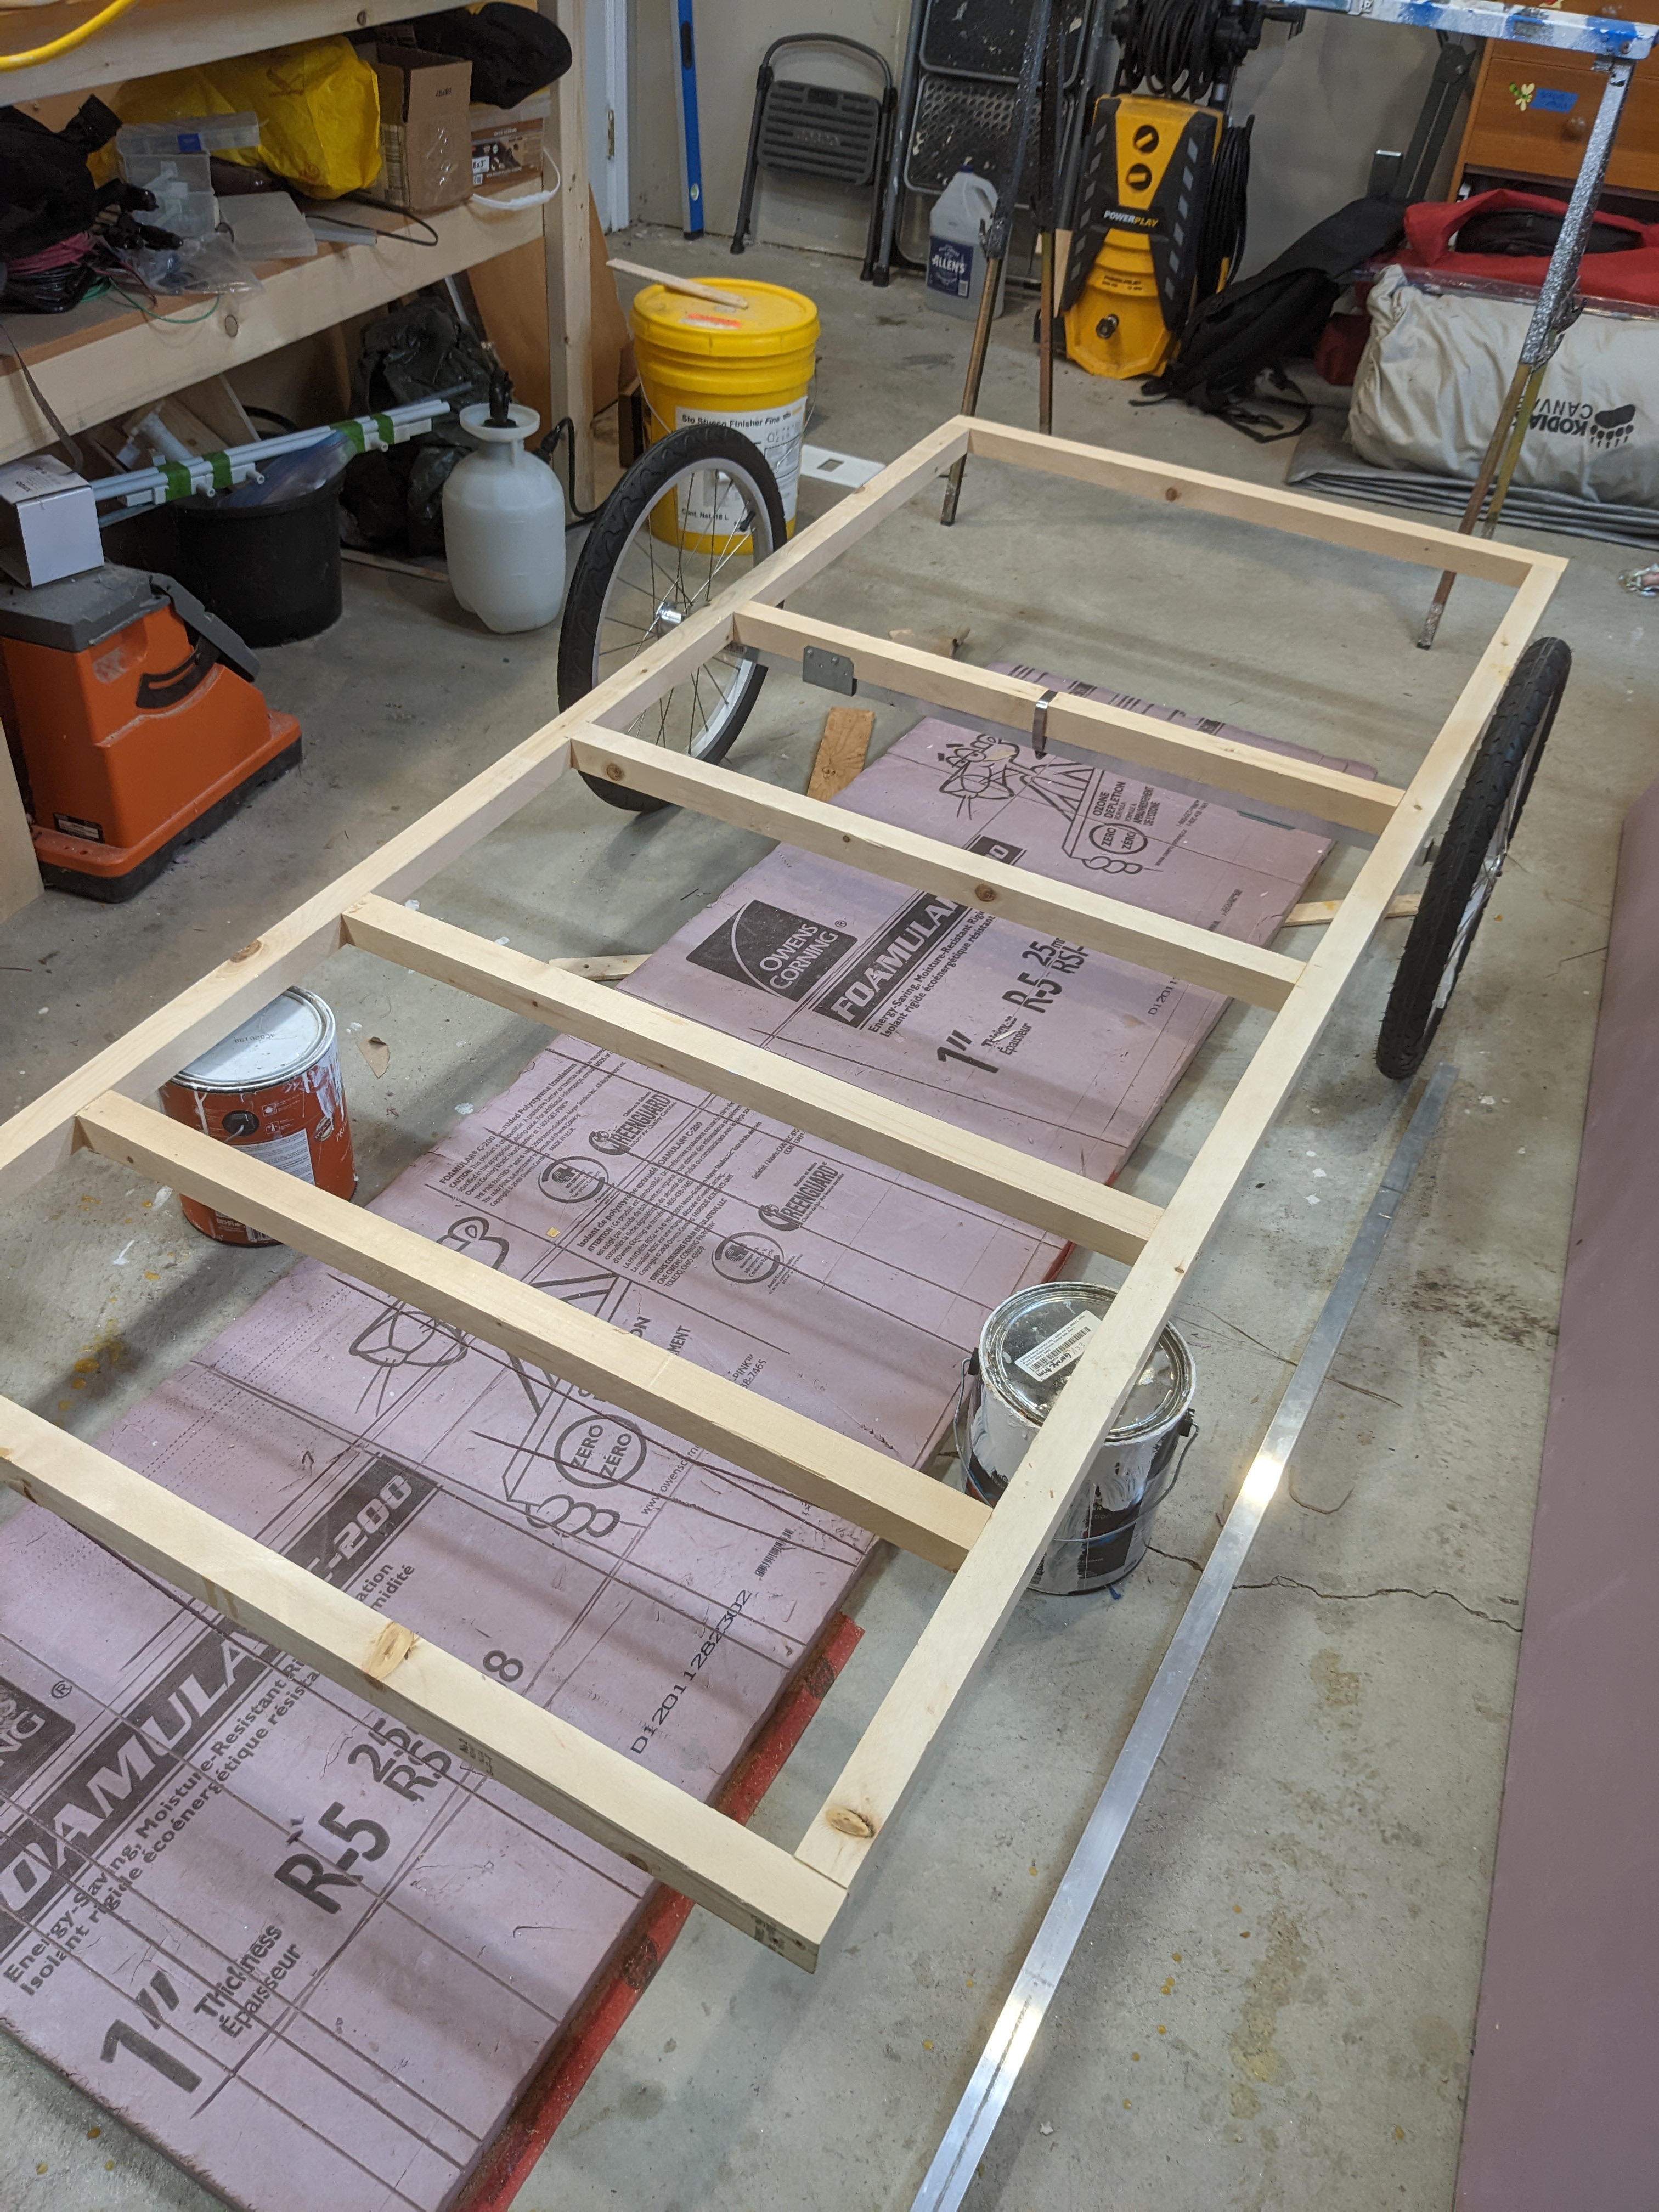
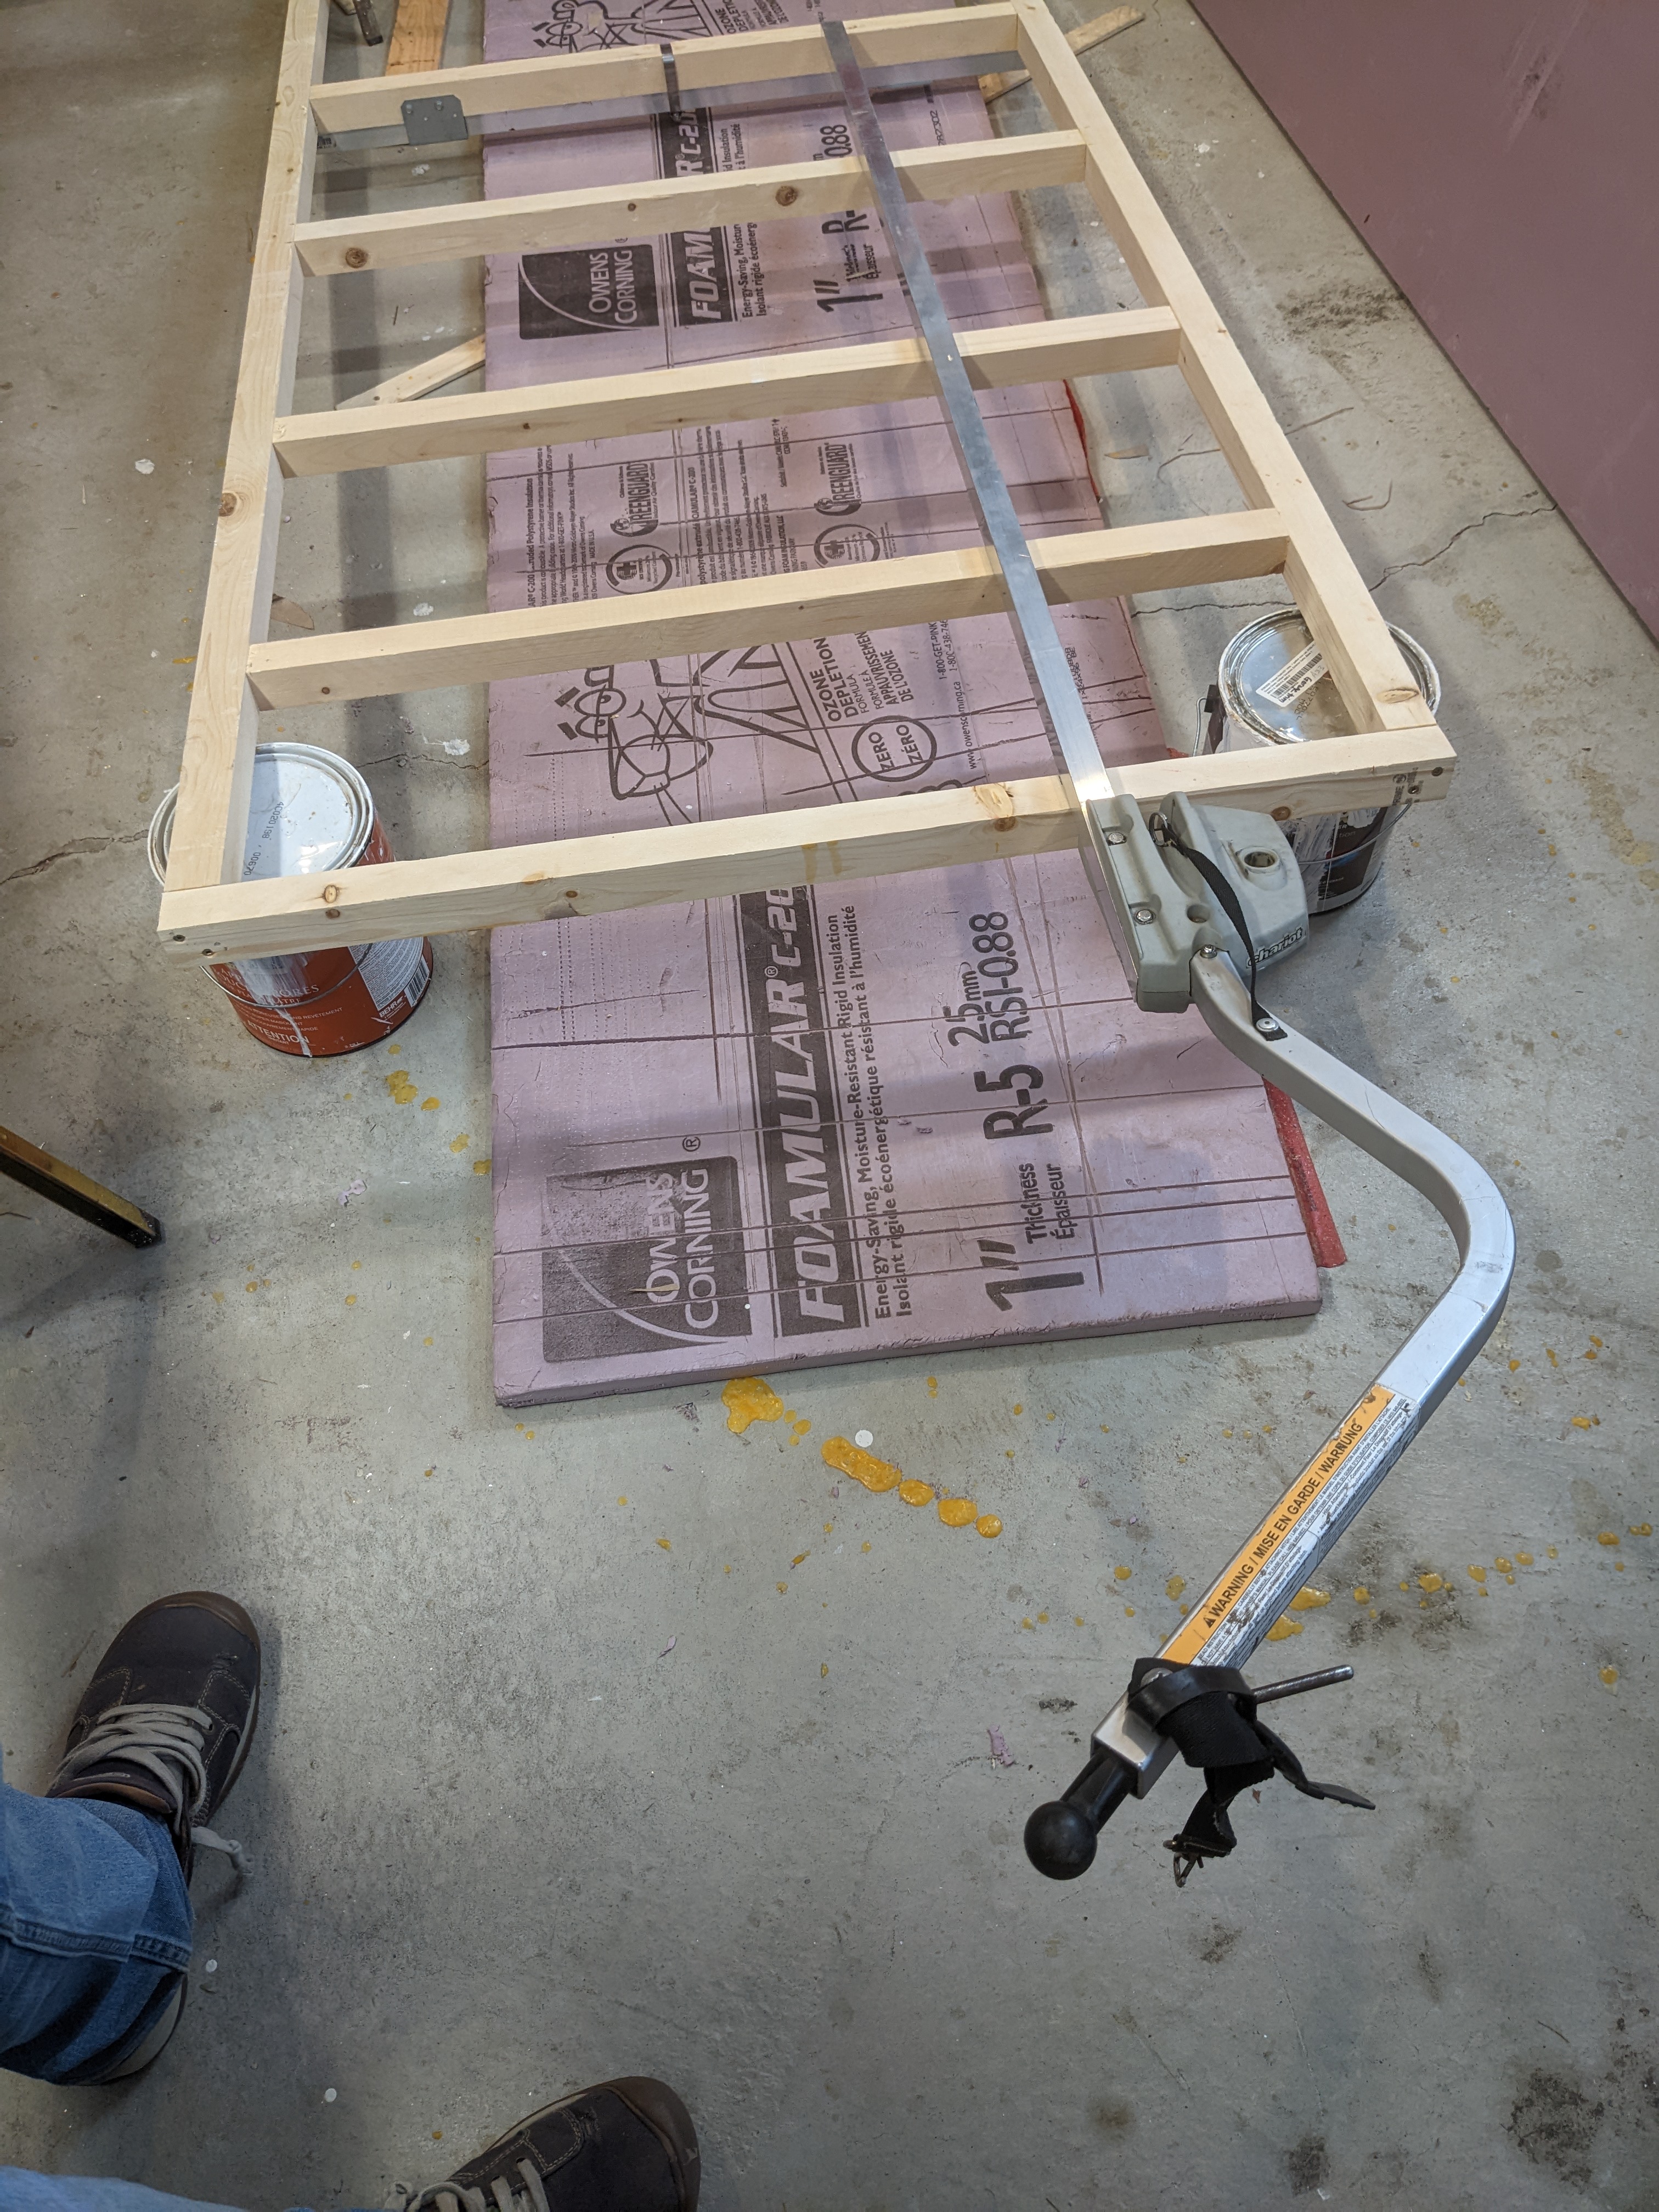
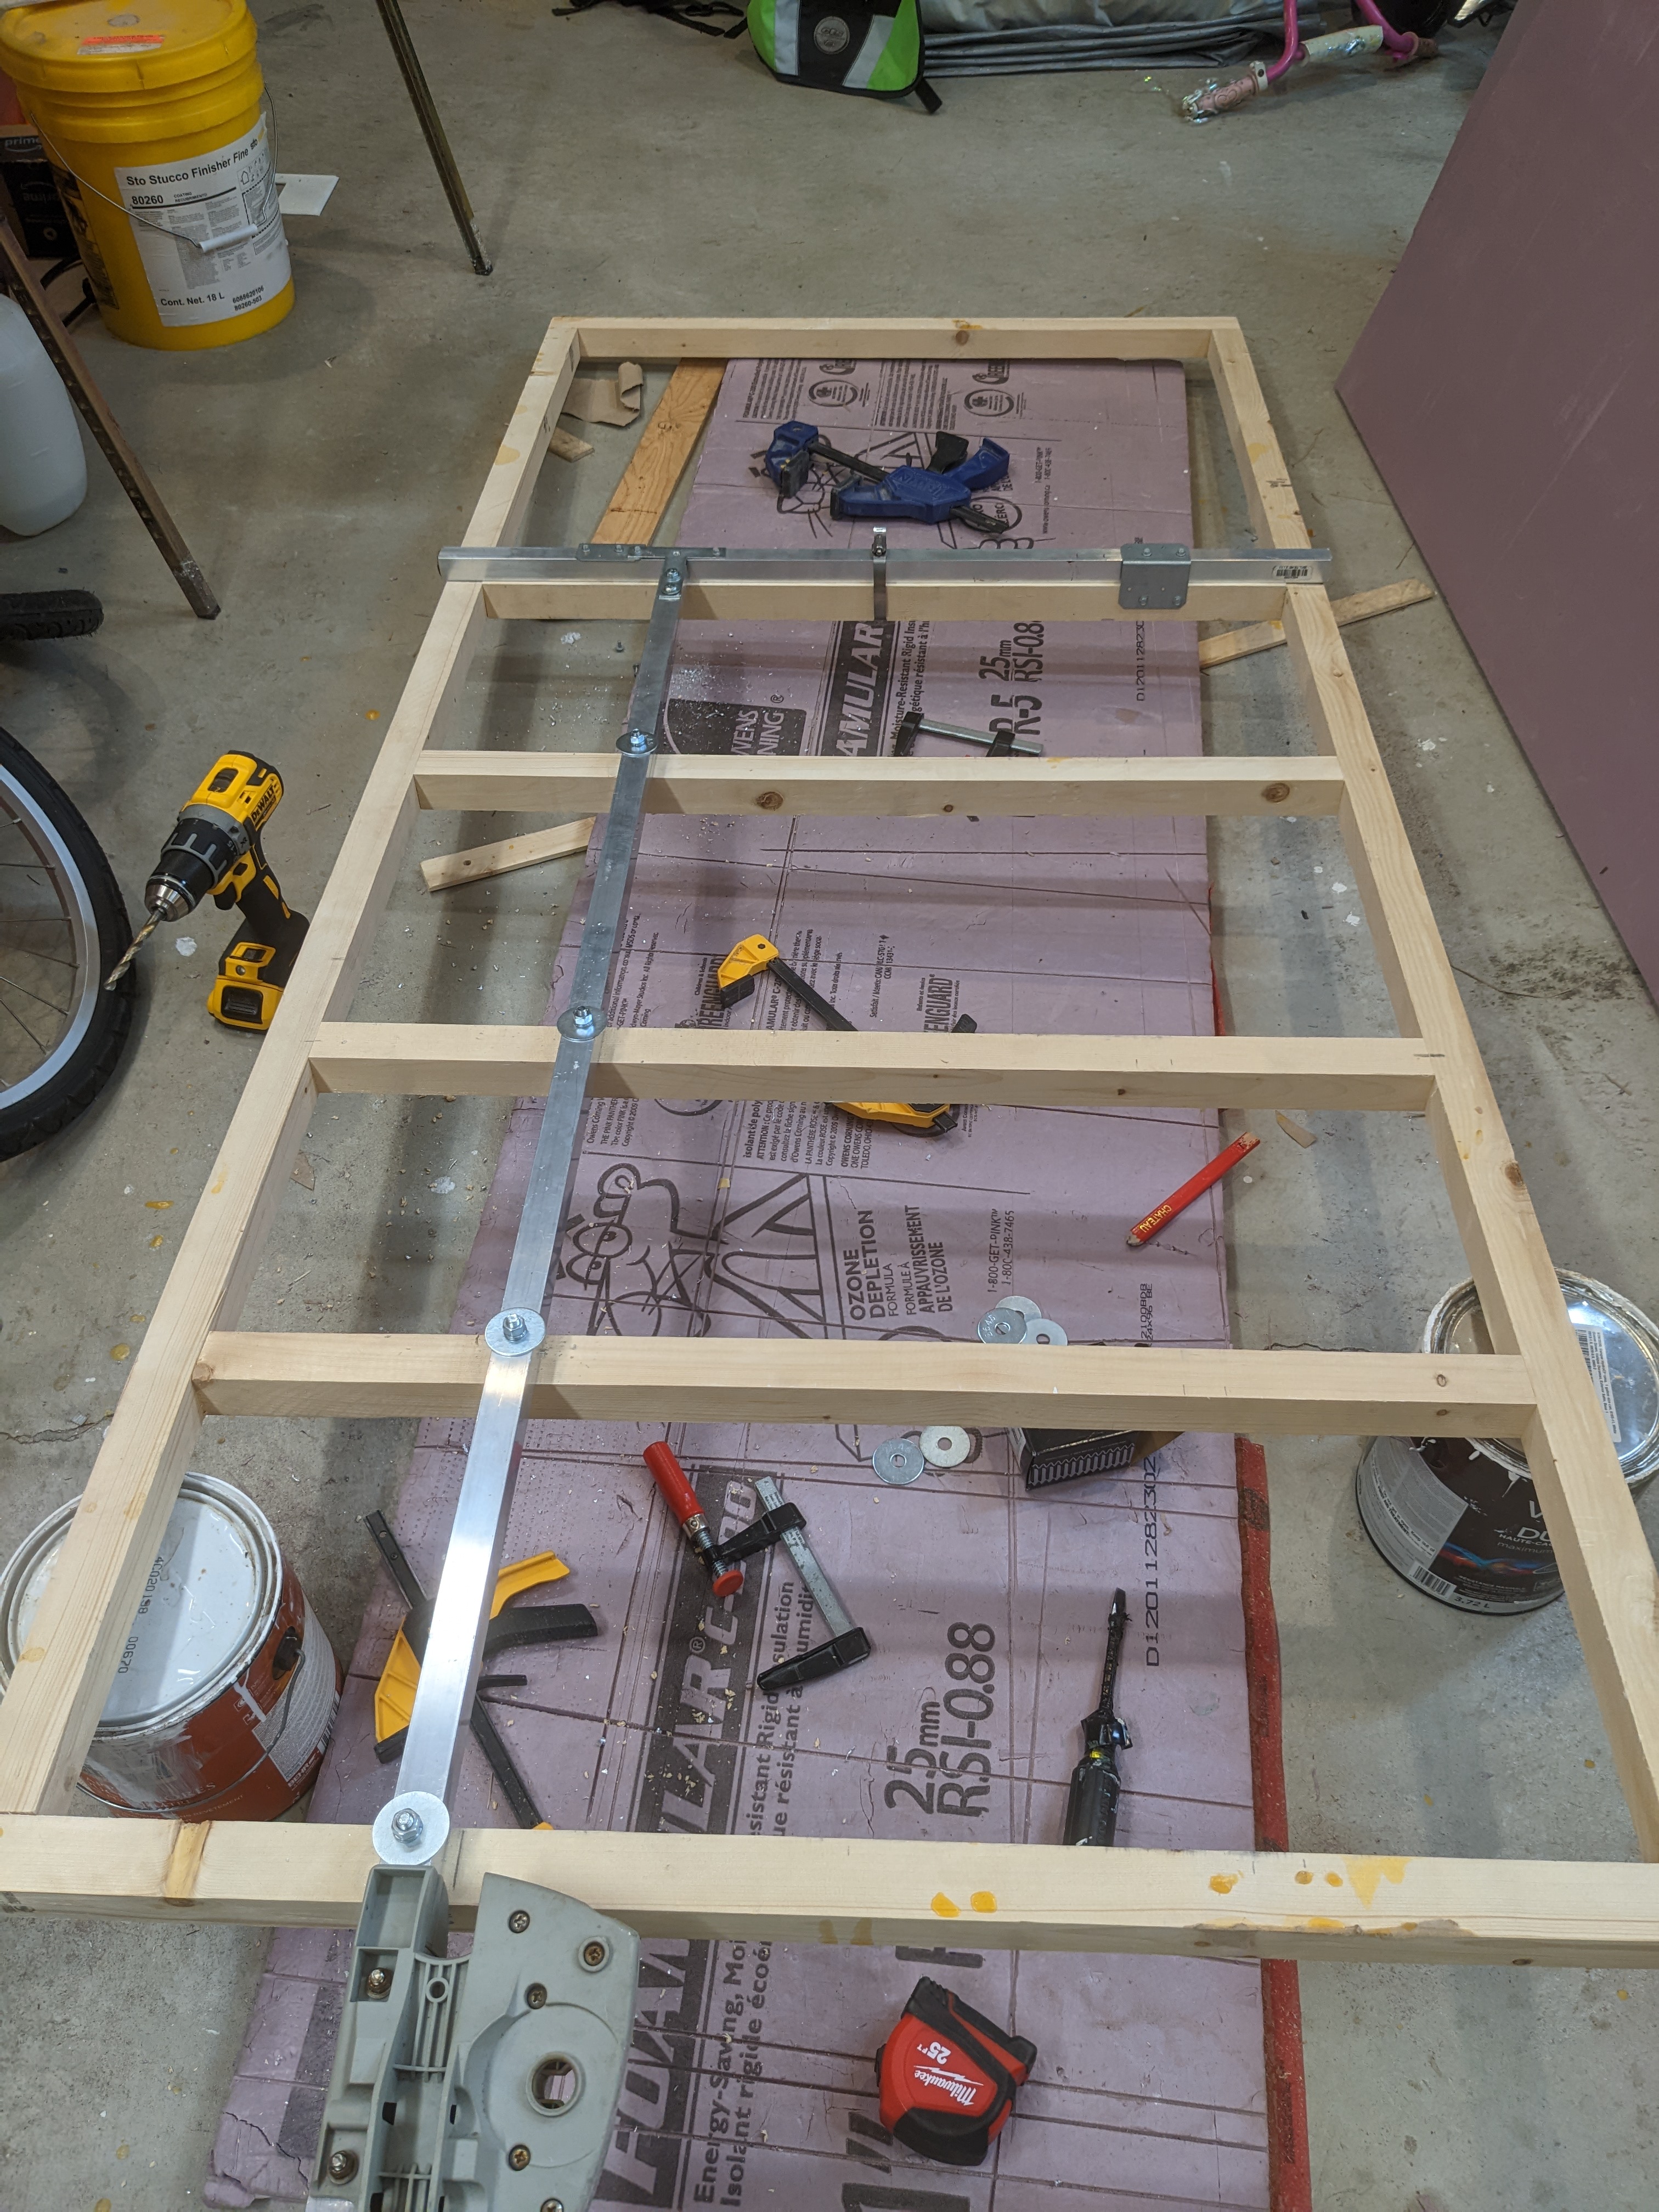
Glued and screwed together a simple frame of 2x2s, it's 7' by 3' which I think is a reasonable size. Just regular SPF that was sitting in the garage, and I checked the weight for that at 7.5lbs. I have been wondering if an aluminum frame would be lighter/stronger, but simple pine seems pretty good maybe?
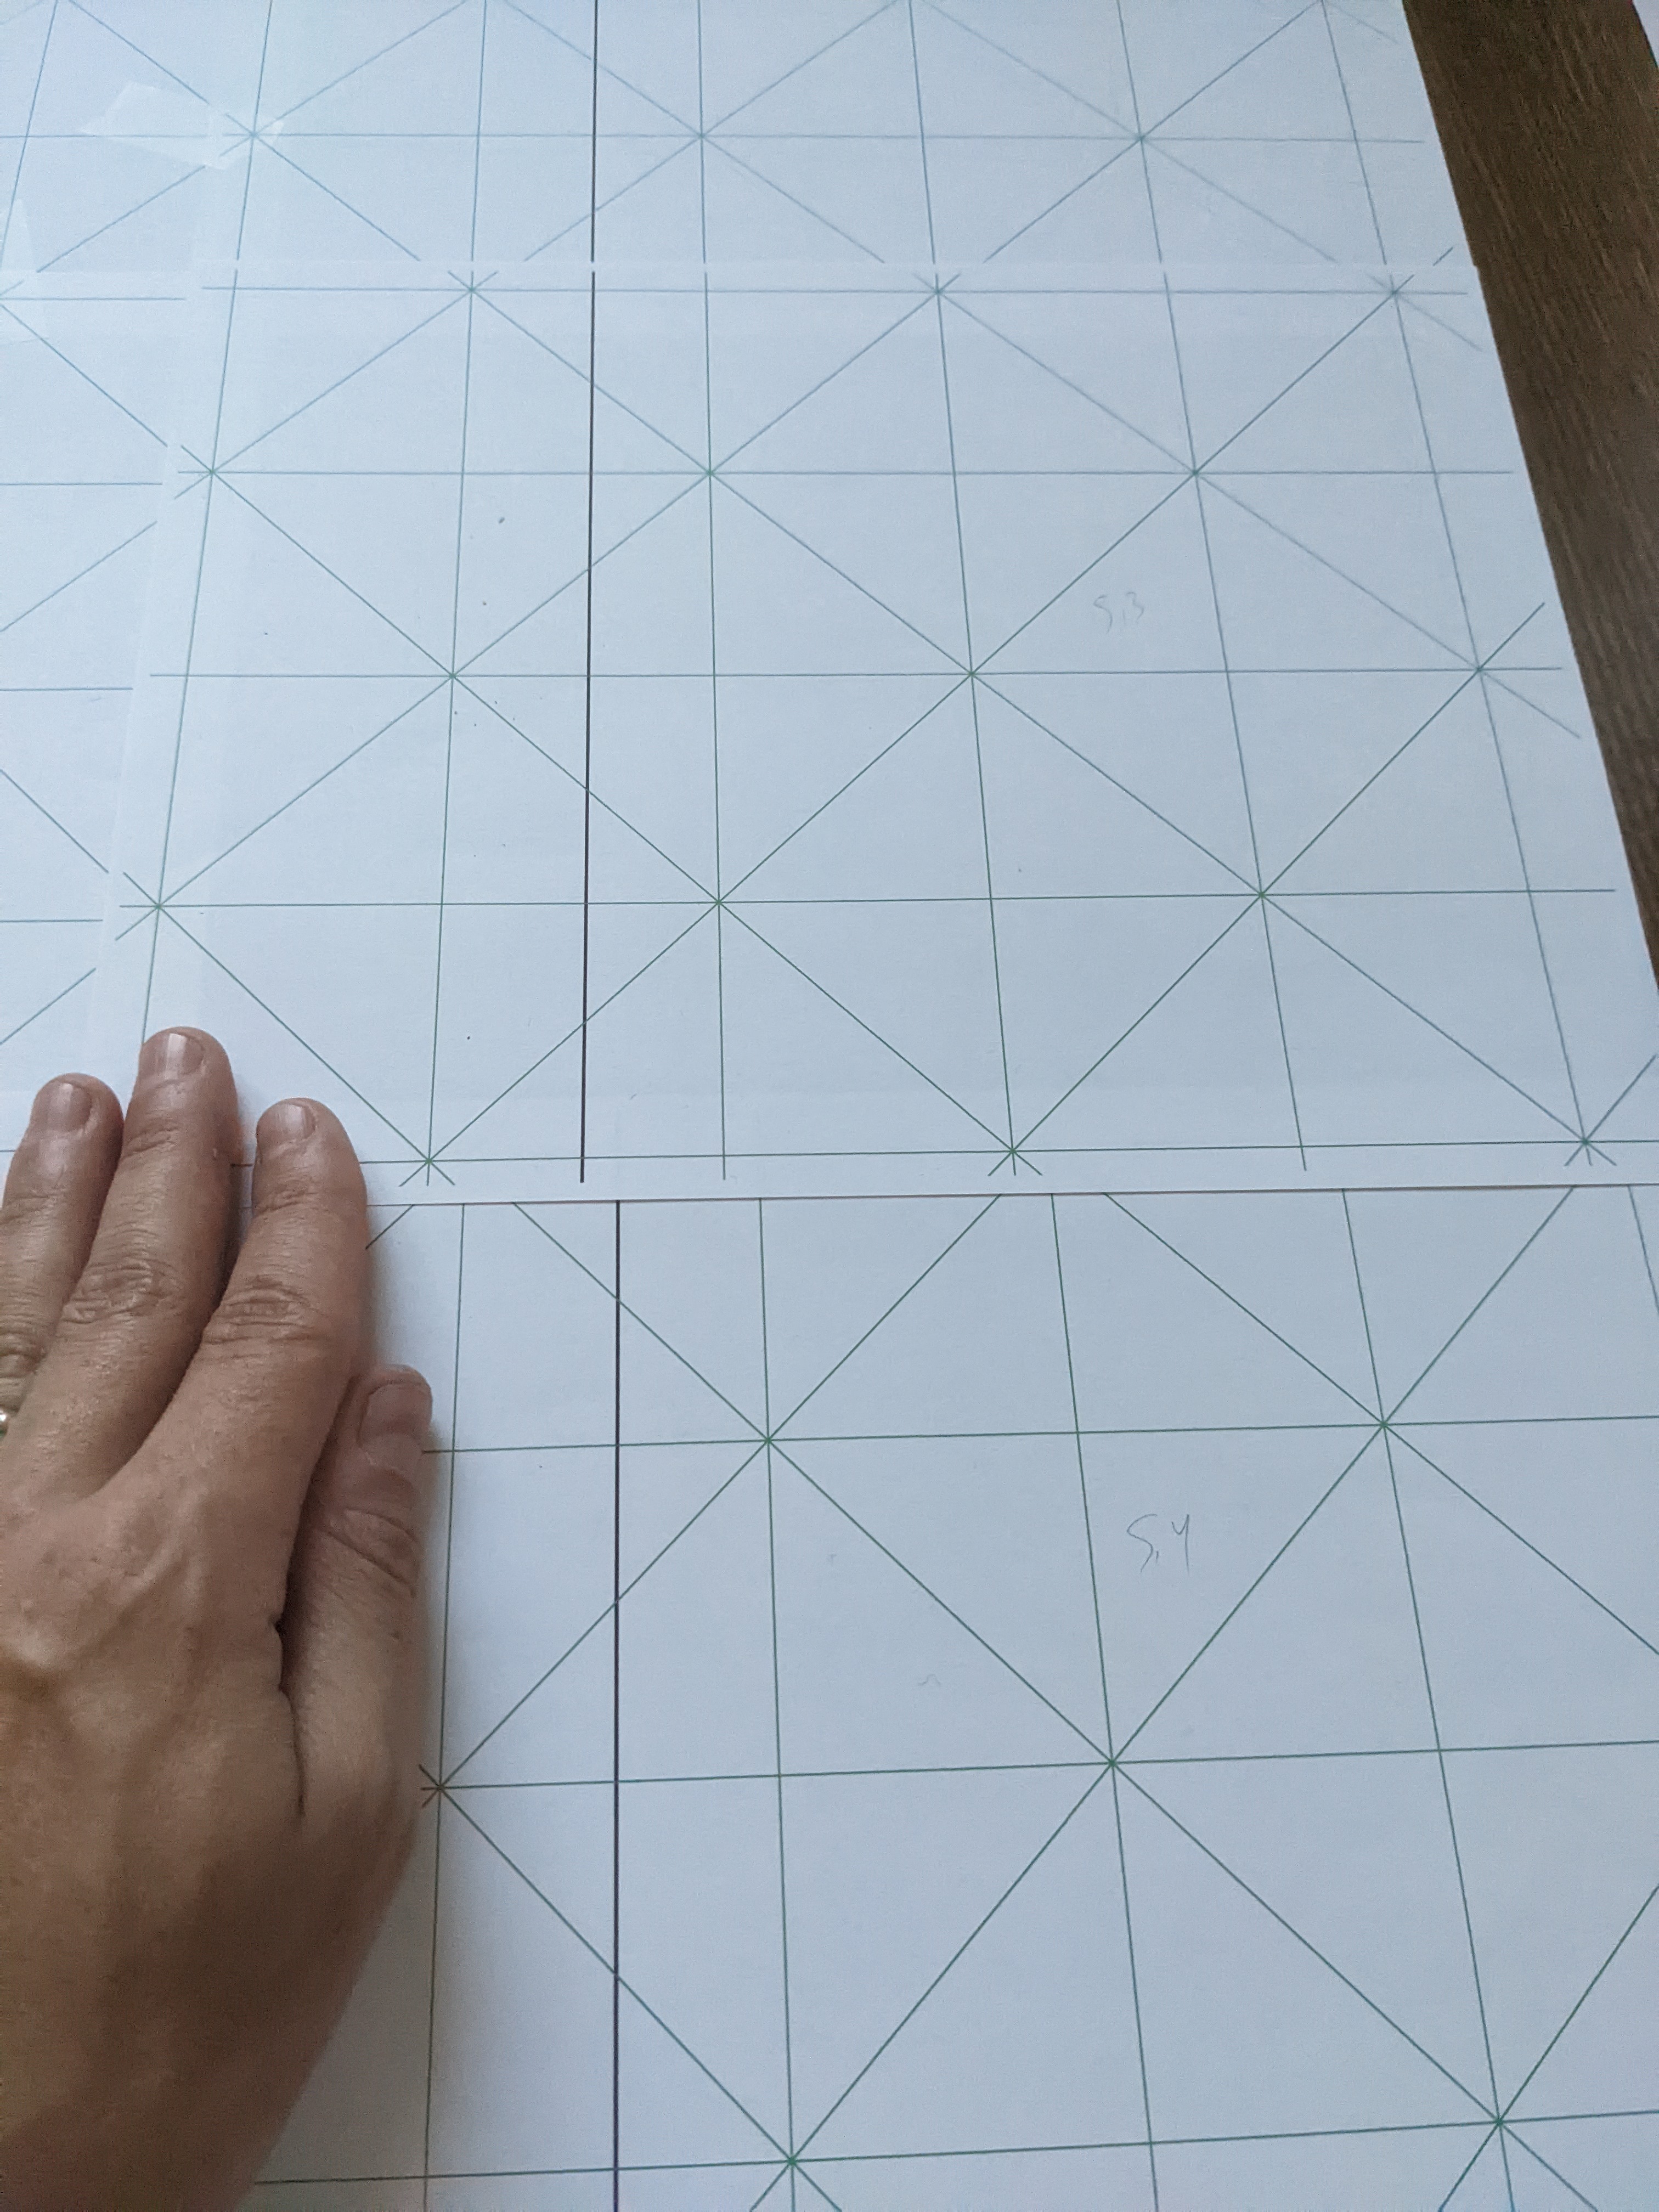
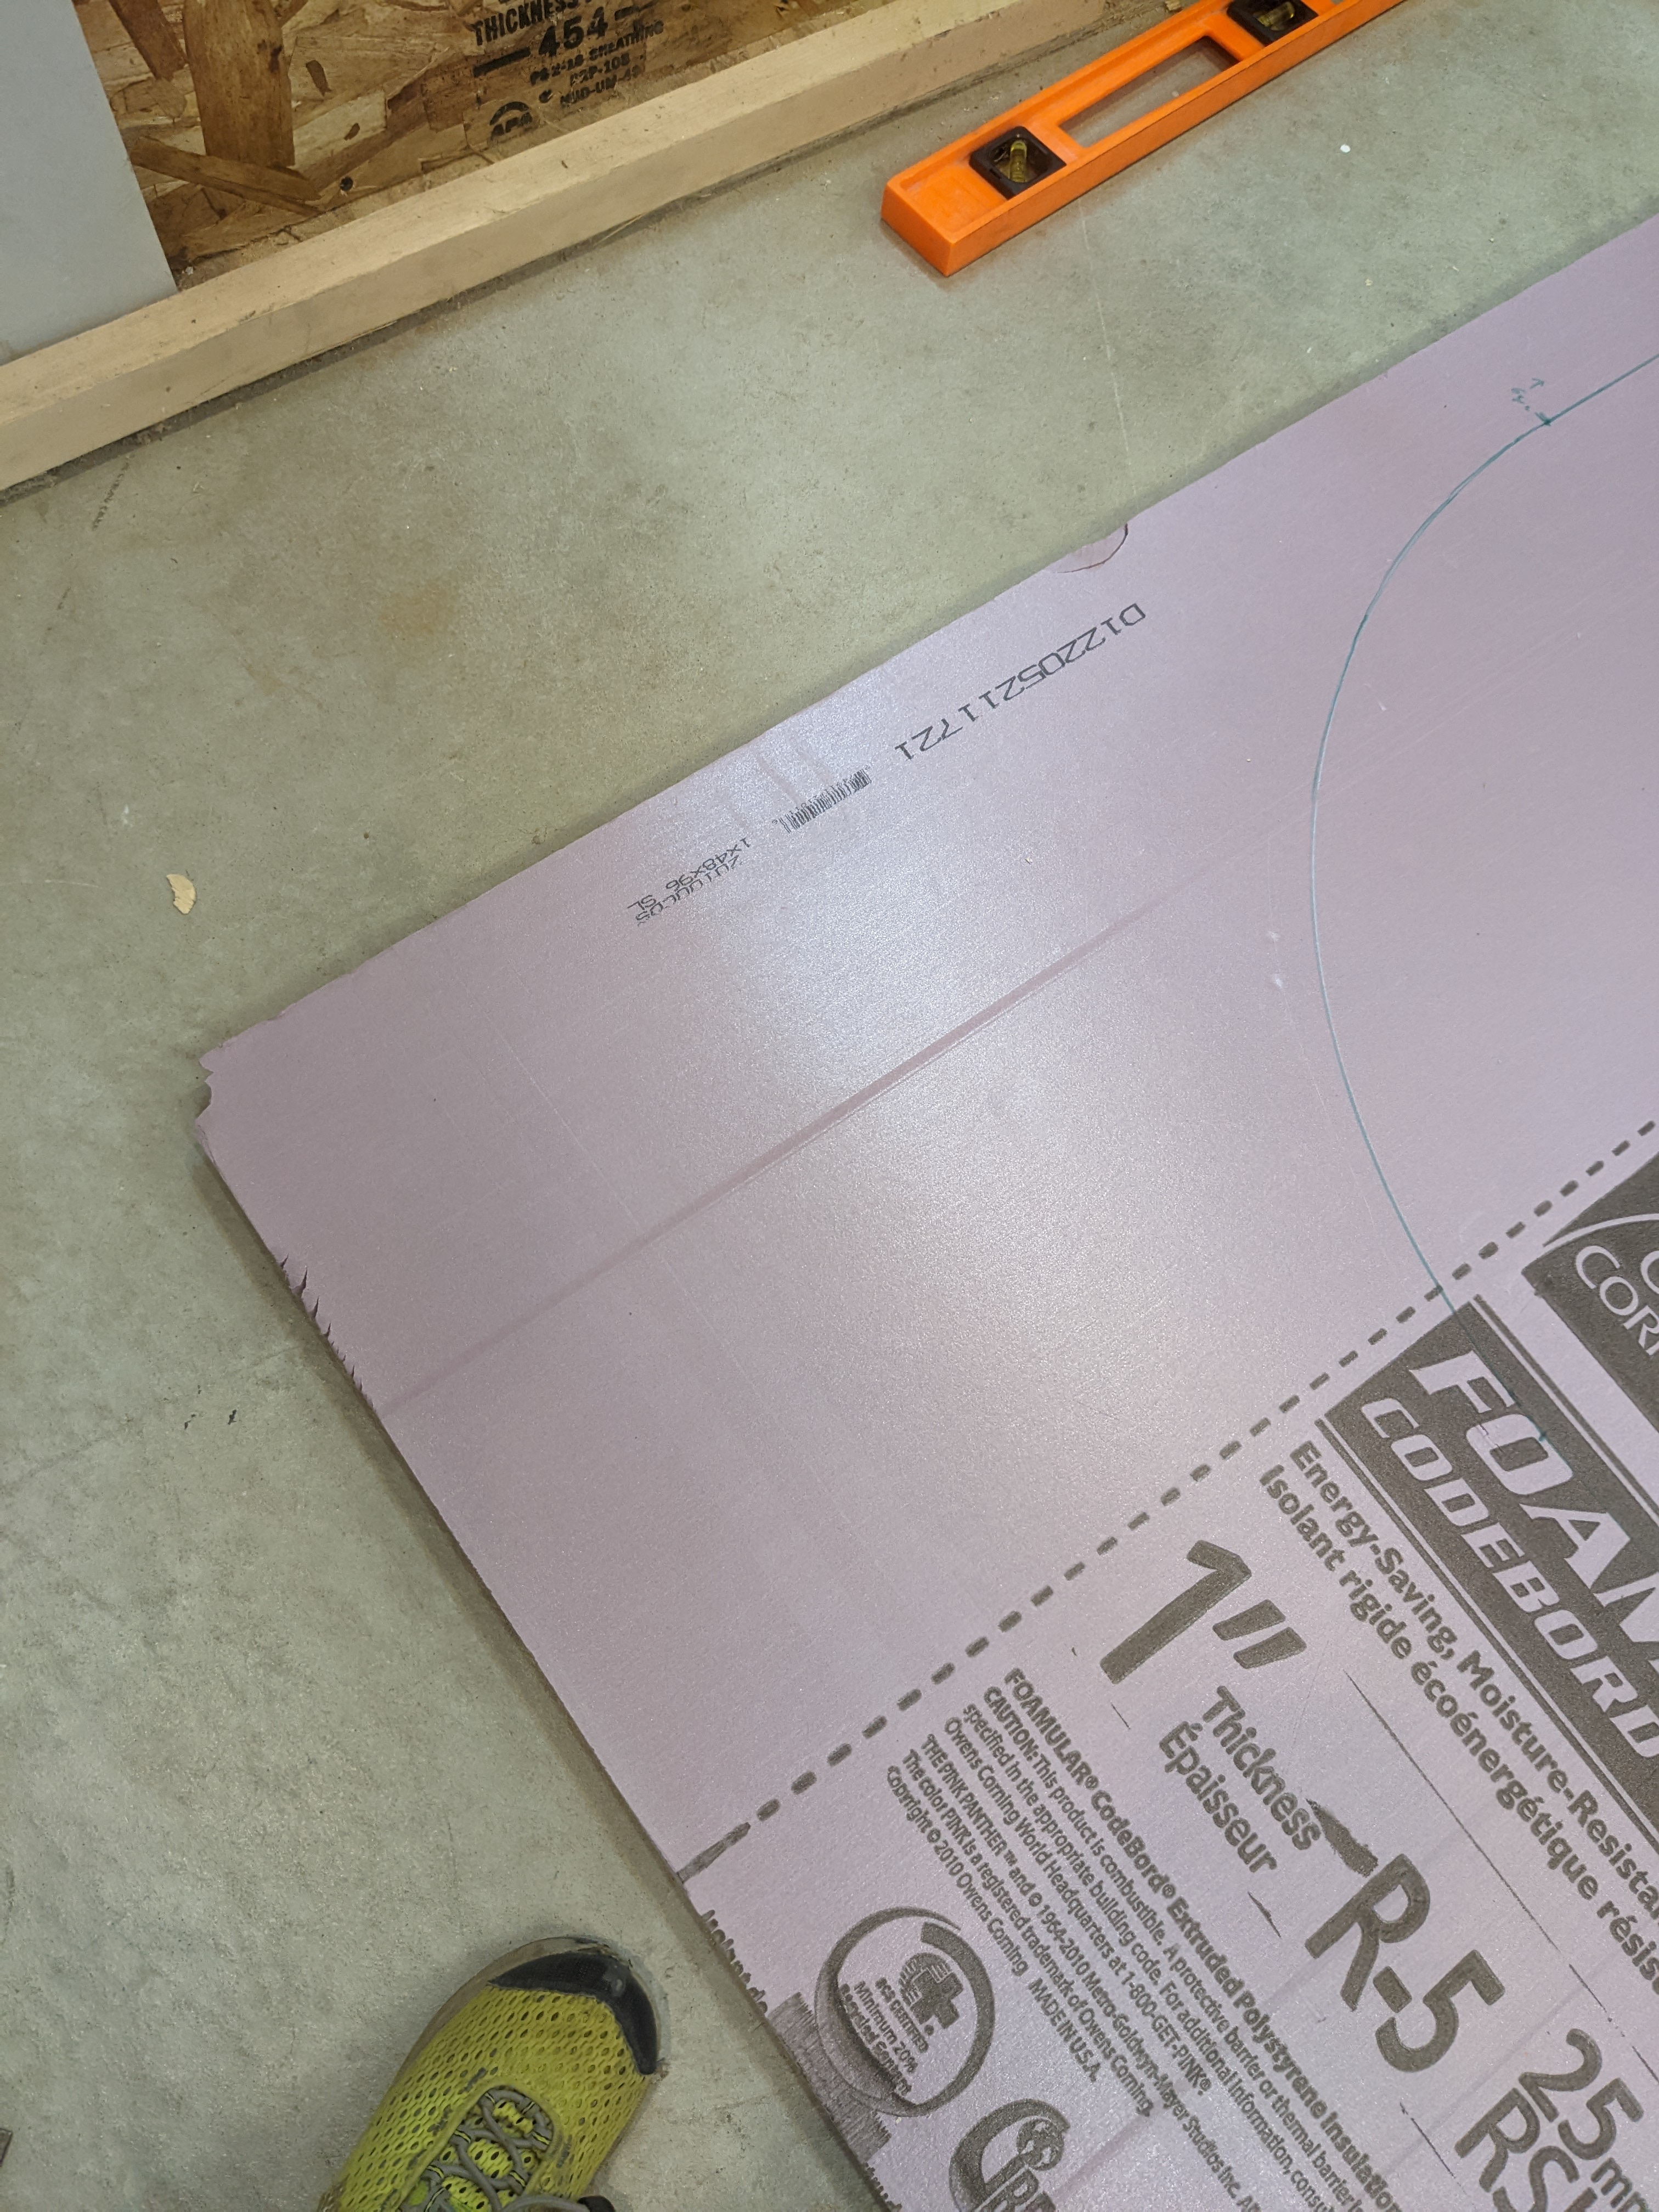
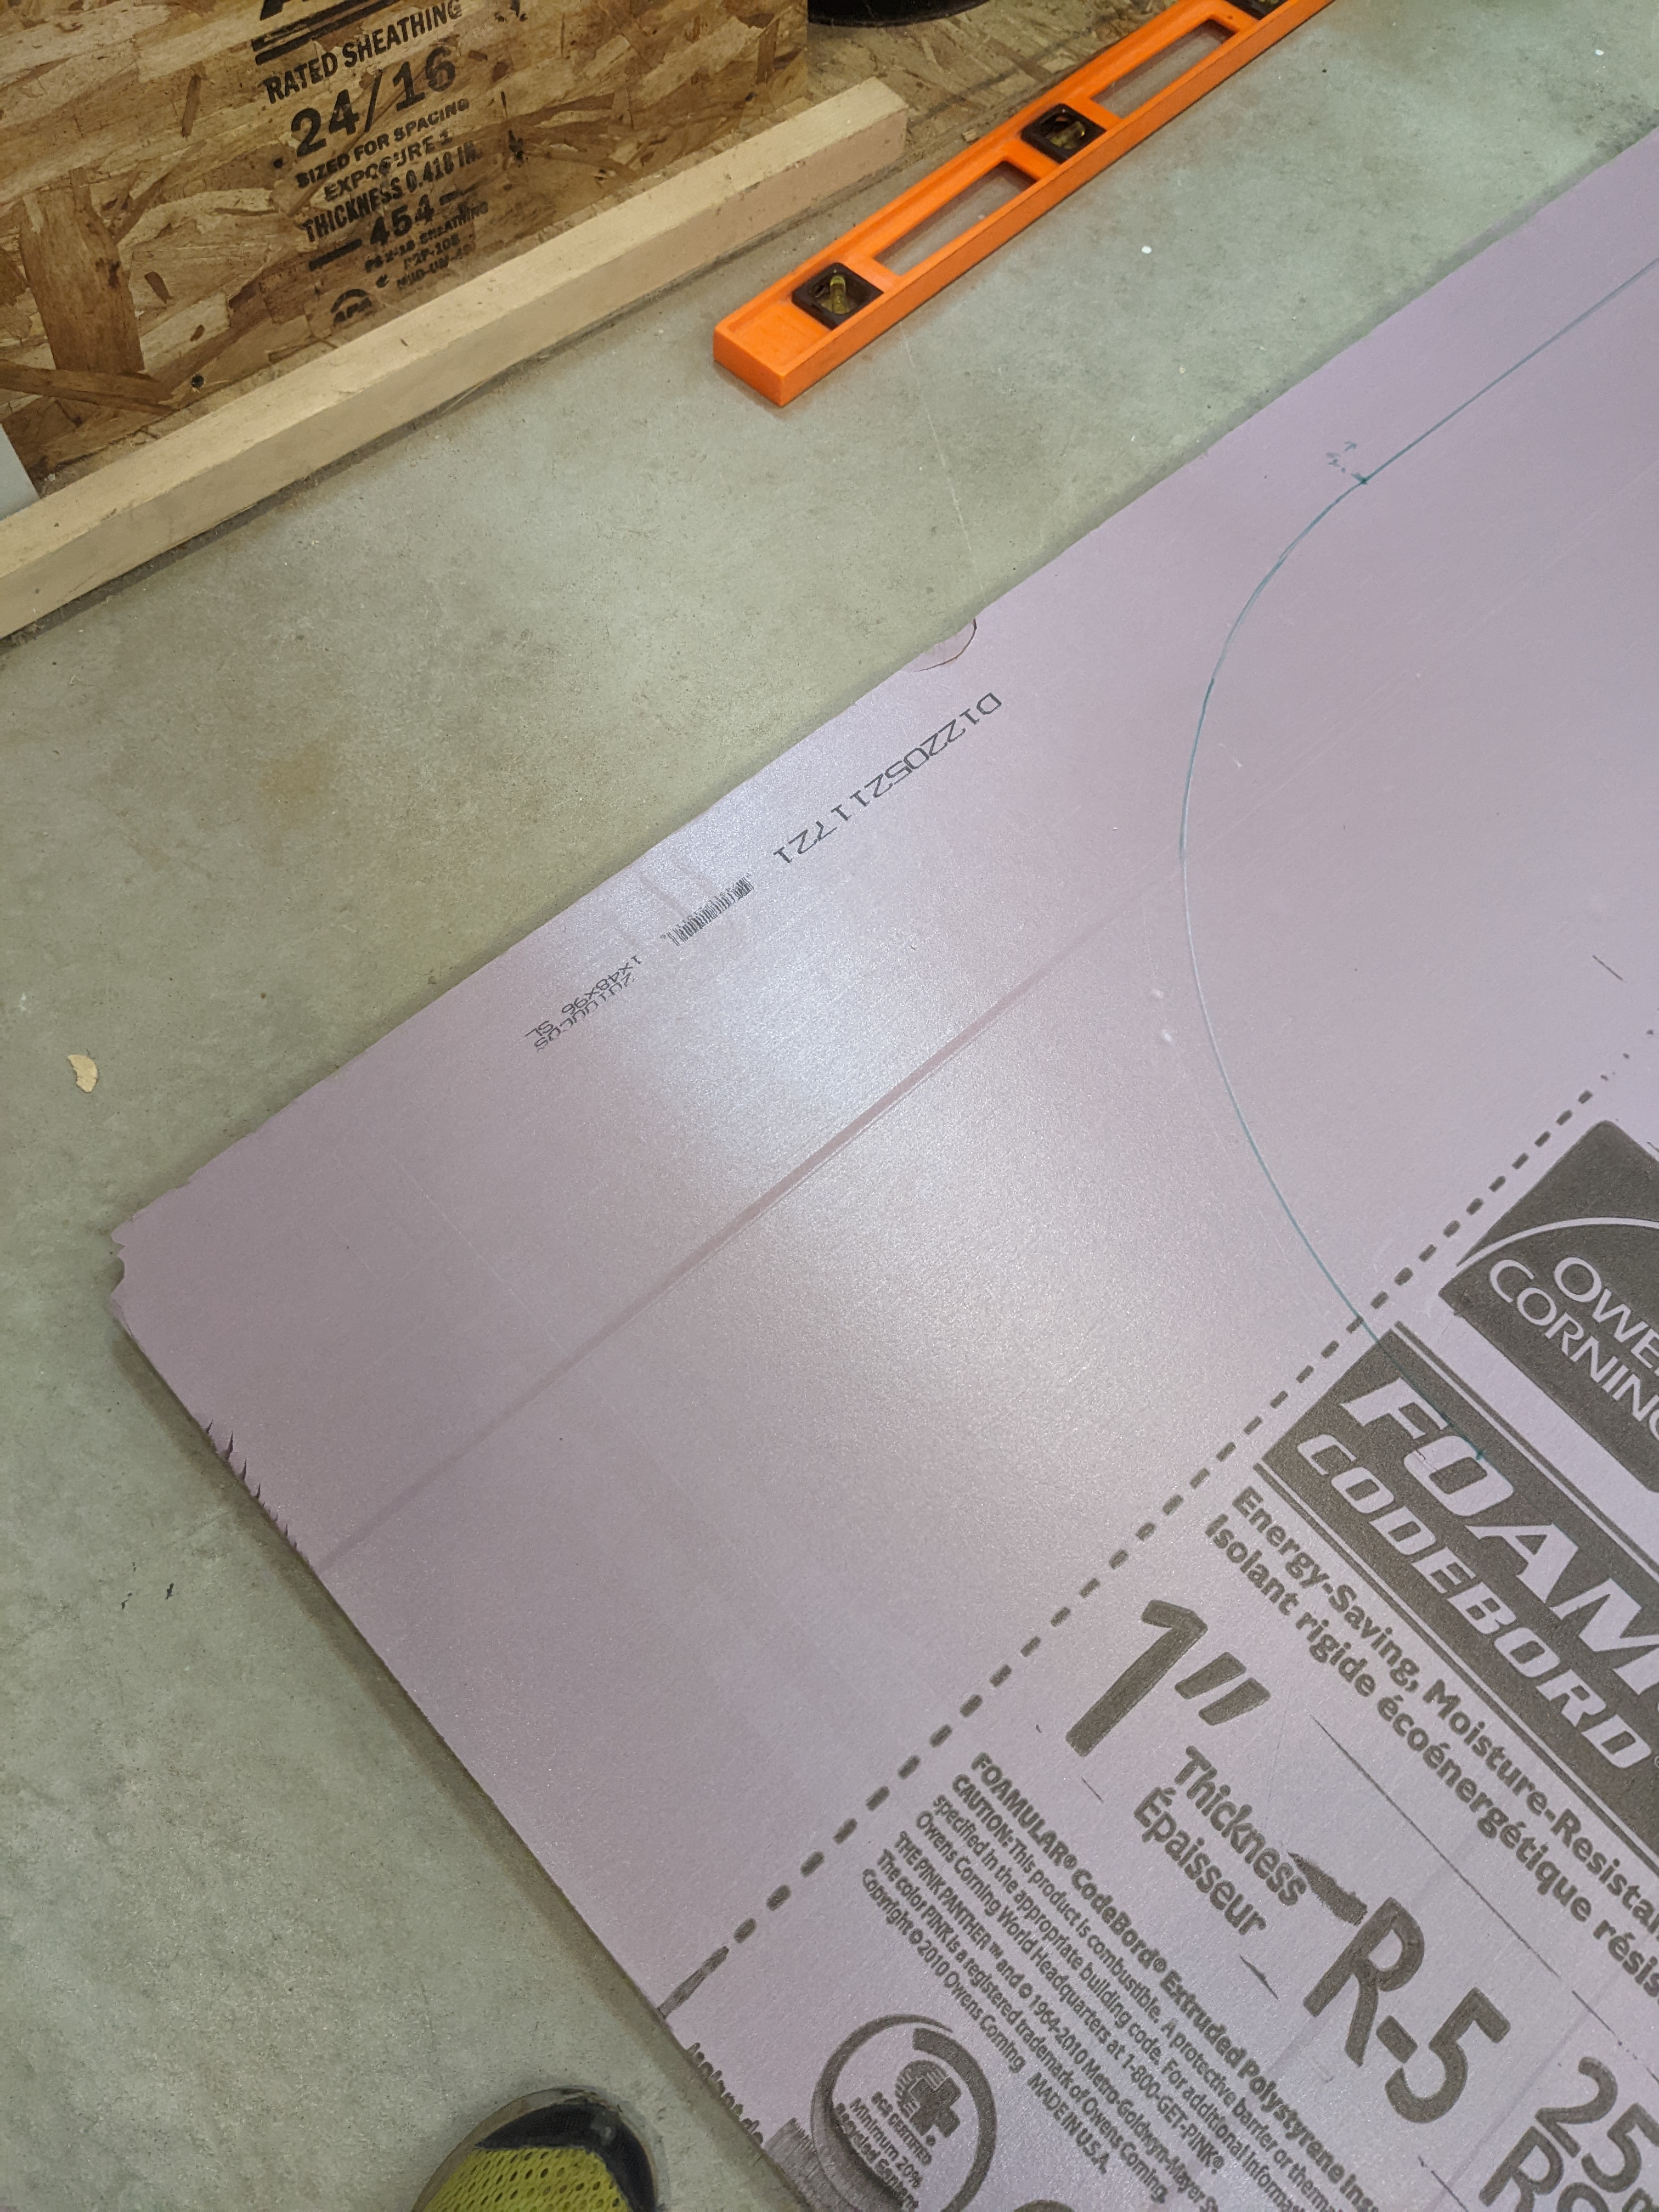
Also put down some old sheets of 1" XPS to try to get an idea of how much it flexes with support at various points. I'm not sure though -- not laminated with canvas yet of course, and not a full 3' span either. I also won't be standing up in a 4' tall trailer. I think I'll probably have to go 2" on the floor just in case, and hopefully can skim on adding extra cross supports to the trailer frame.
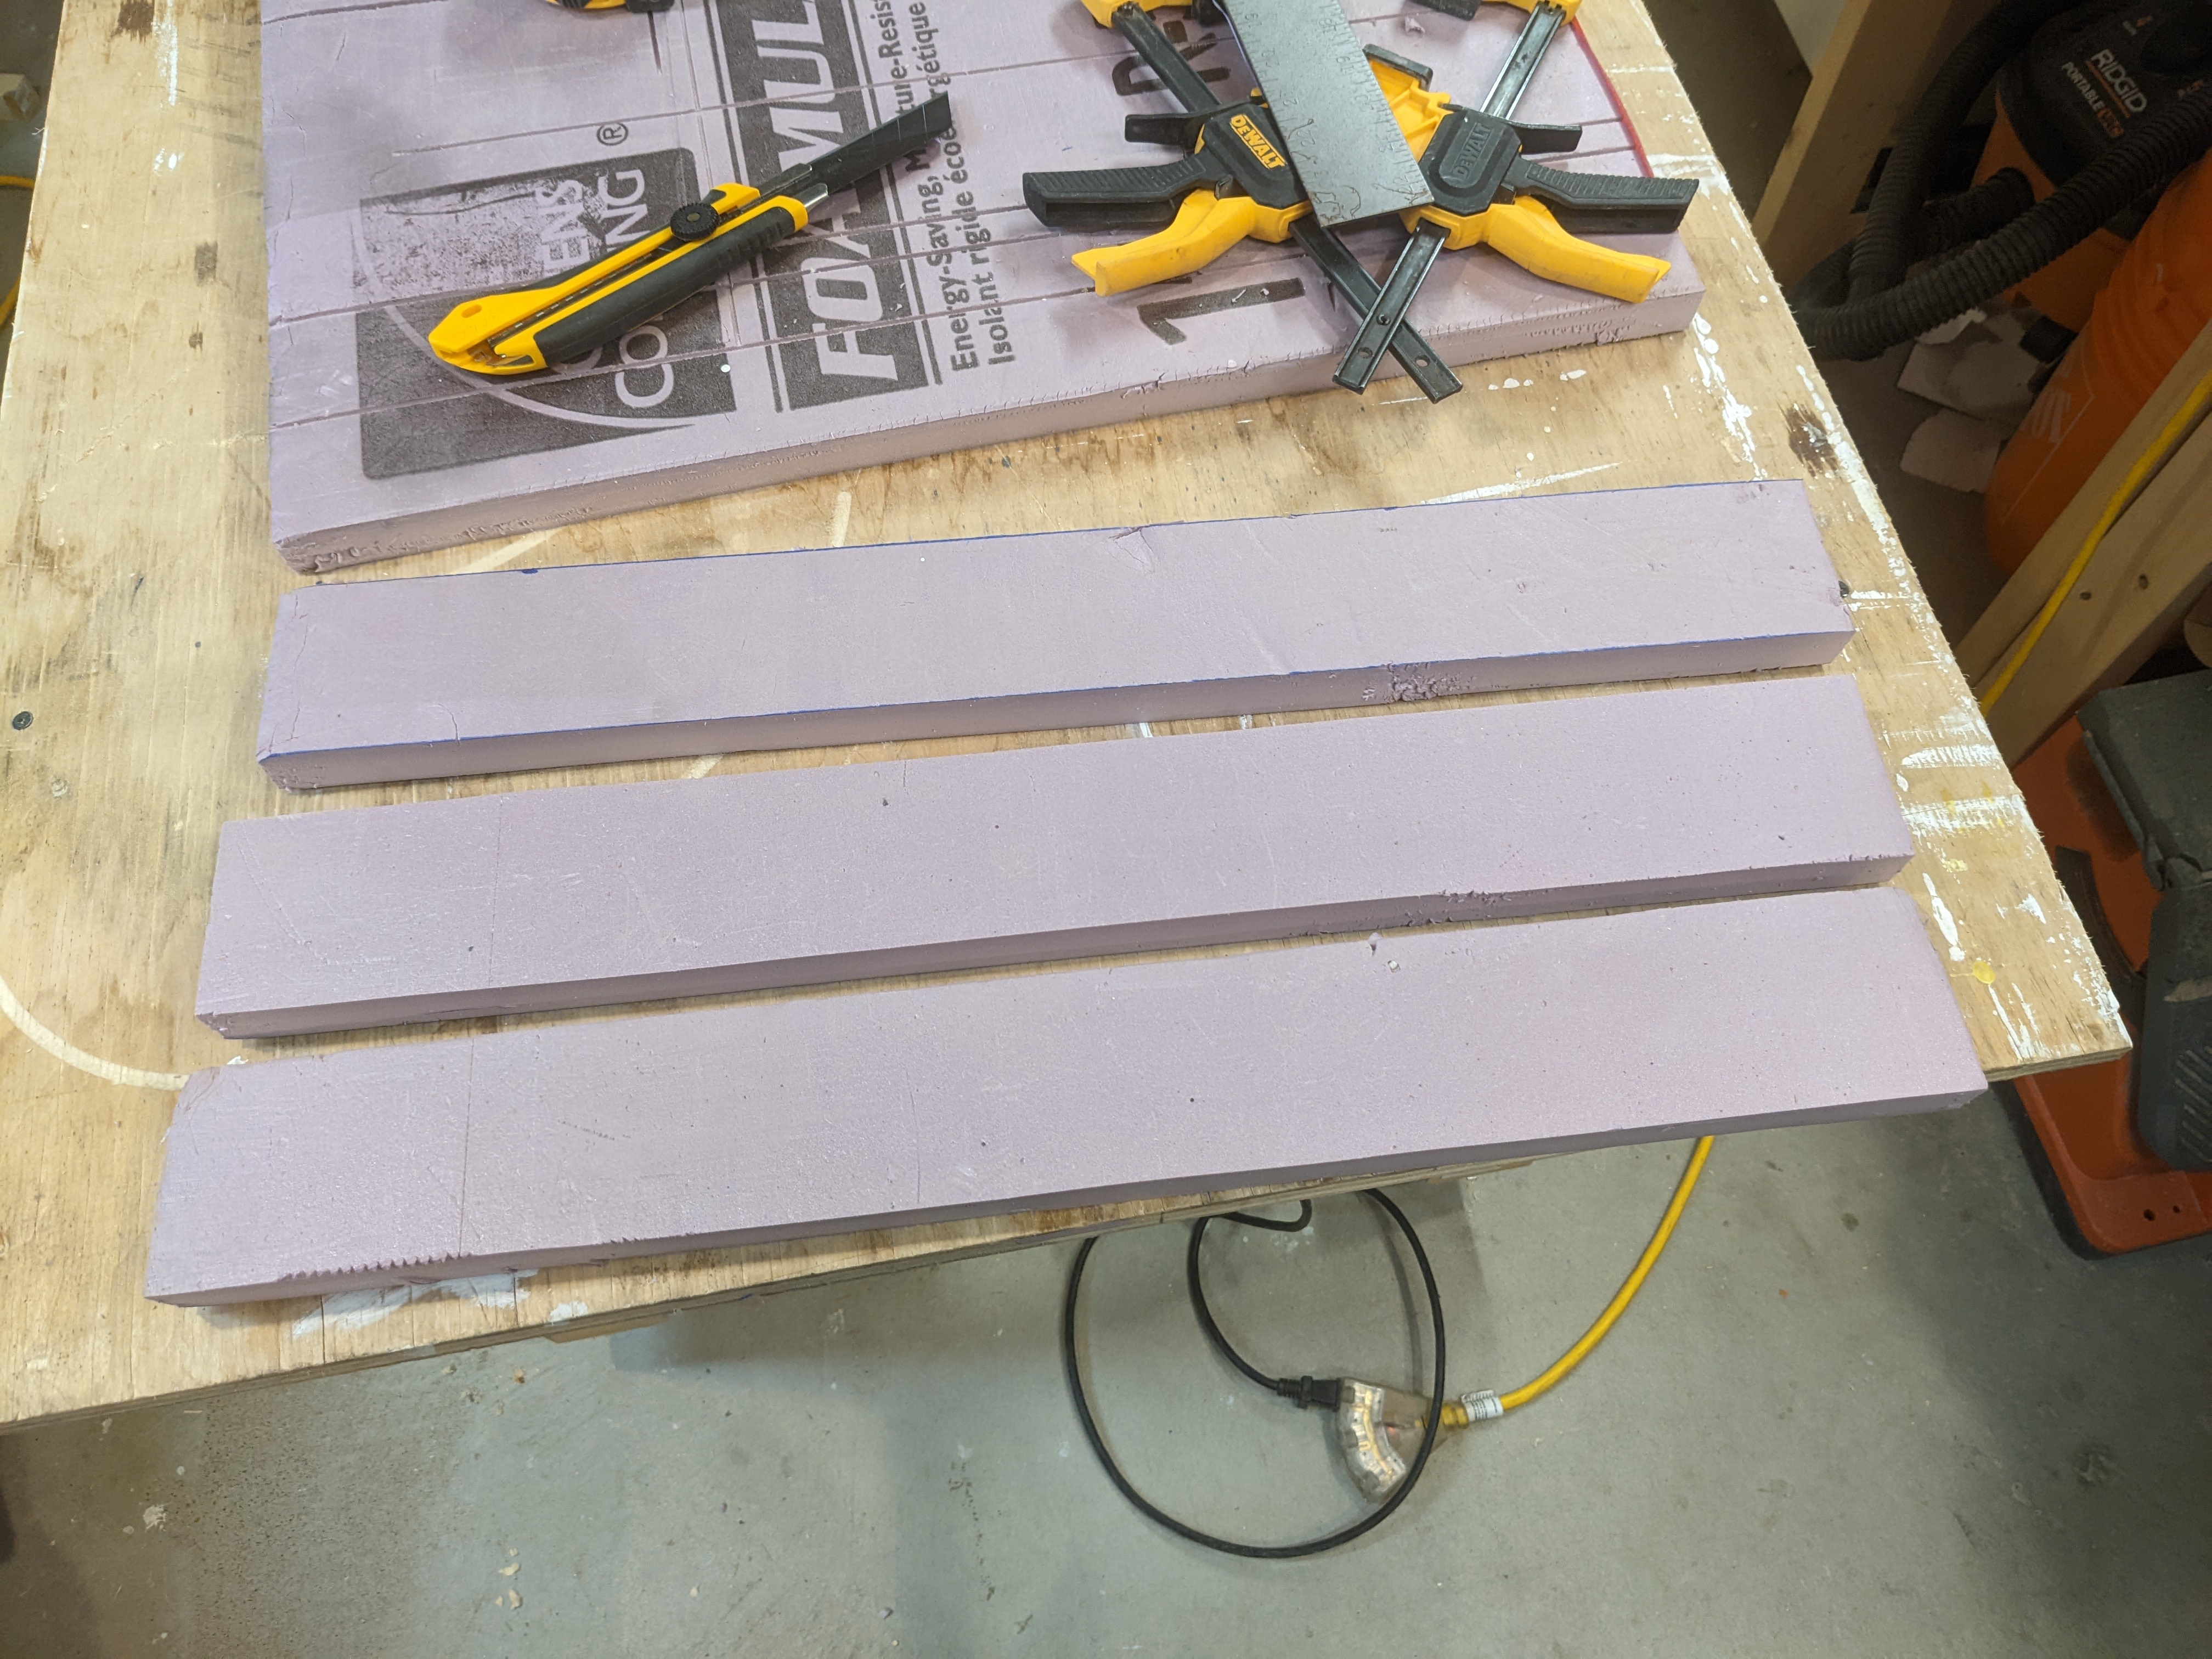
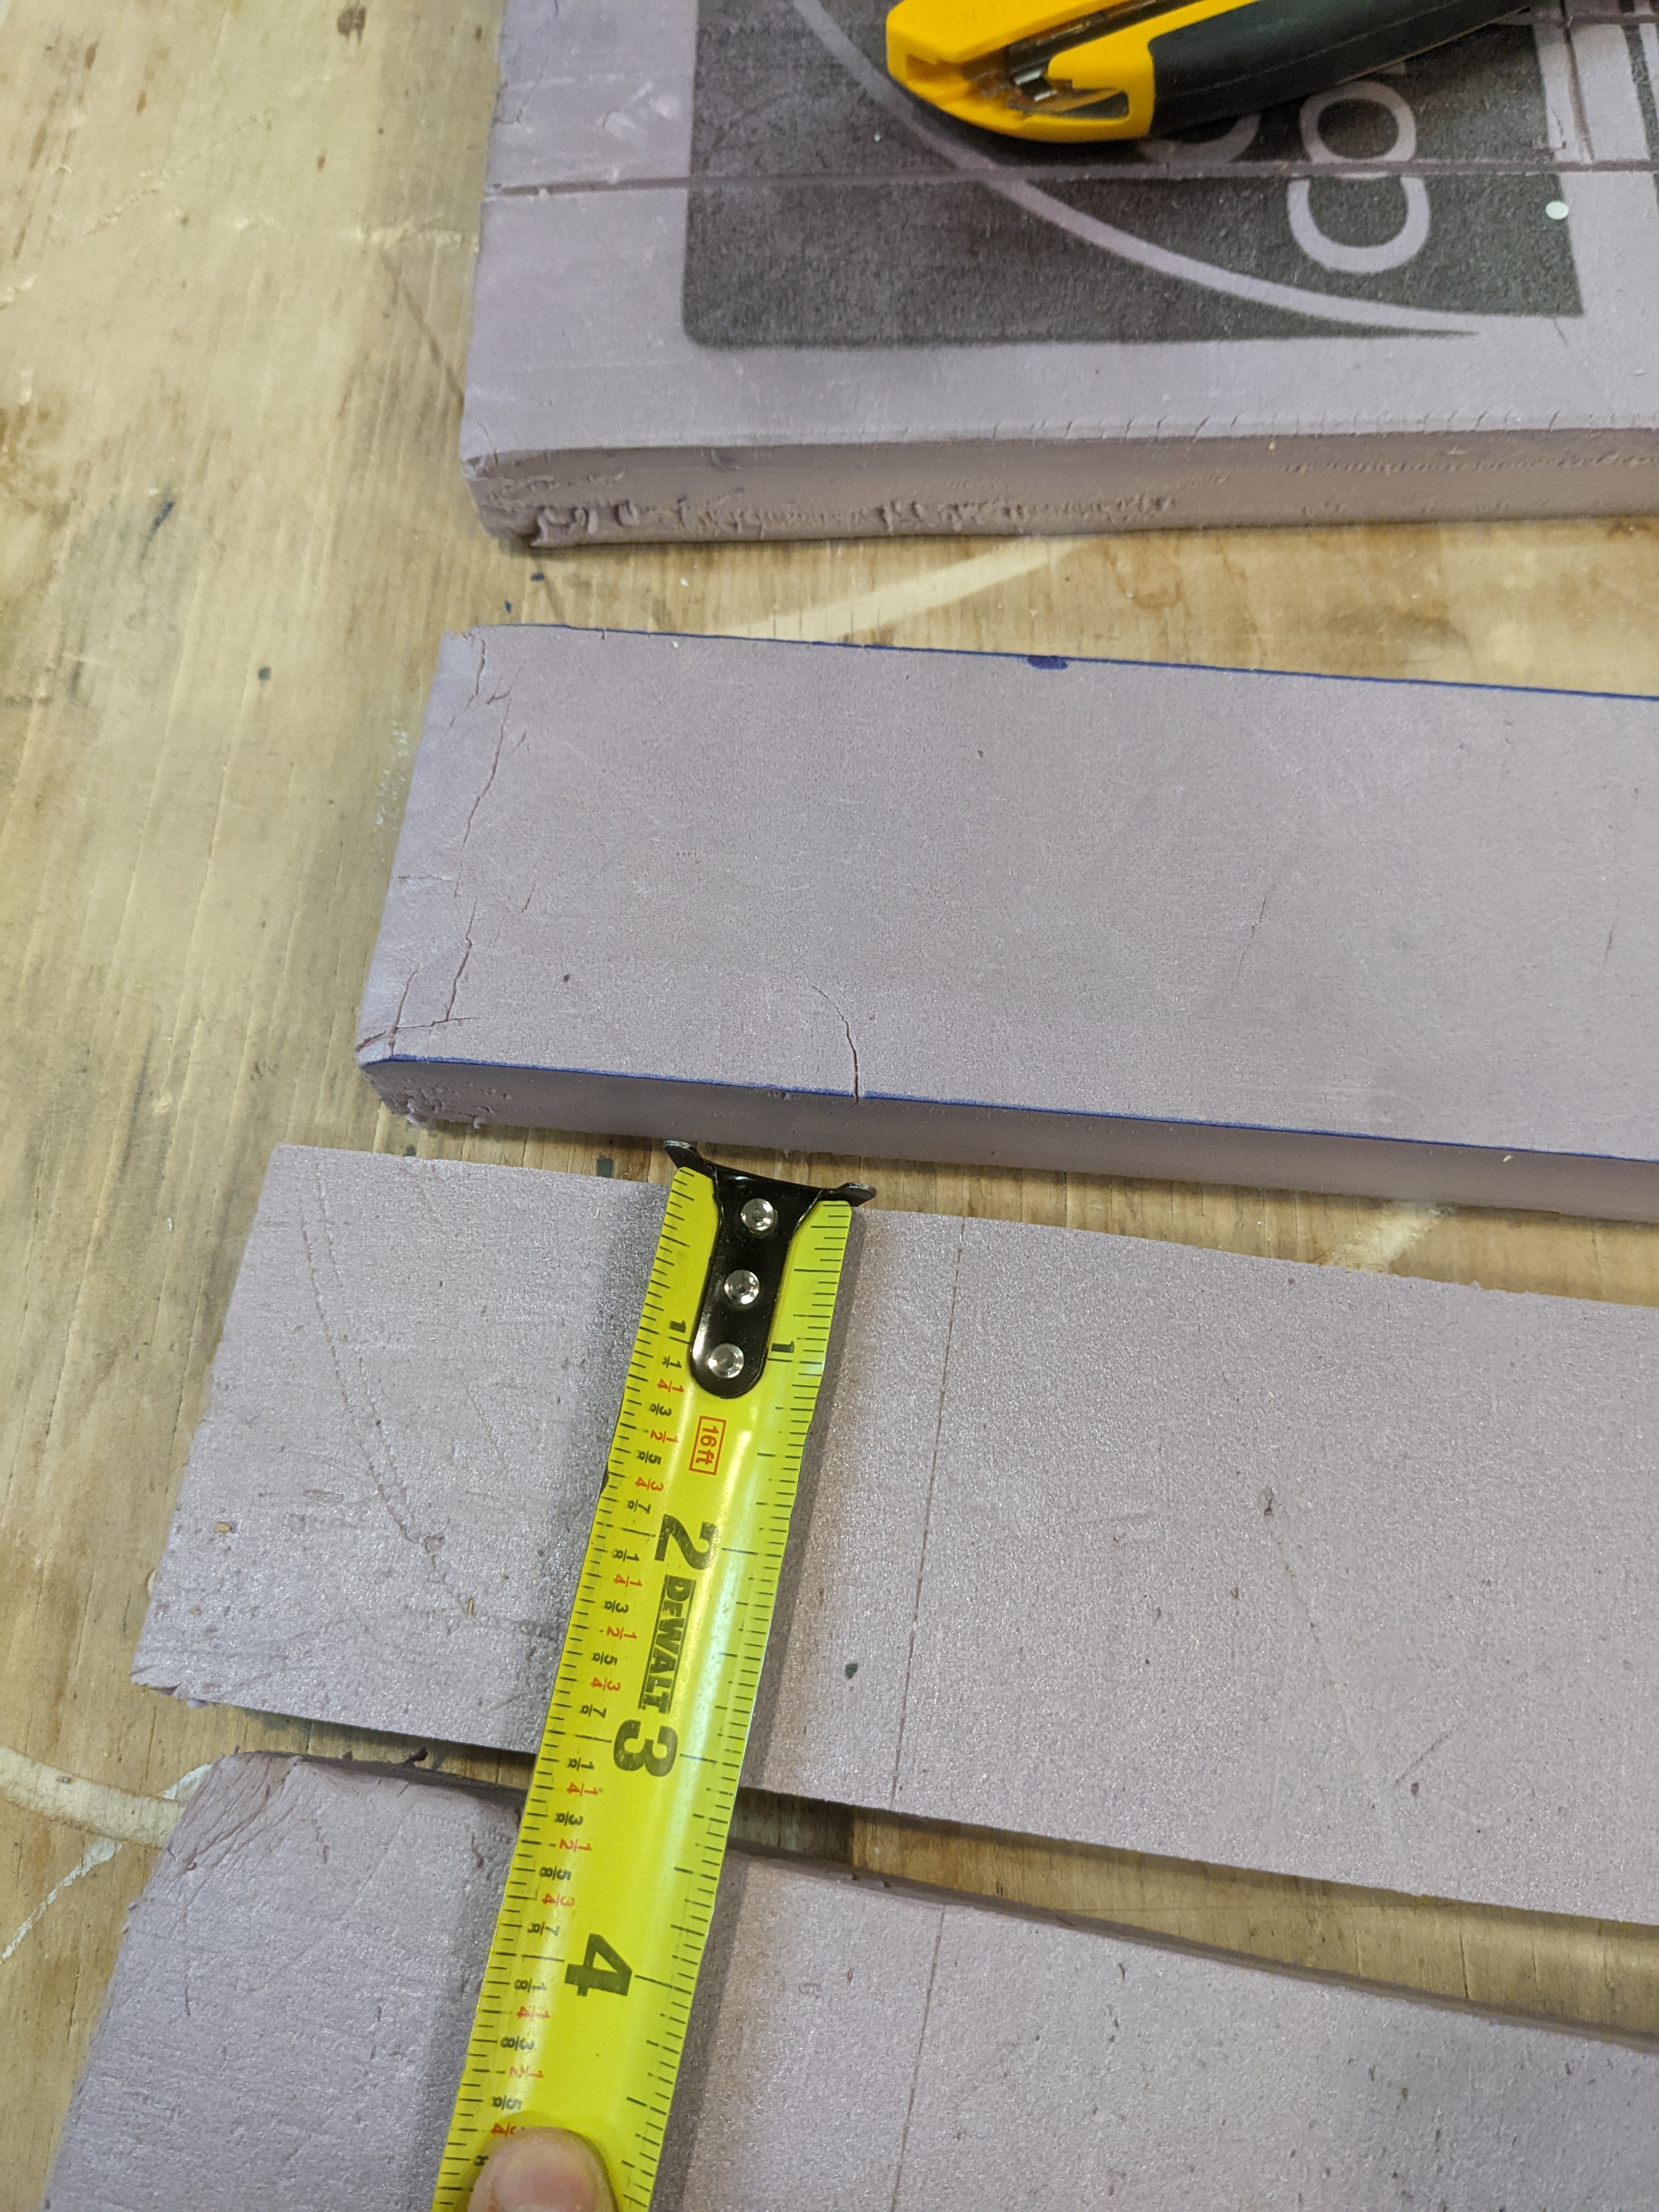
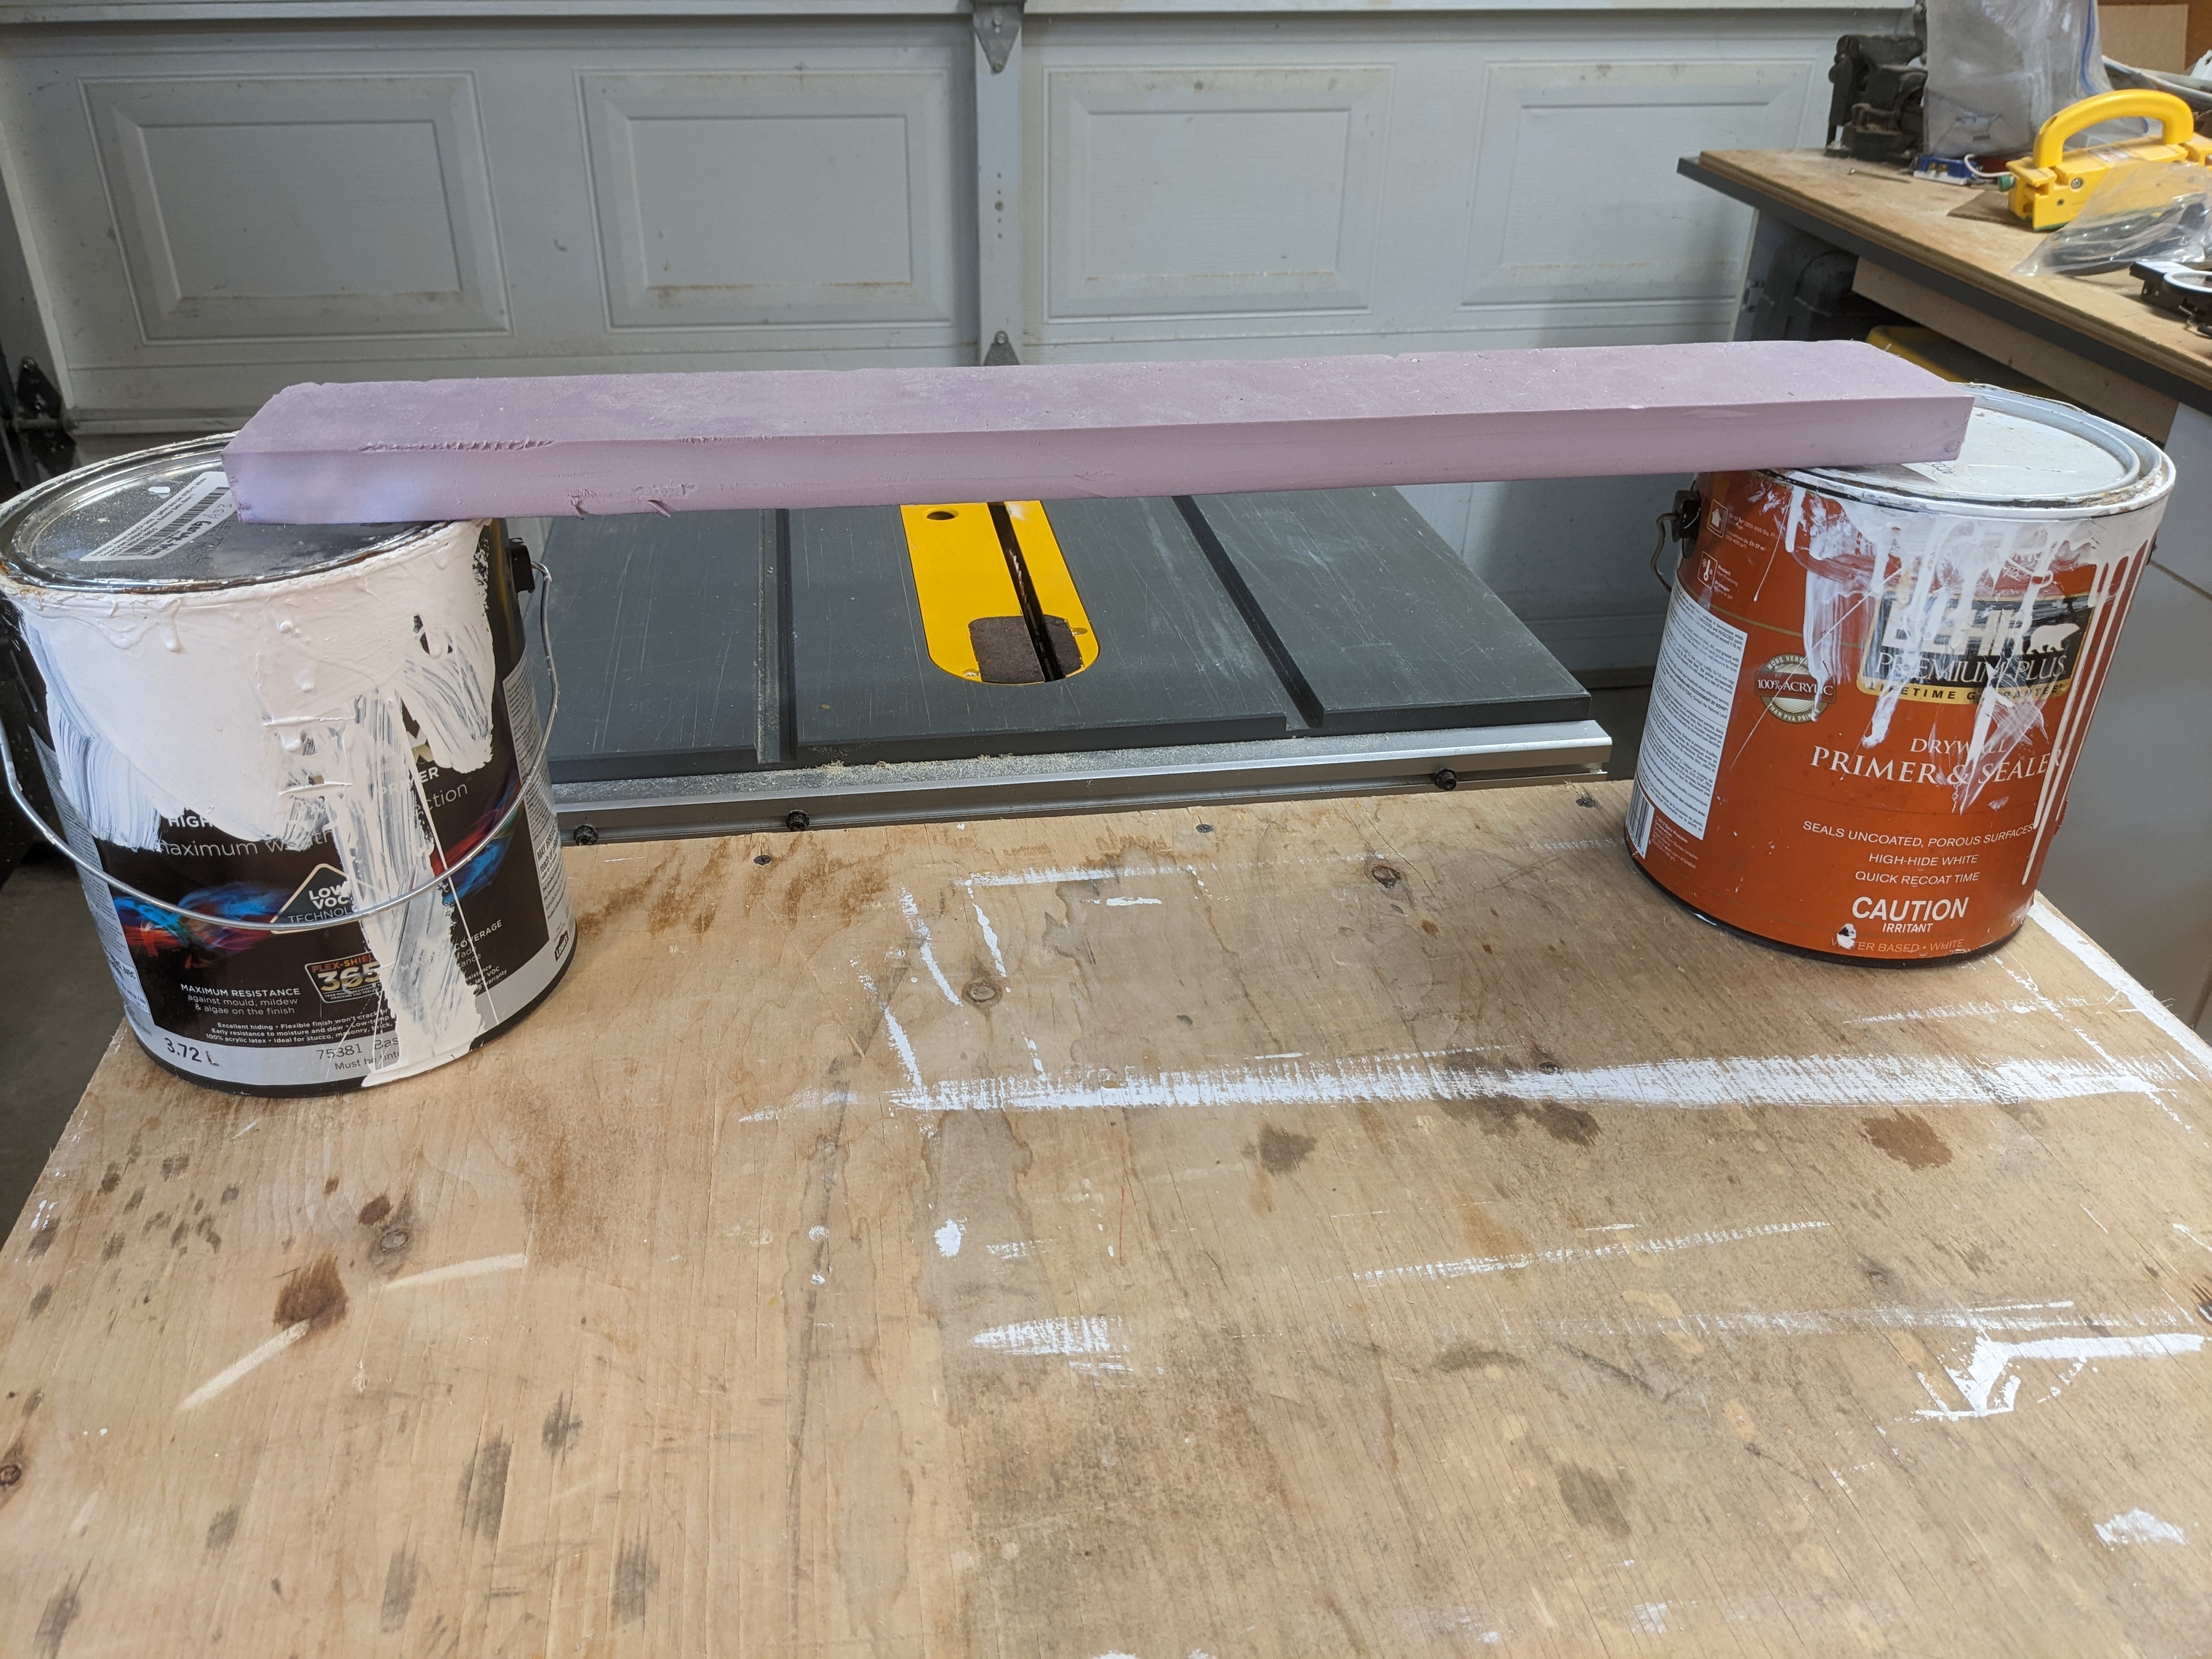
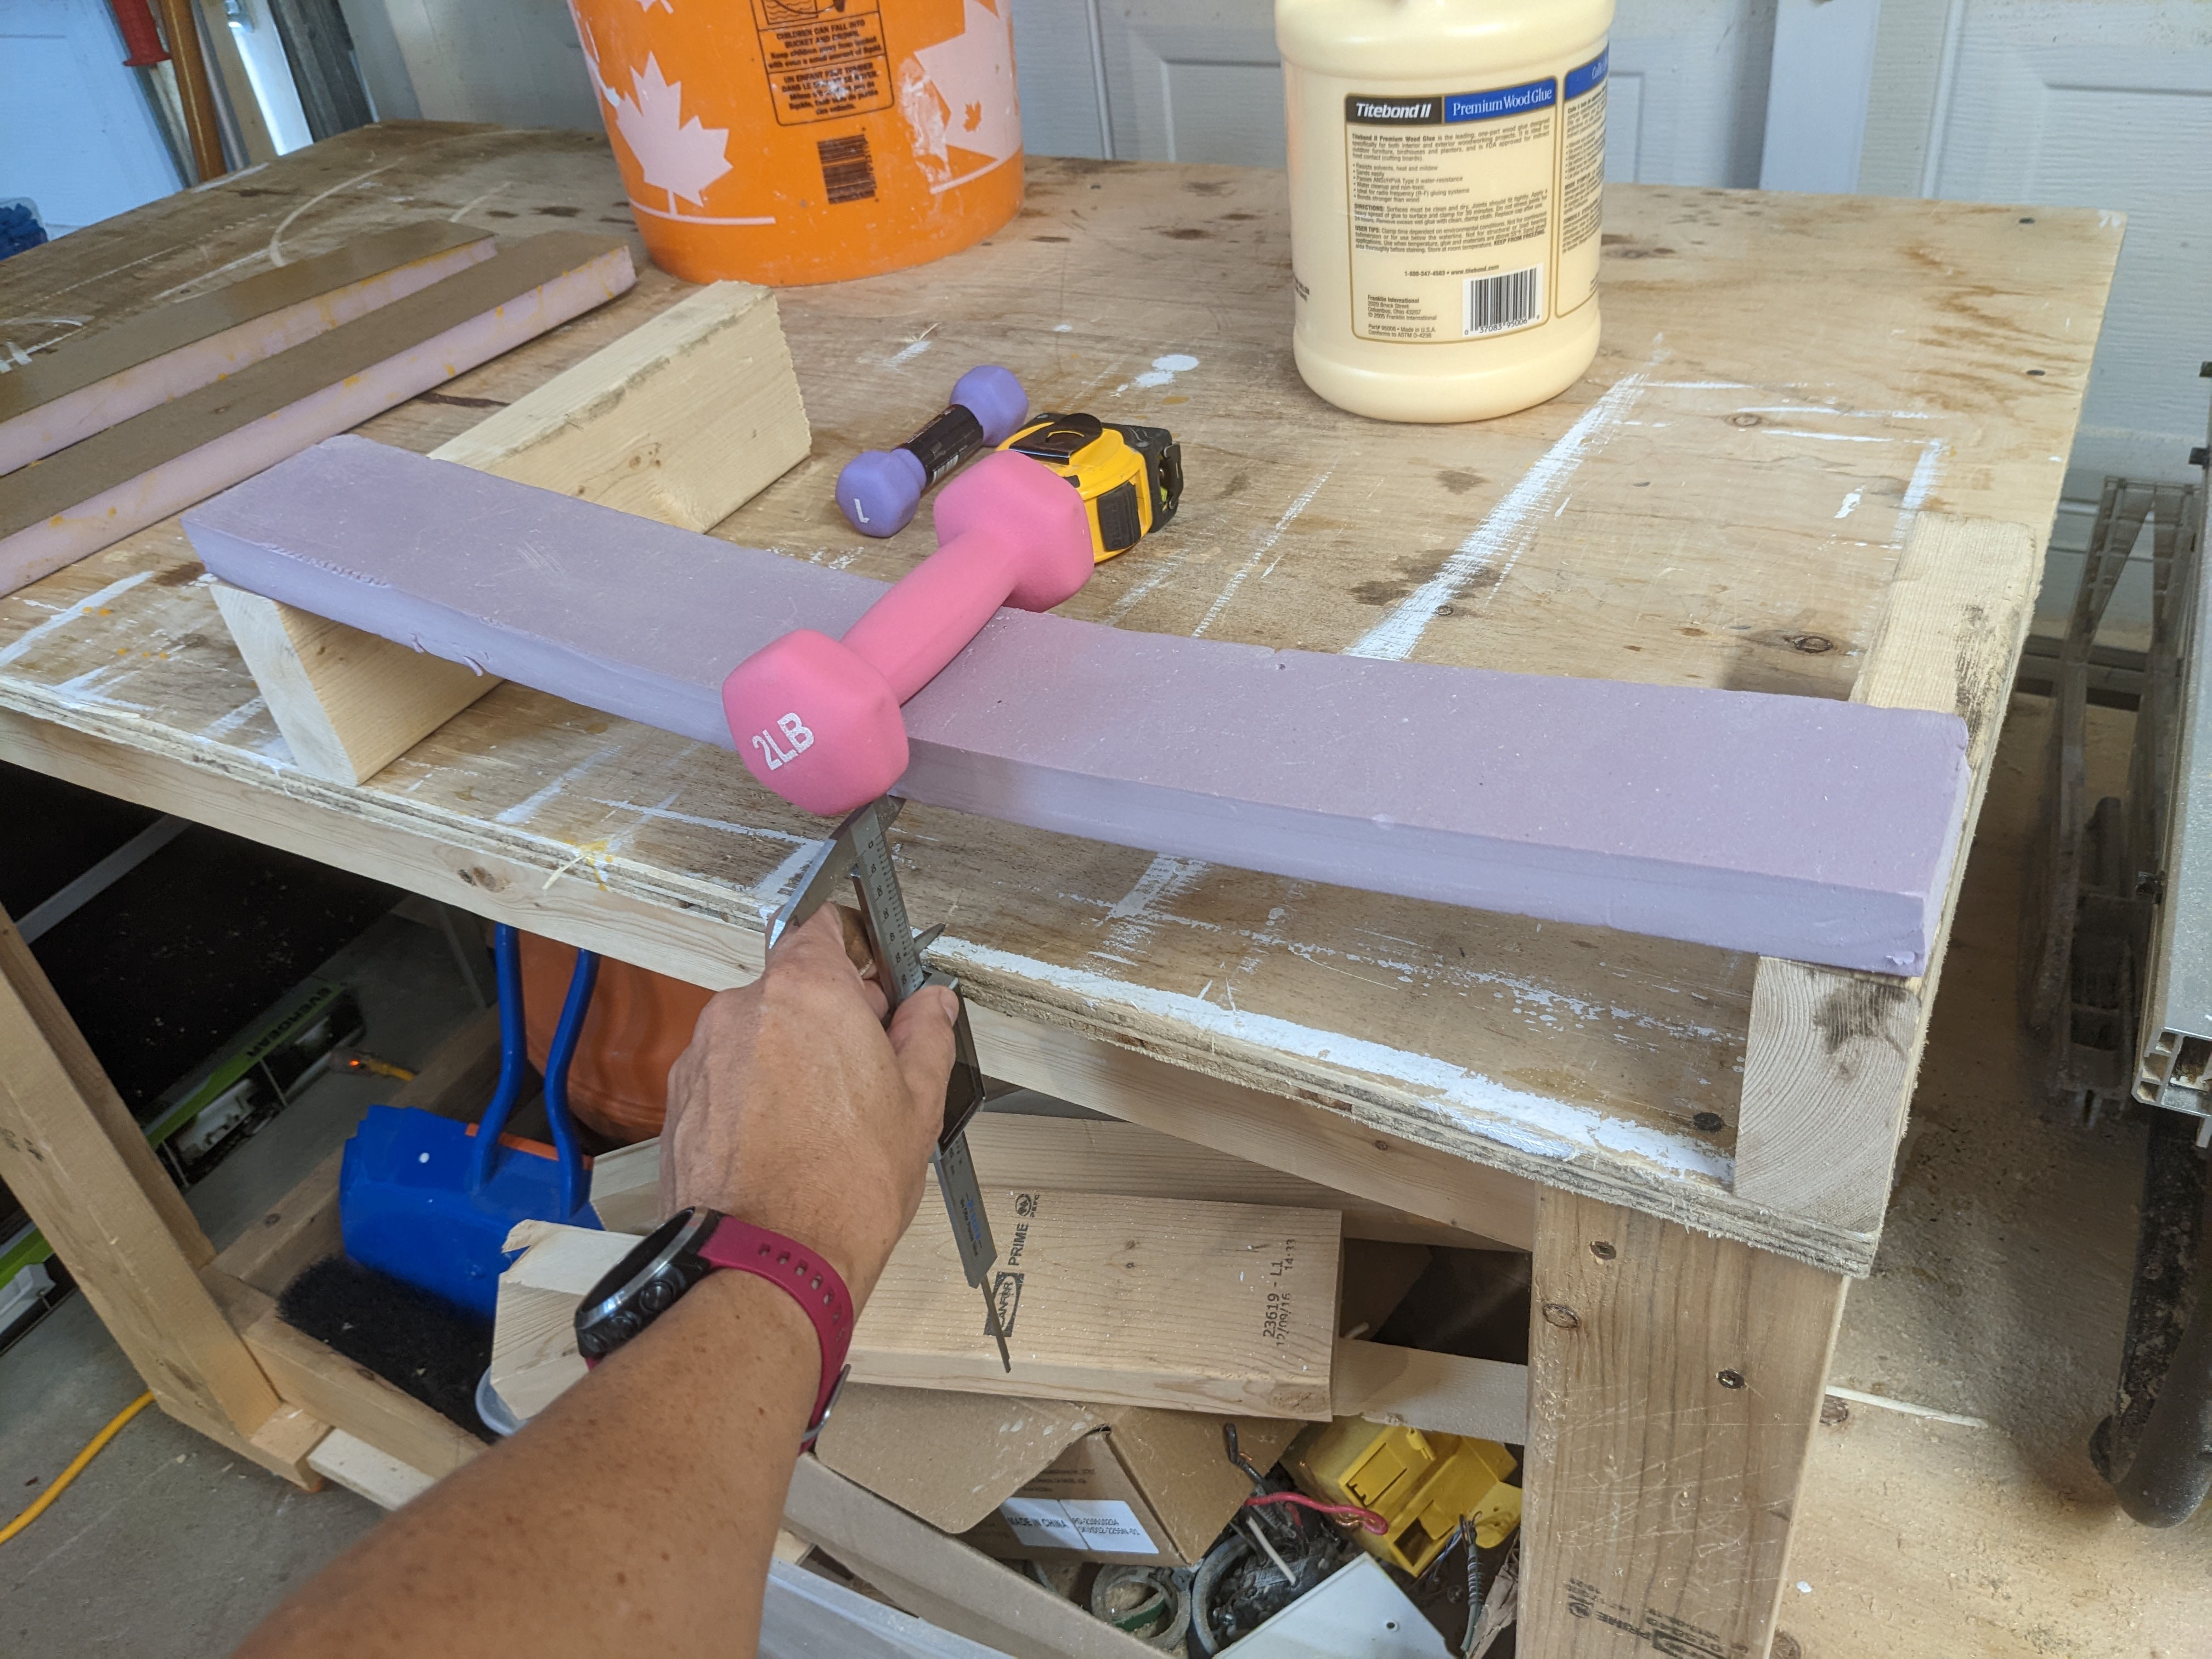
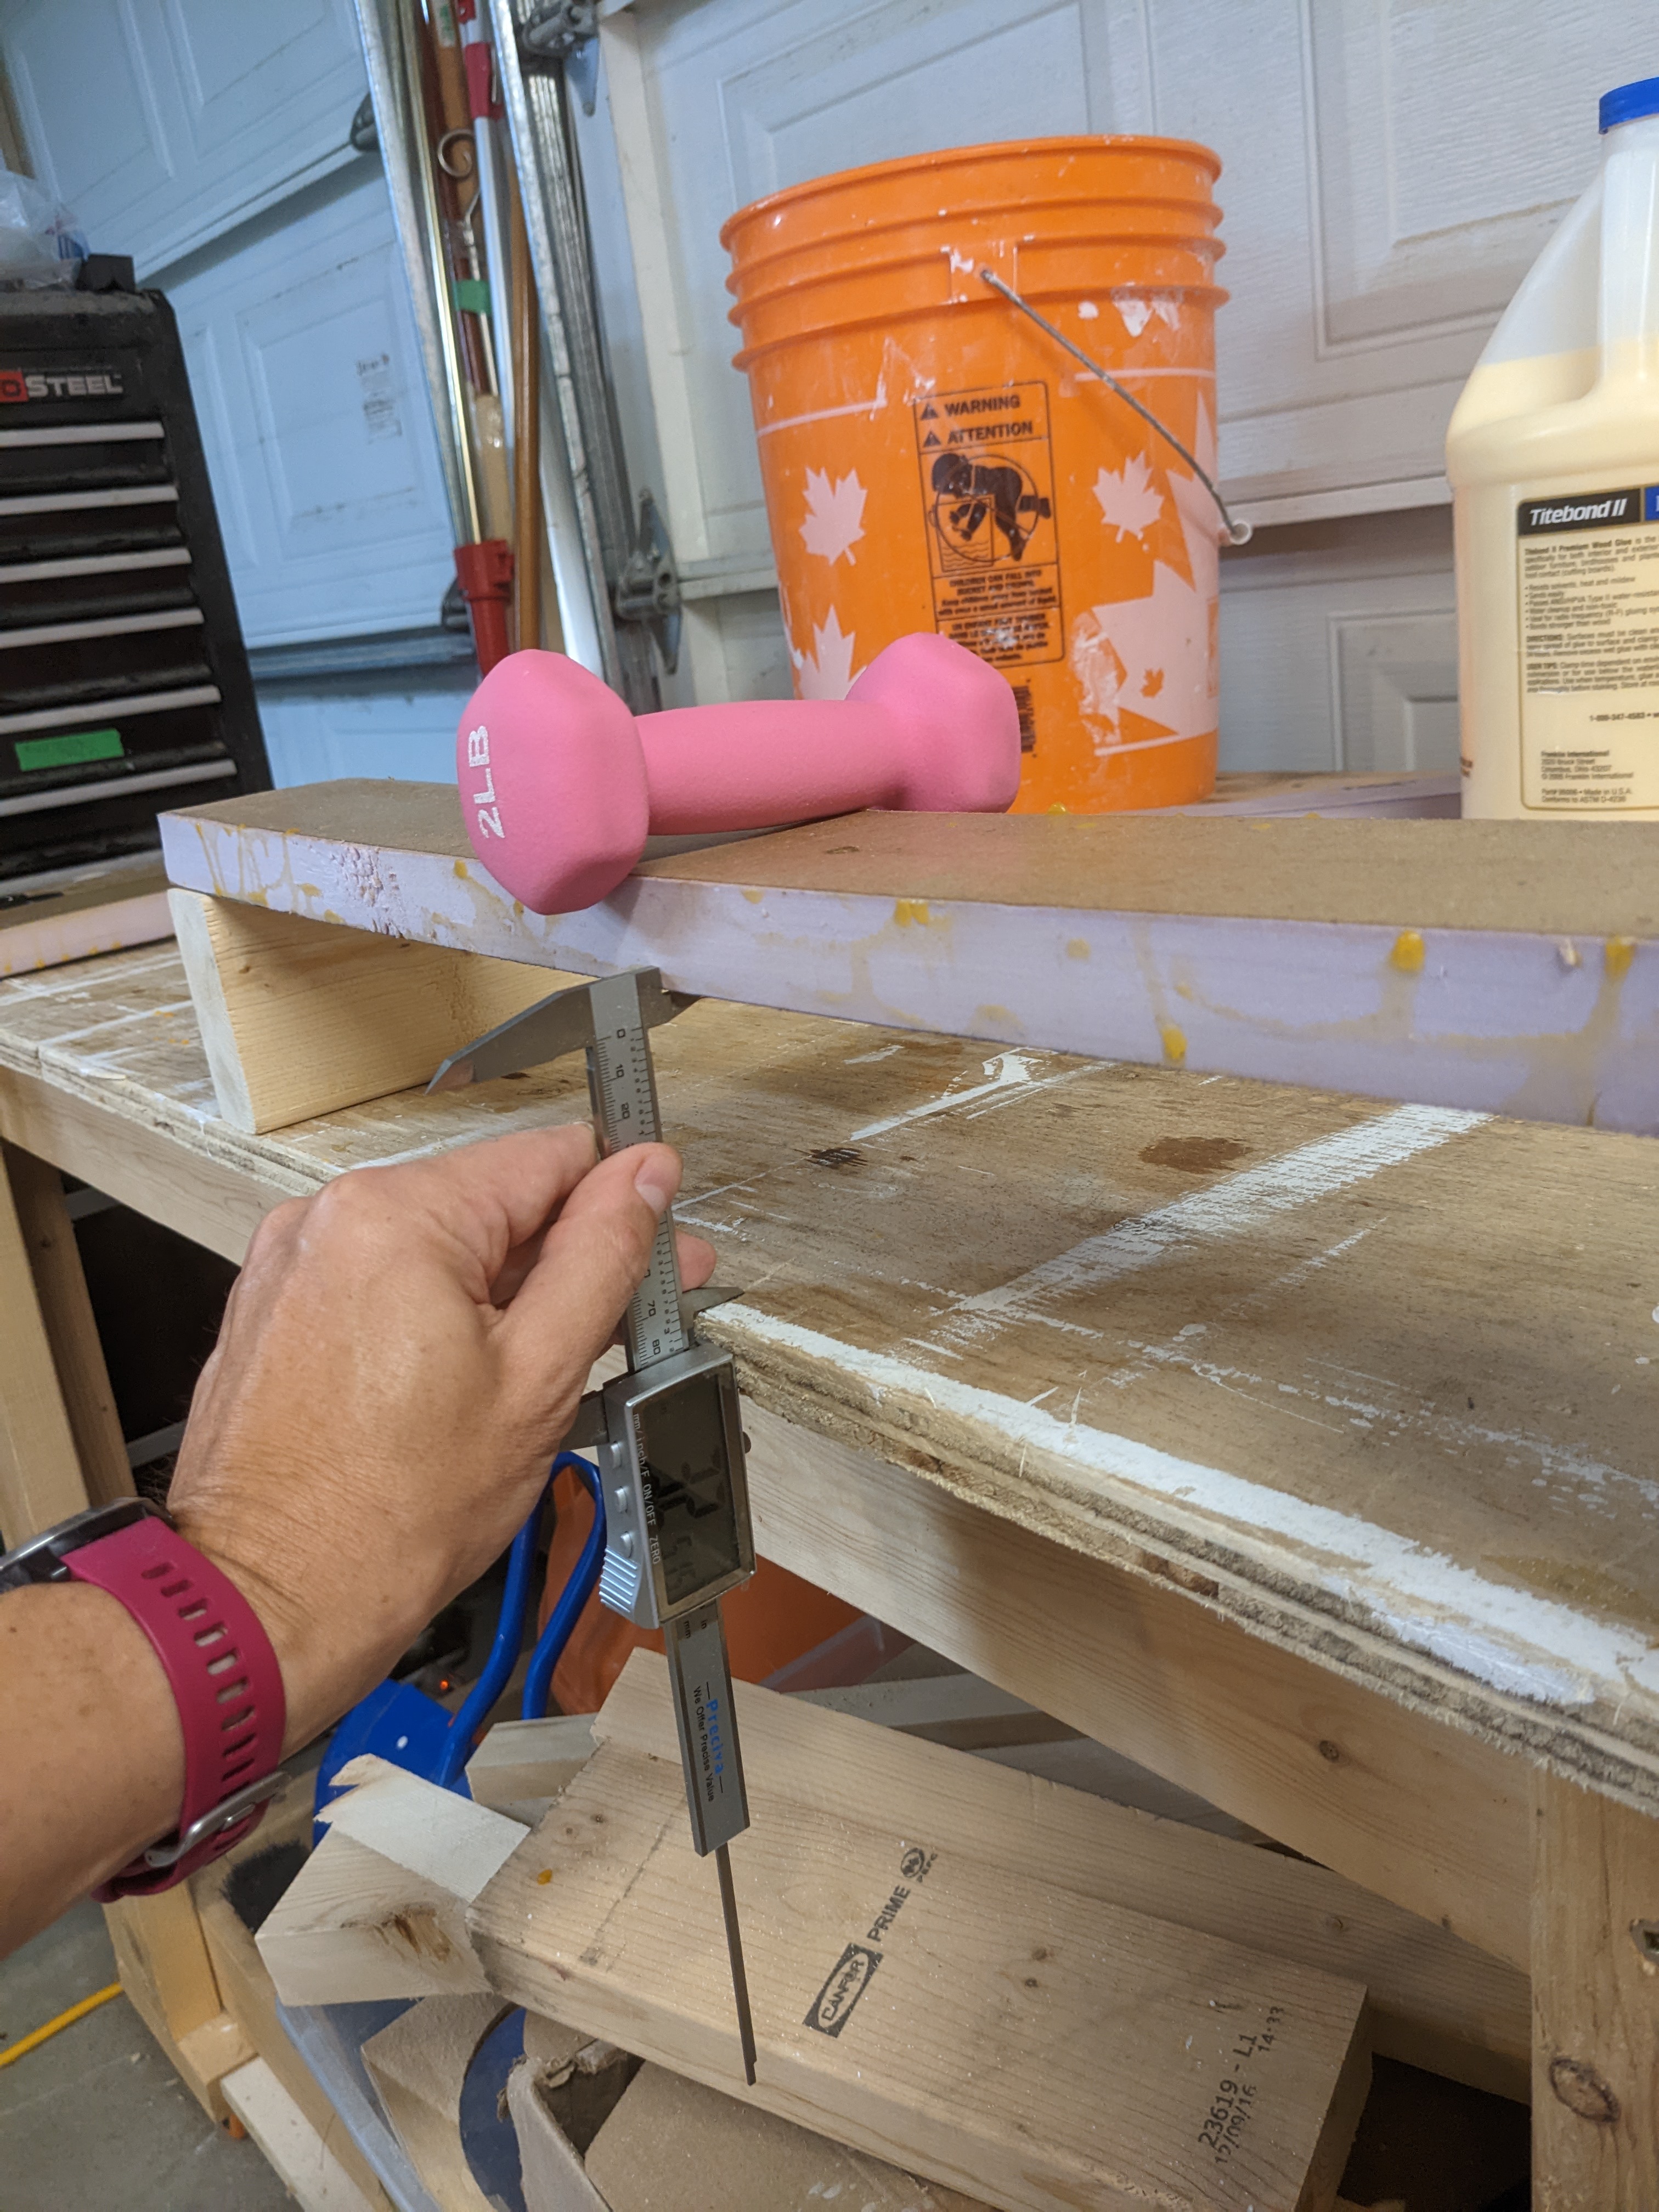

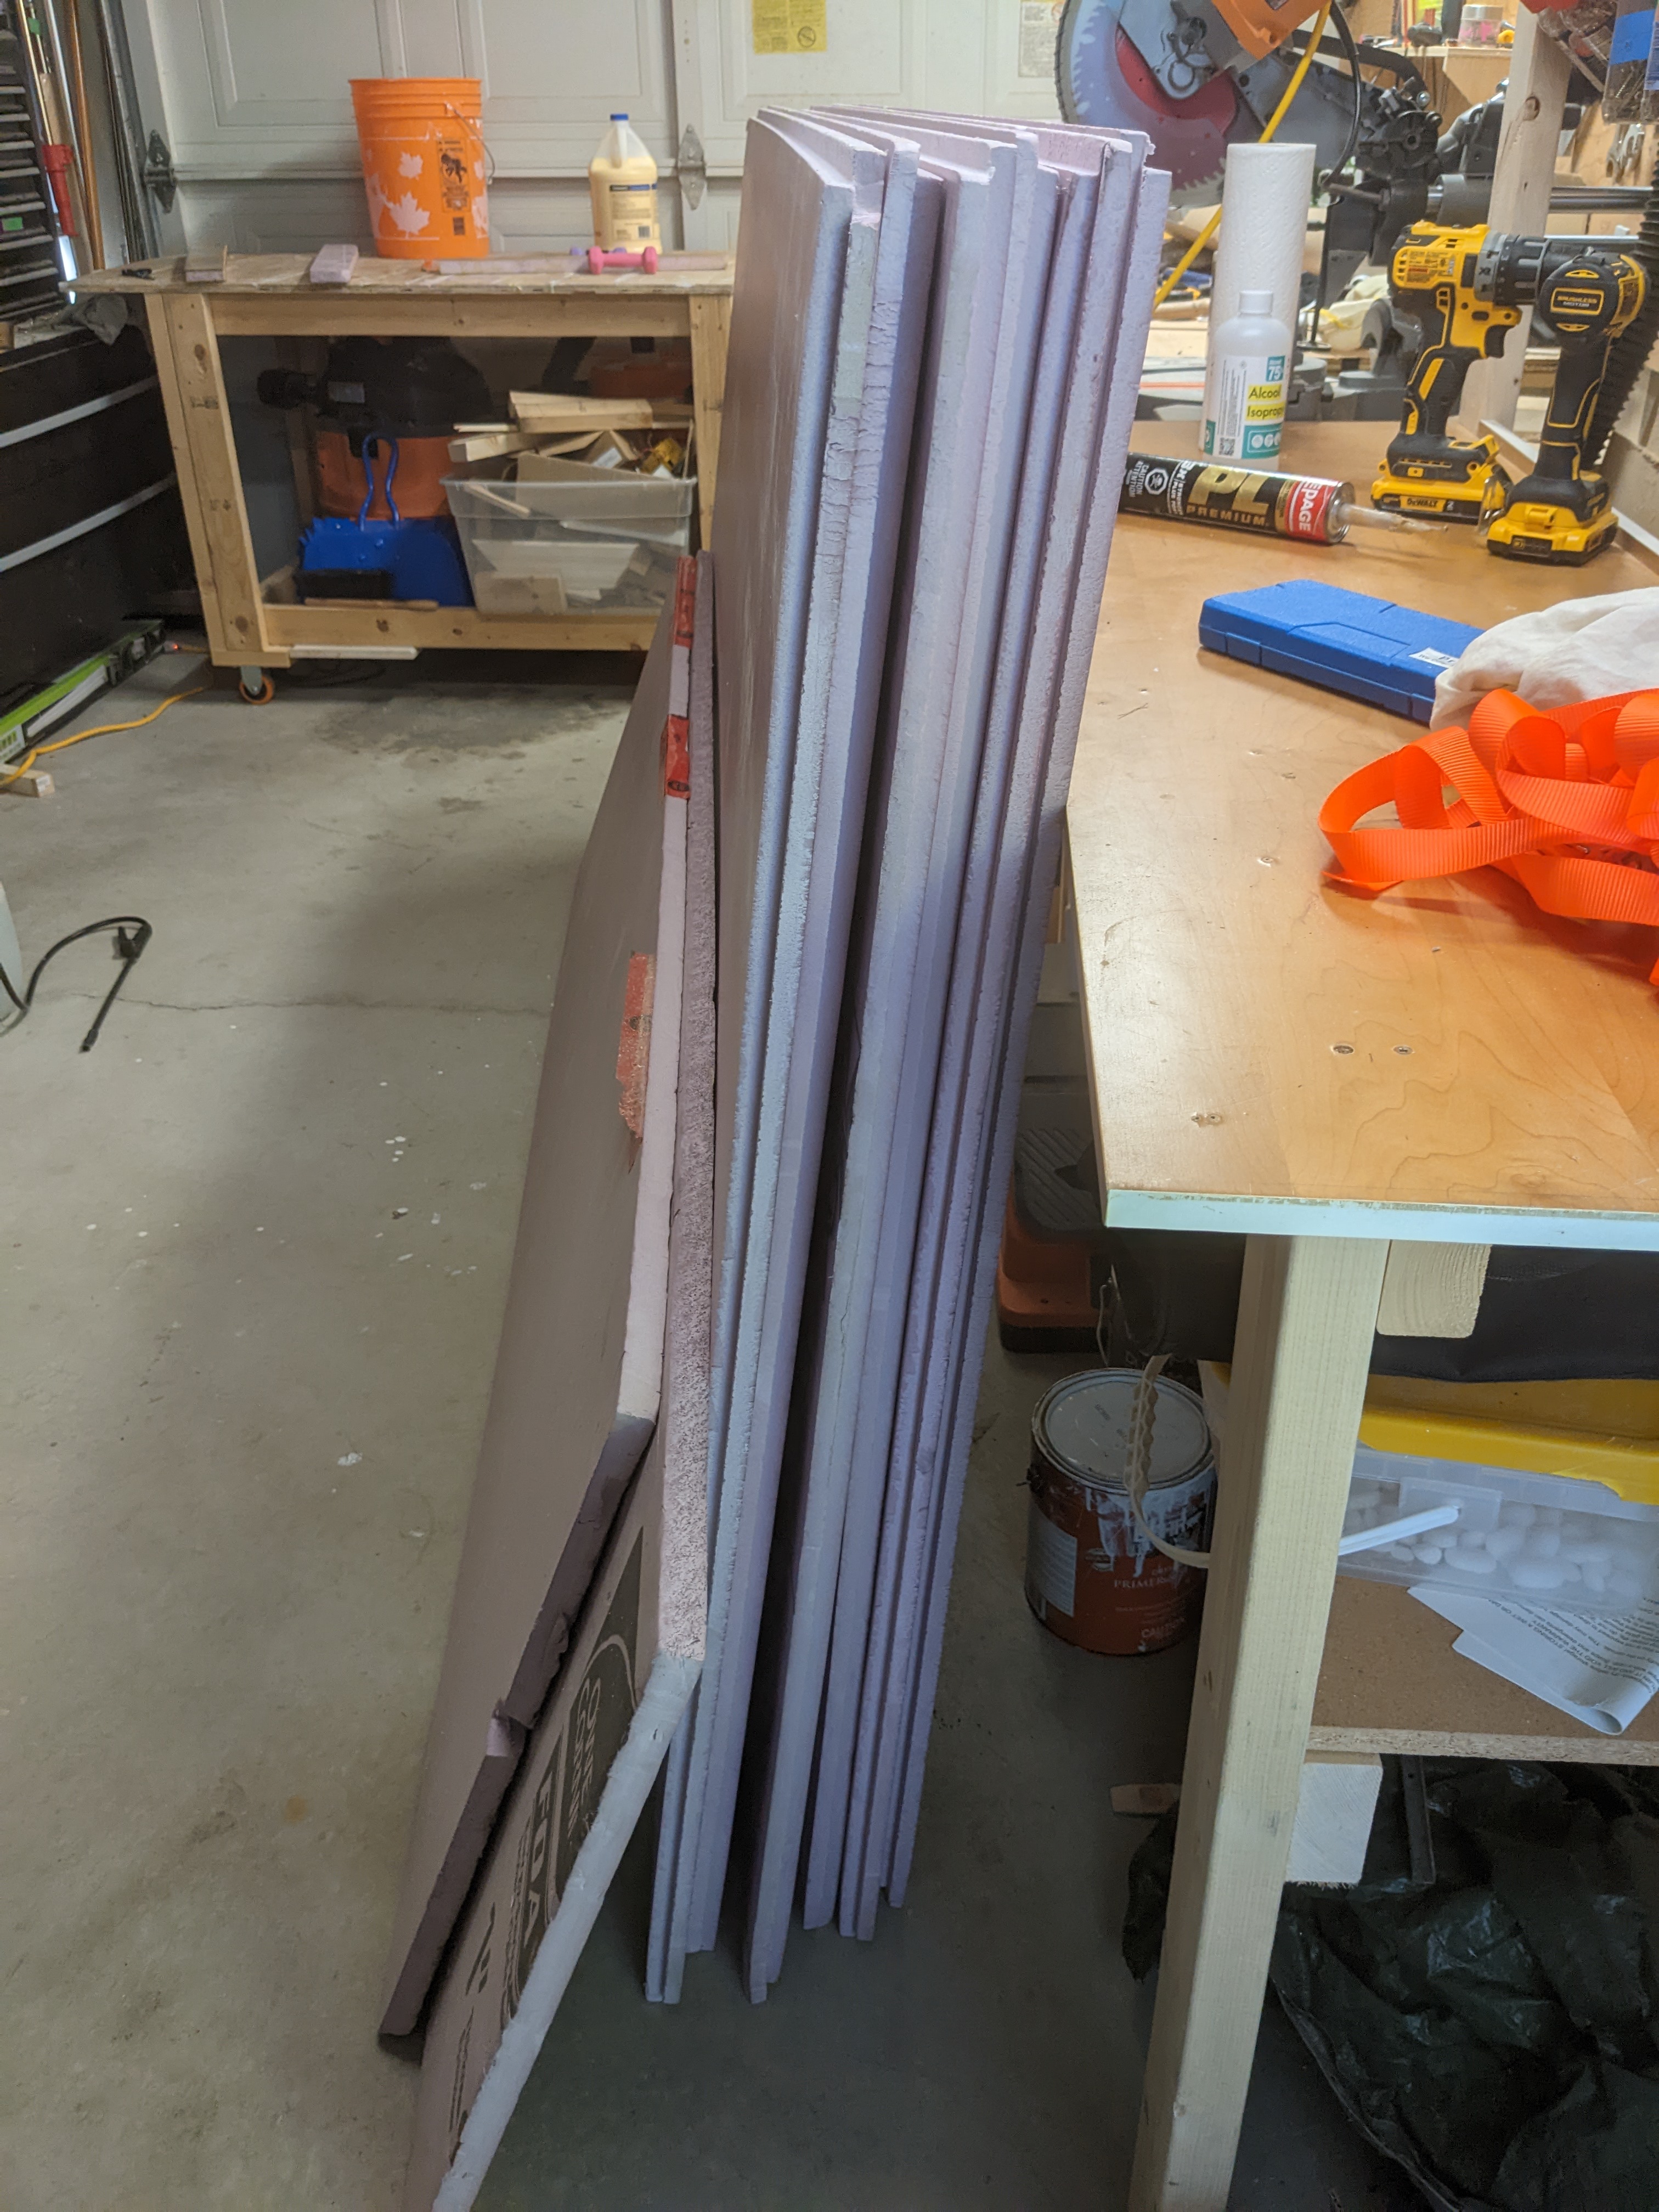


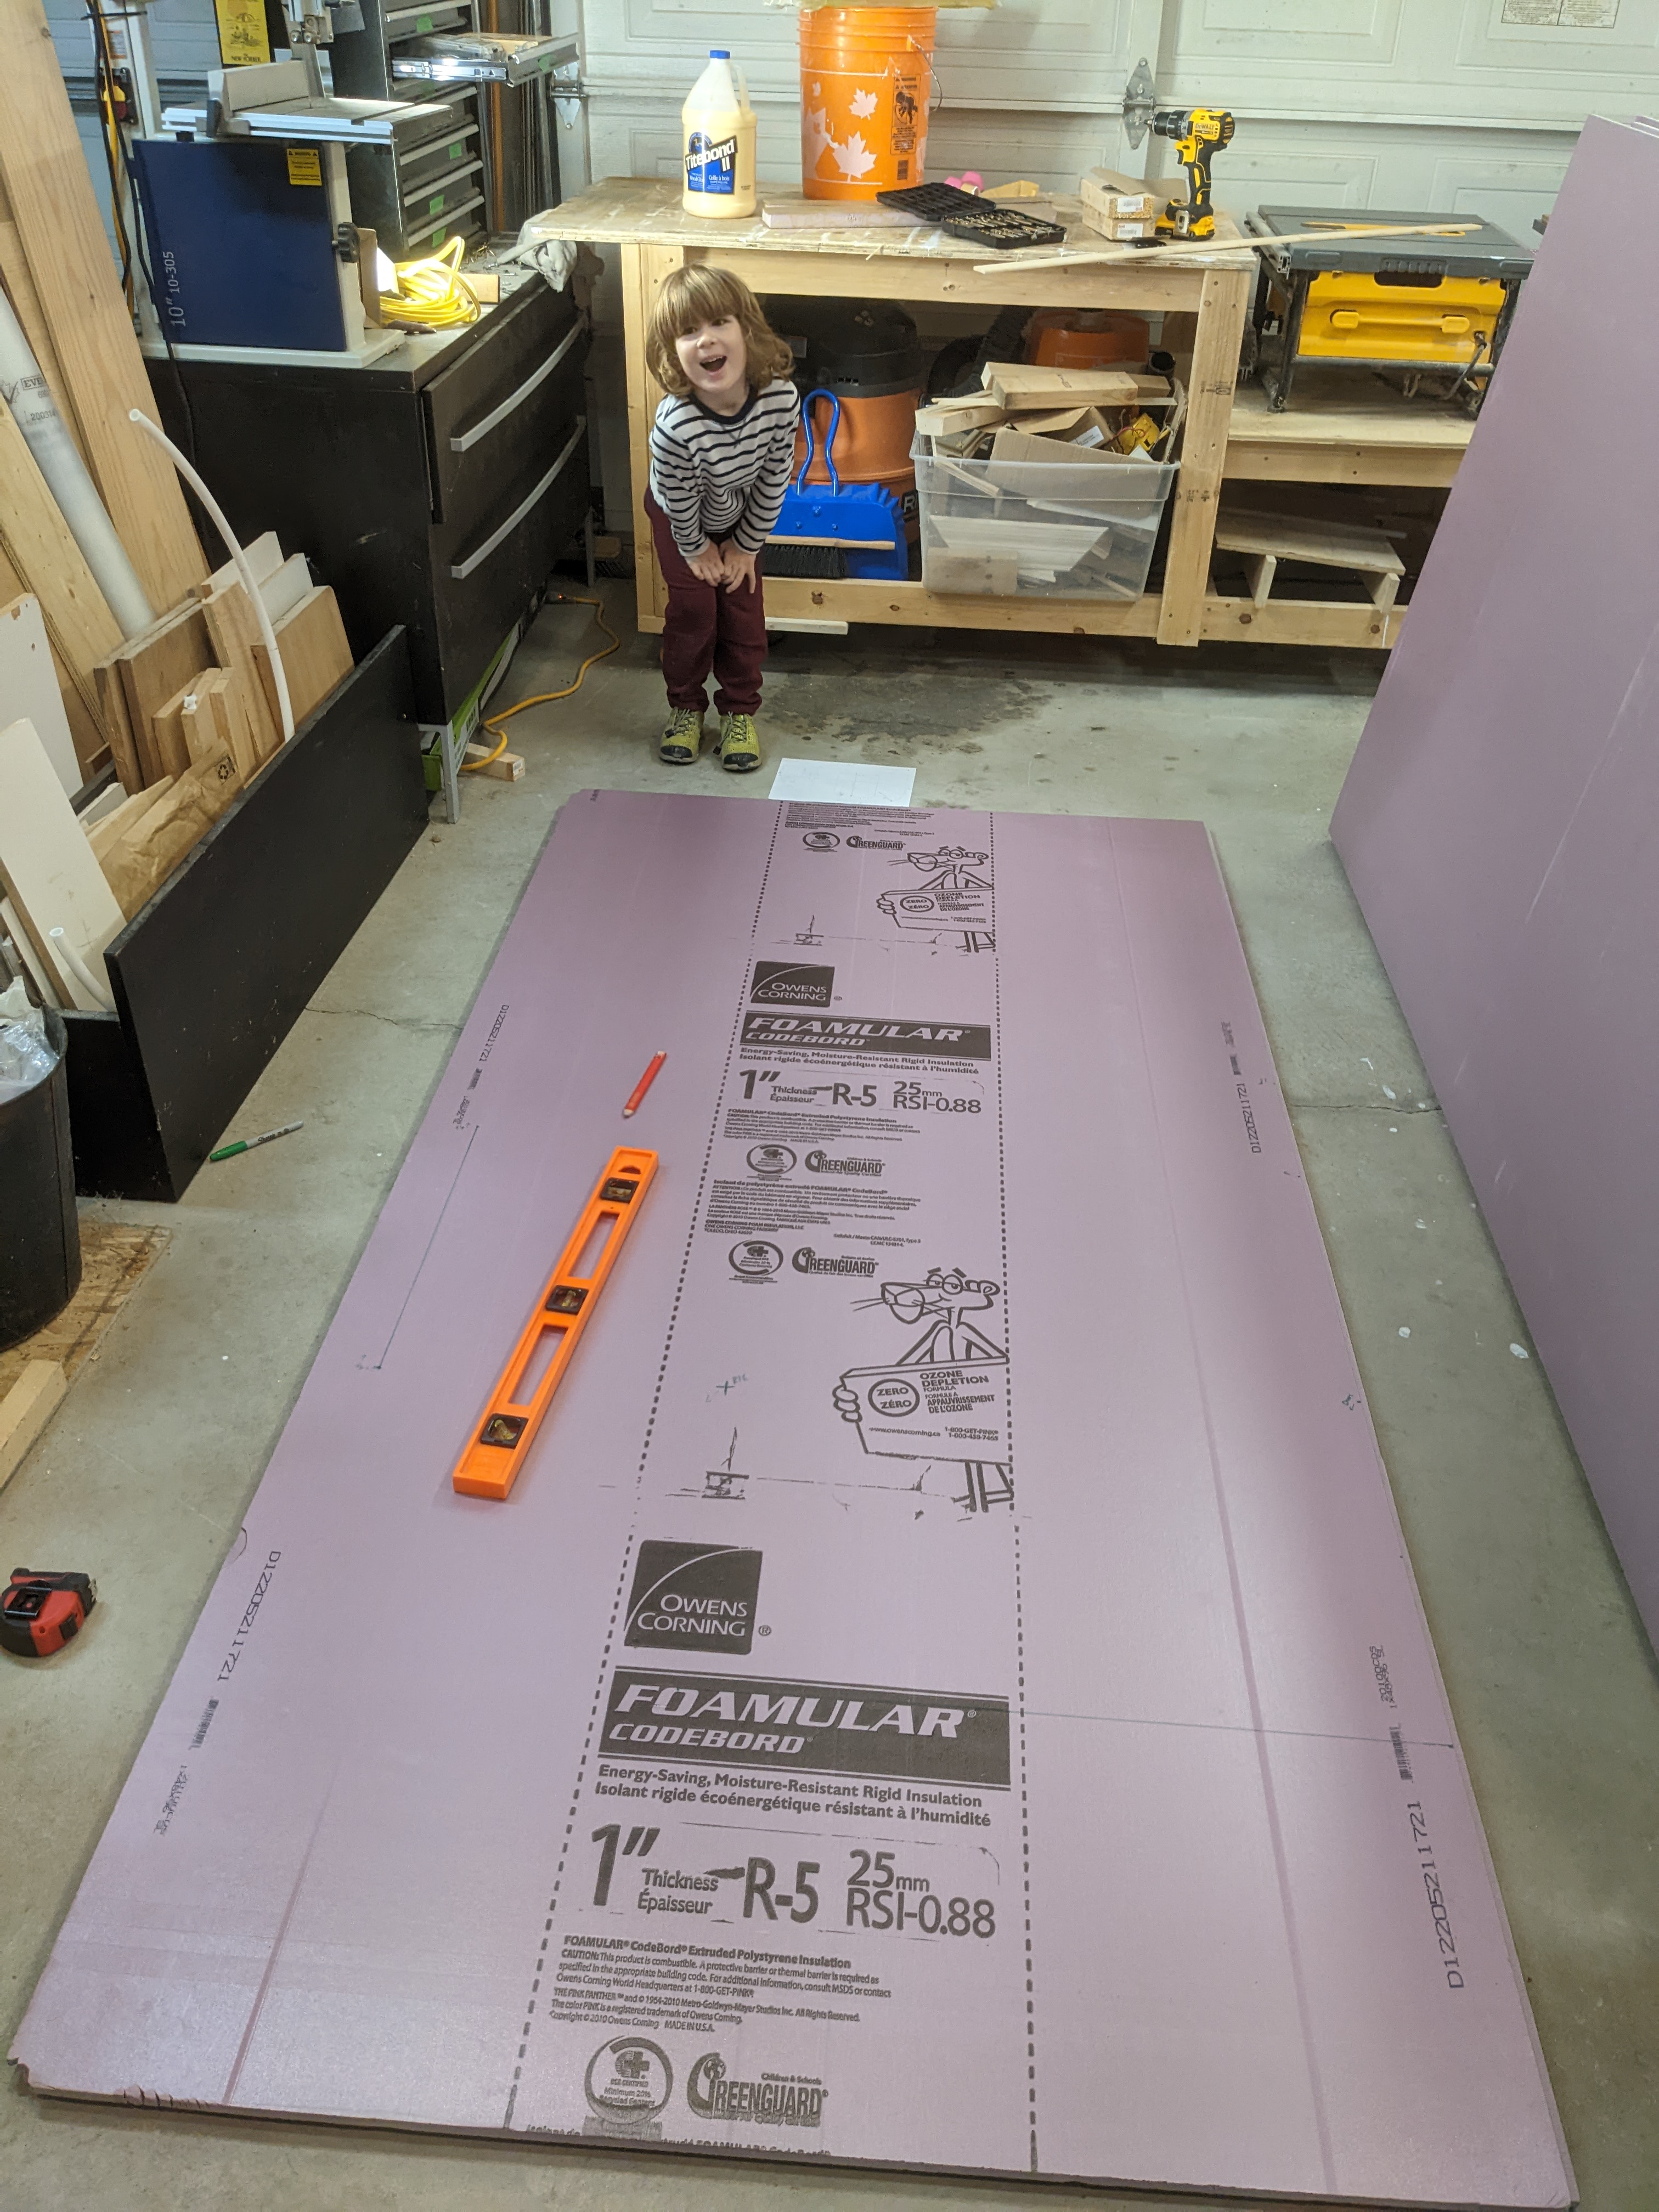


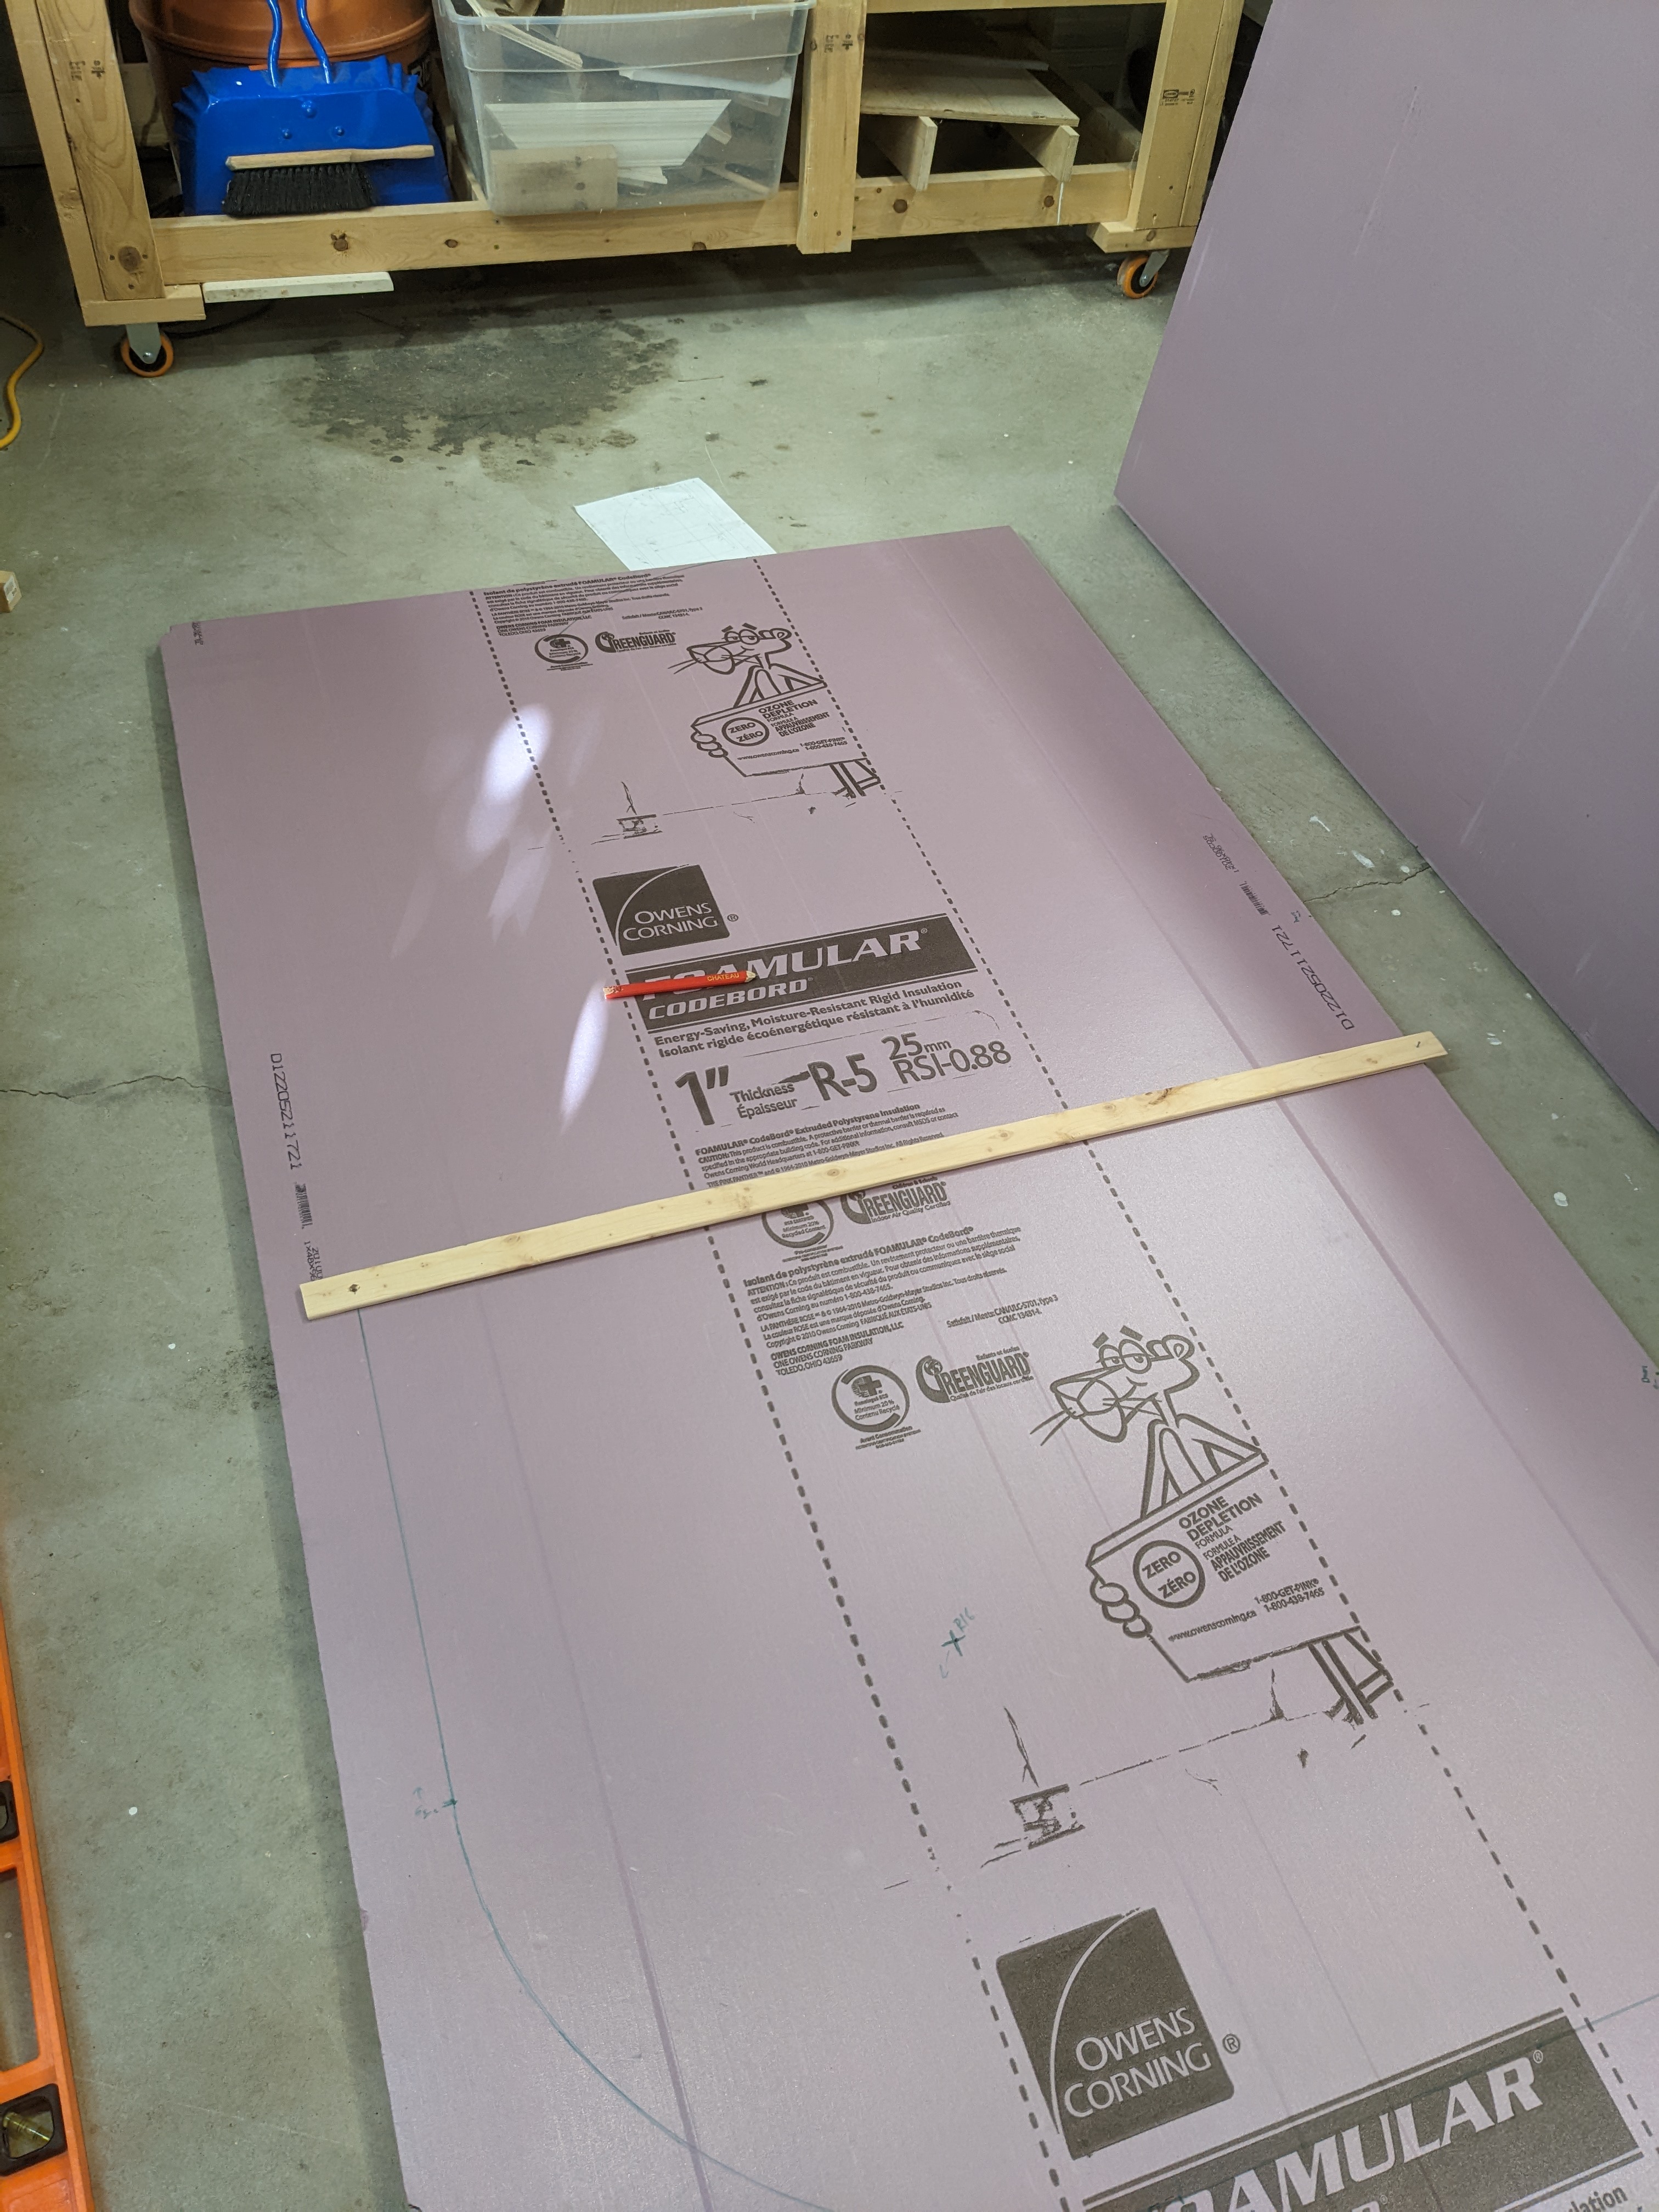


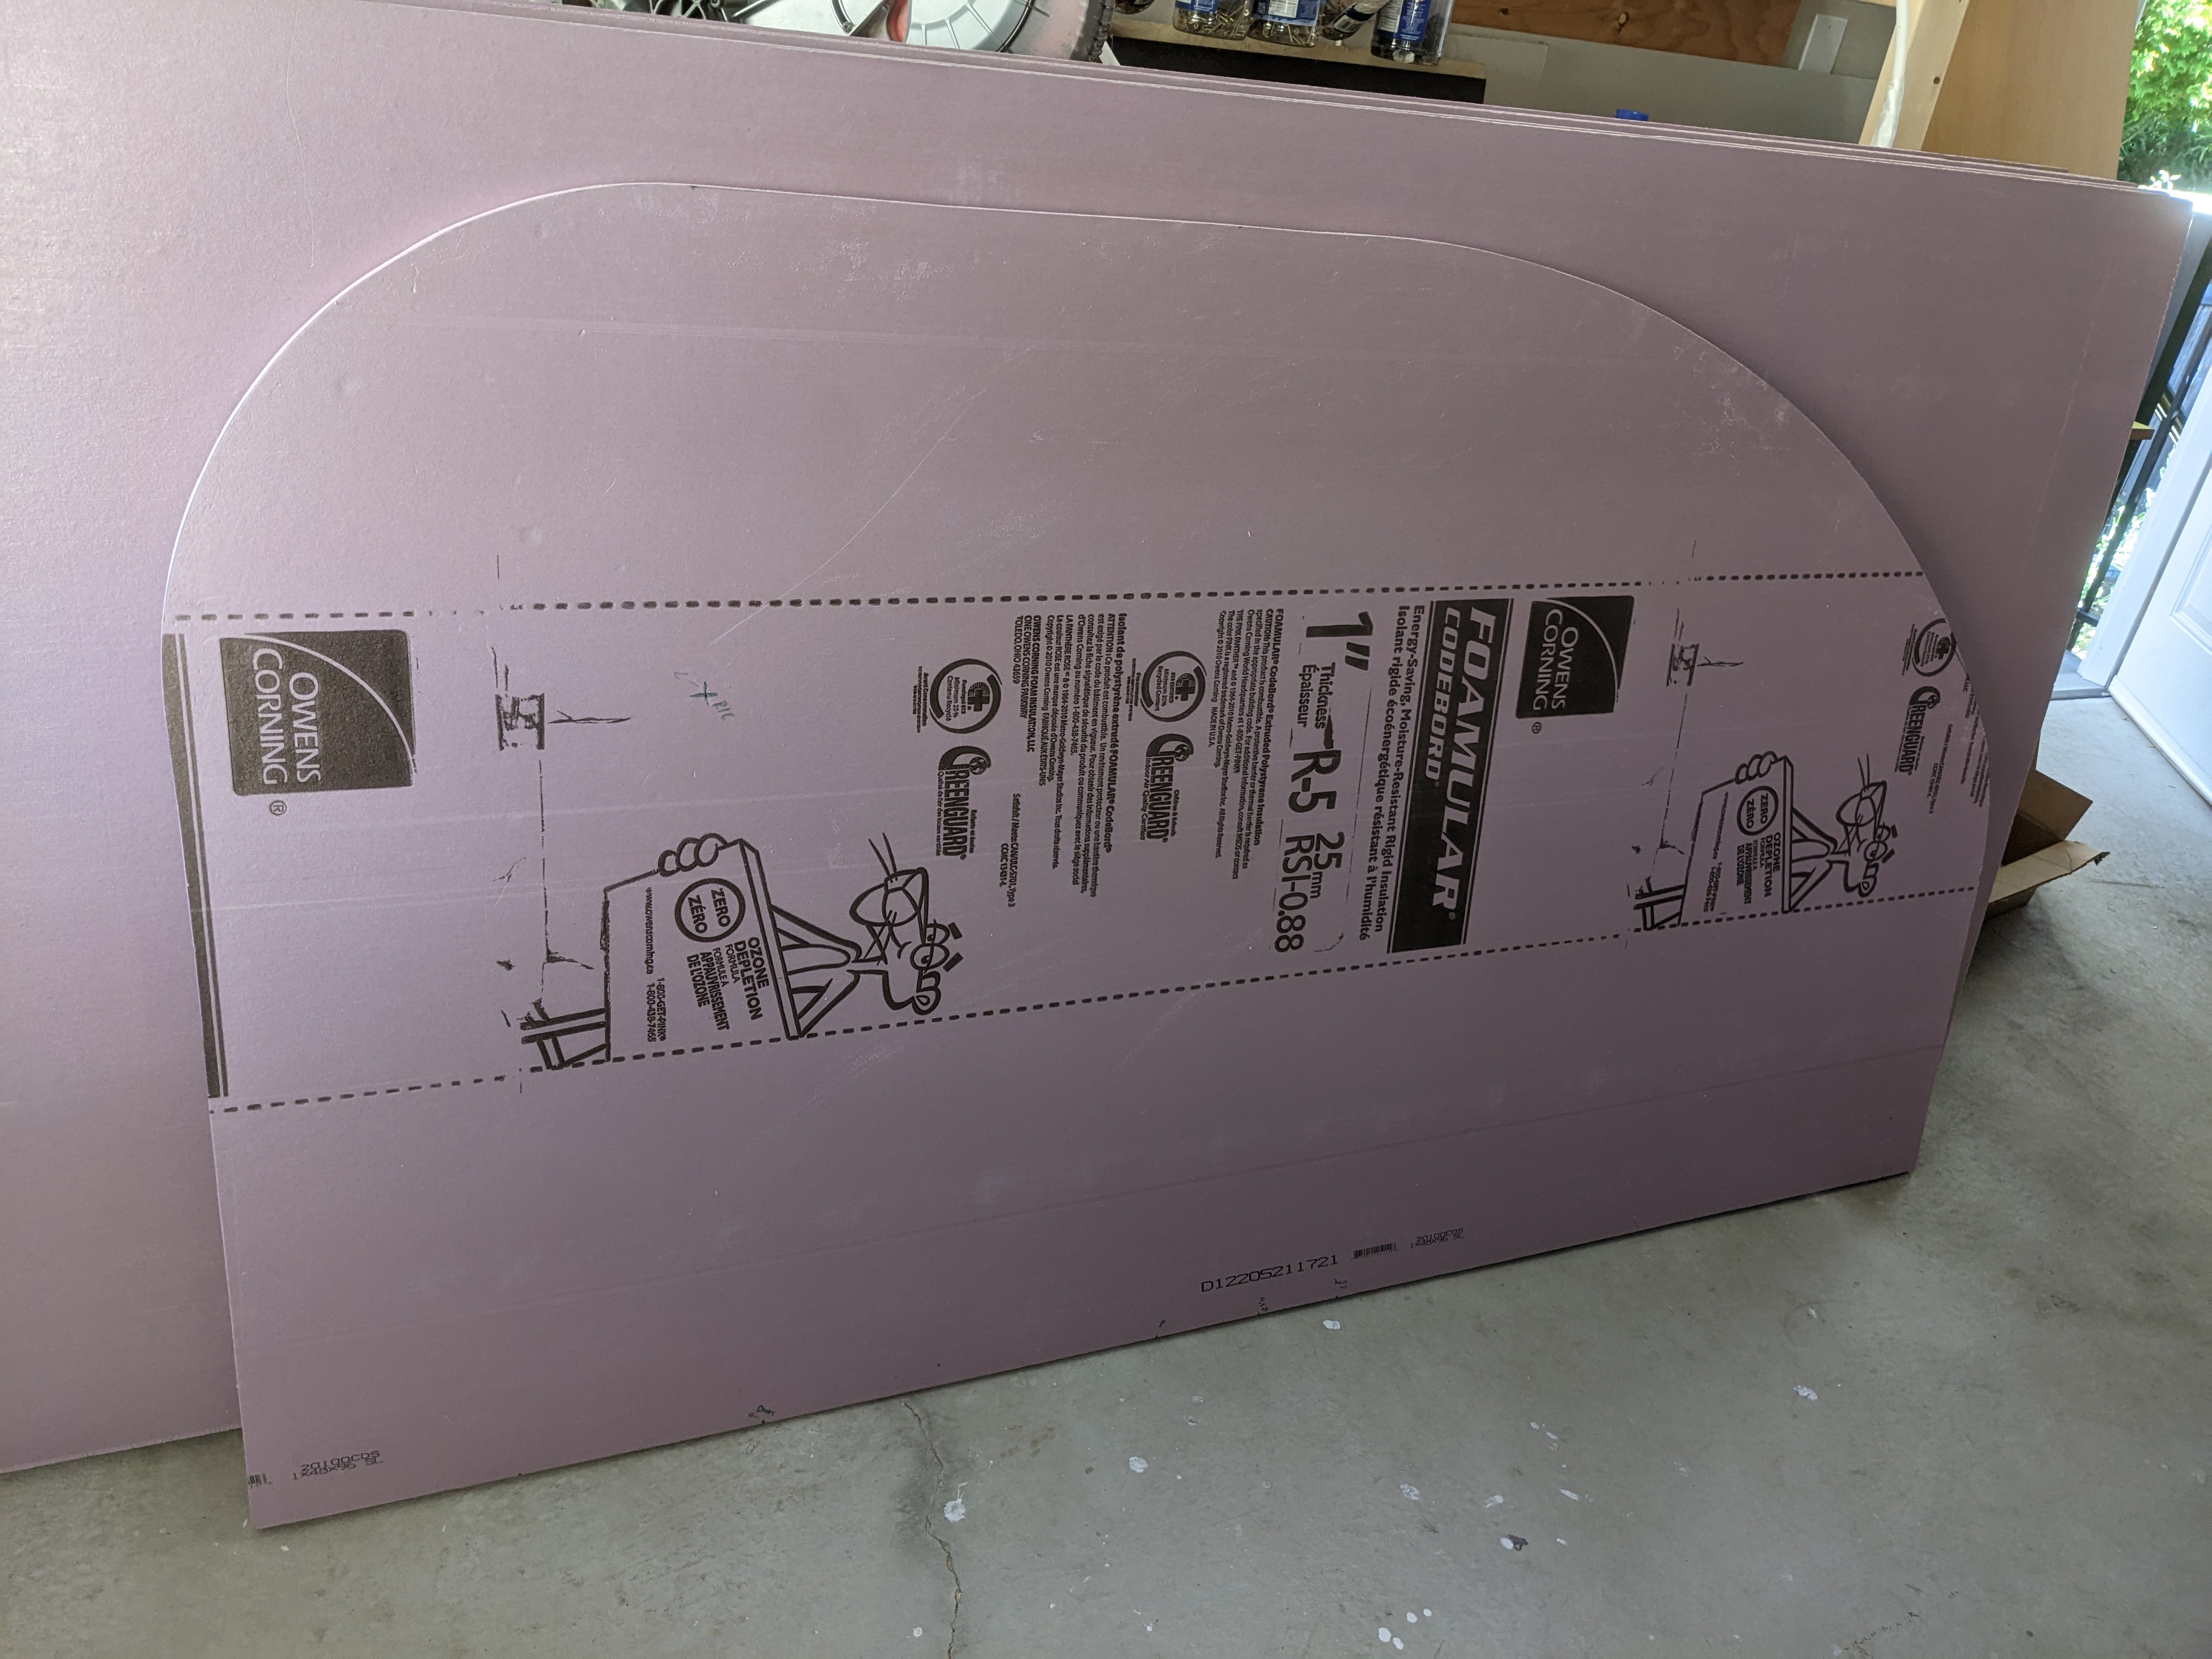
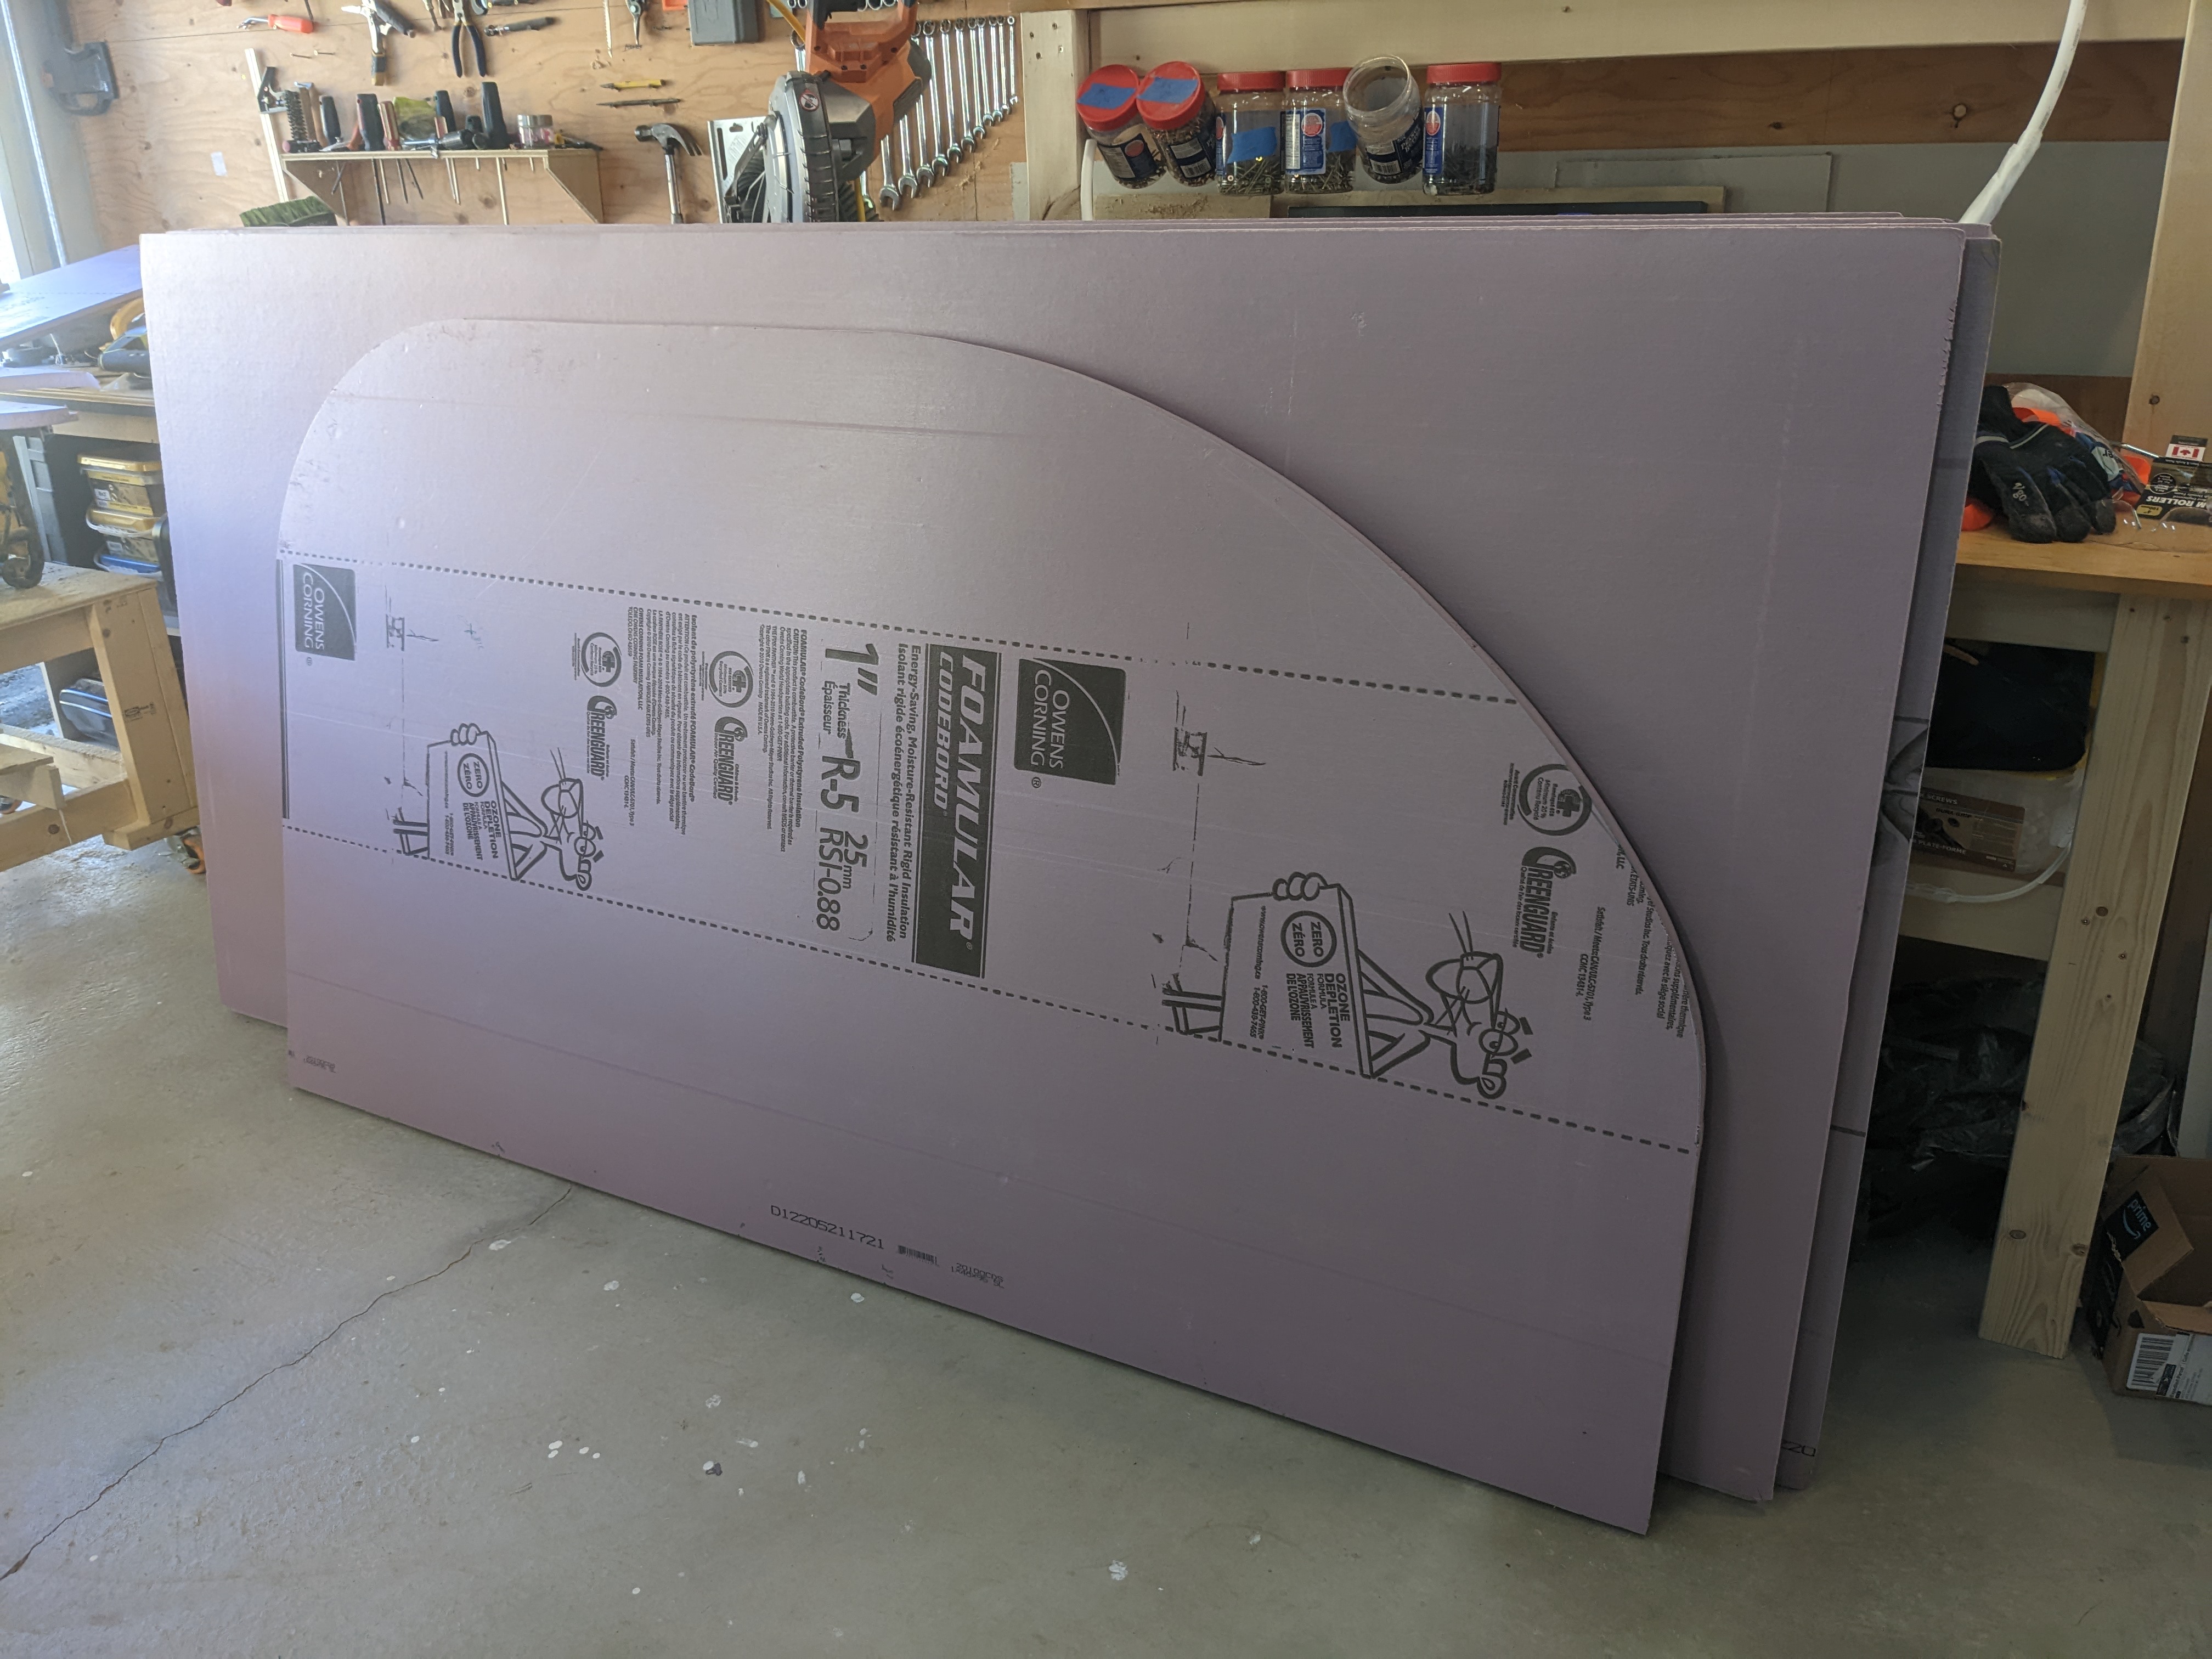
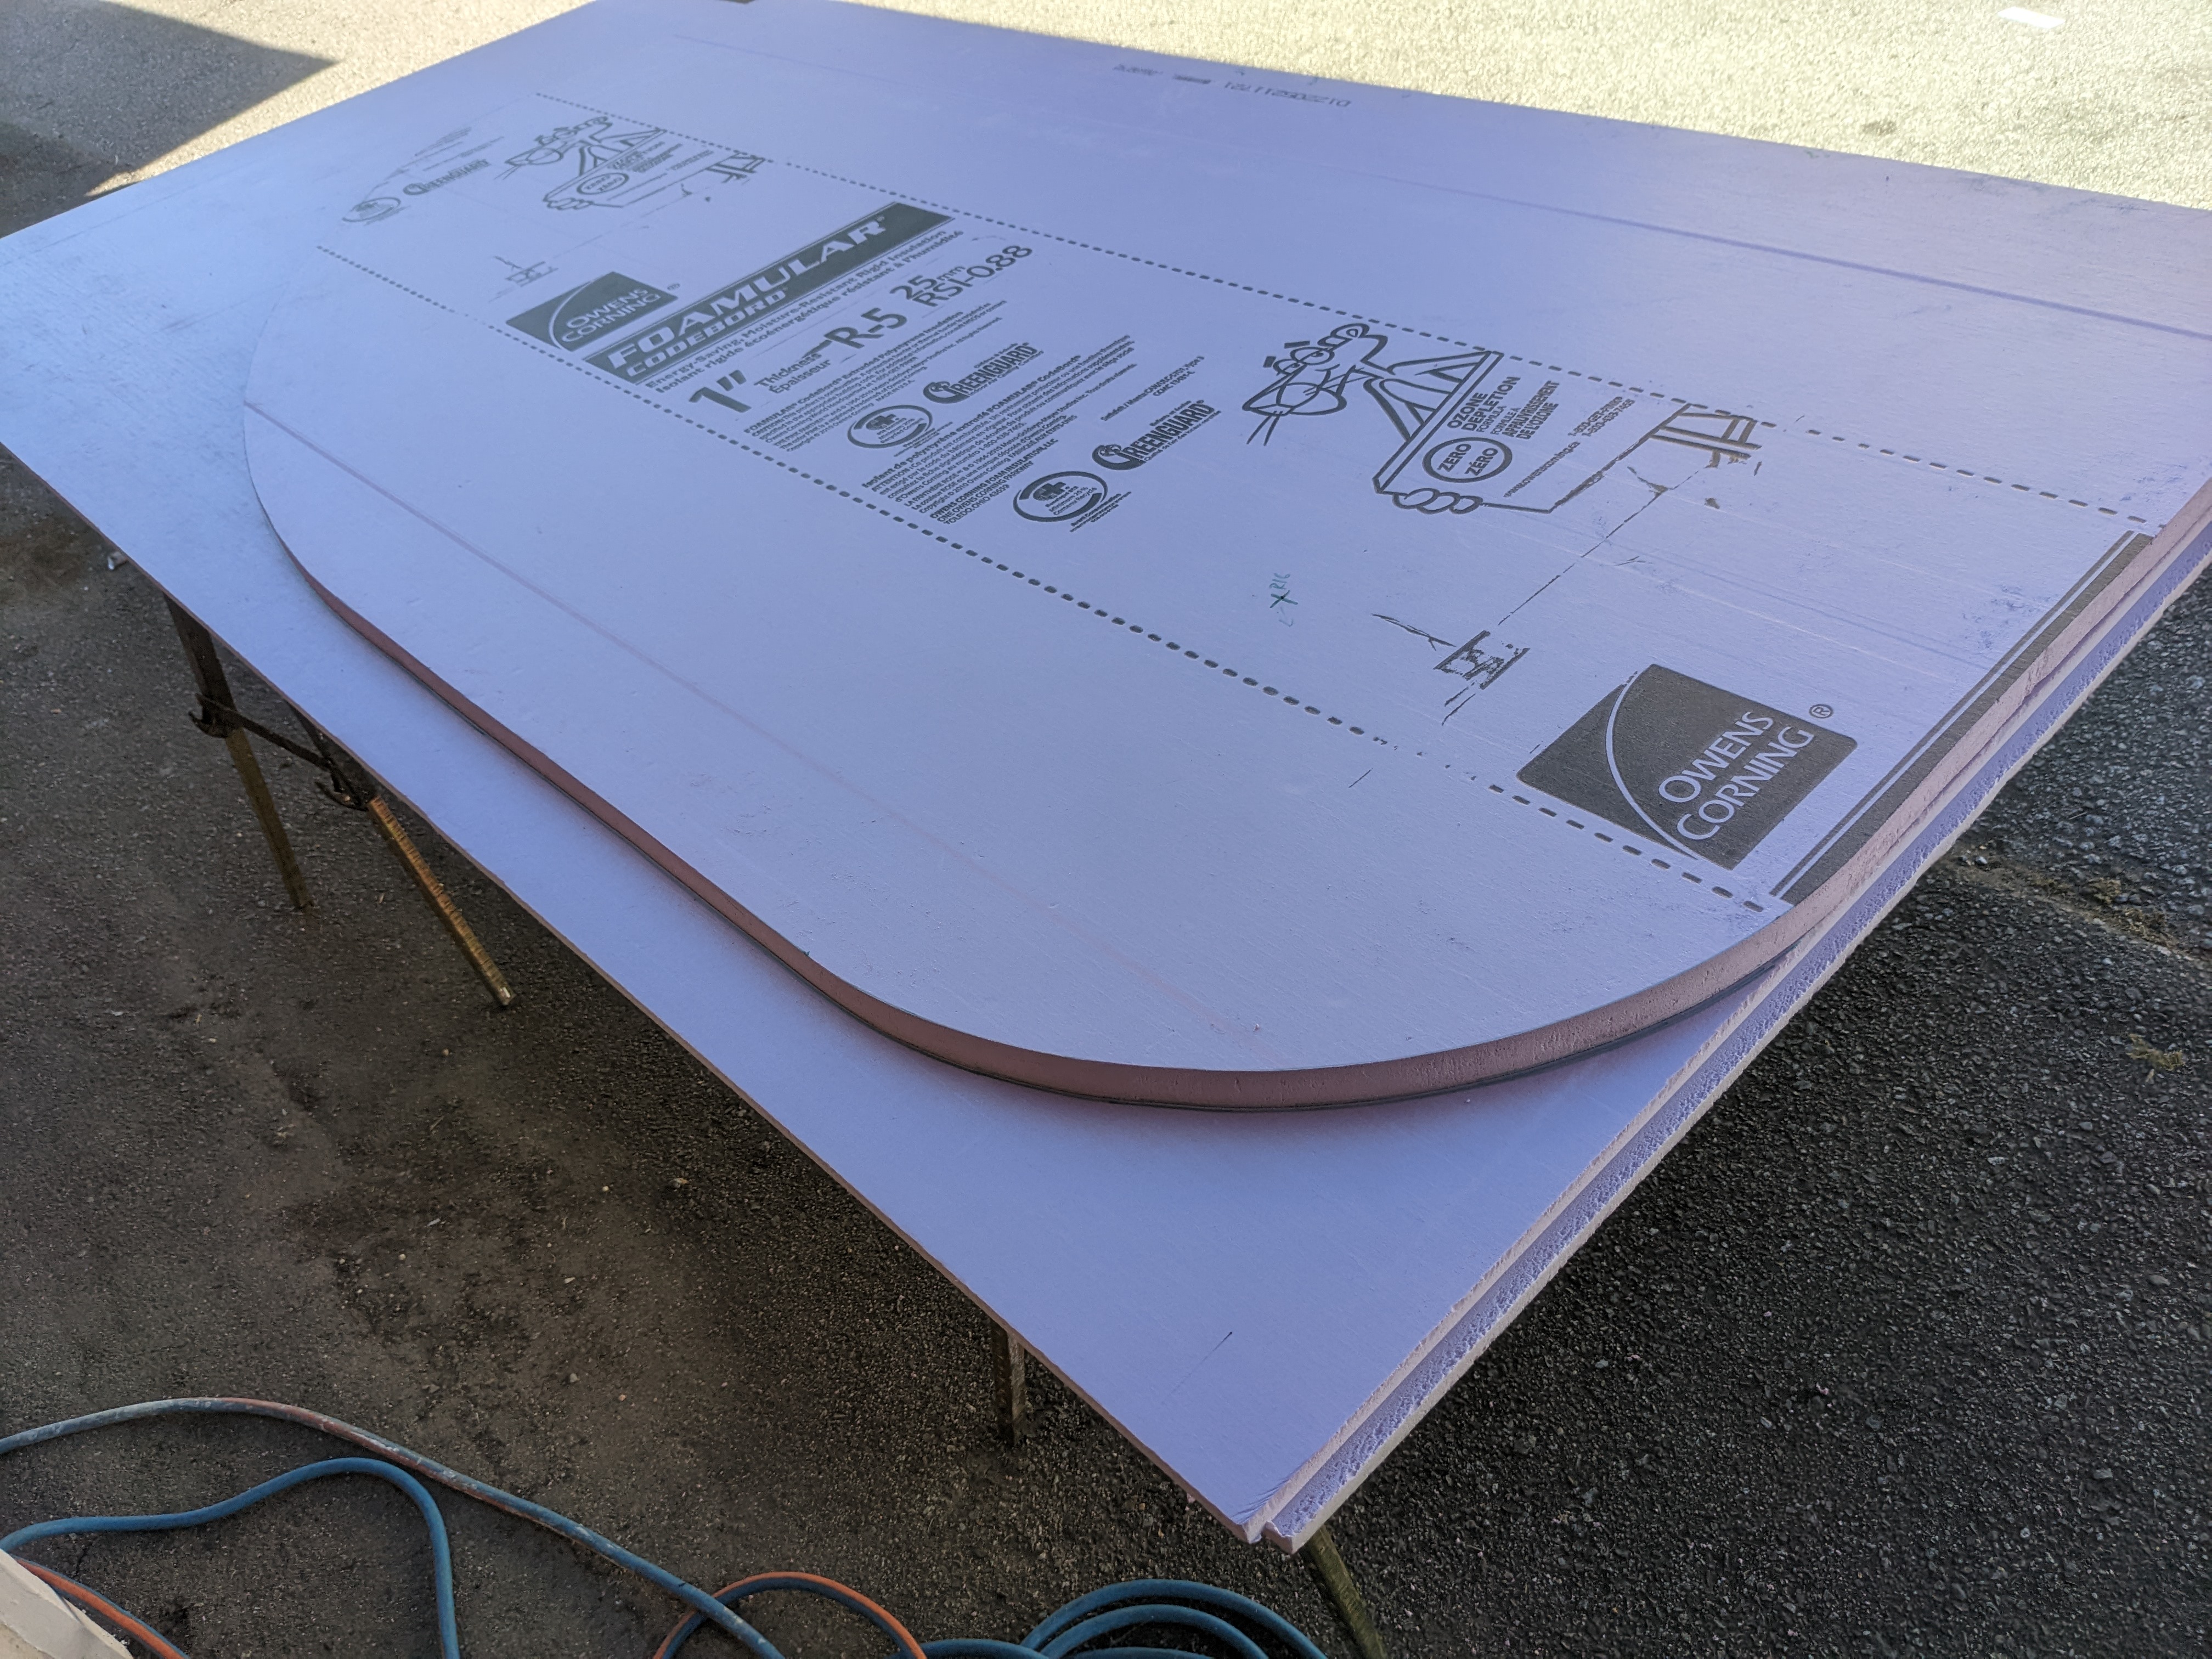
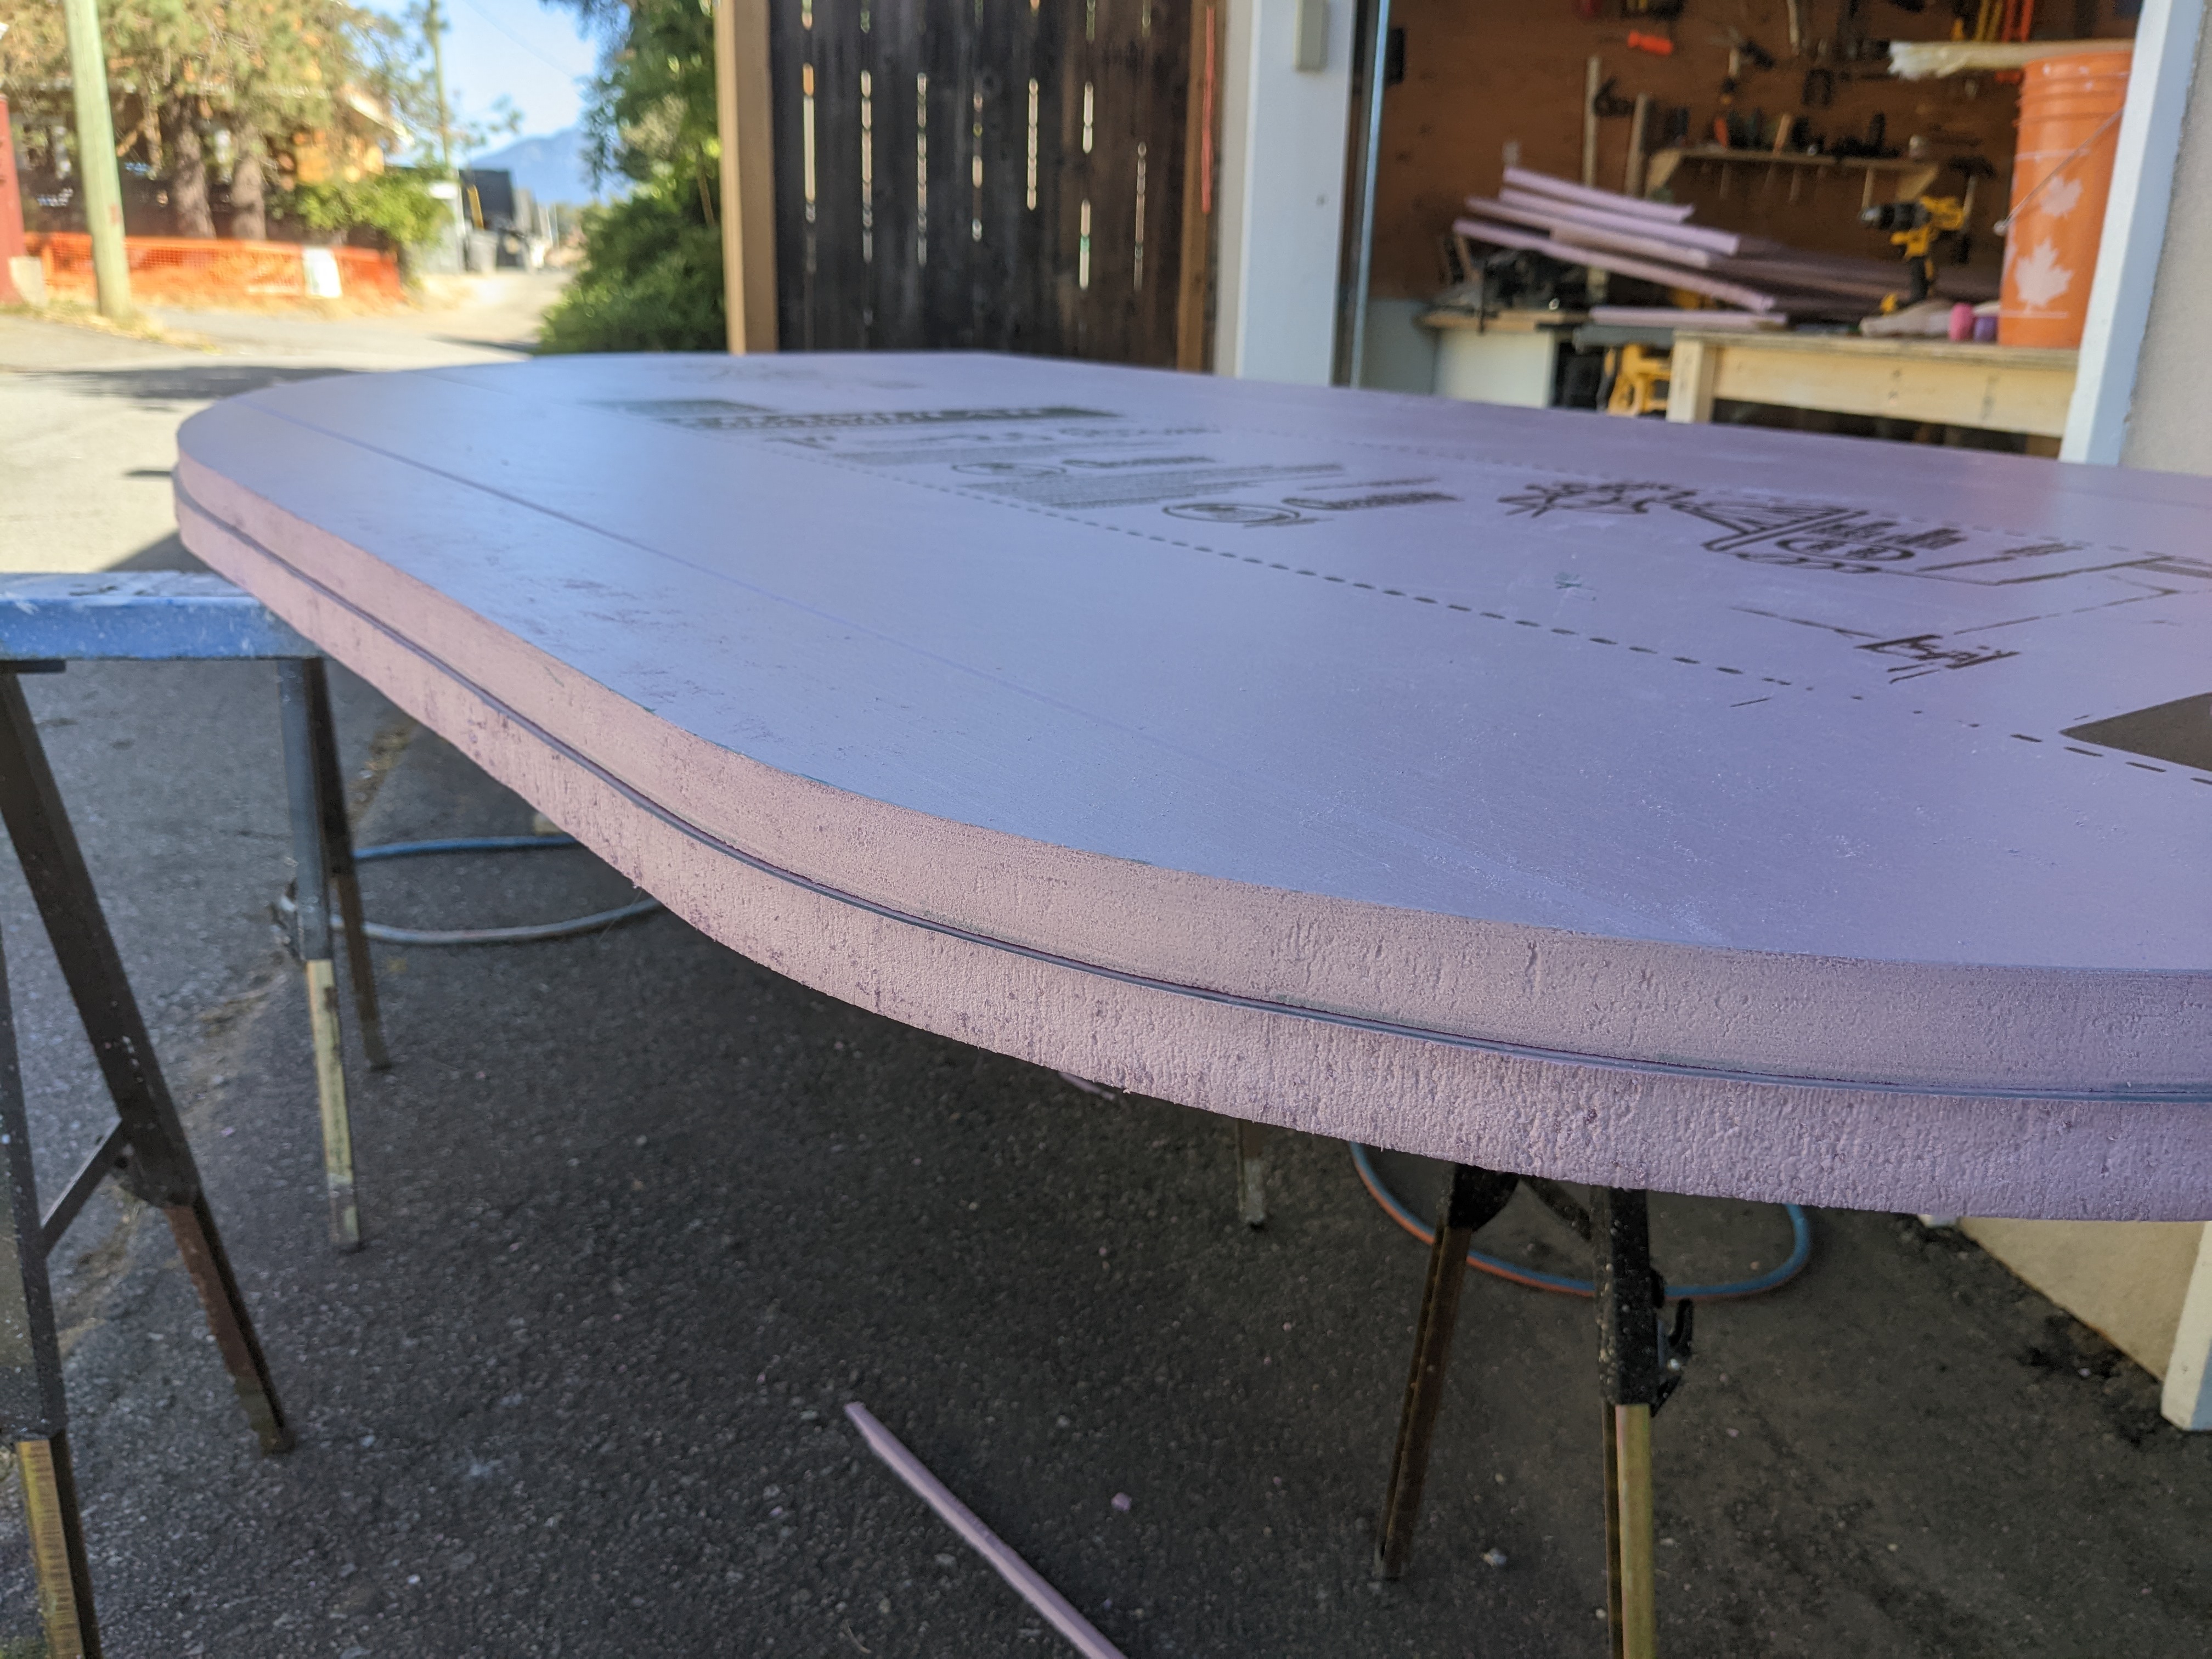
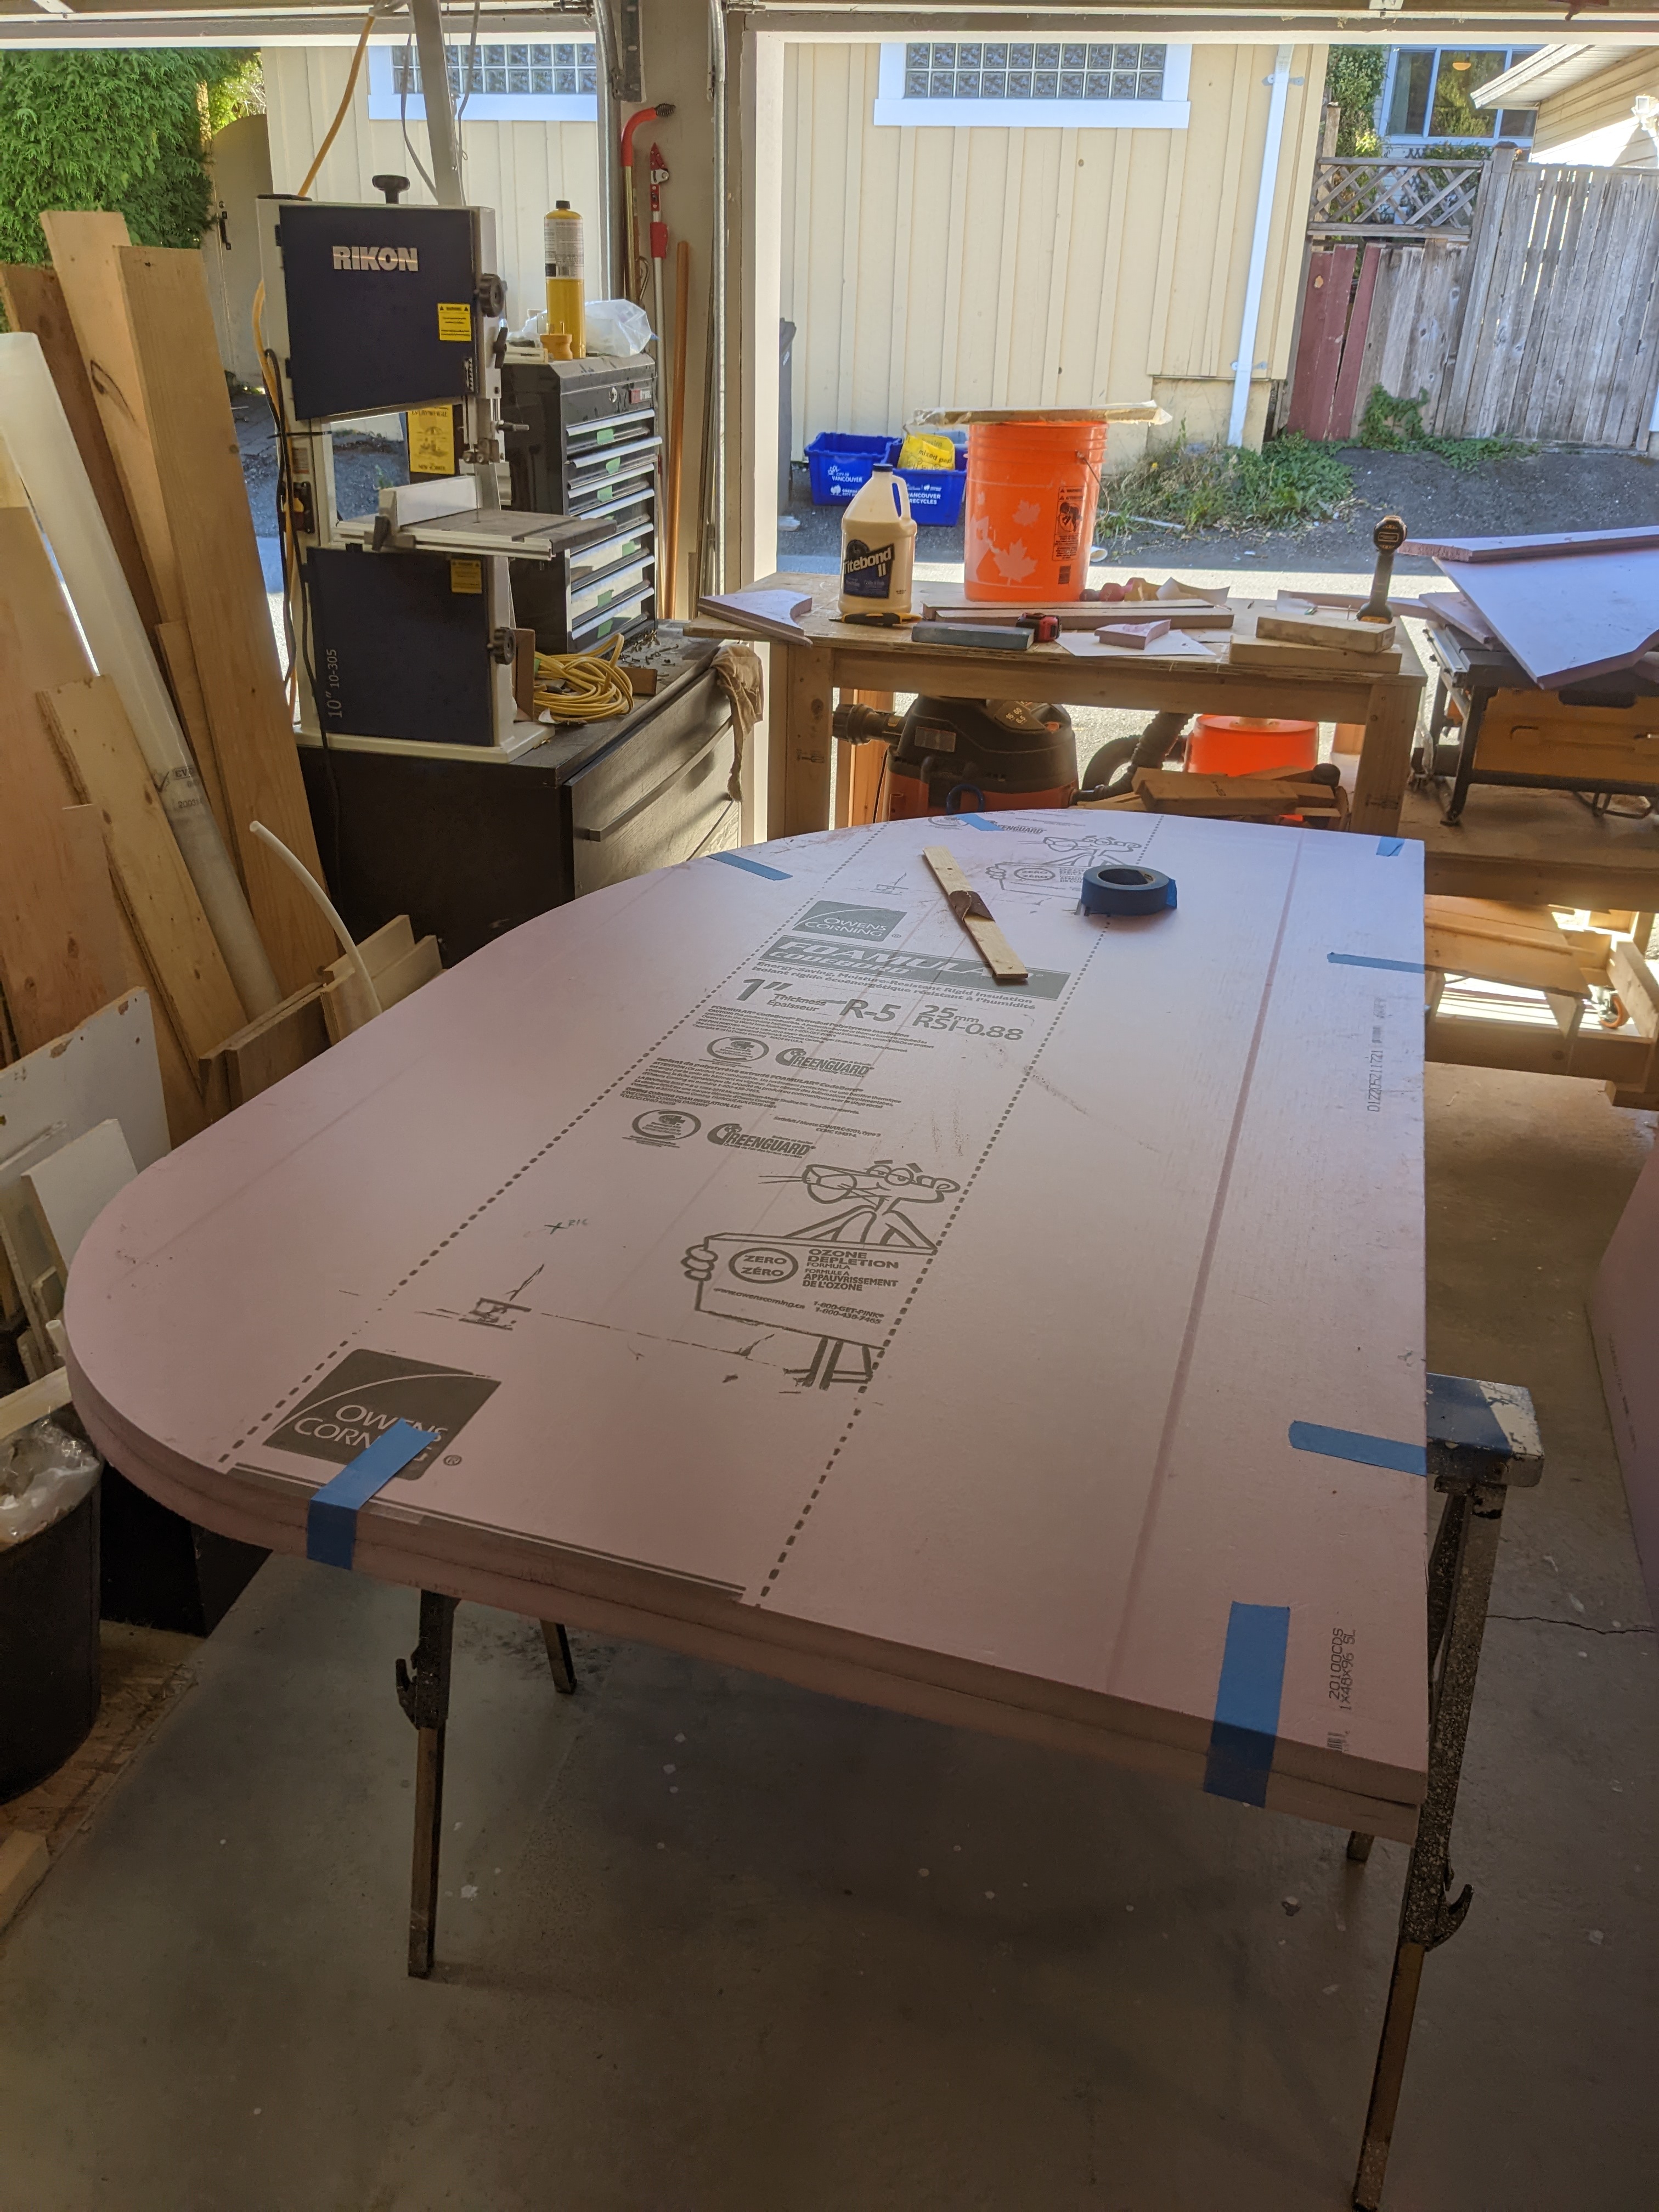

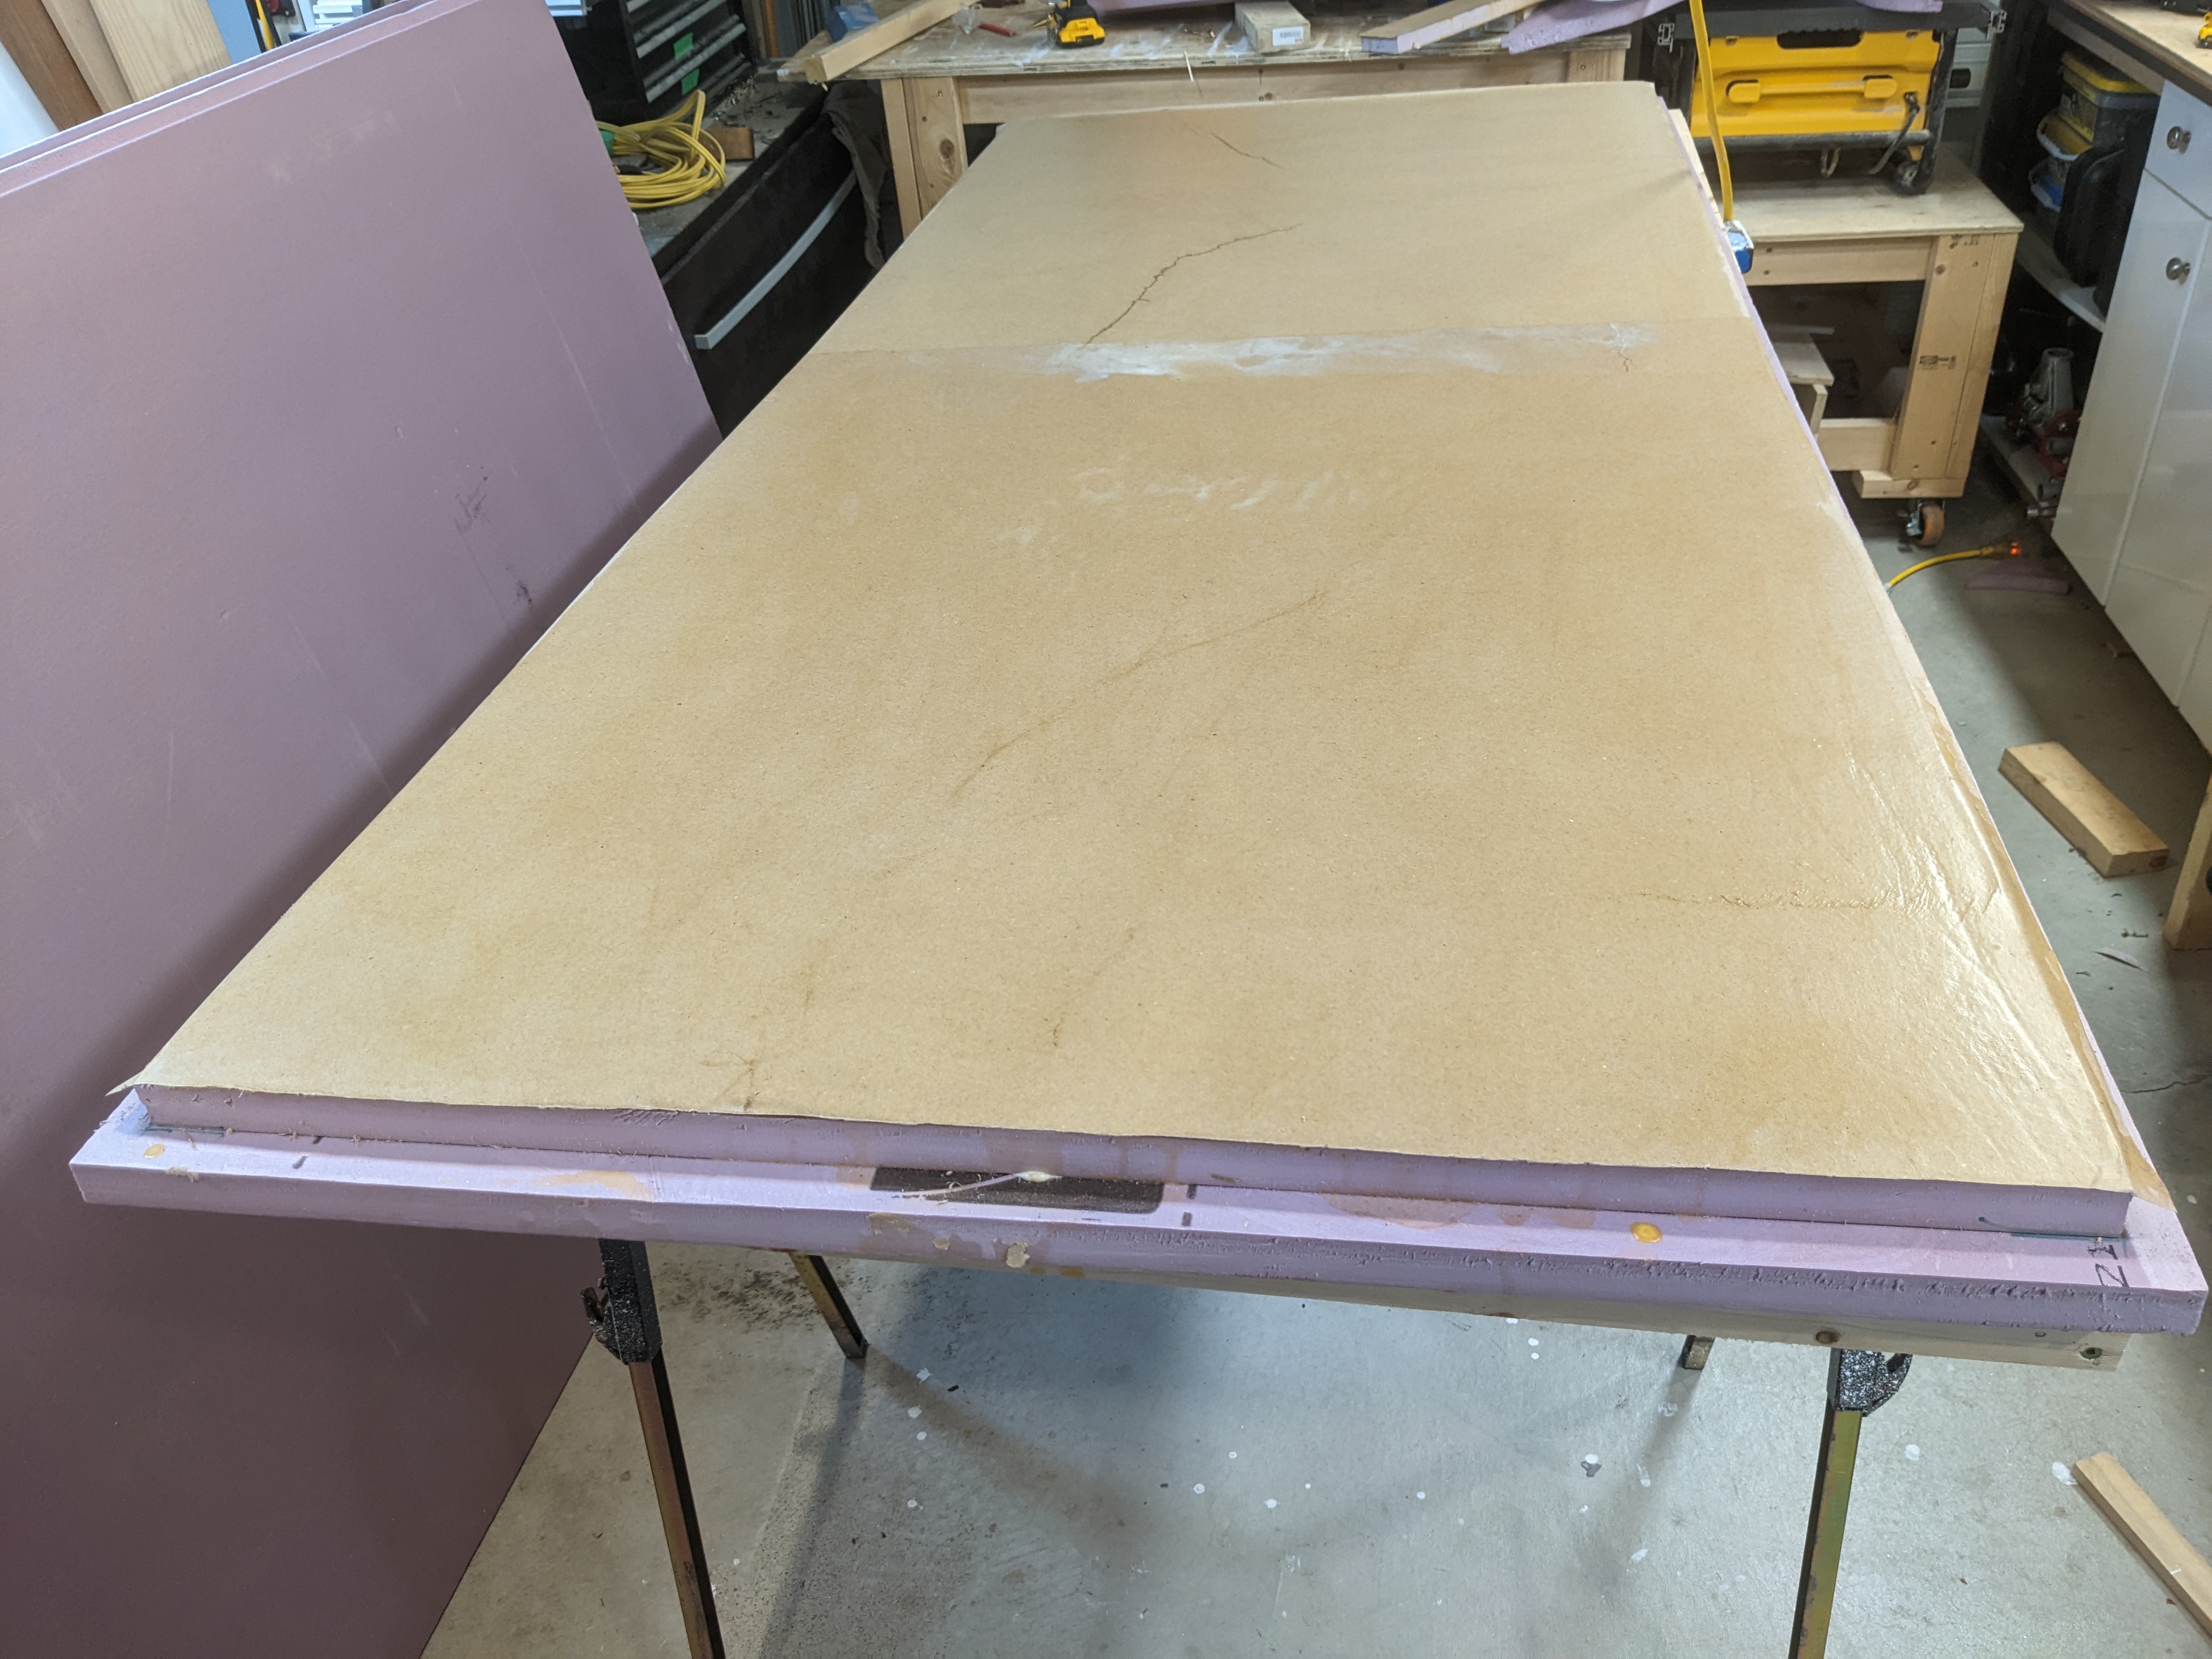
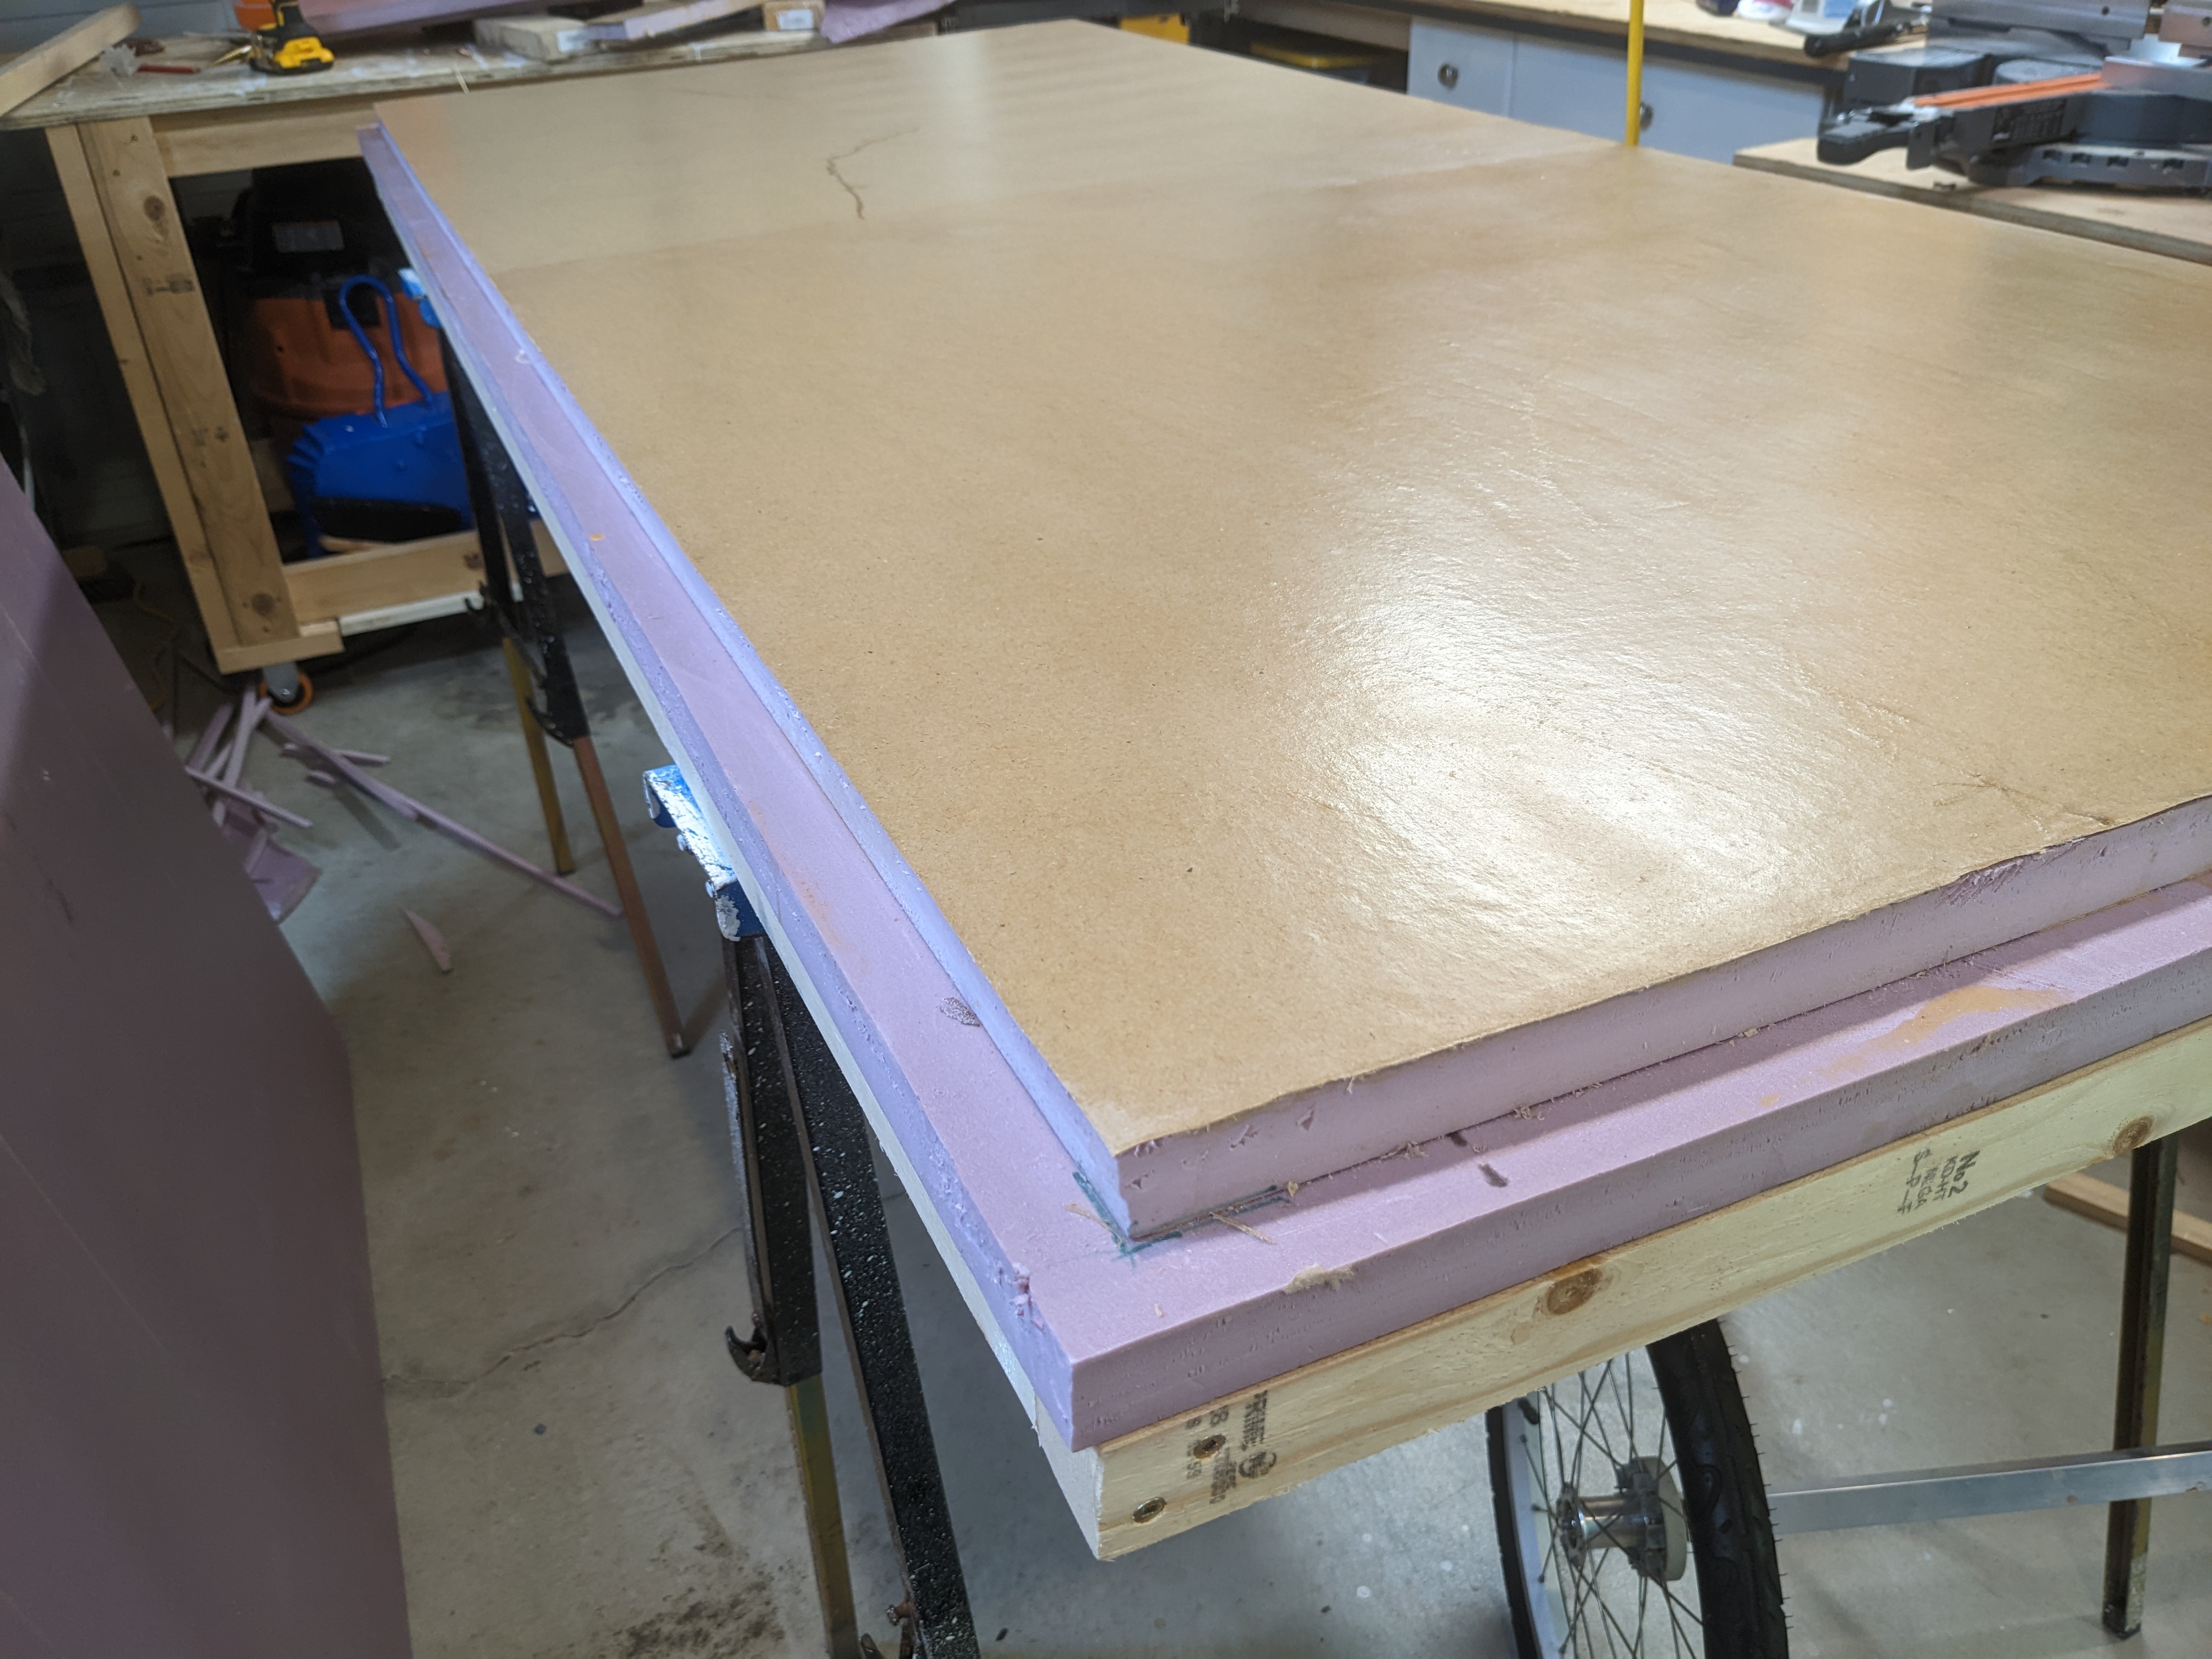
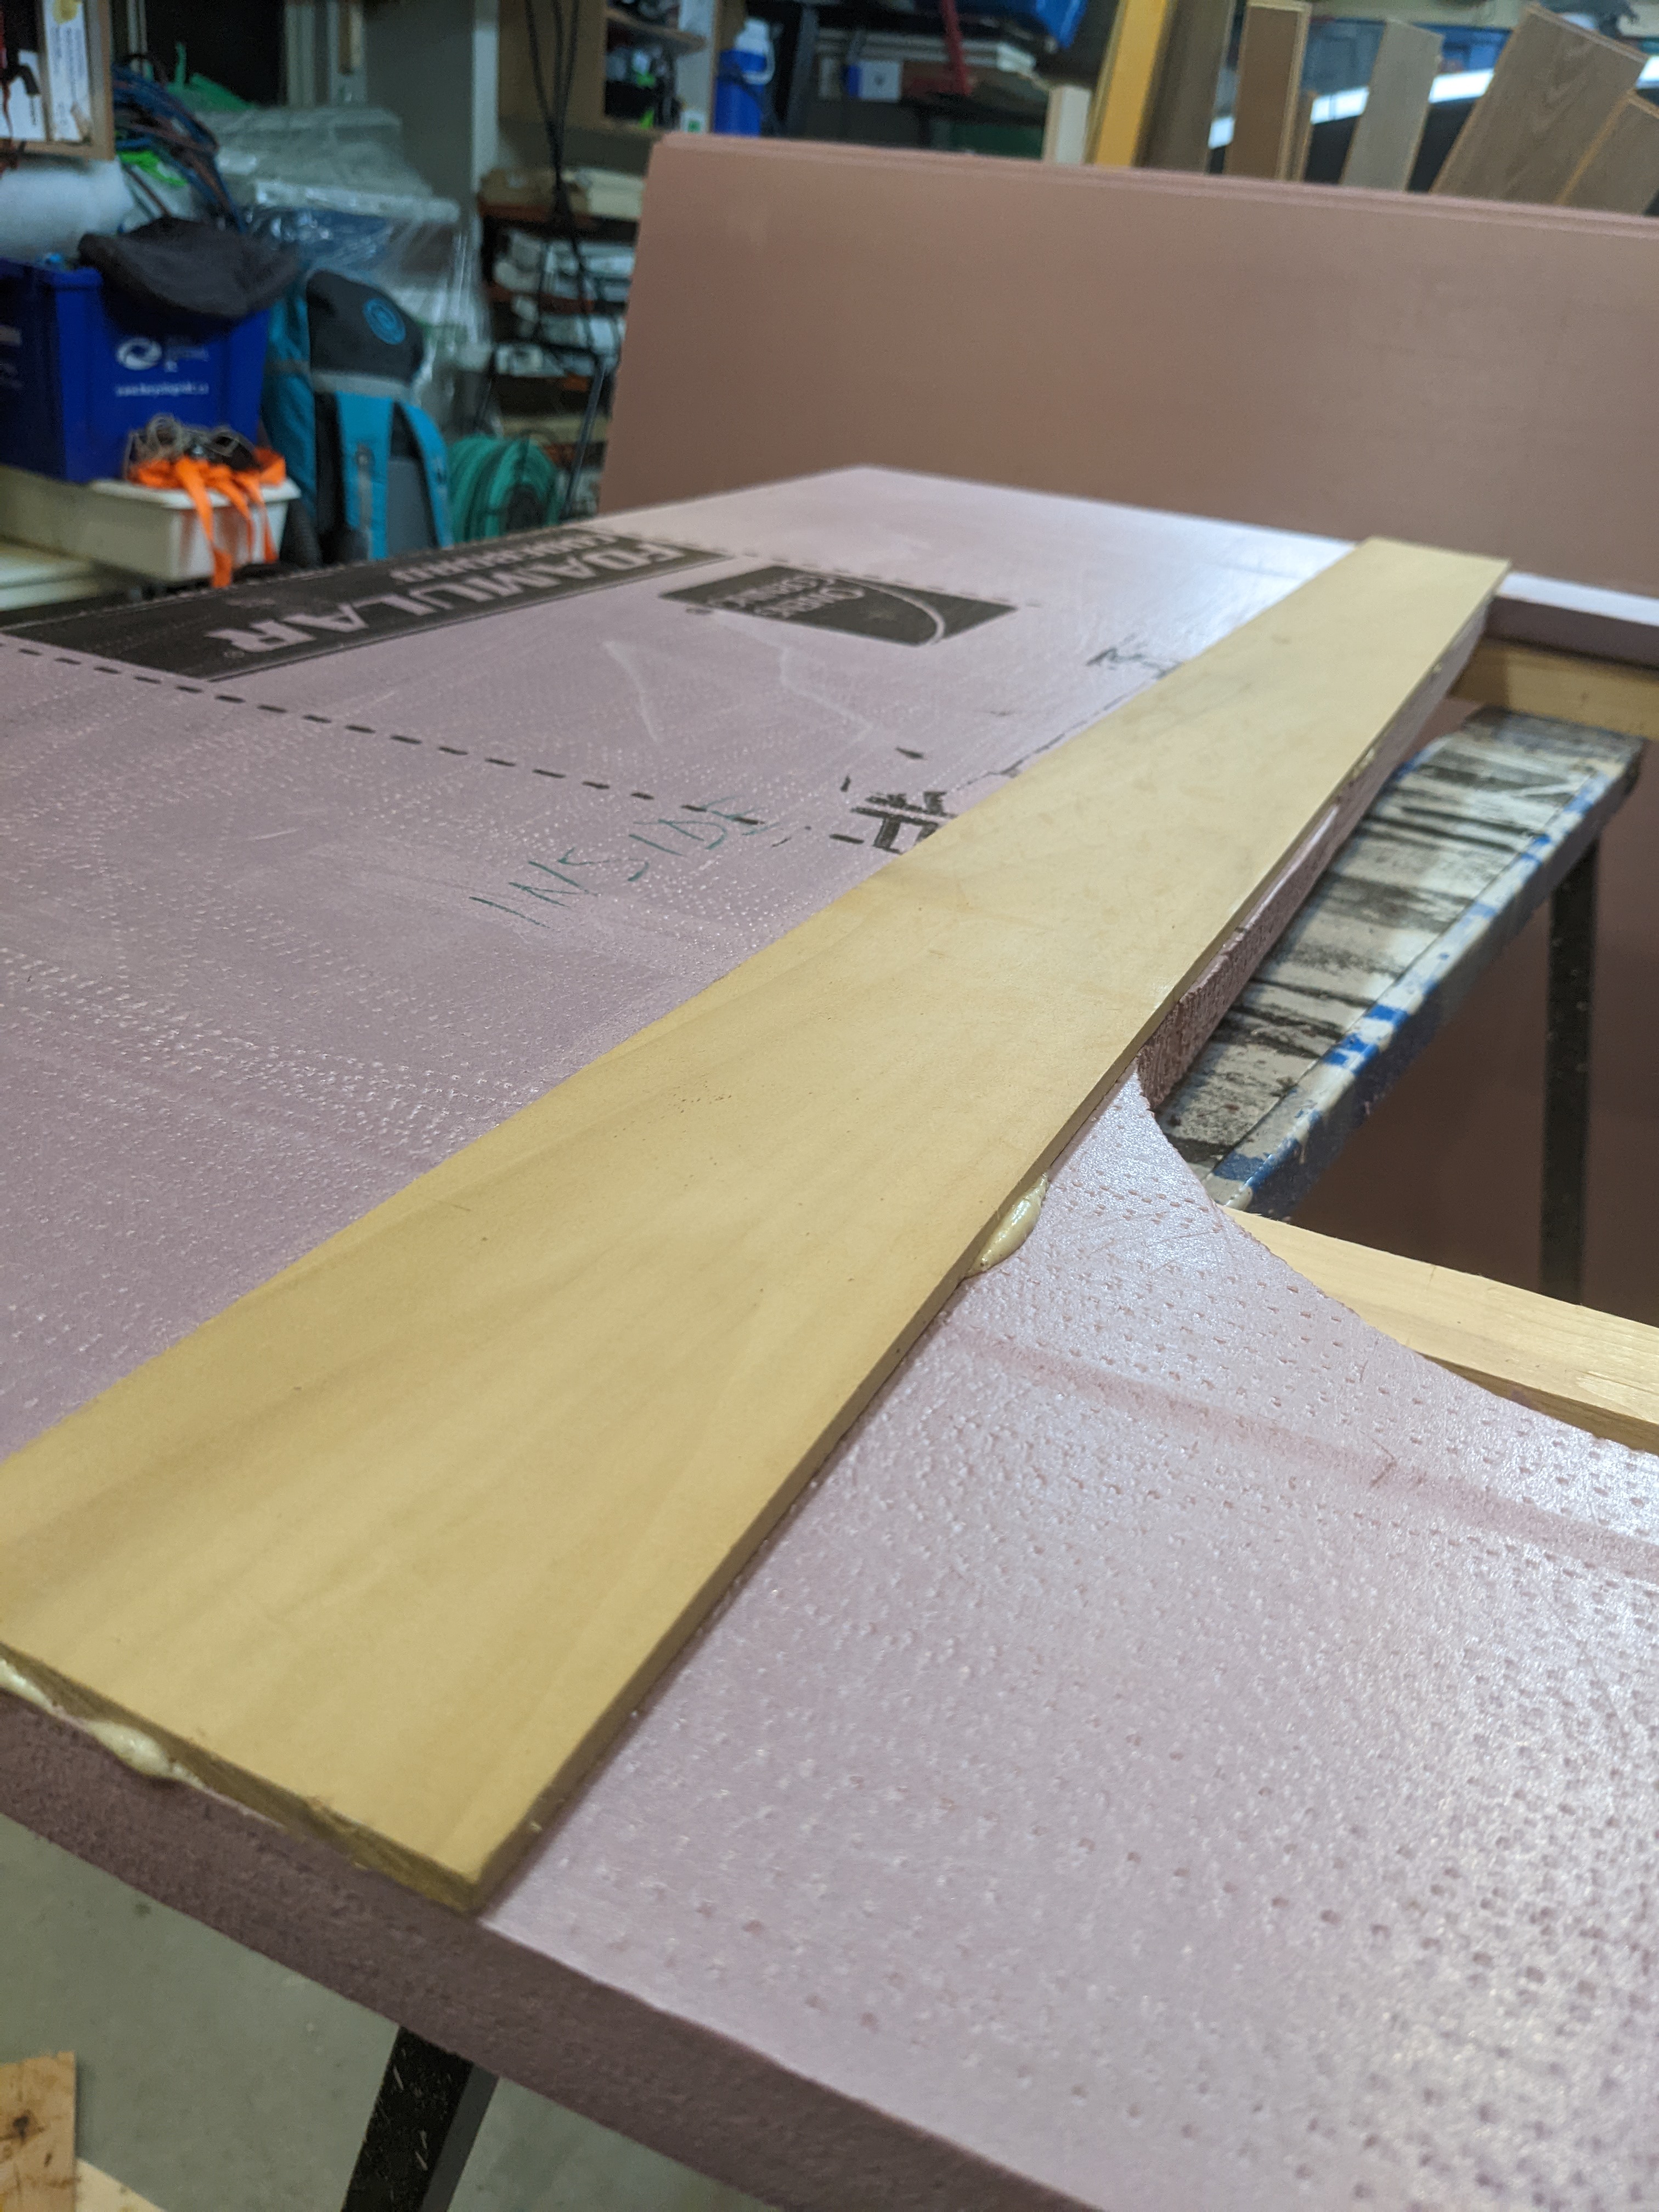
Off camera I Gorilla Glue'd two 1" sheets together with a 1" 'dado' for the walls and roof to fit into (meaning the top sheet is inset by an inch so there's somewhere to butt the walls against).
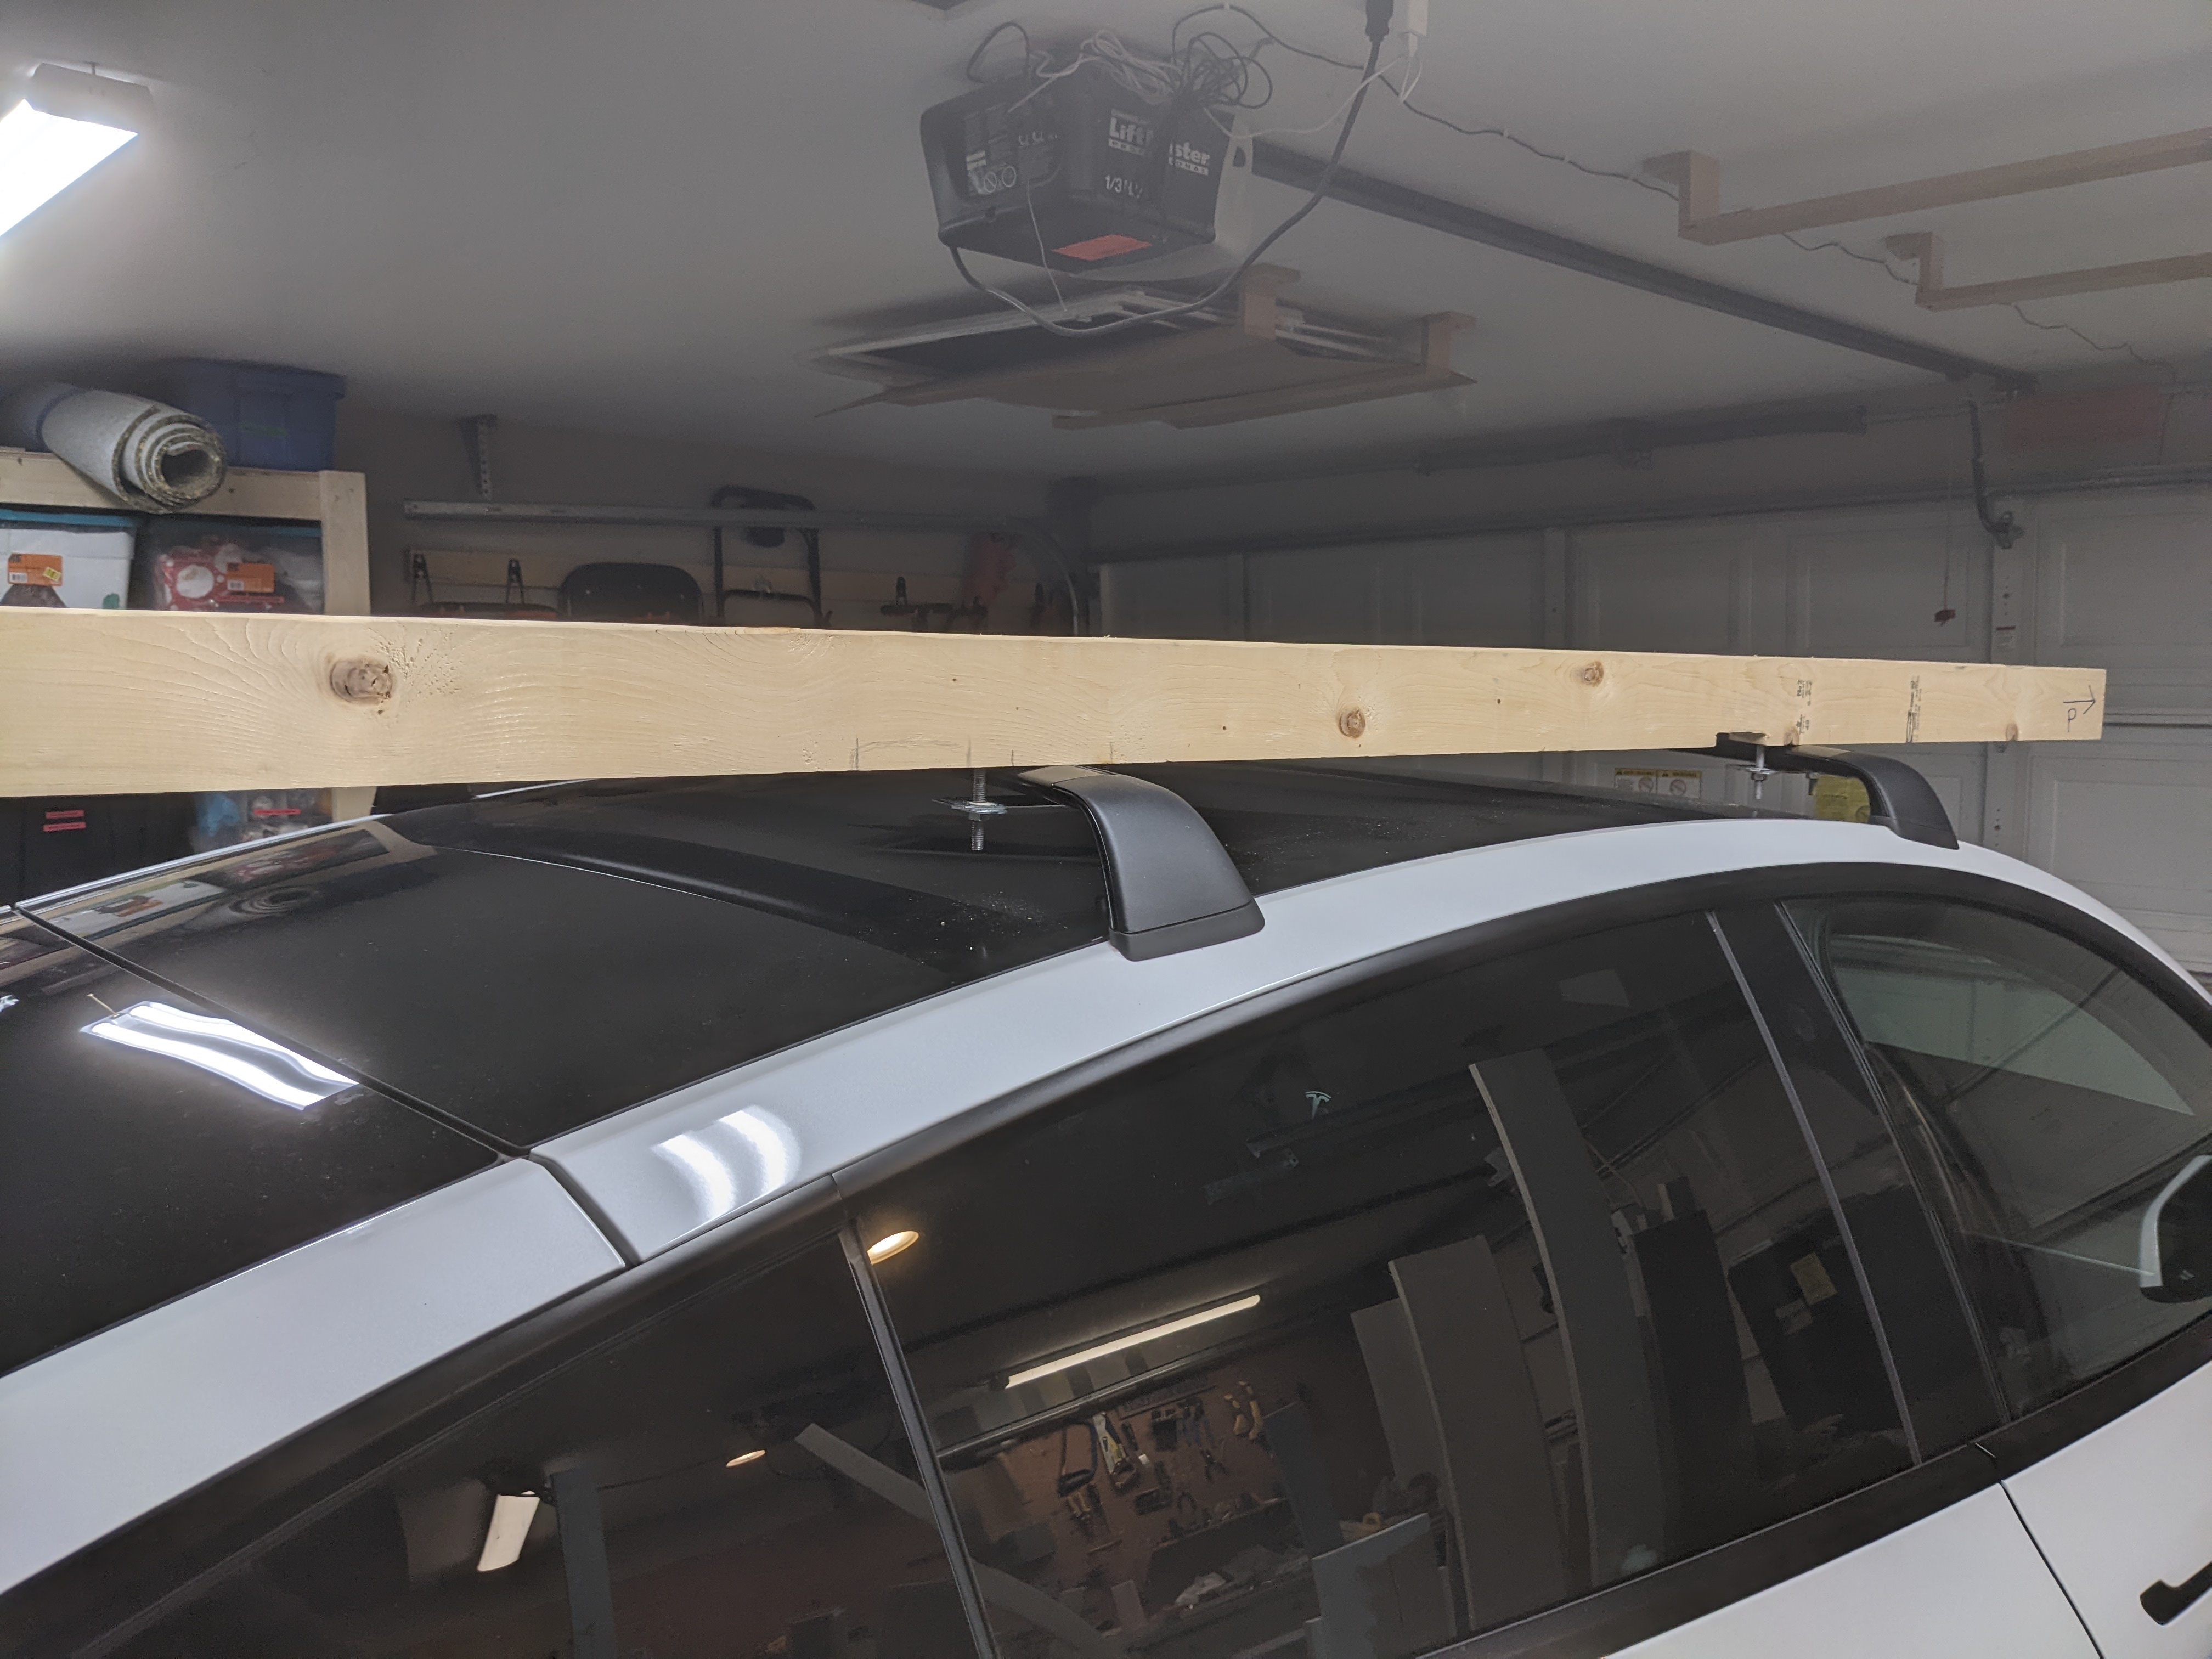
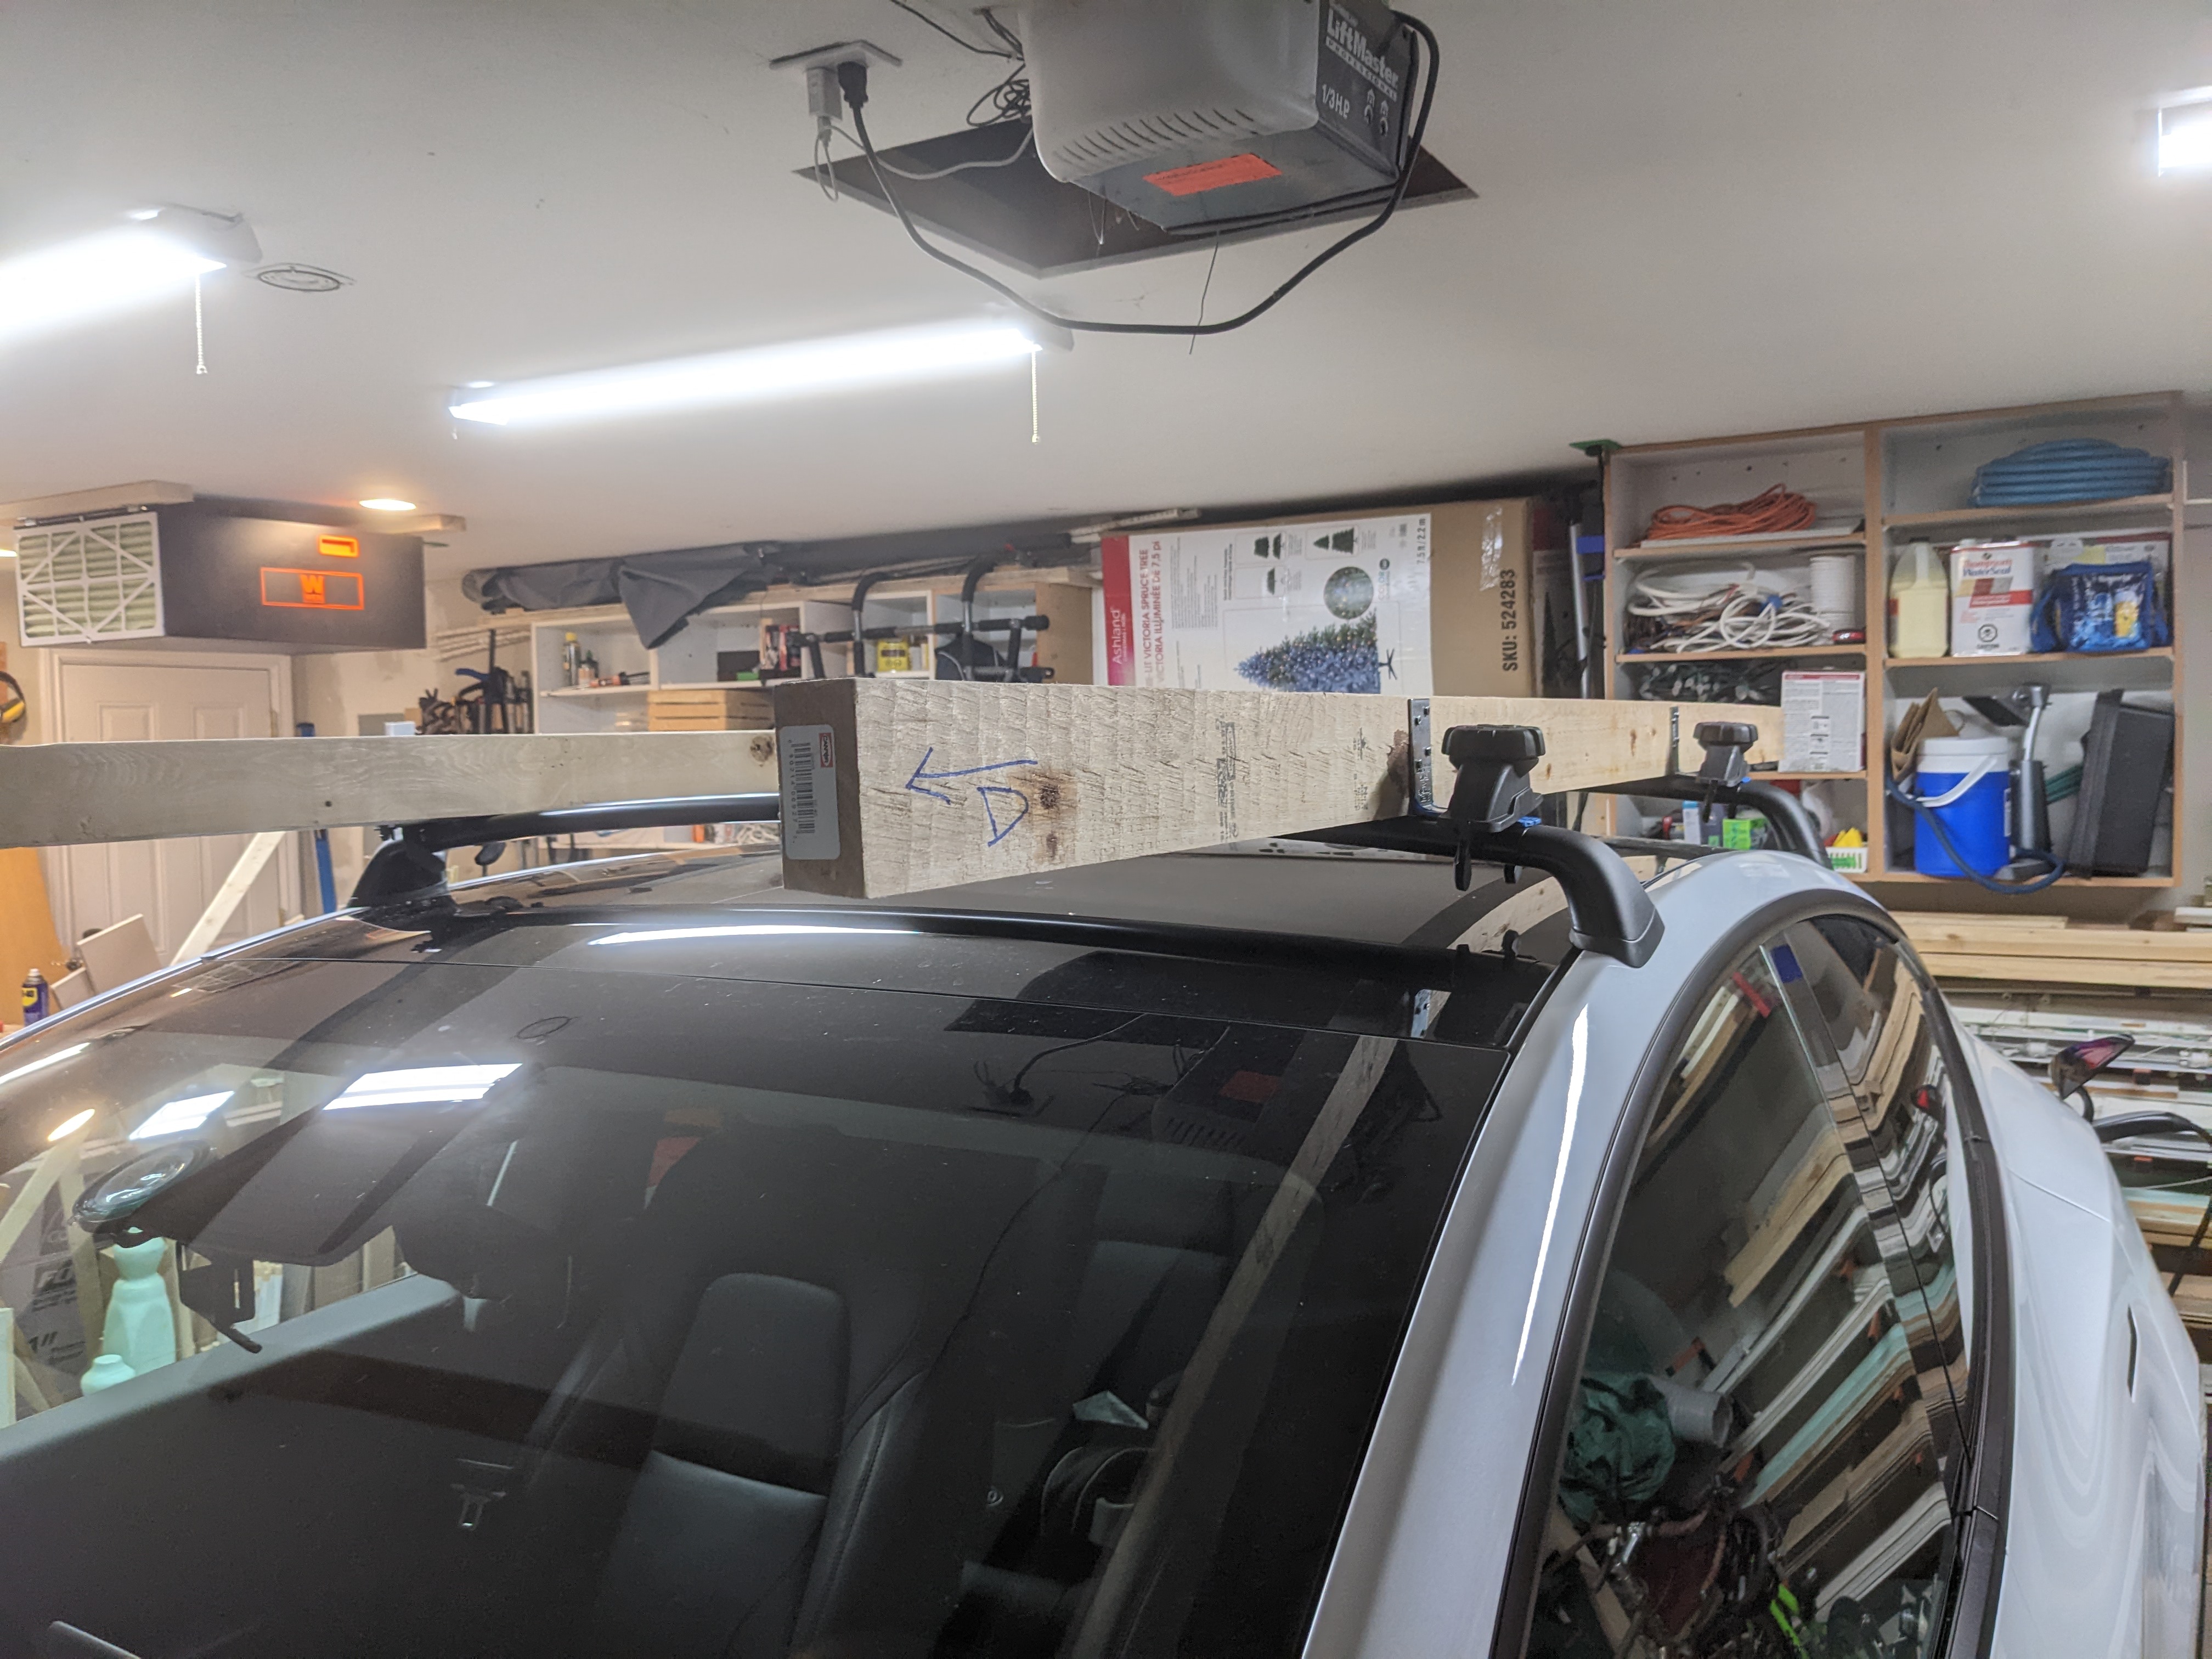
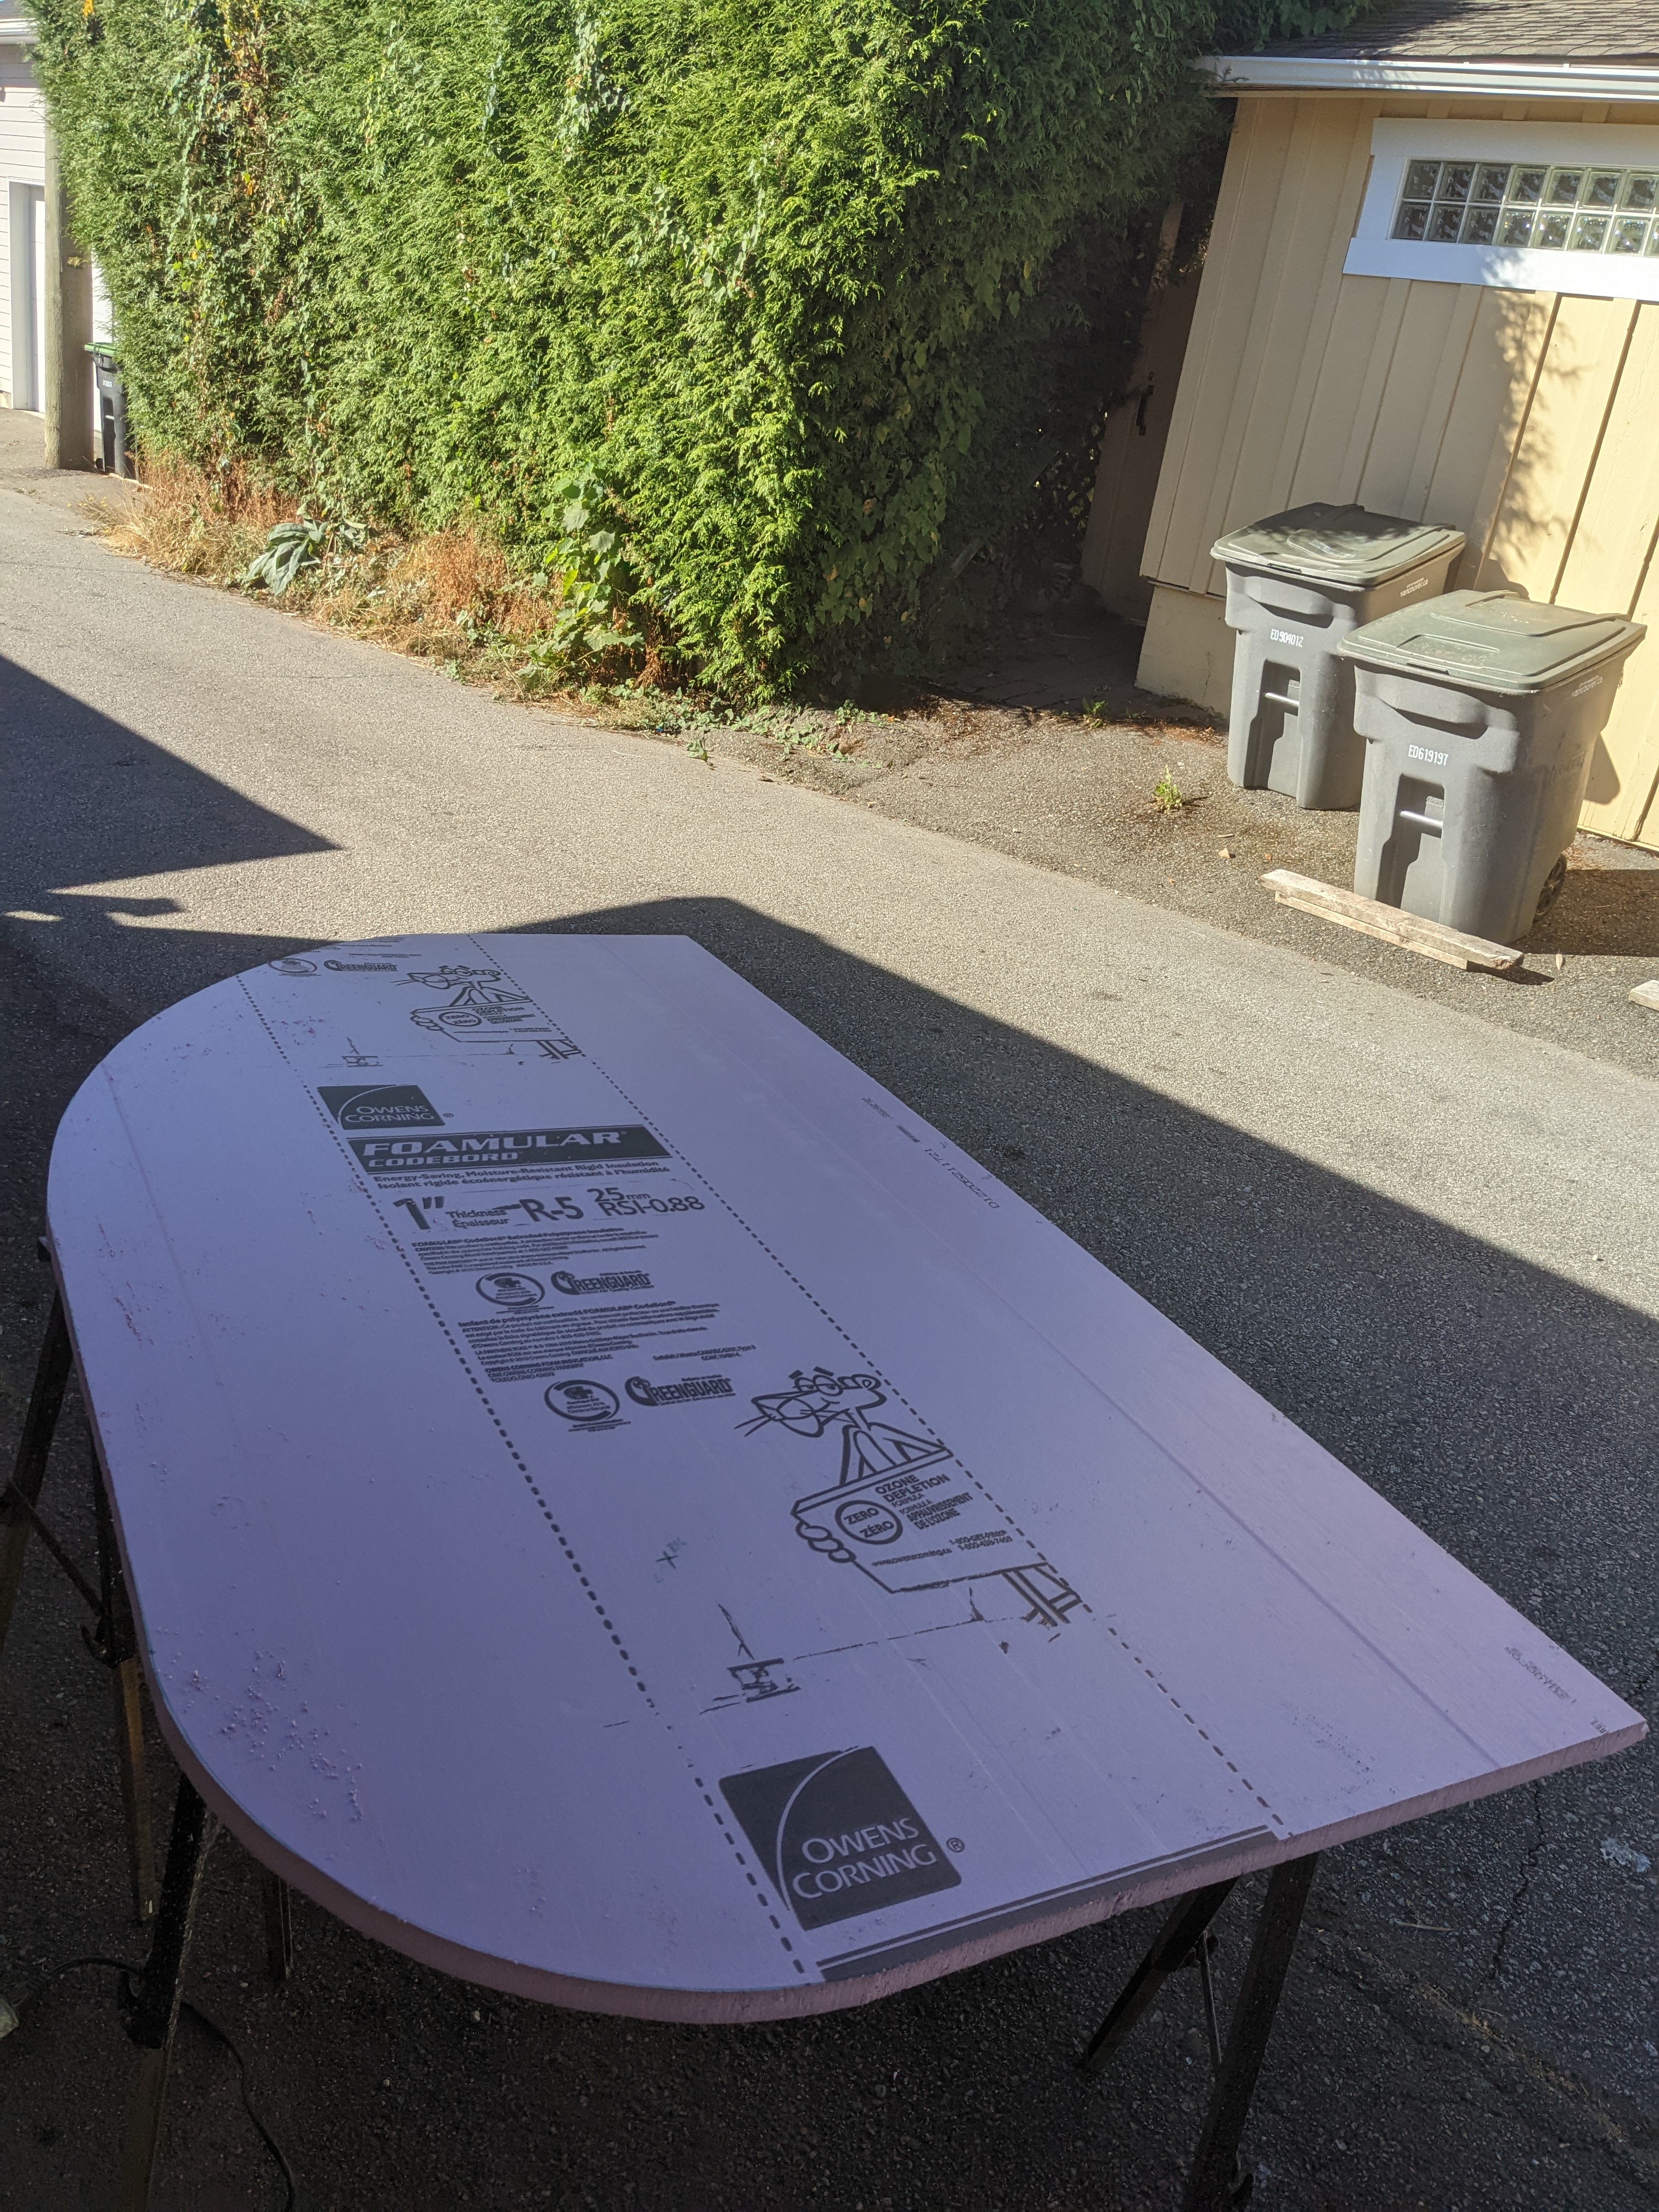
I checked that double sheet on my temporary trailer frame and actually it's surprisingly almost stiff enough, even without any lamination. I had been thinking I'd need a fancy aluminum frame, but I think the bits of 2x2 that I pieced together might actually be enough, along with a metal axle.
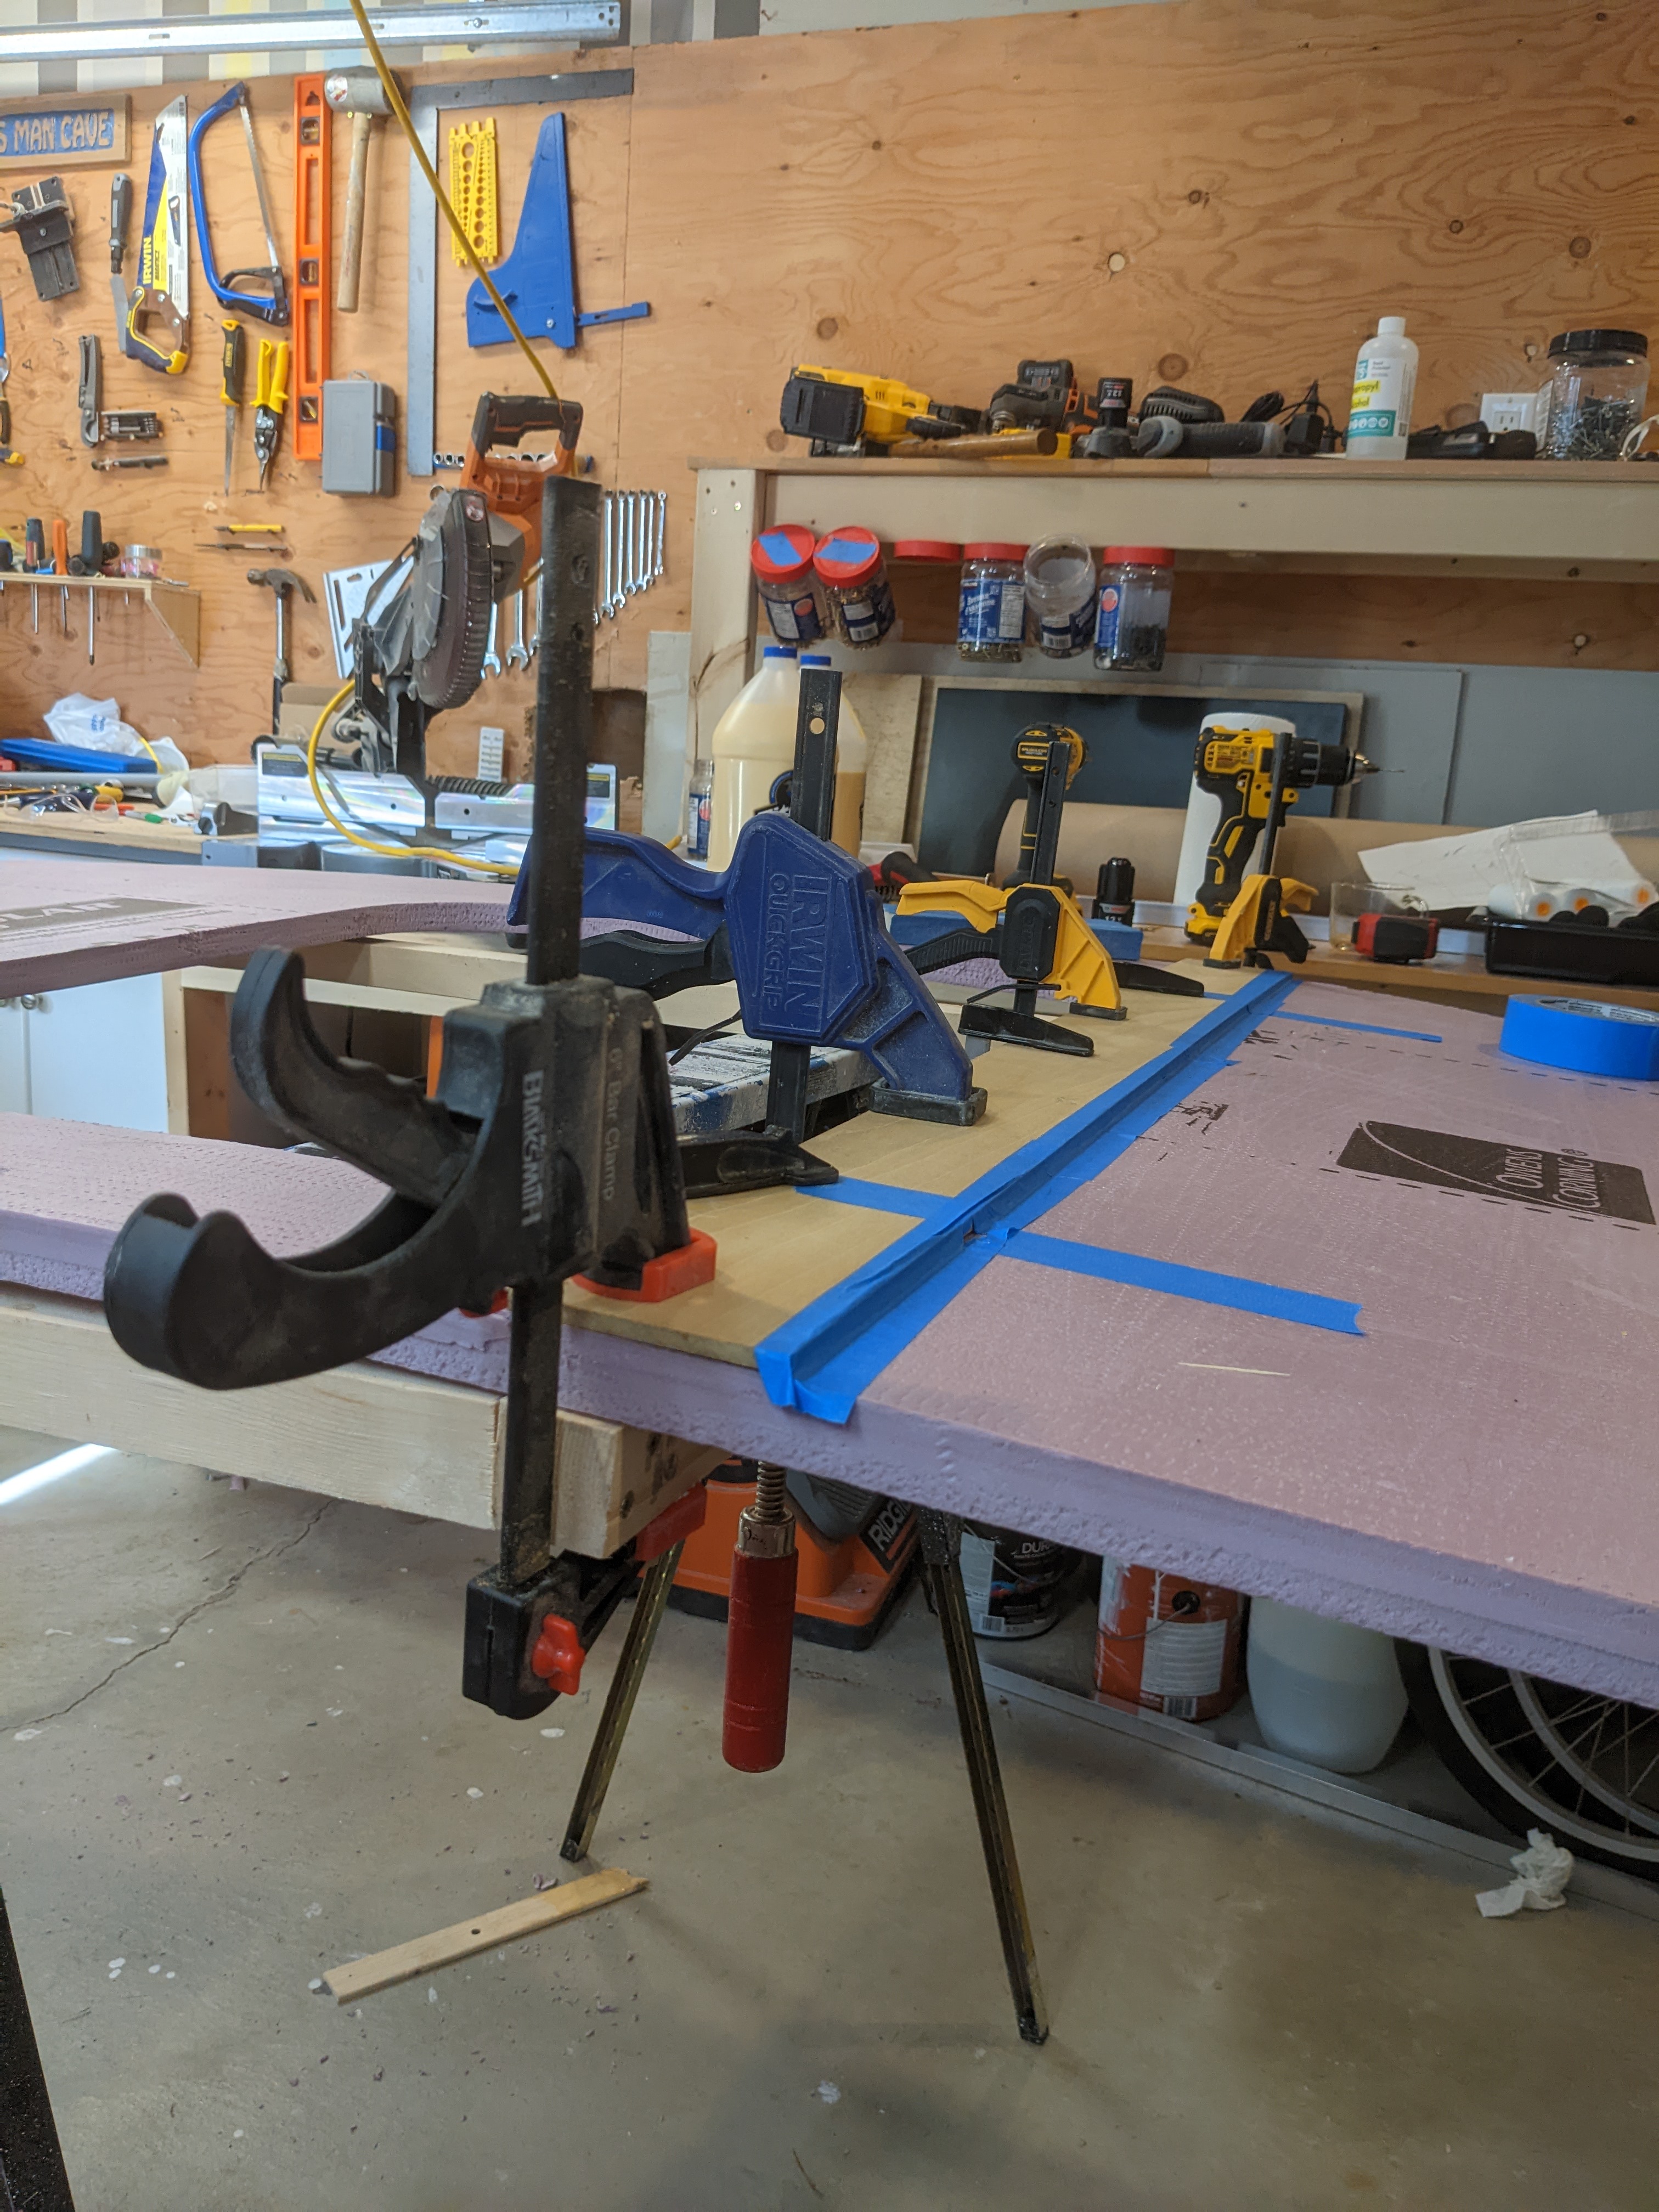
I made the frame before I was sure about the length of main base, so I have to disassemble and shorten by 2". Mostly a lot of shuffling things around because there's not enough space to work on large pieces. And then I did a bad job of re-assembling it because I didn't have an easy place to clamp so that was kind of dumb.
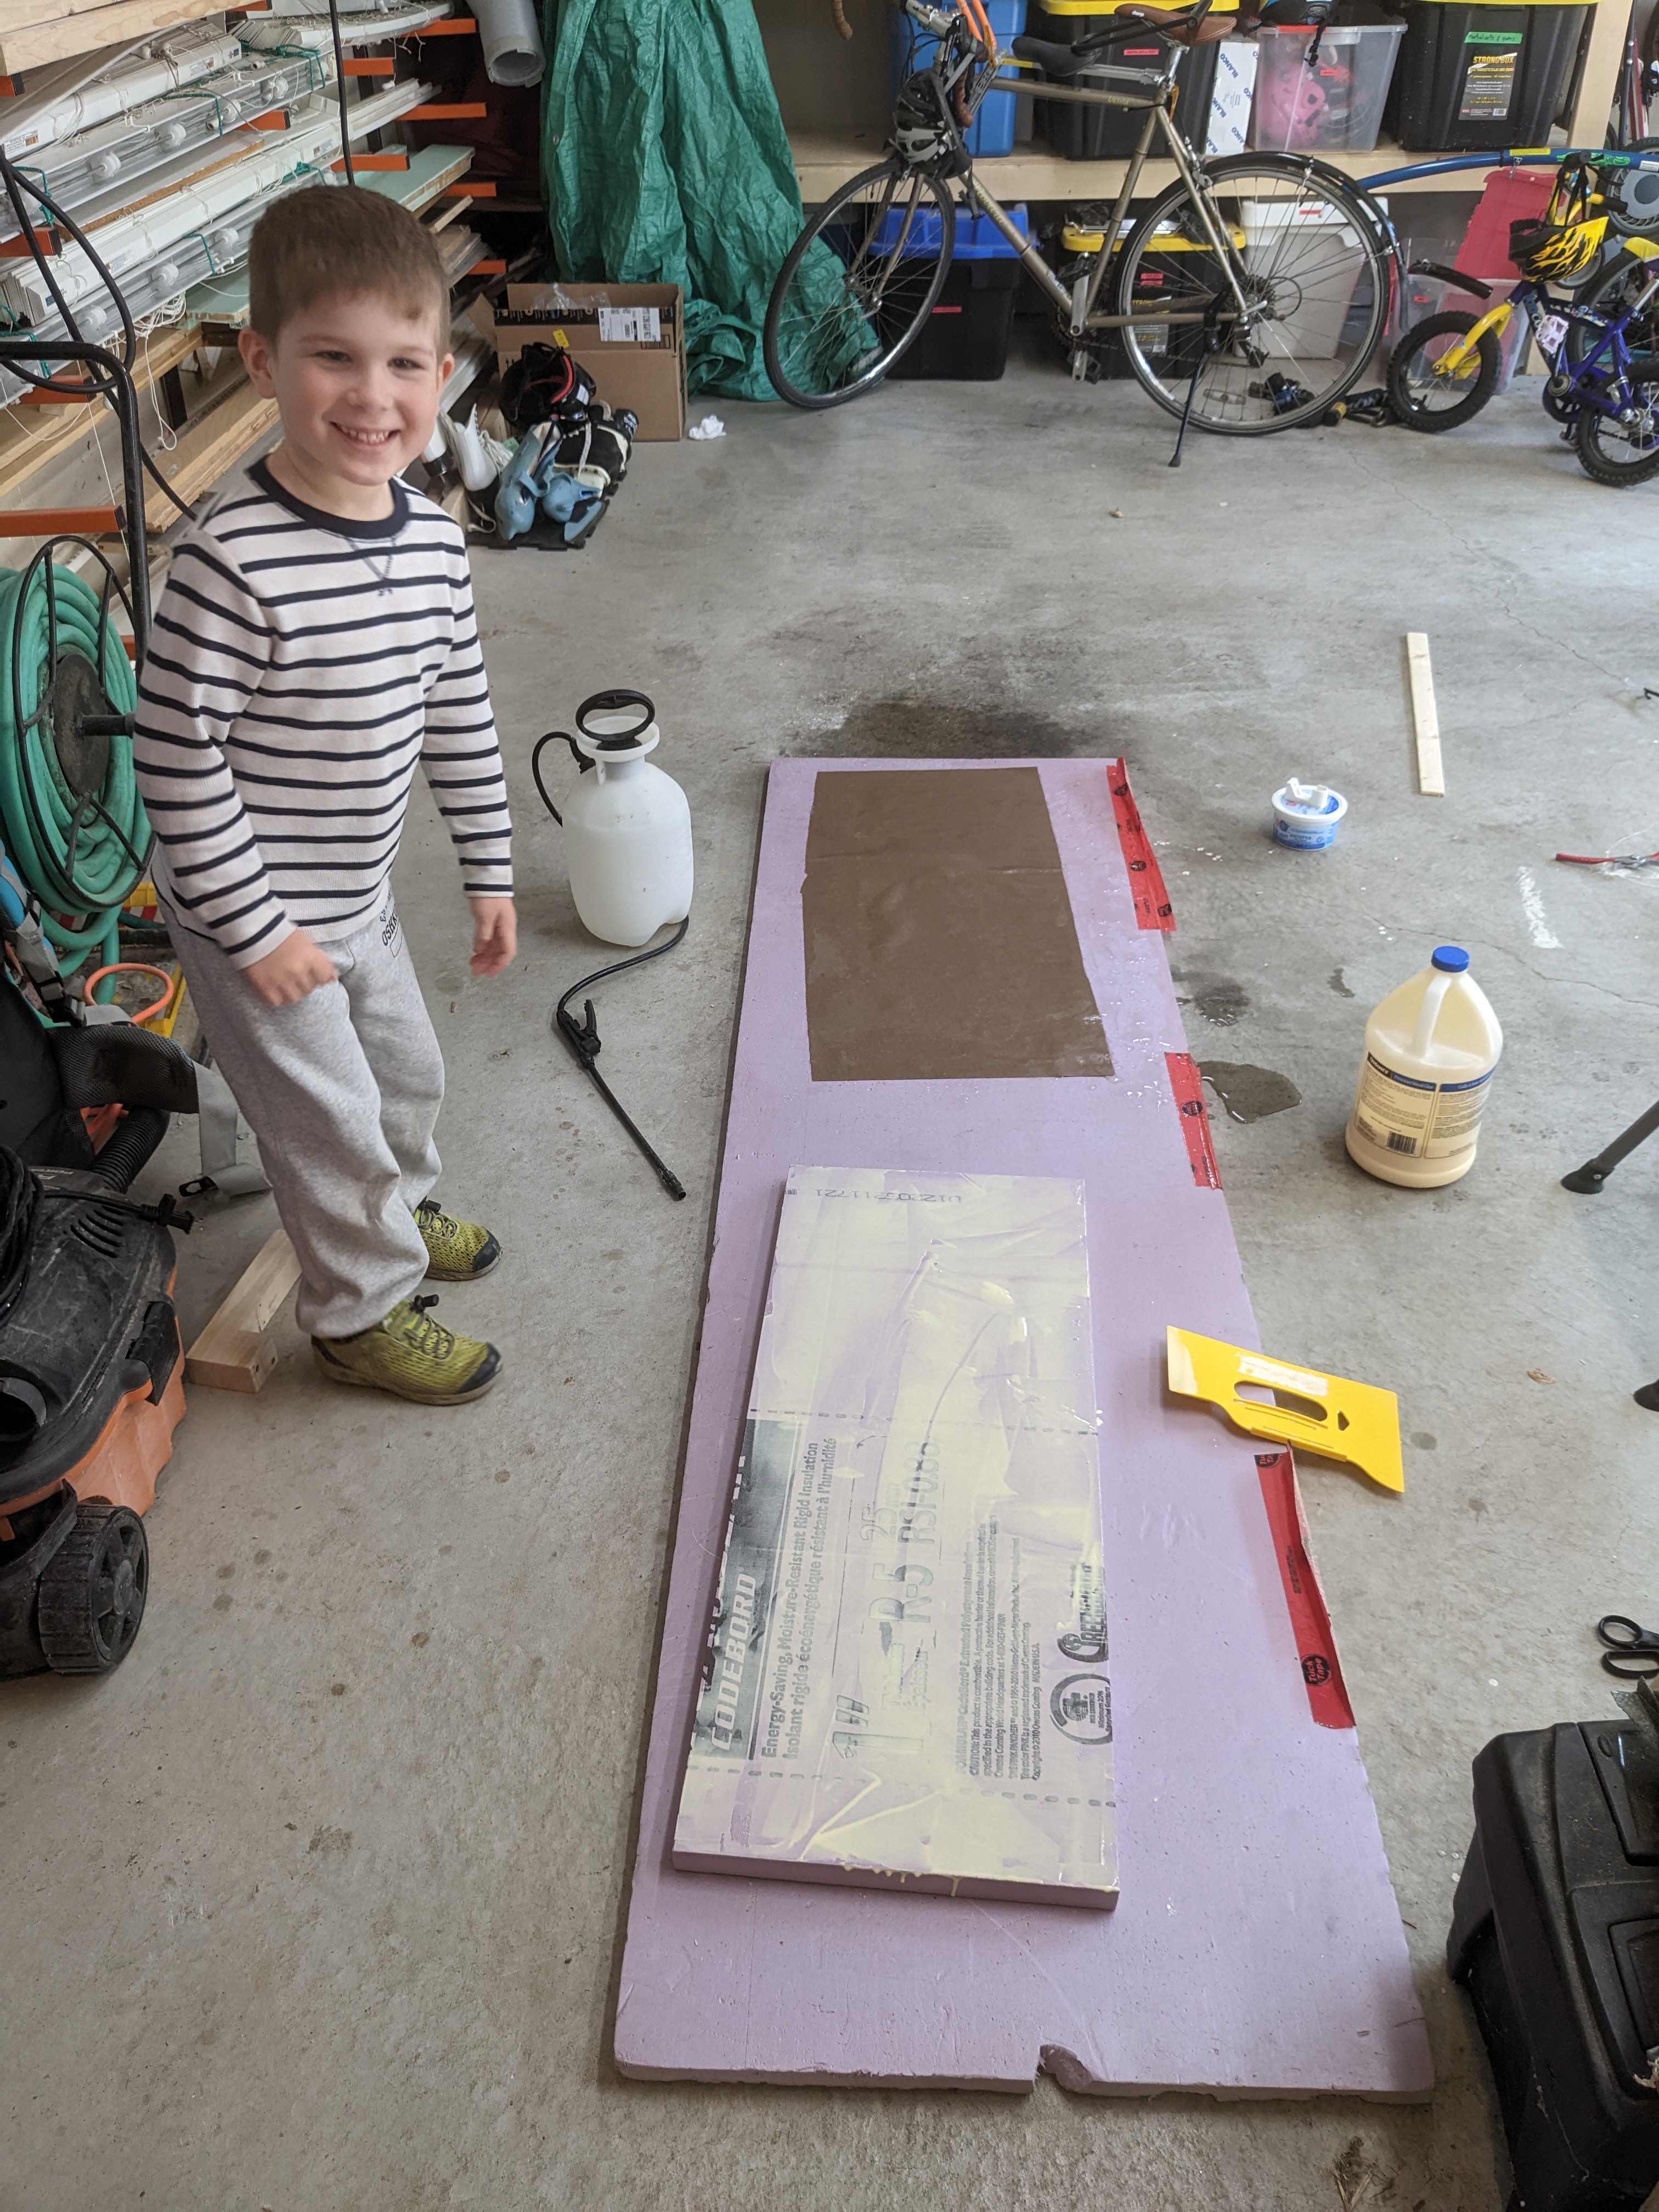
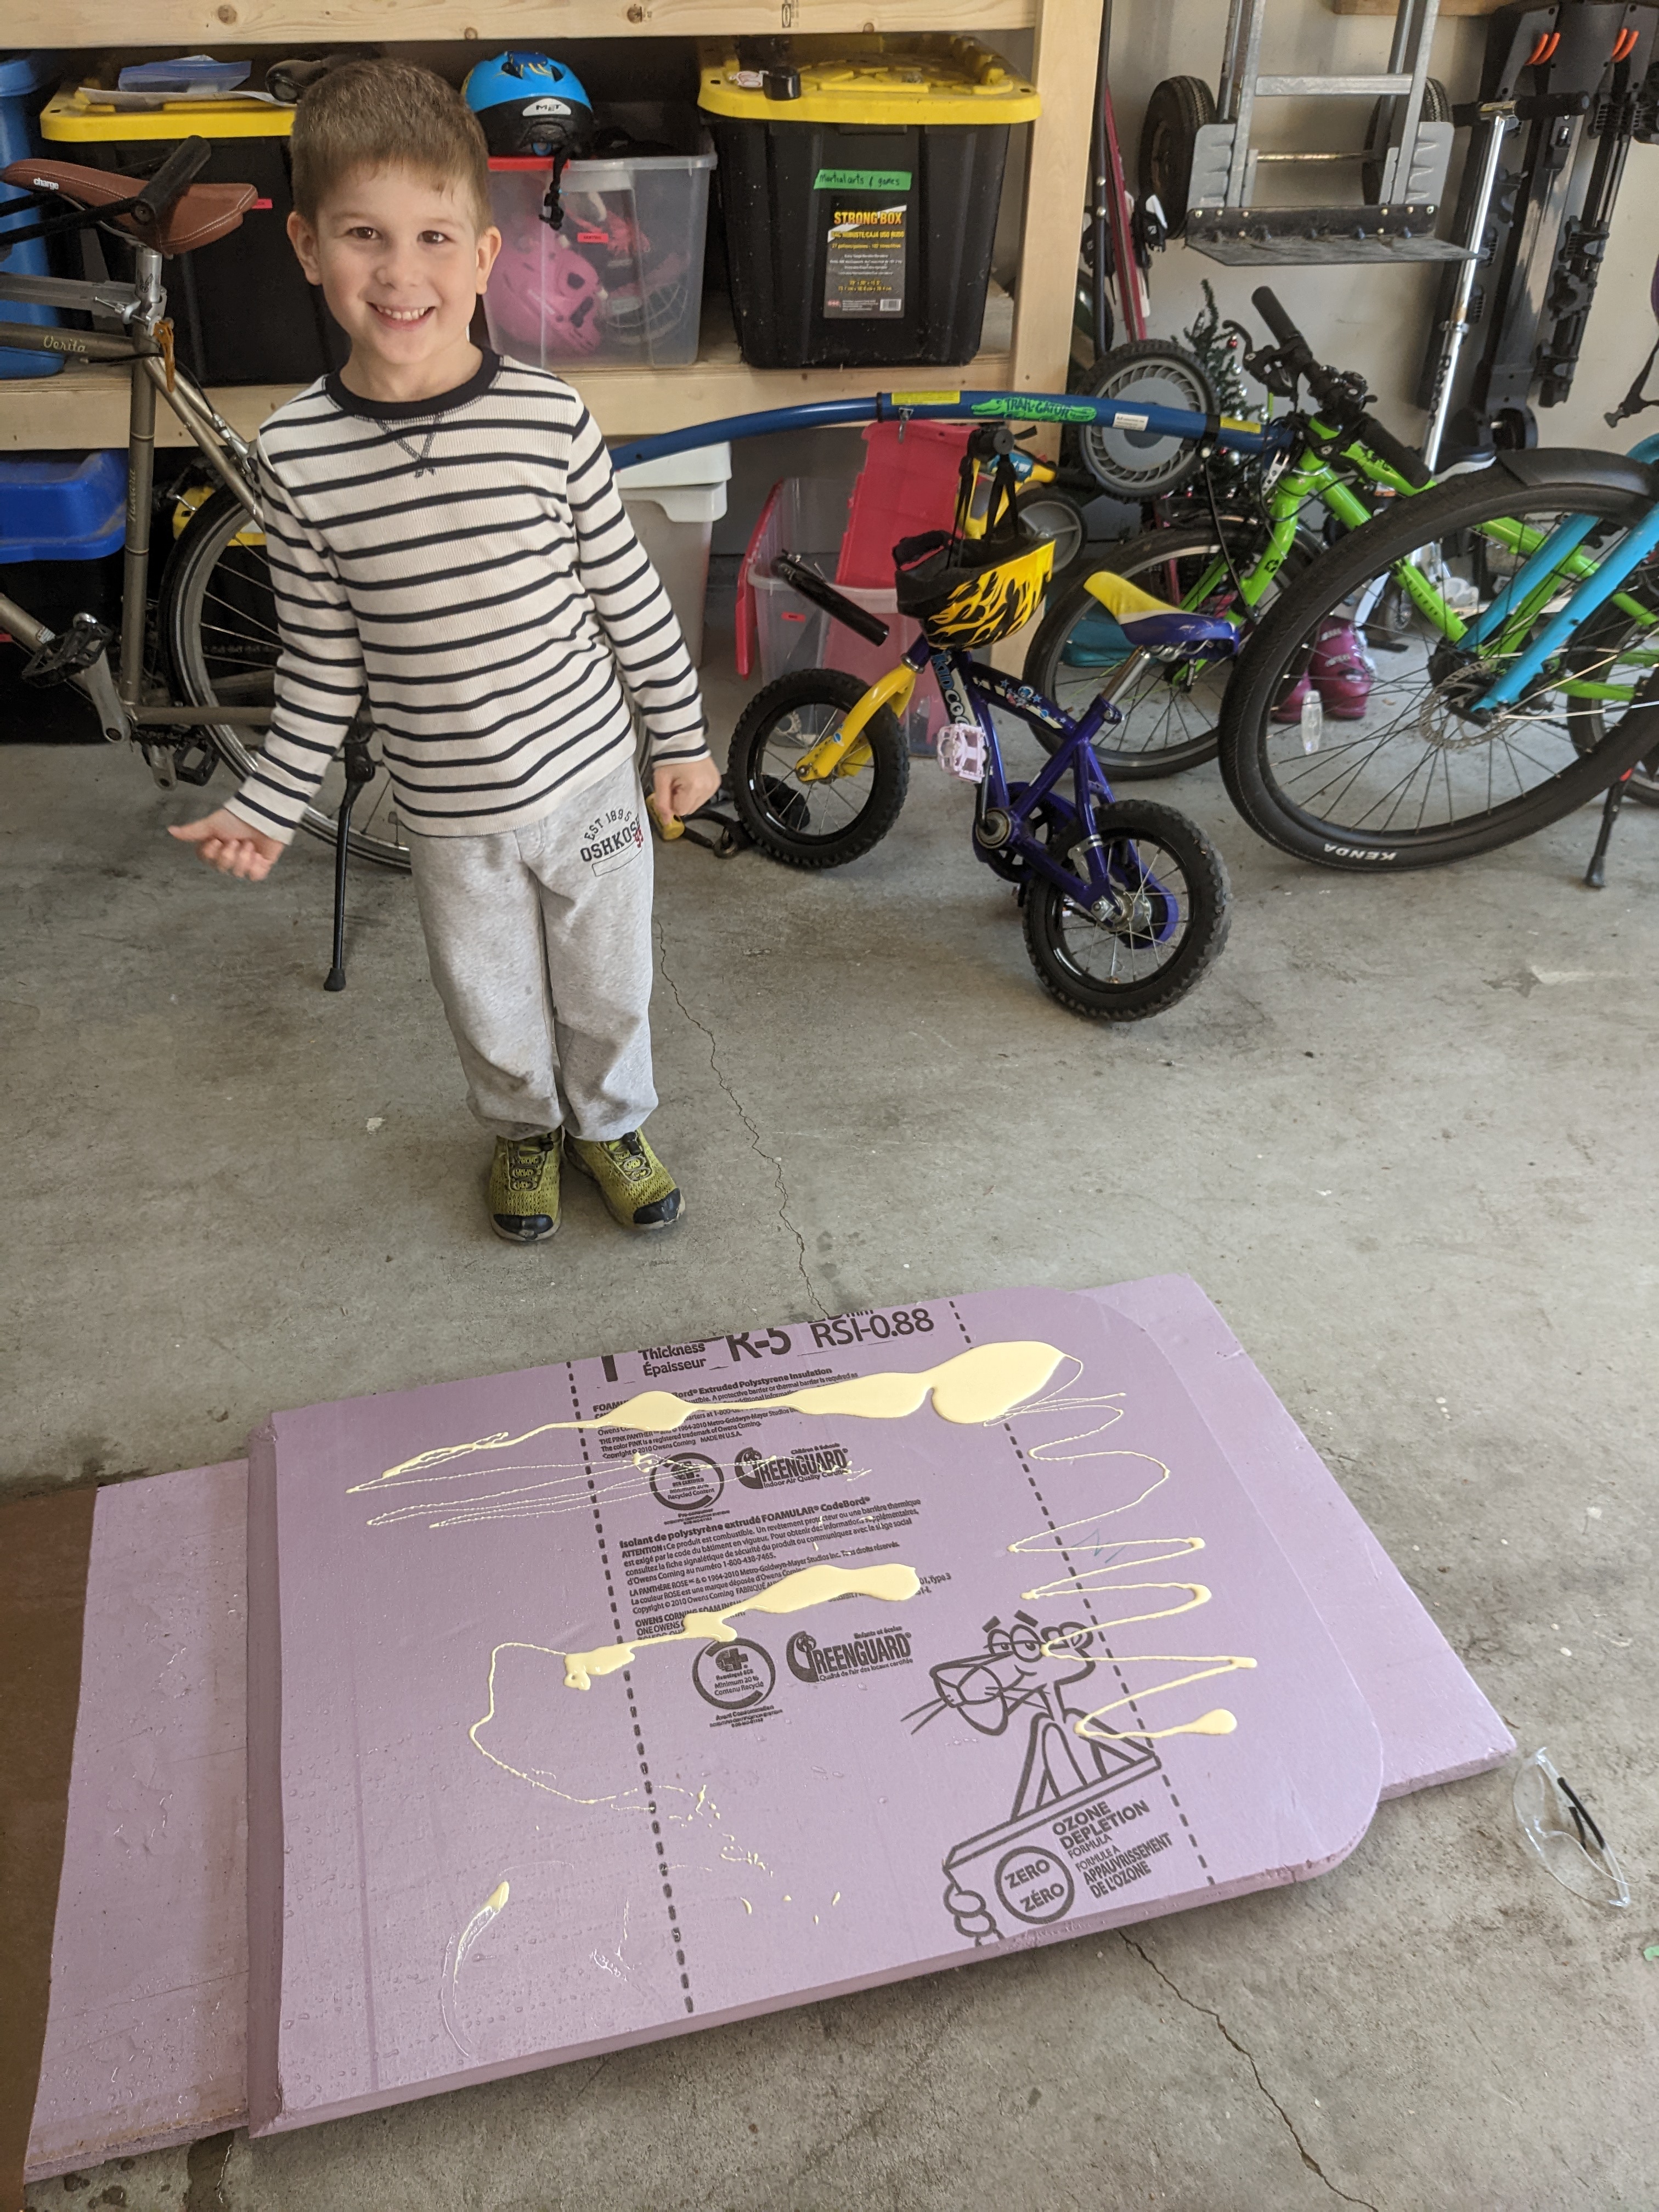
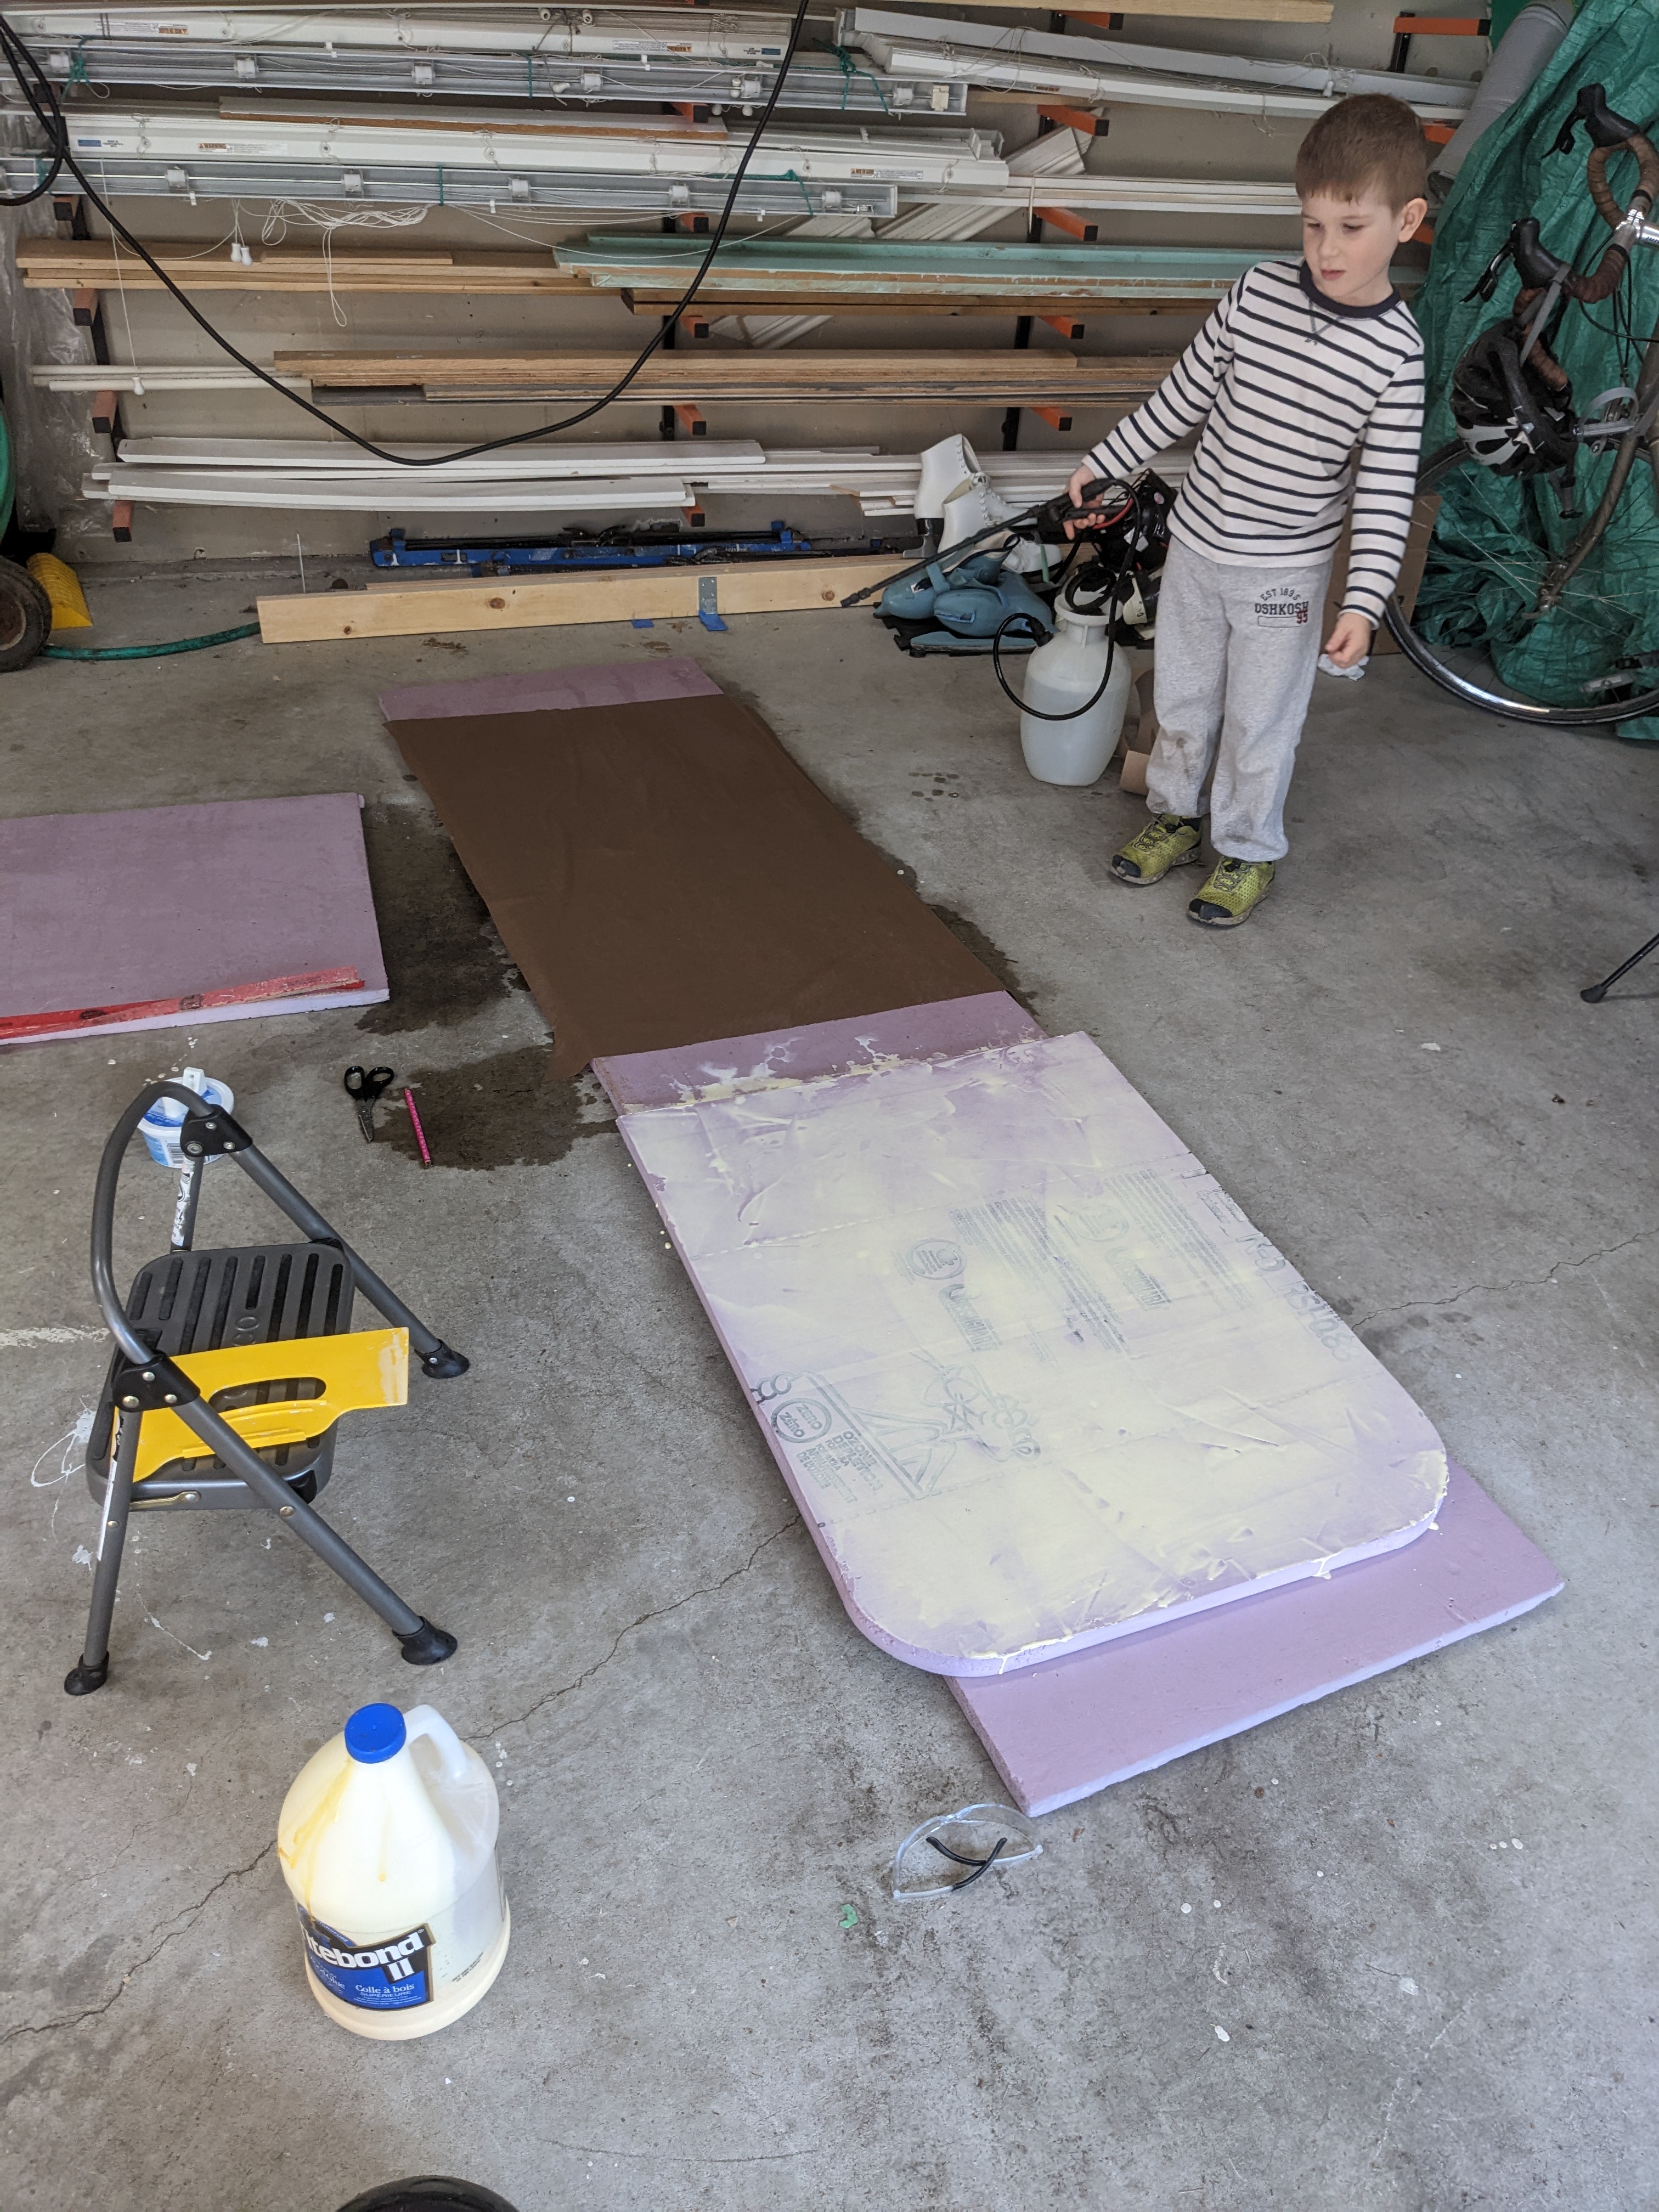
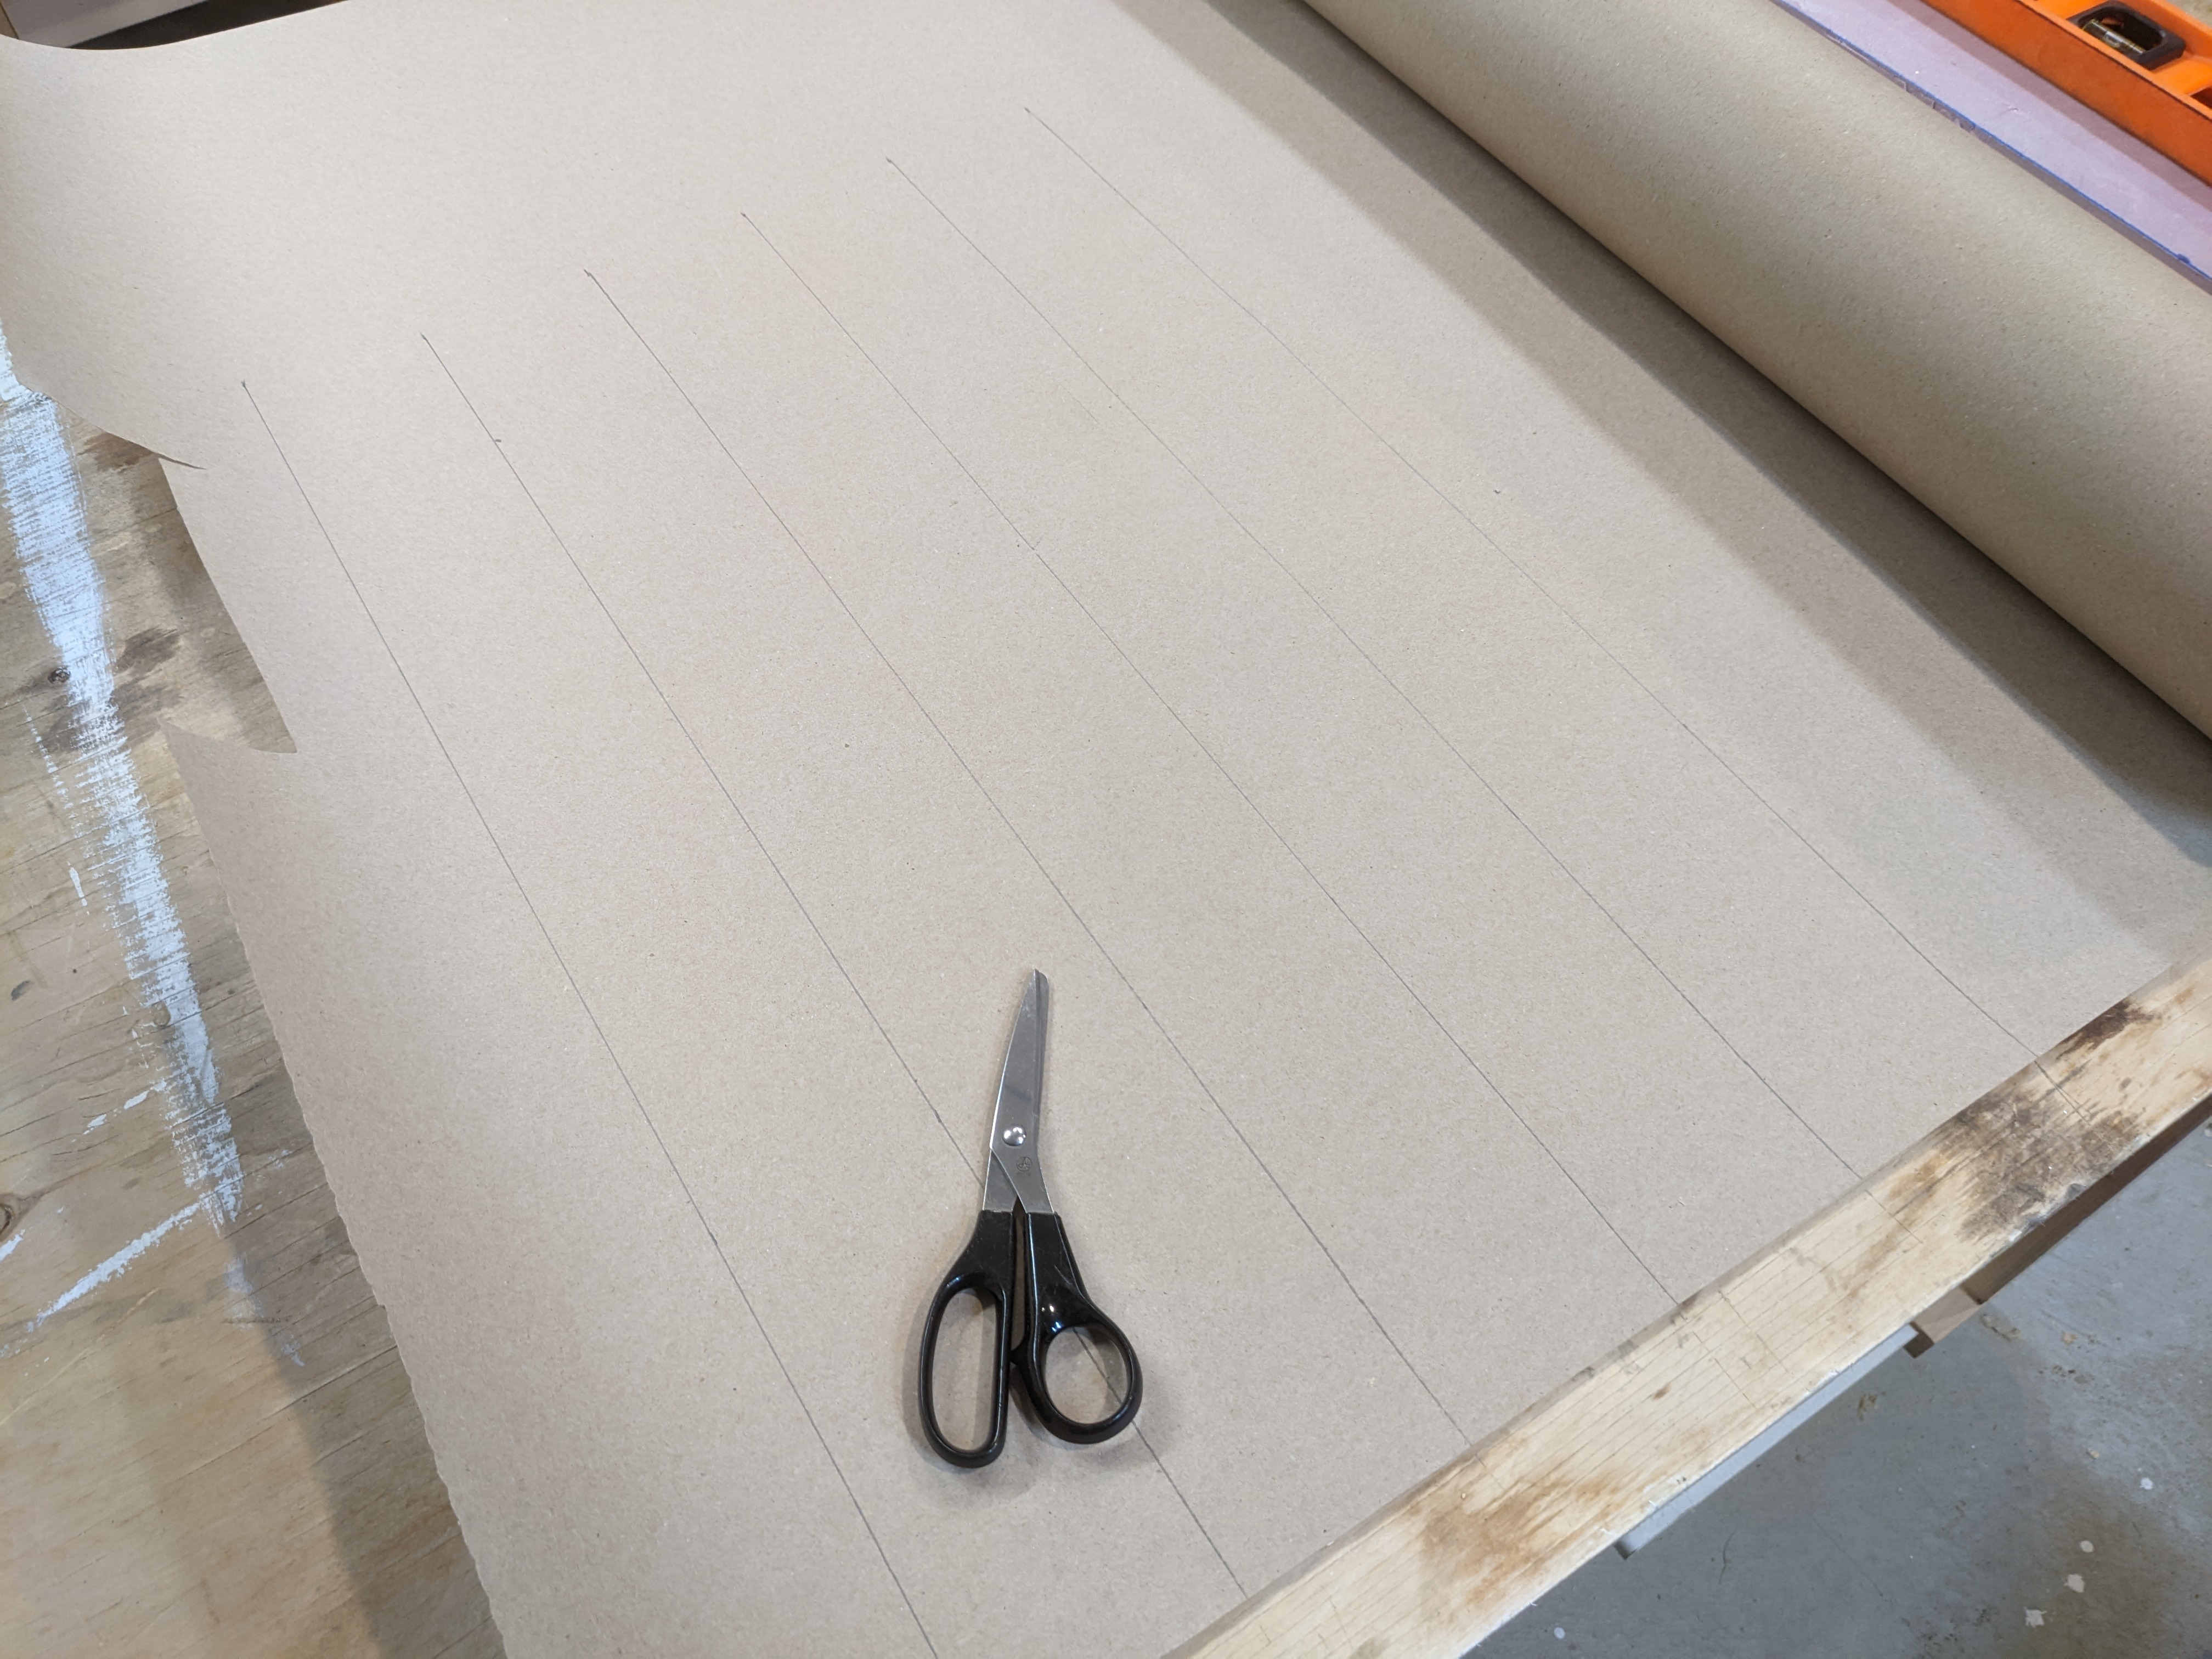
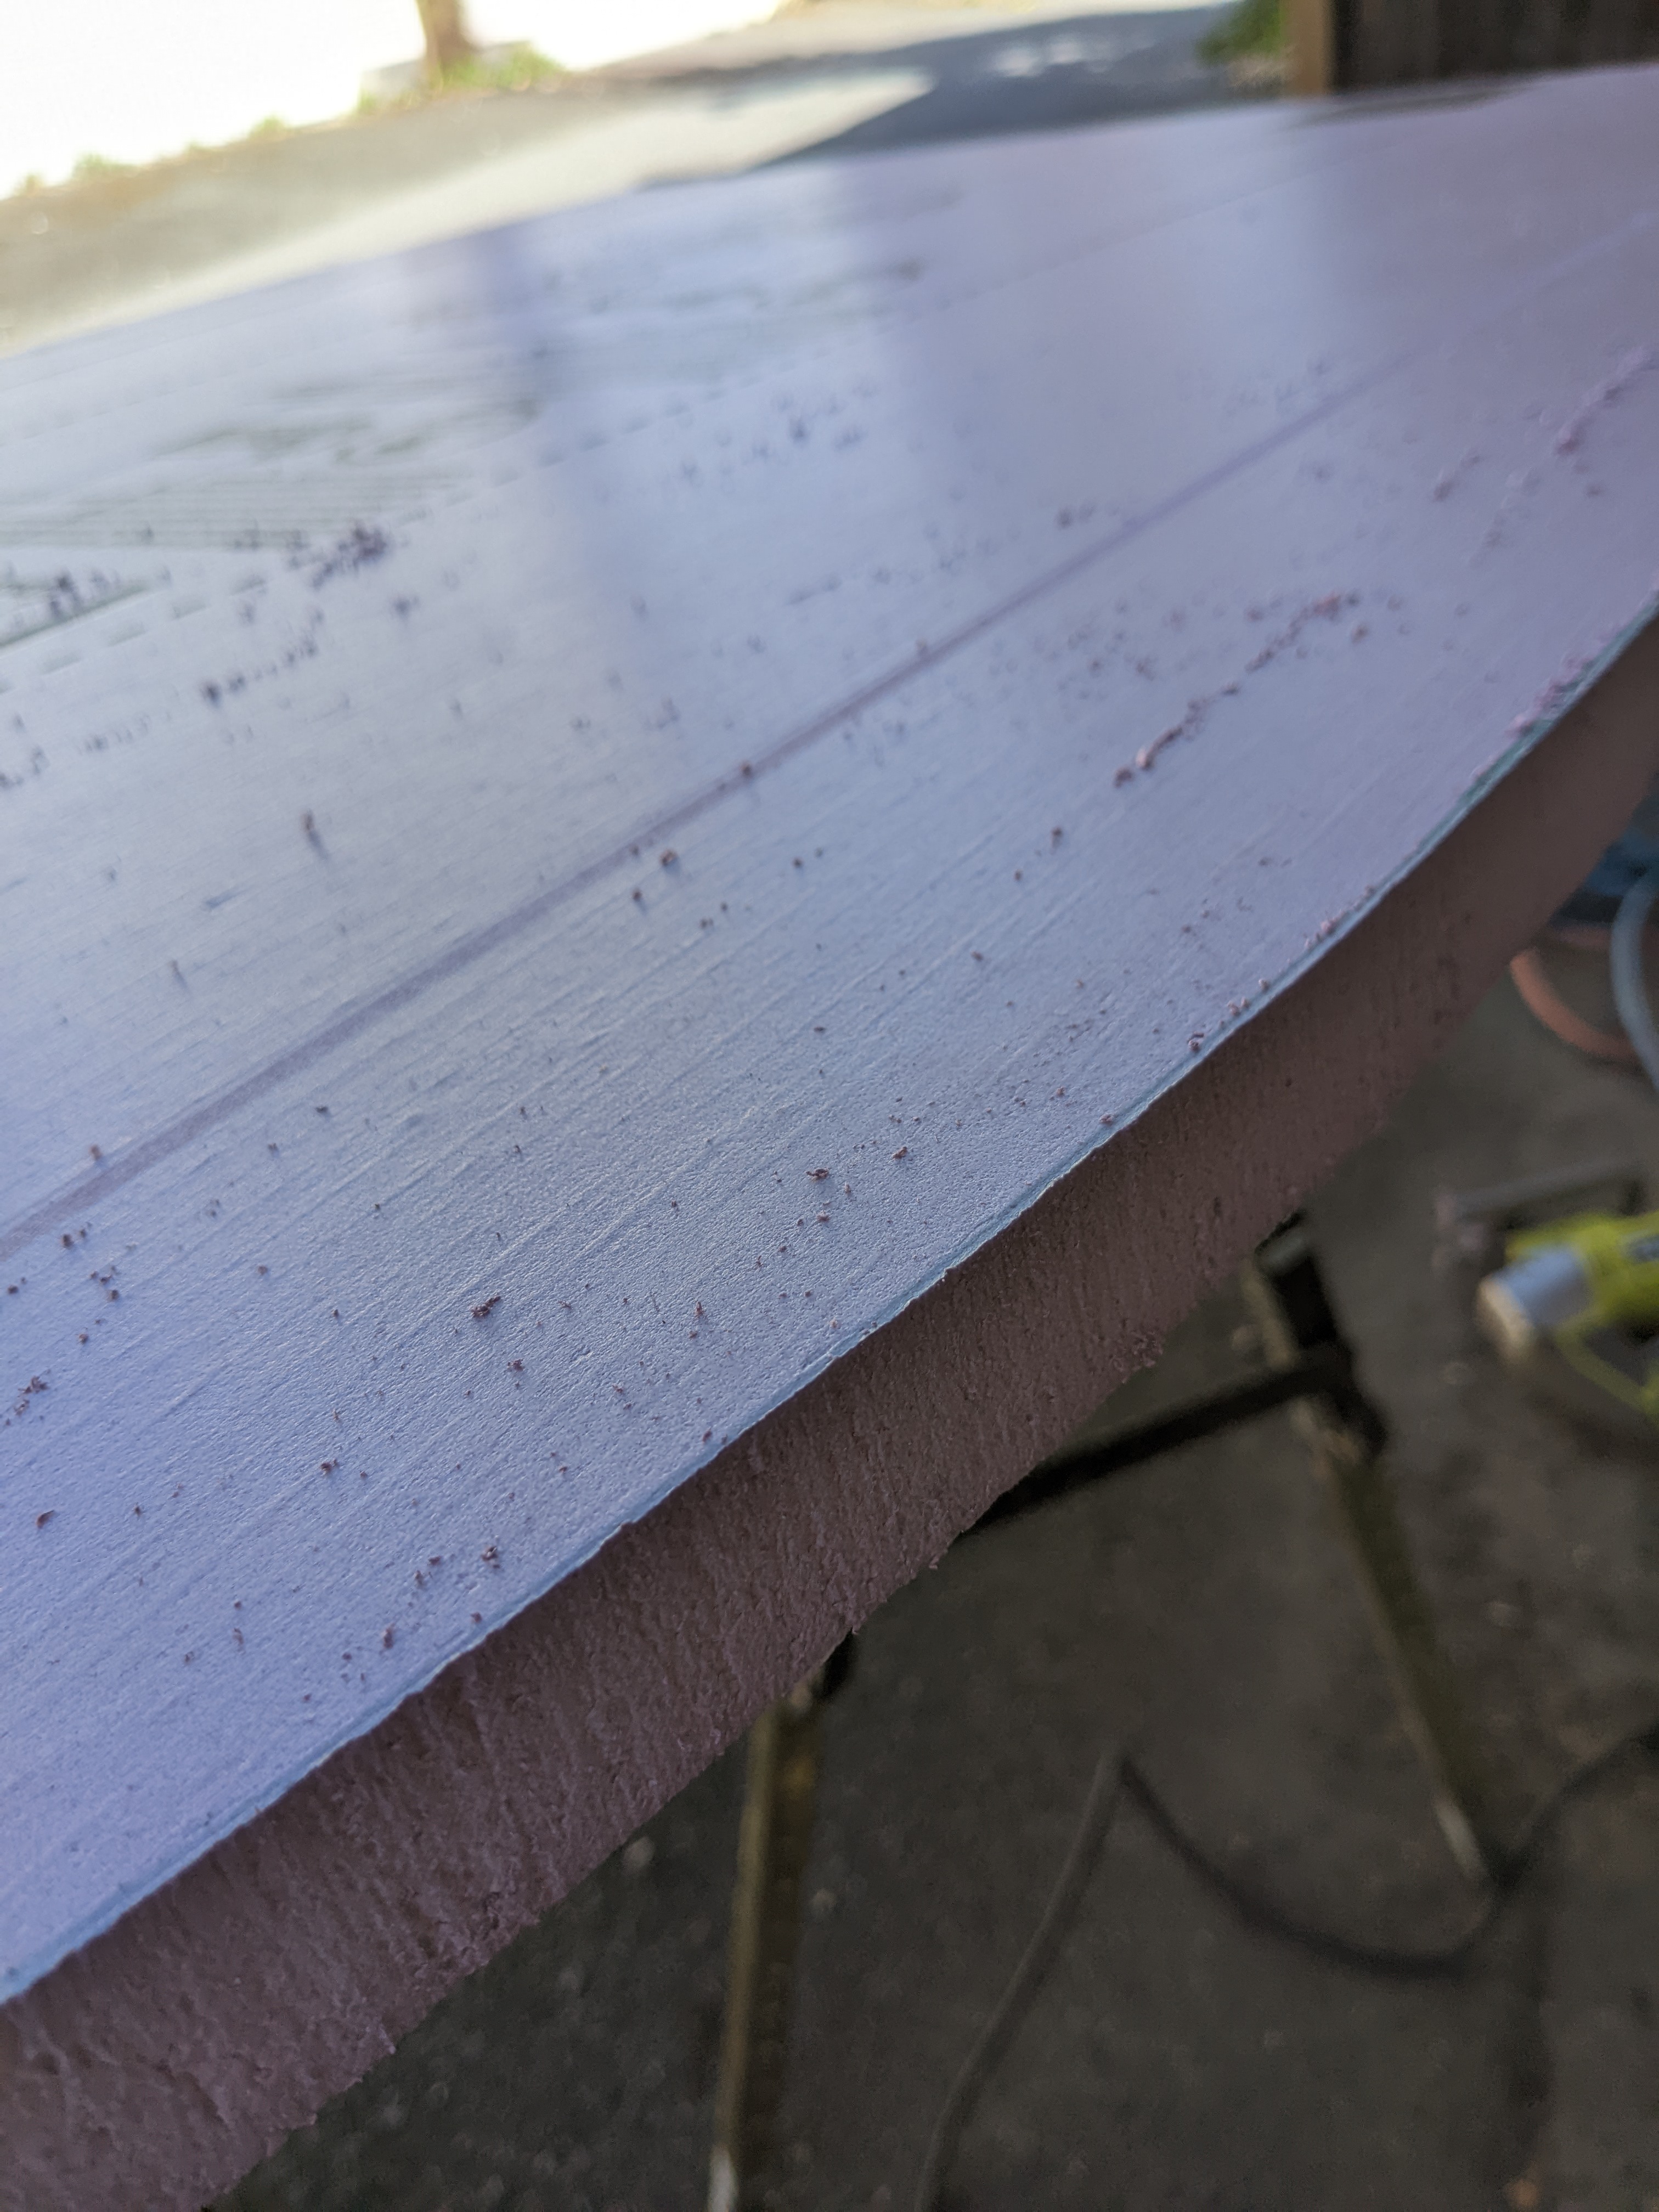
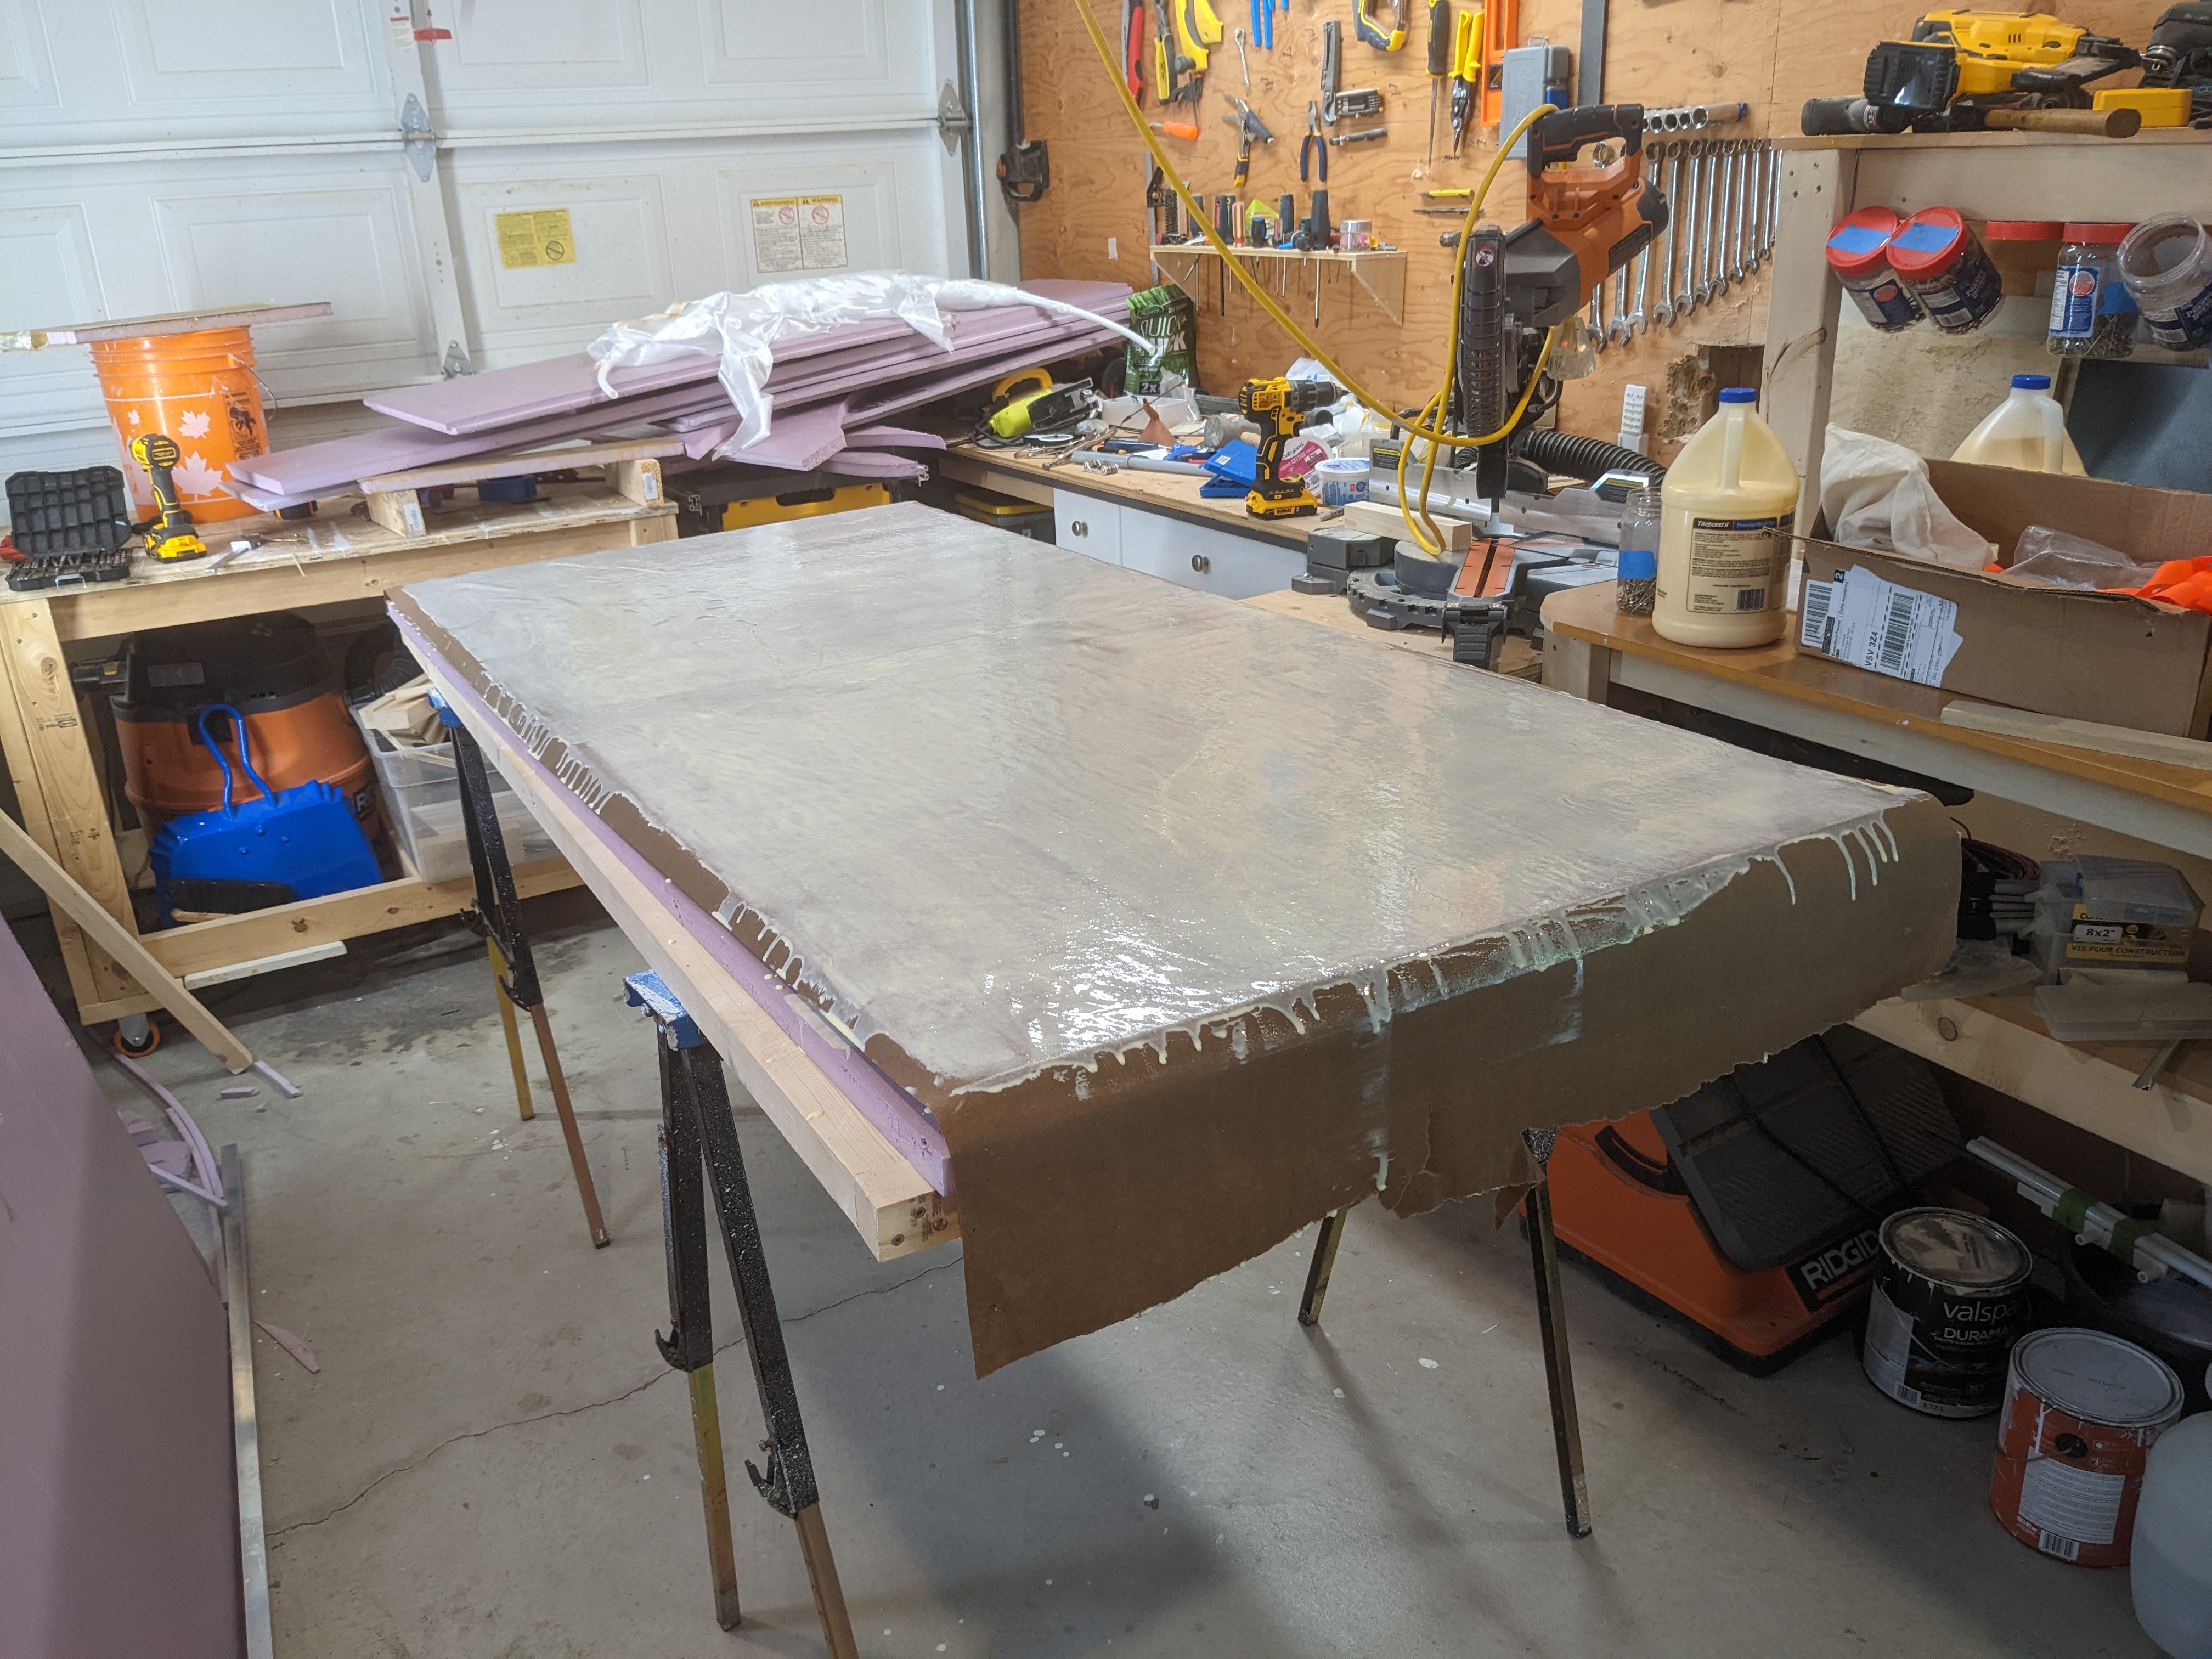
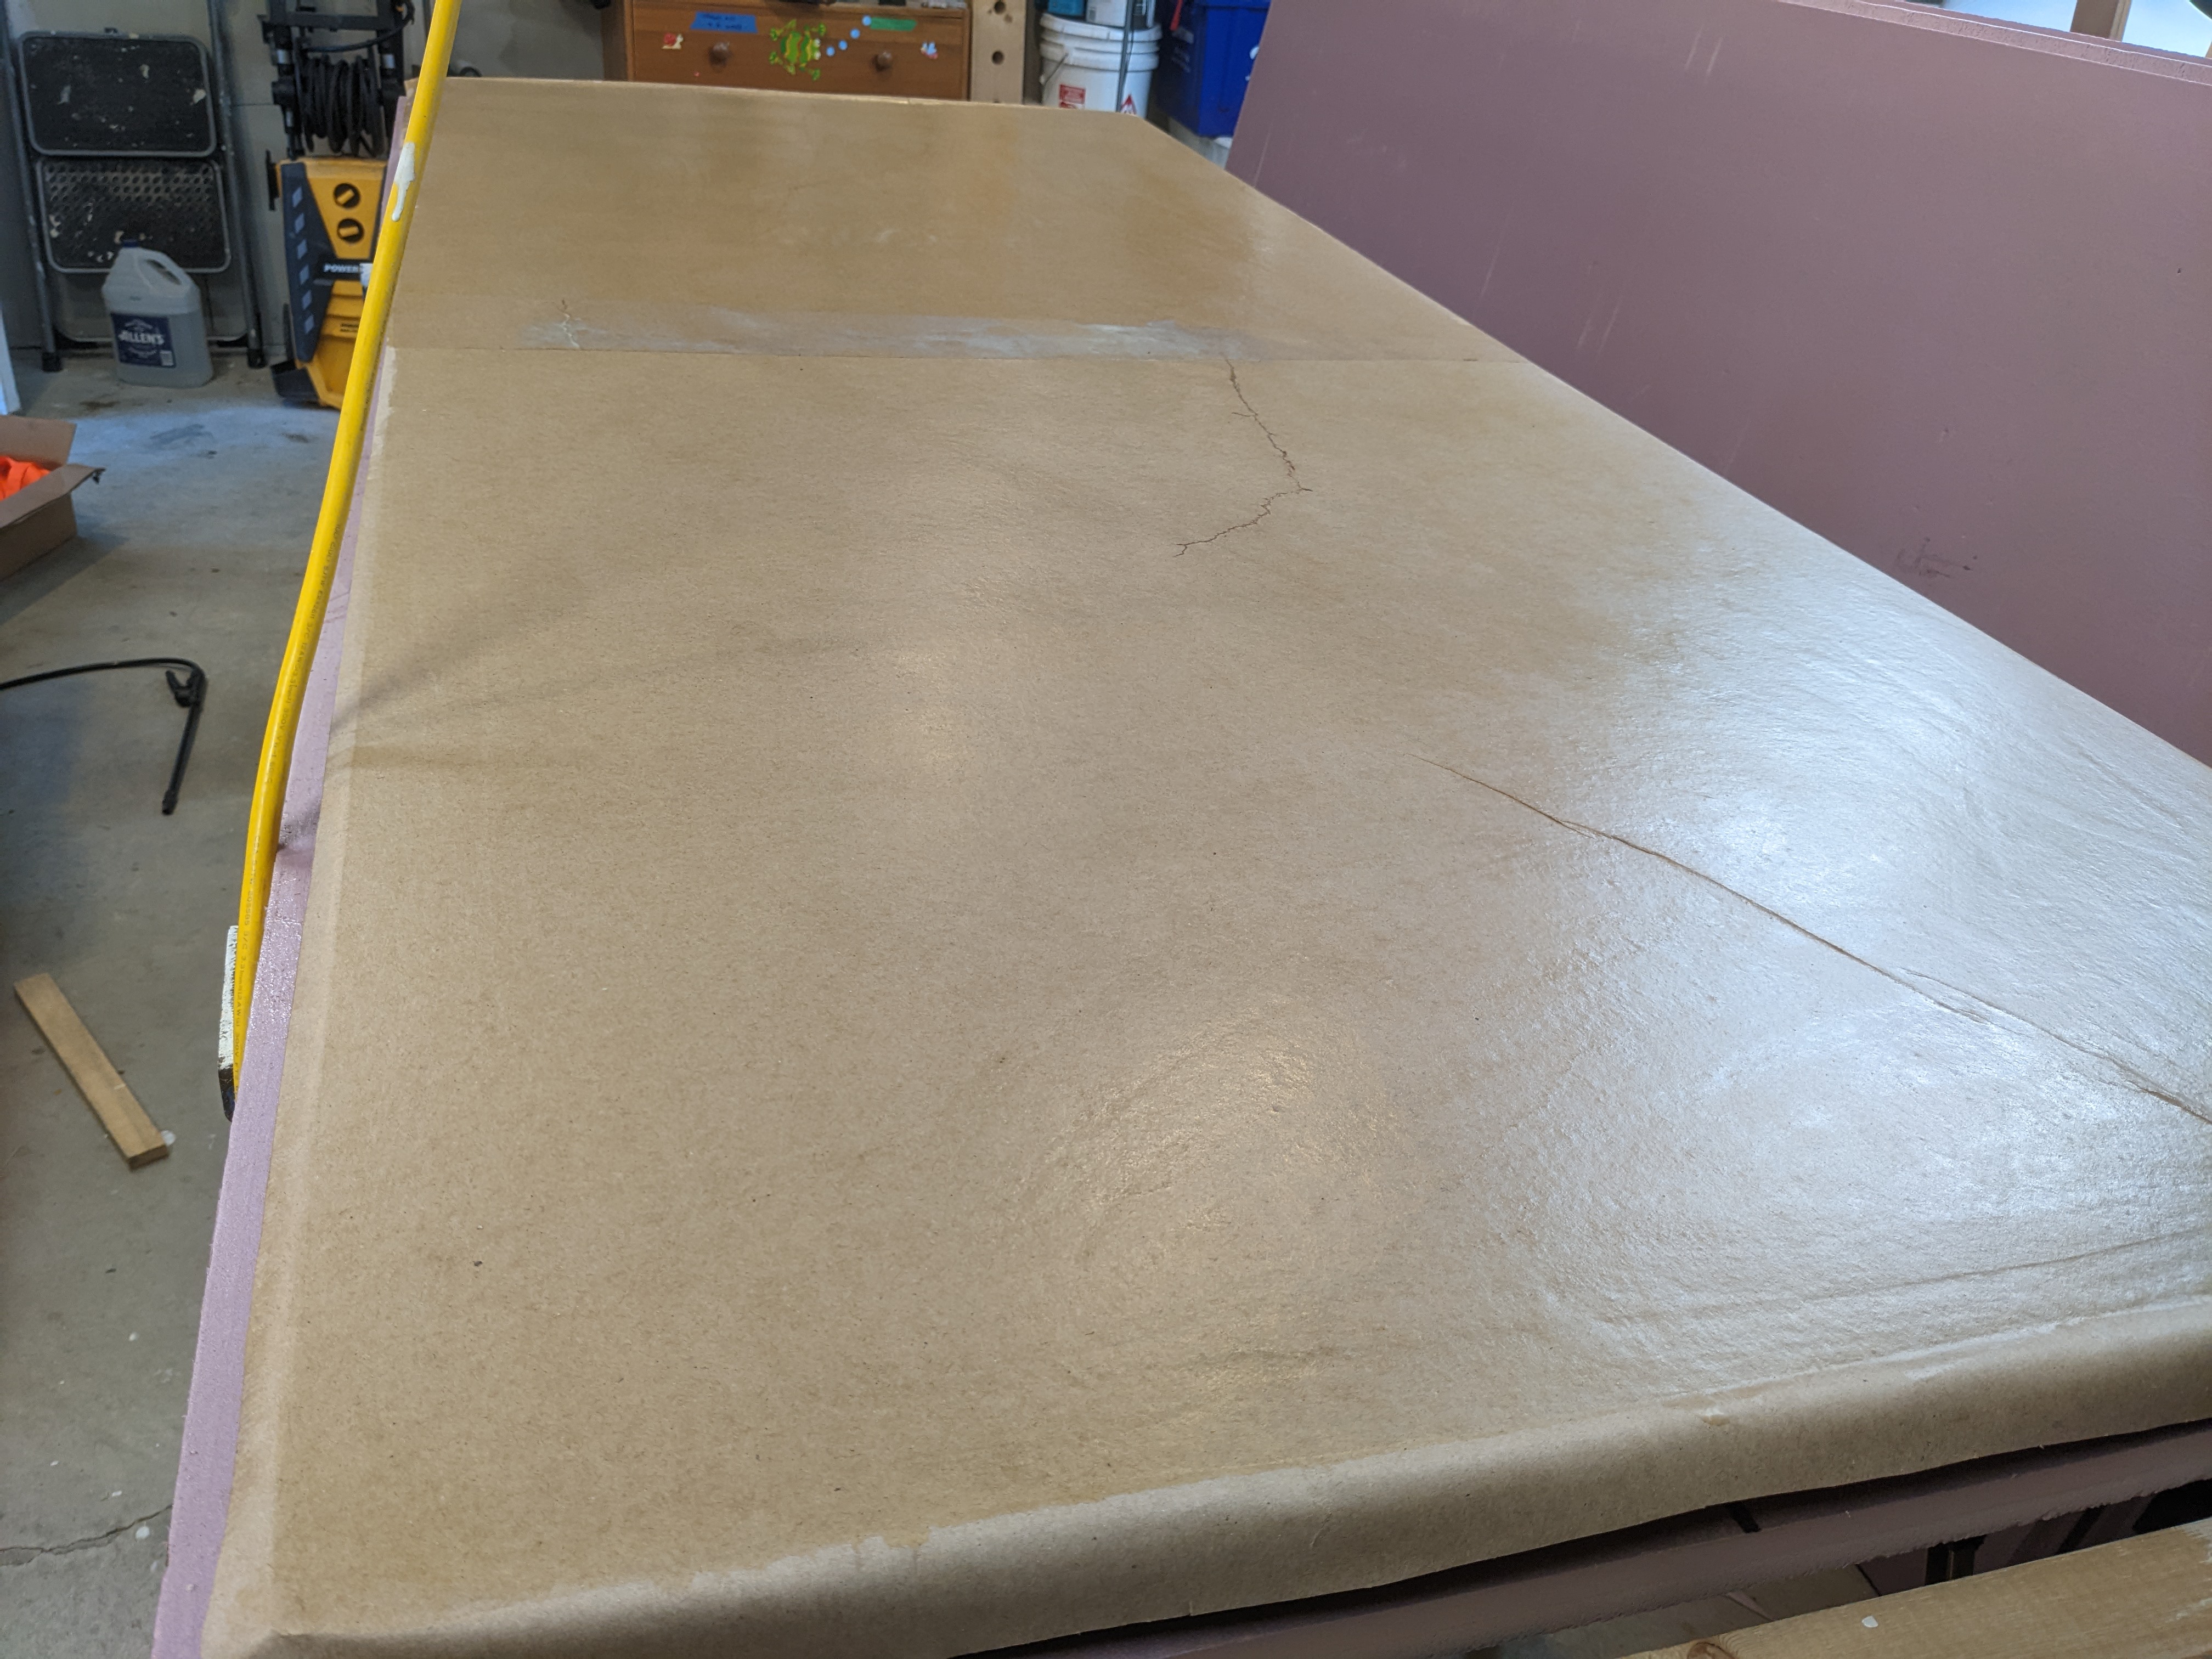
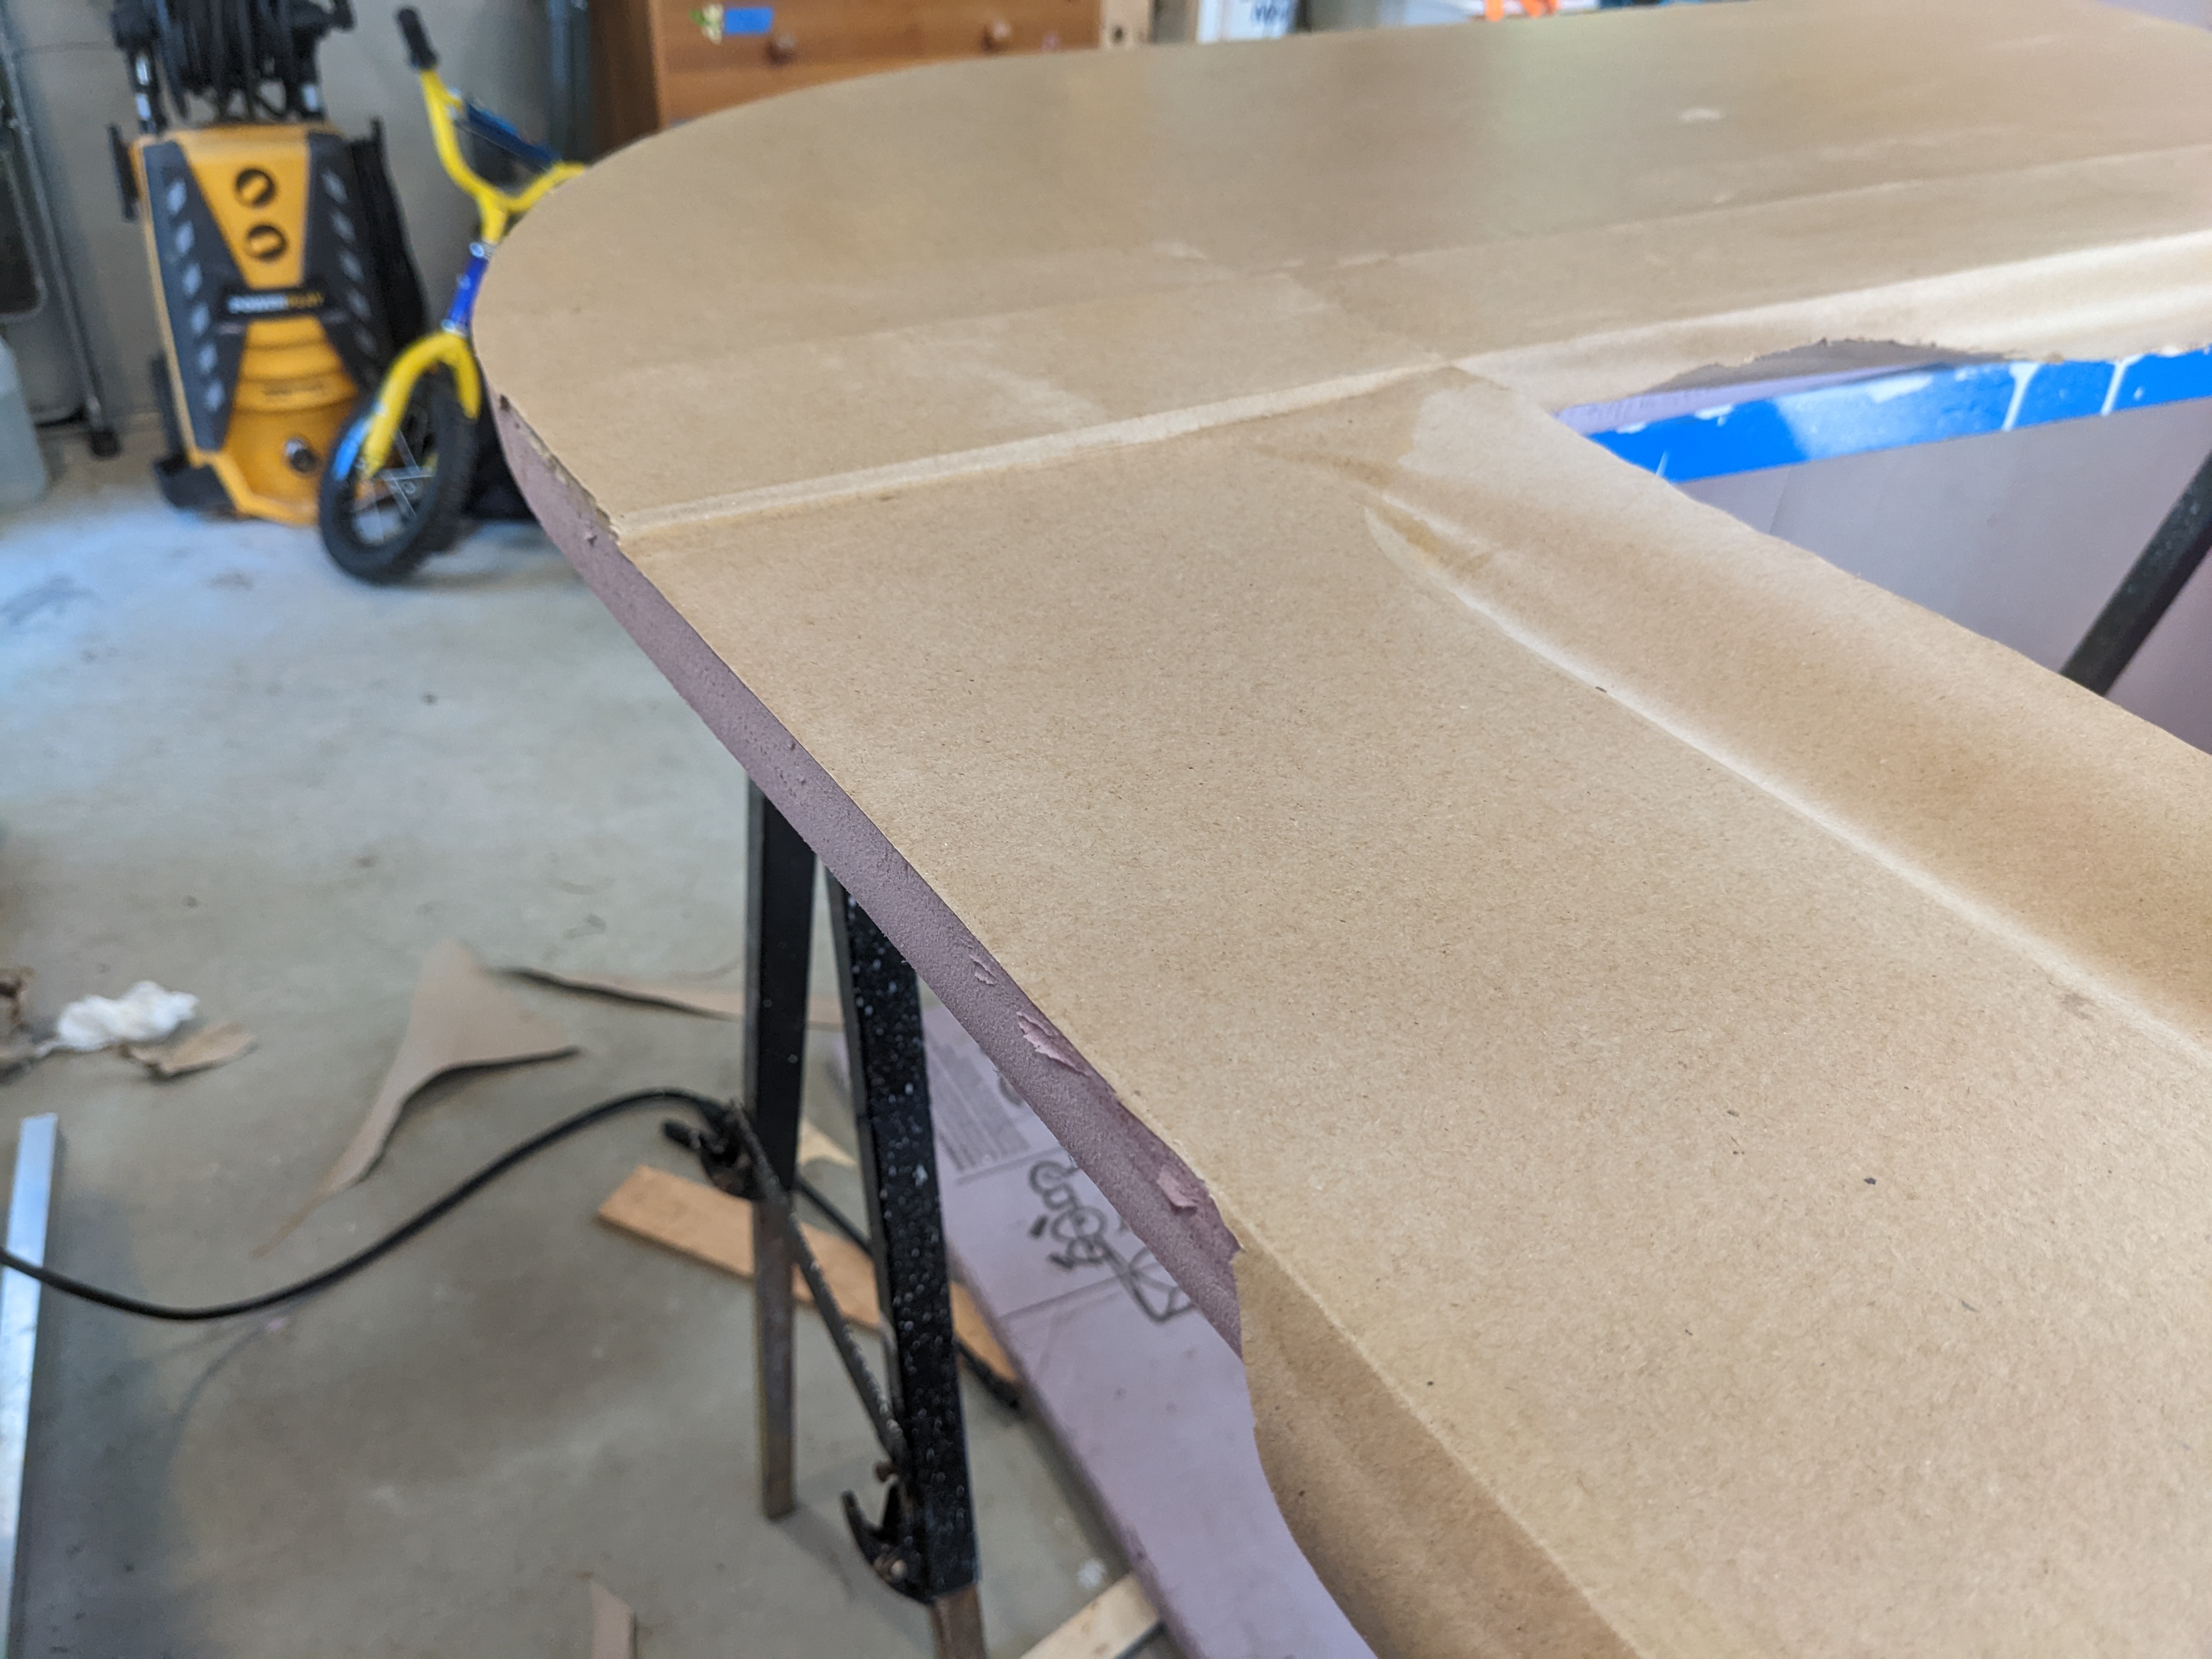
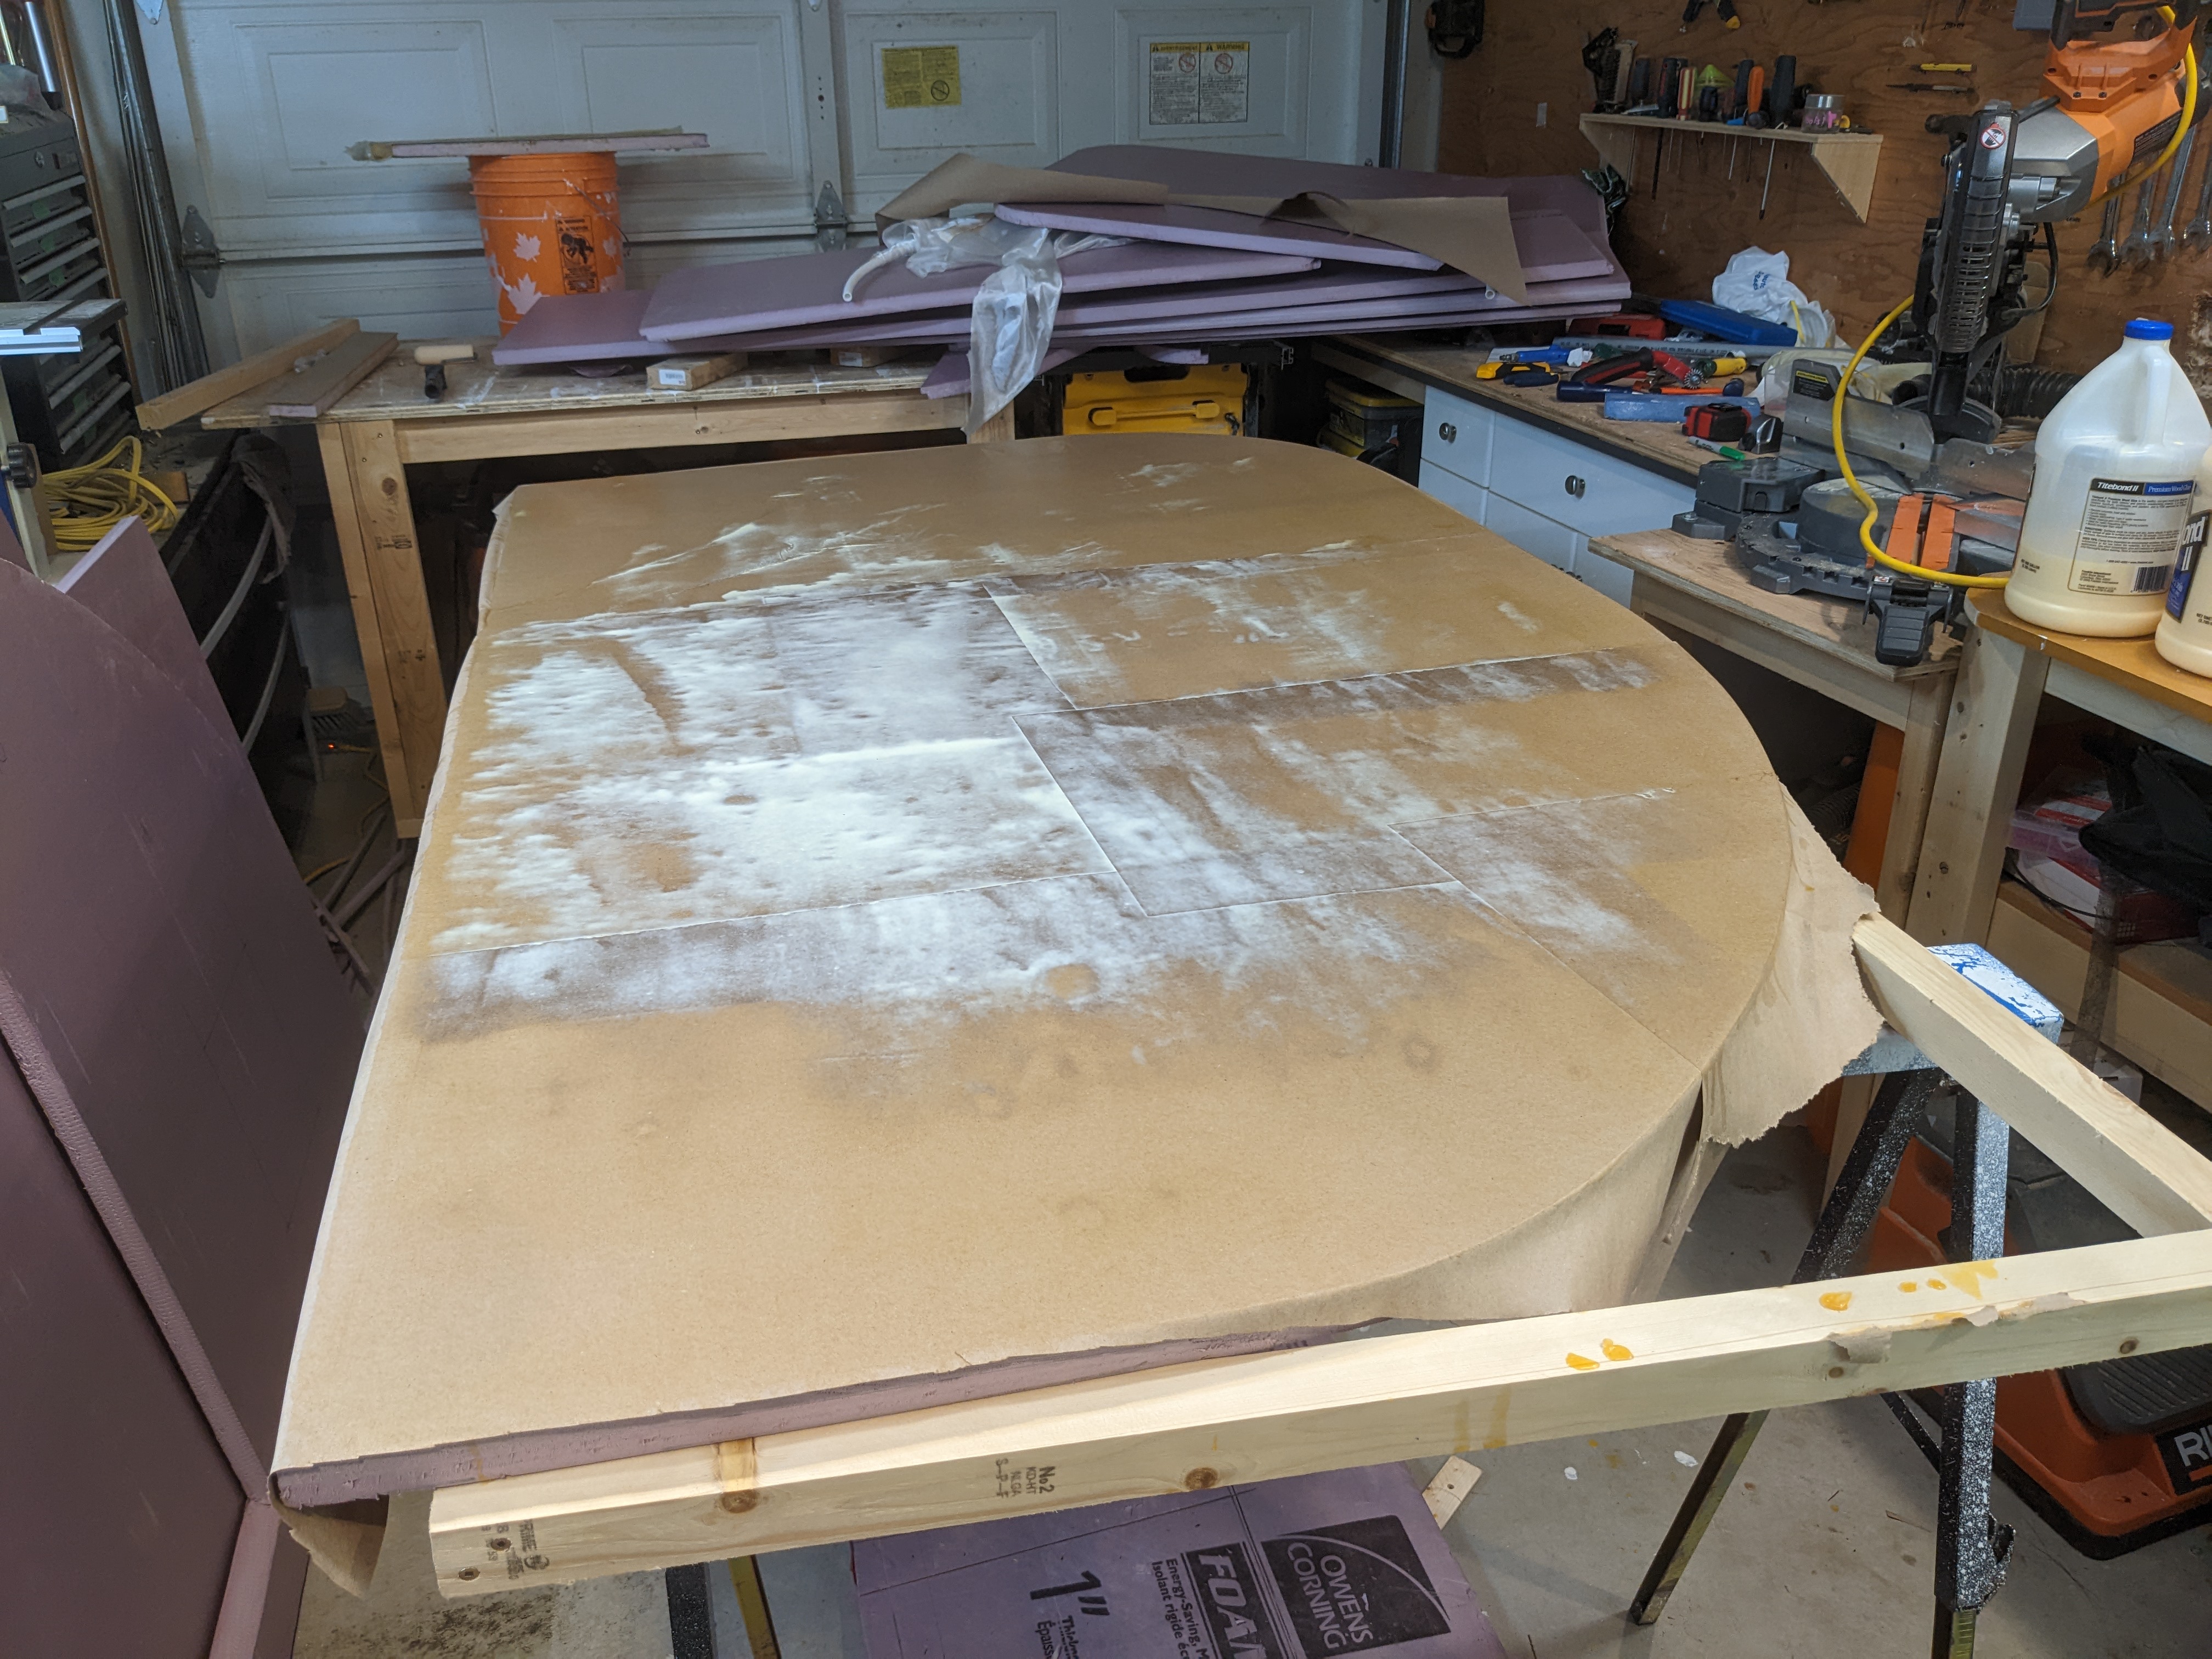
I figured I might as well go for the first layer of kraft paper. I unrolled a 3' x 7' piece and was pleased that it would cover the whole width so I wetted it down off to the side, changed into "painting-clothes" and started spreading Titebond II.
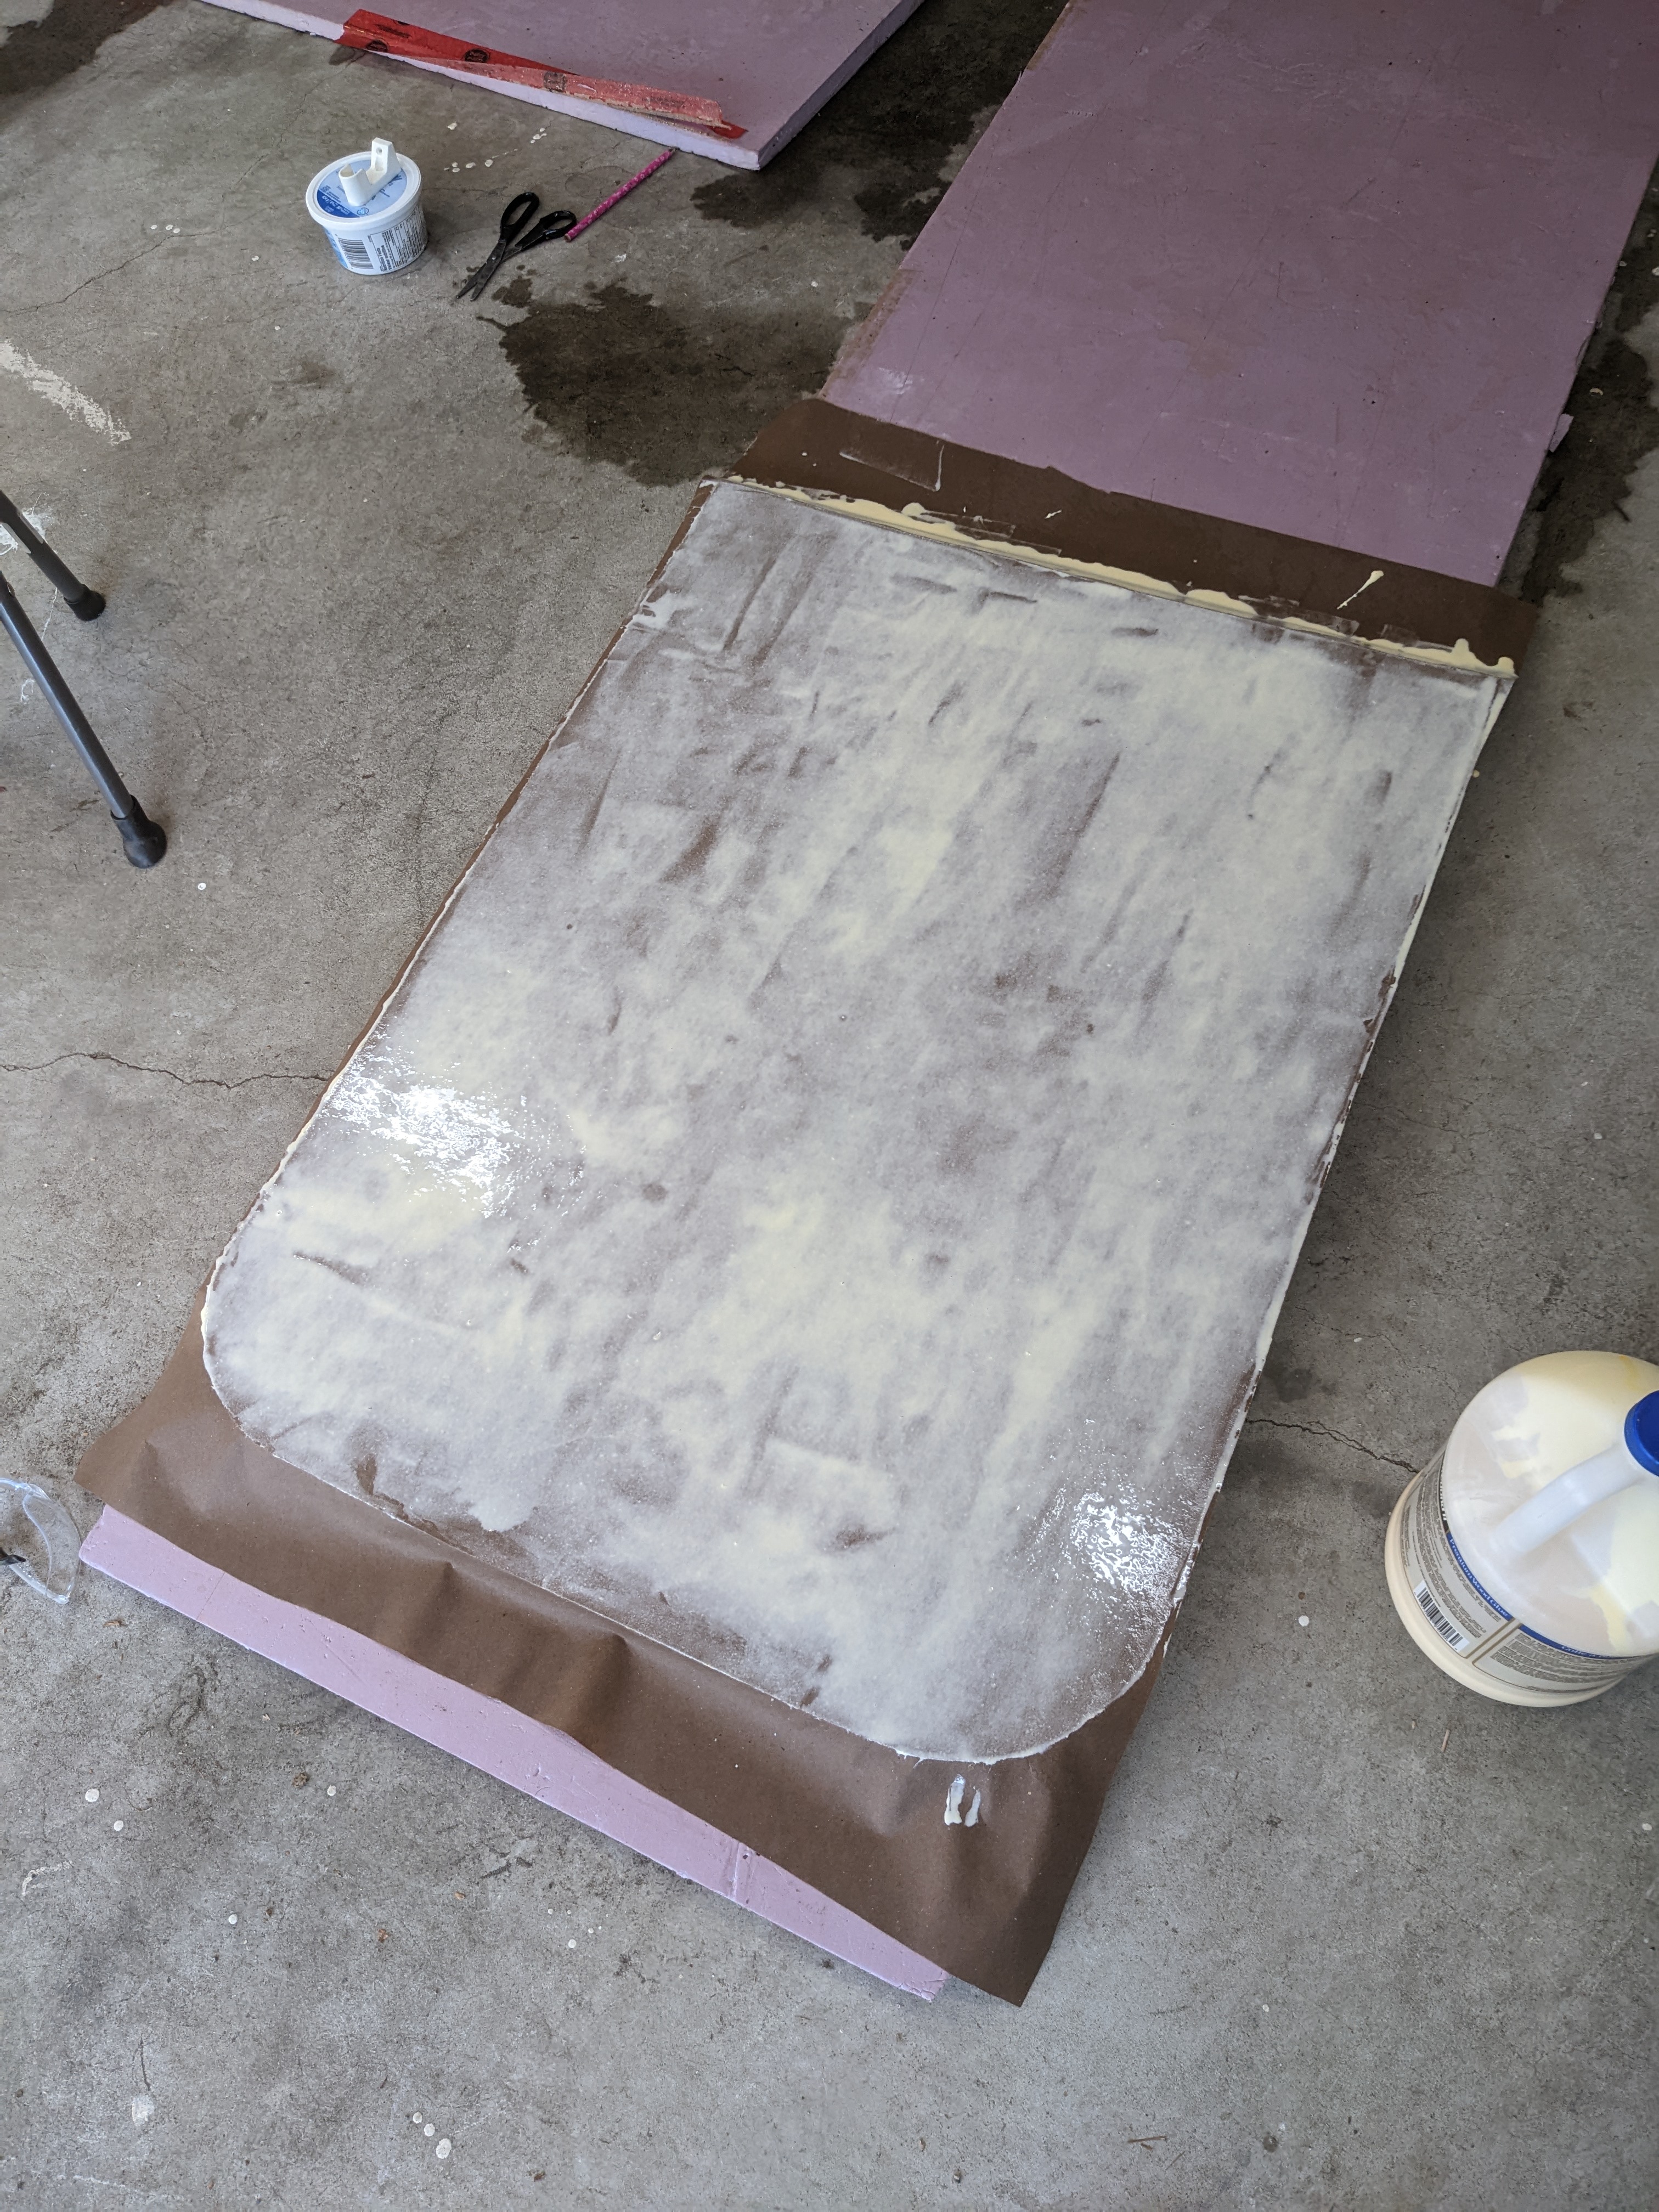
When I went to grab the paper to put it on, it became very apparent that (surprisingly!) a 3'x7' sheet of thin wet paper rips very easily. So I tossed one and tried about 3' x 3.5'. That ripped again, but I sort of got it in place and smoothed it down. And then repeated for the other half.
I think in future about 3' x 2' will be the max I work with. This ended up "OK", but but it ripped in a few places which makes the top layer of glue hard to spread. I think with a little sanding it won't be too bad though.


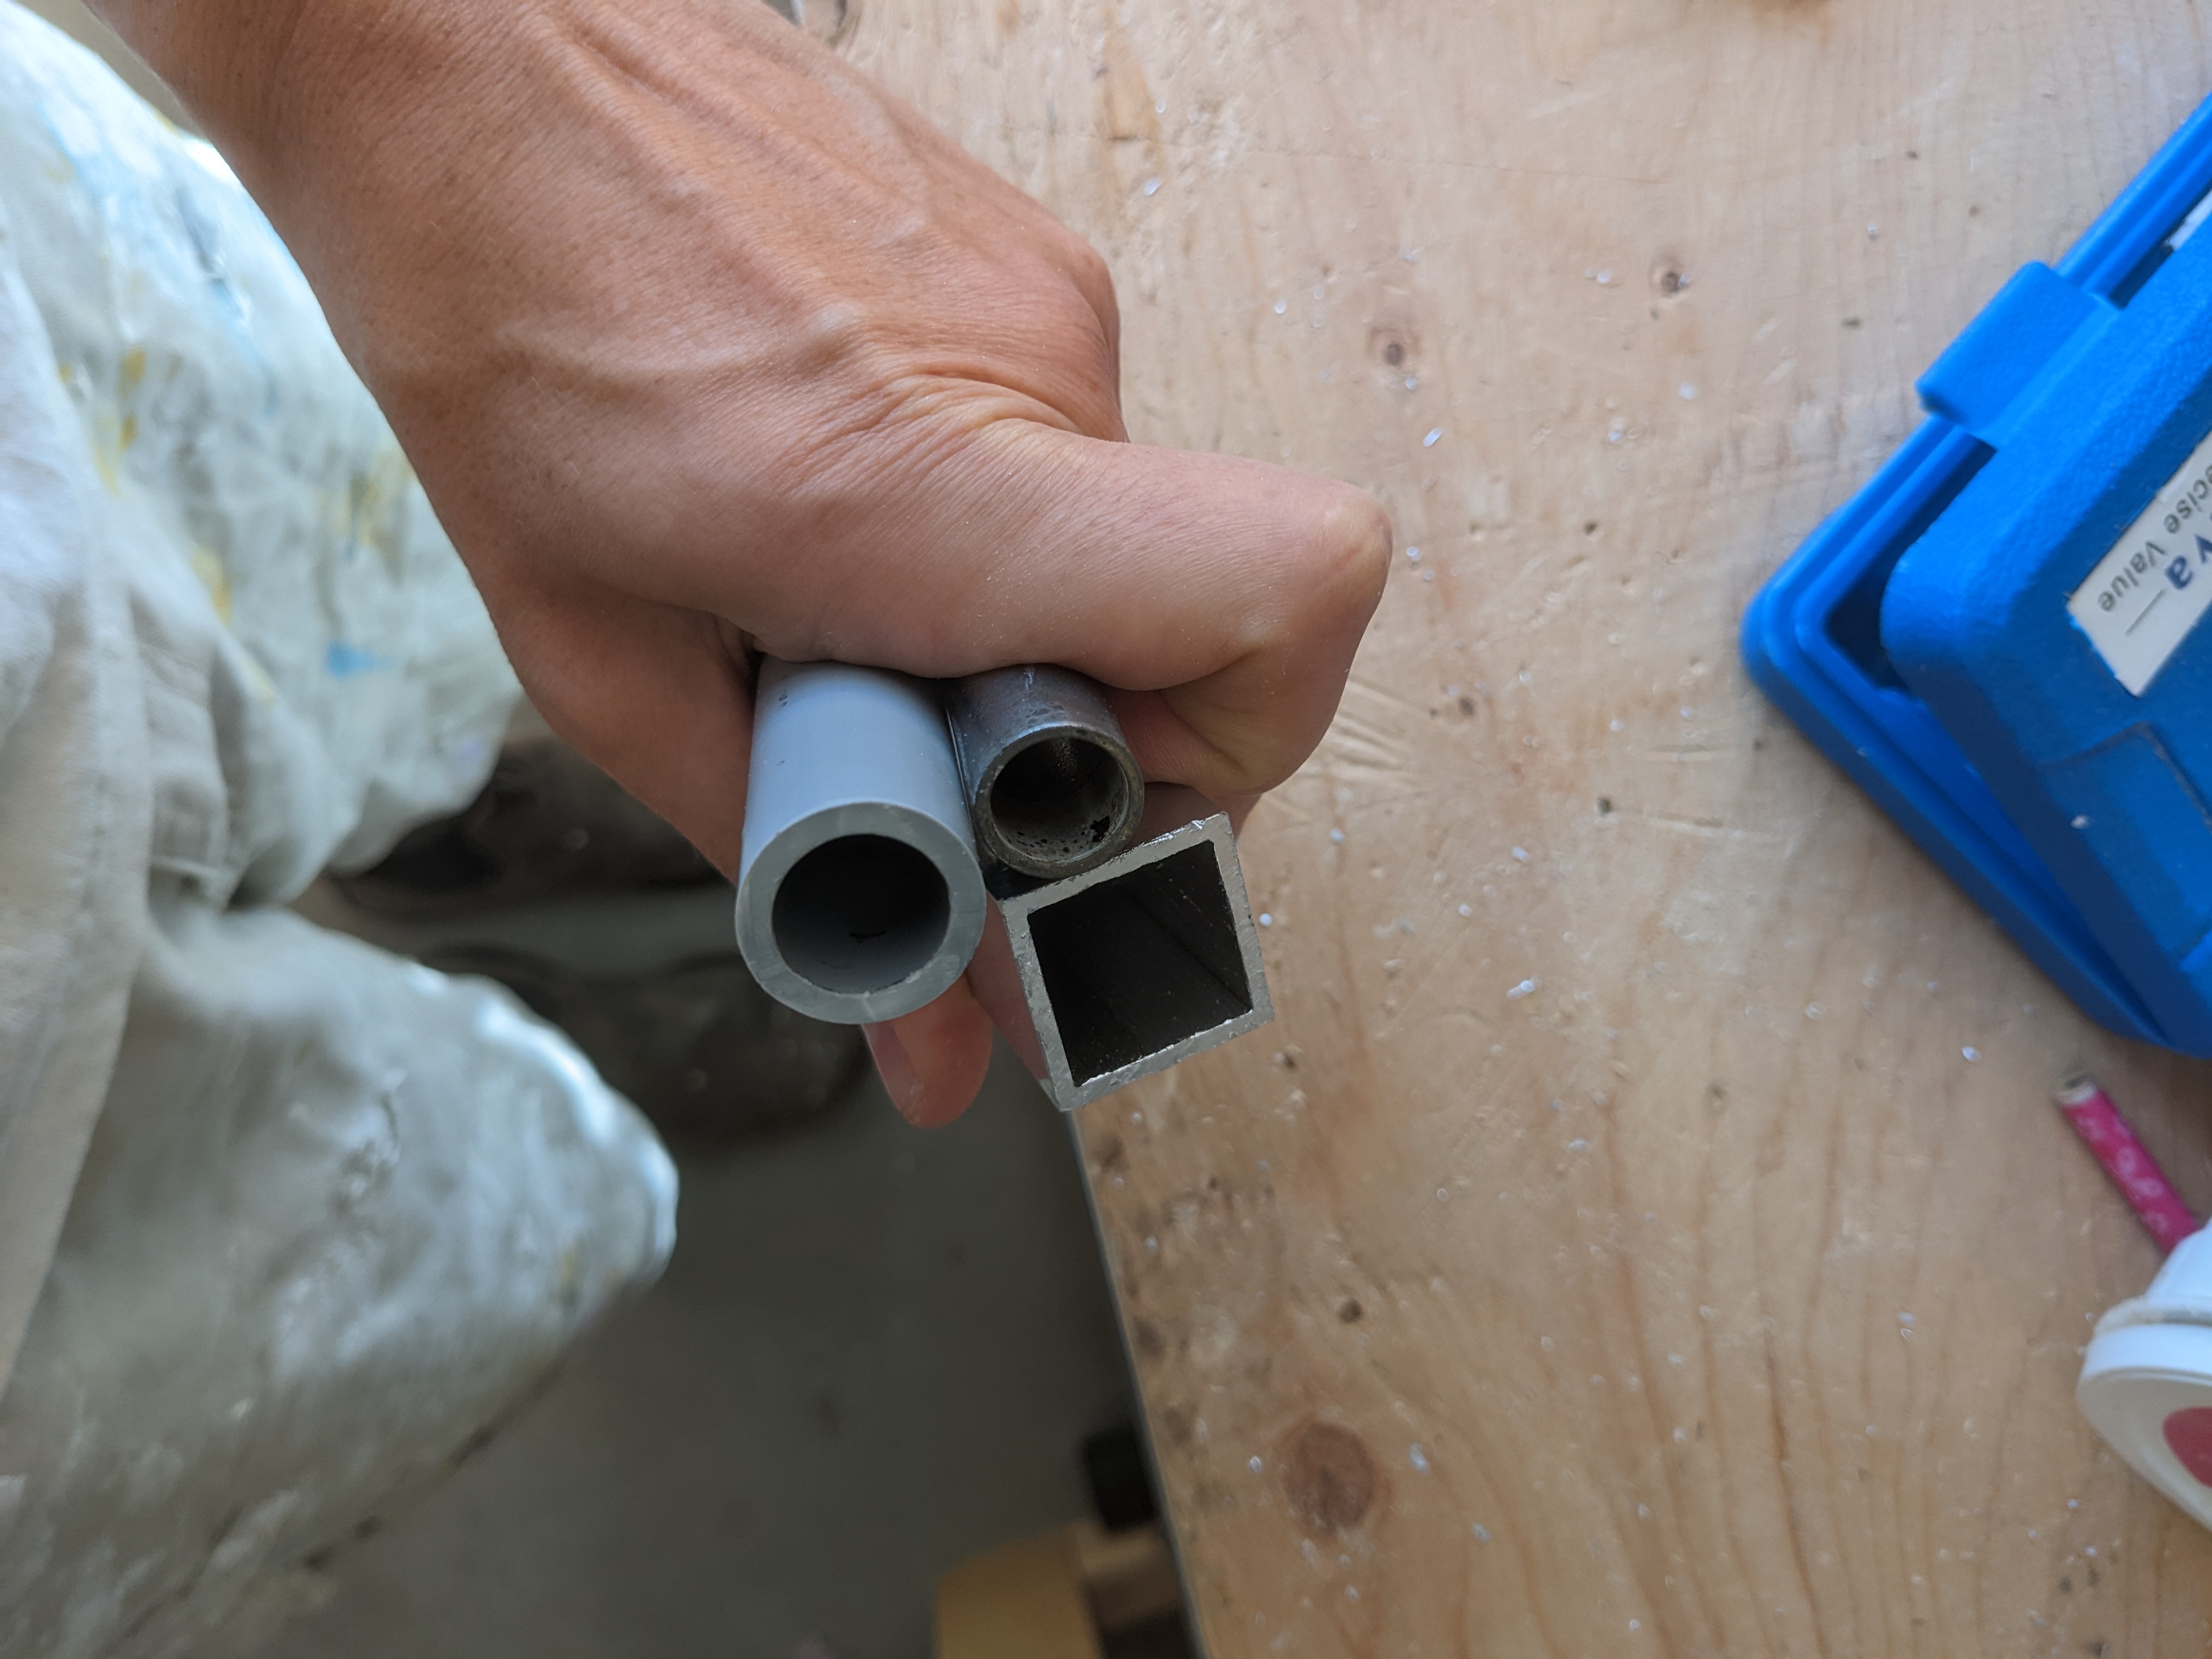
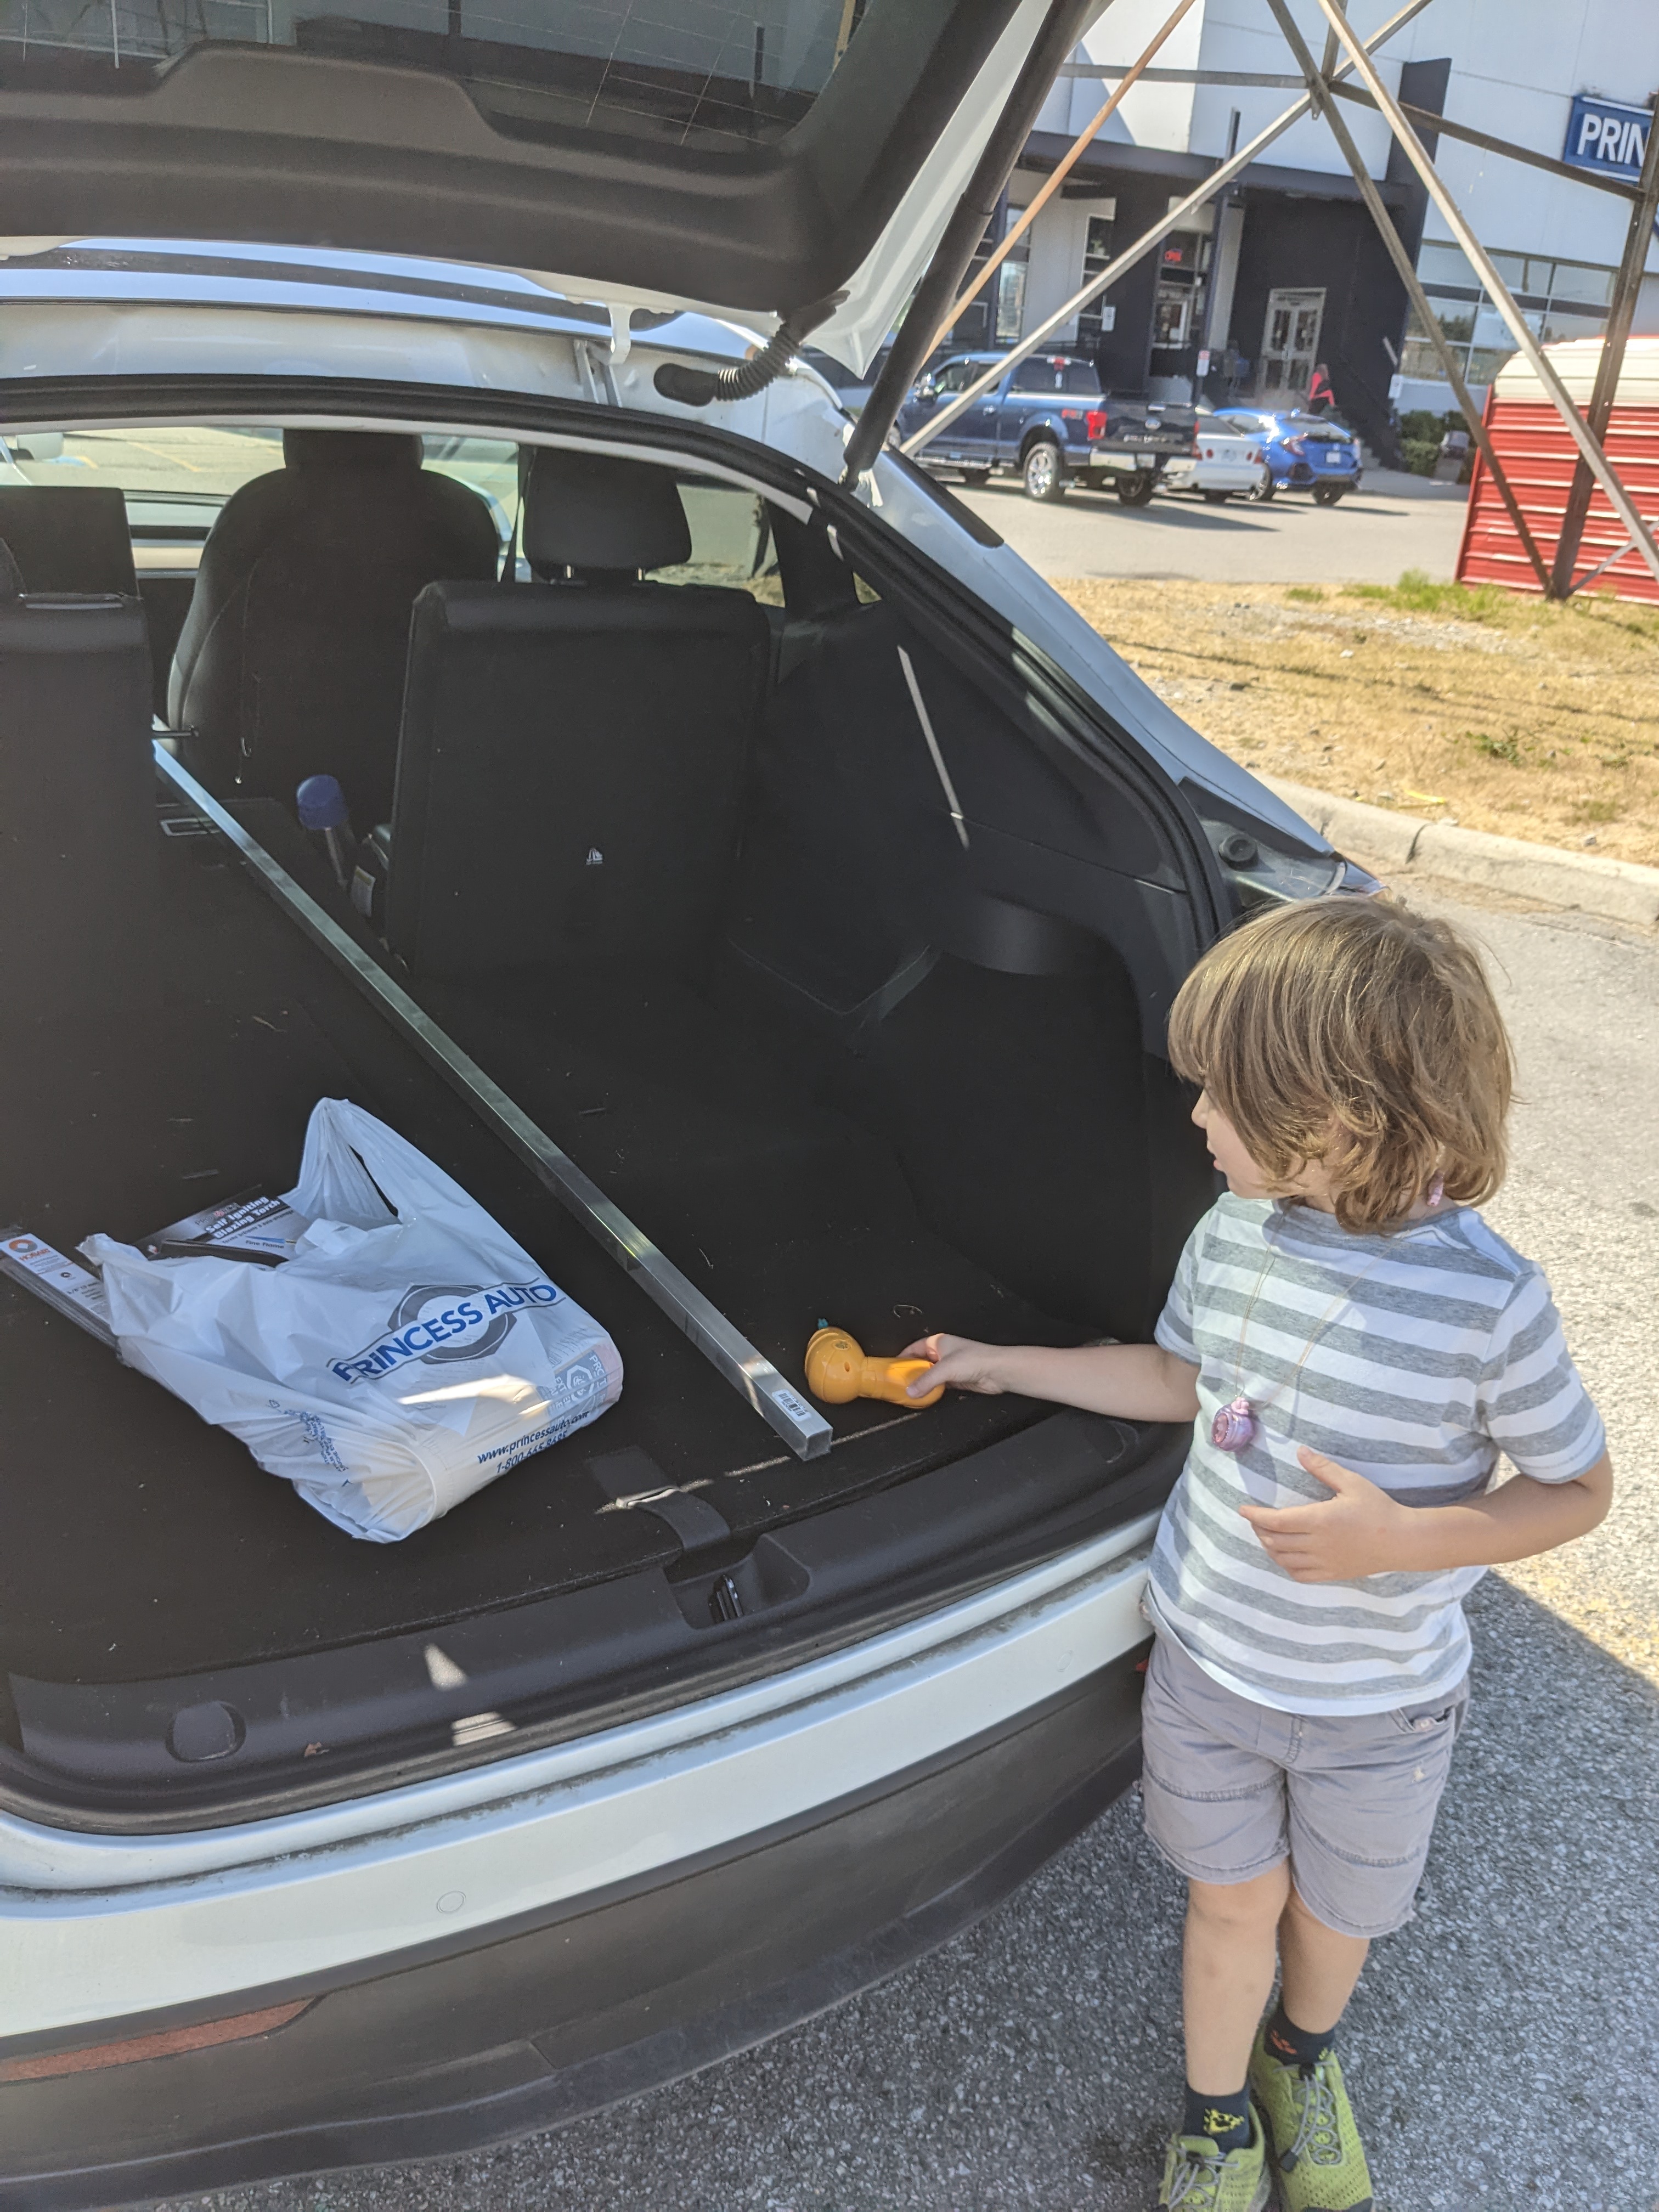
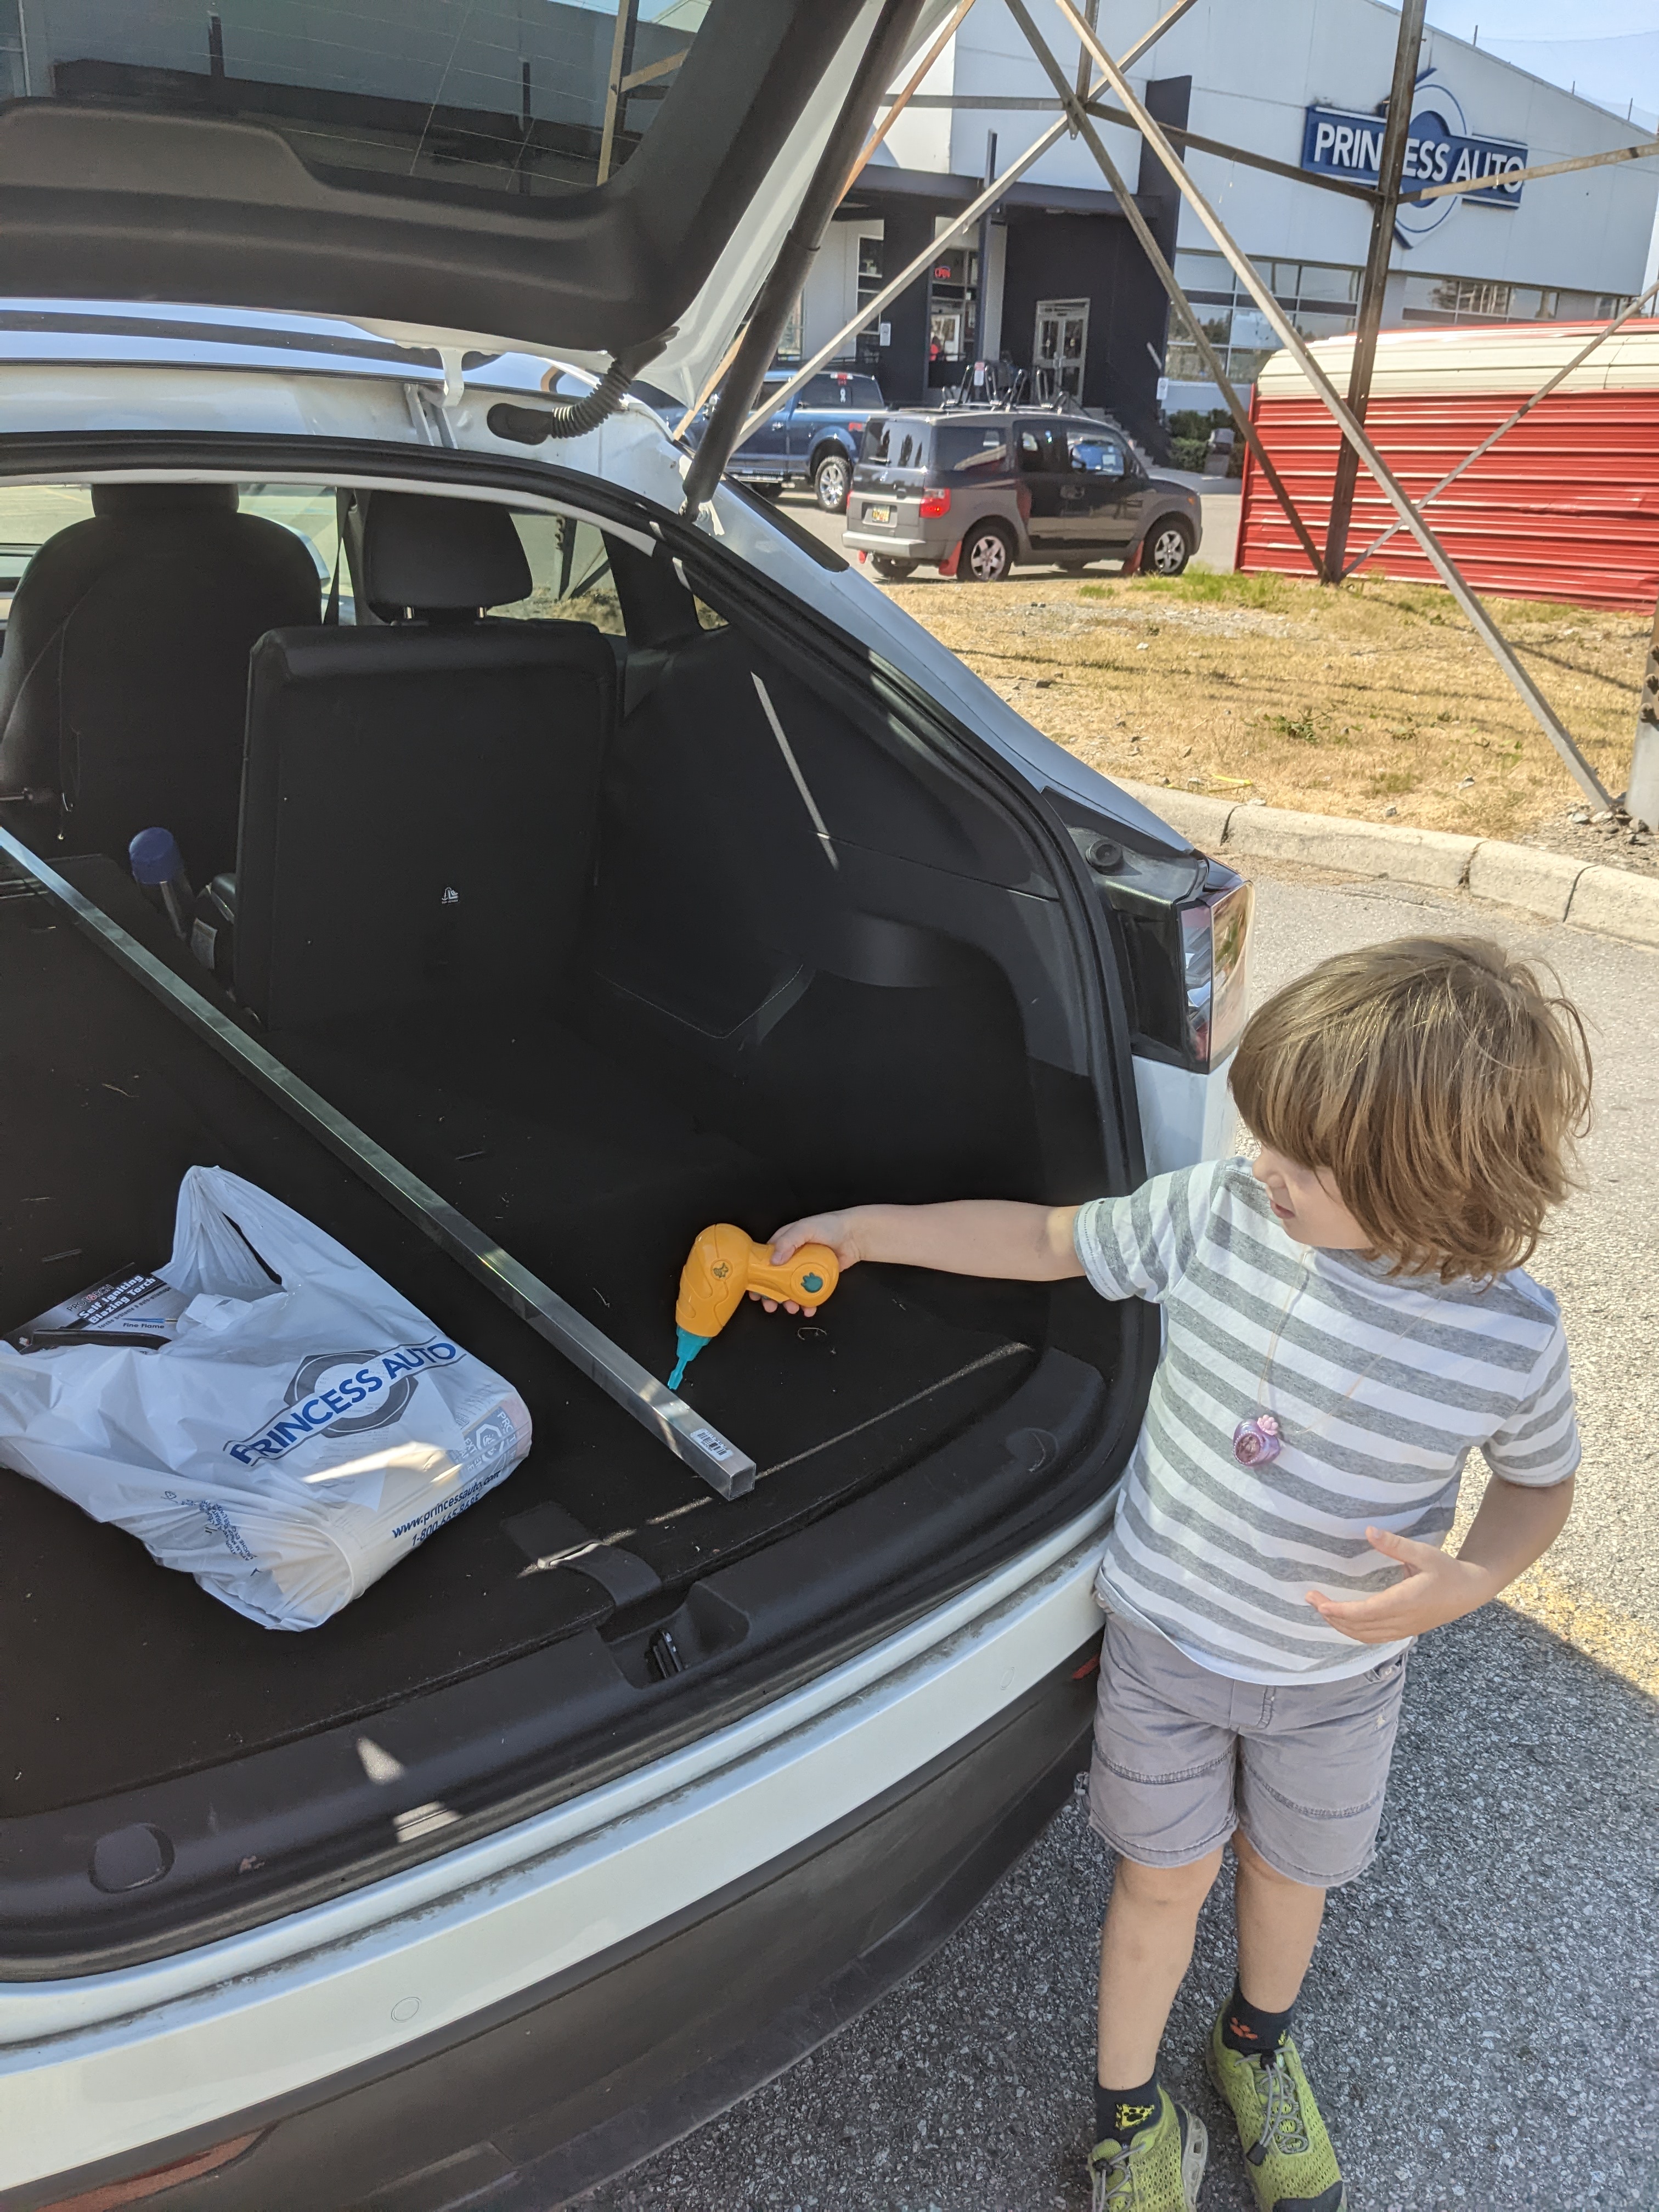
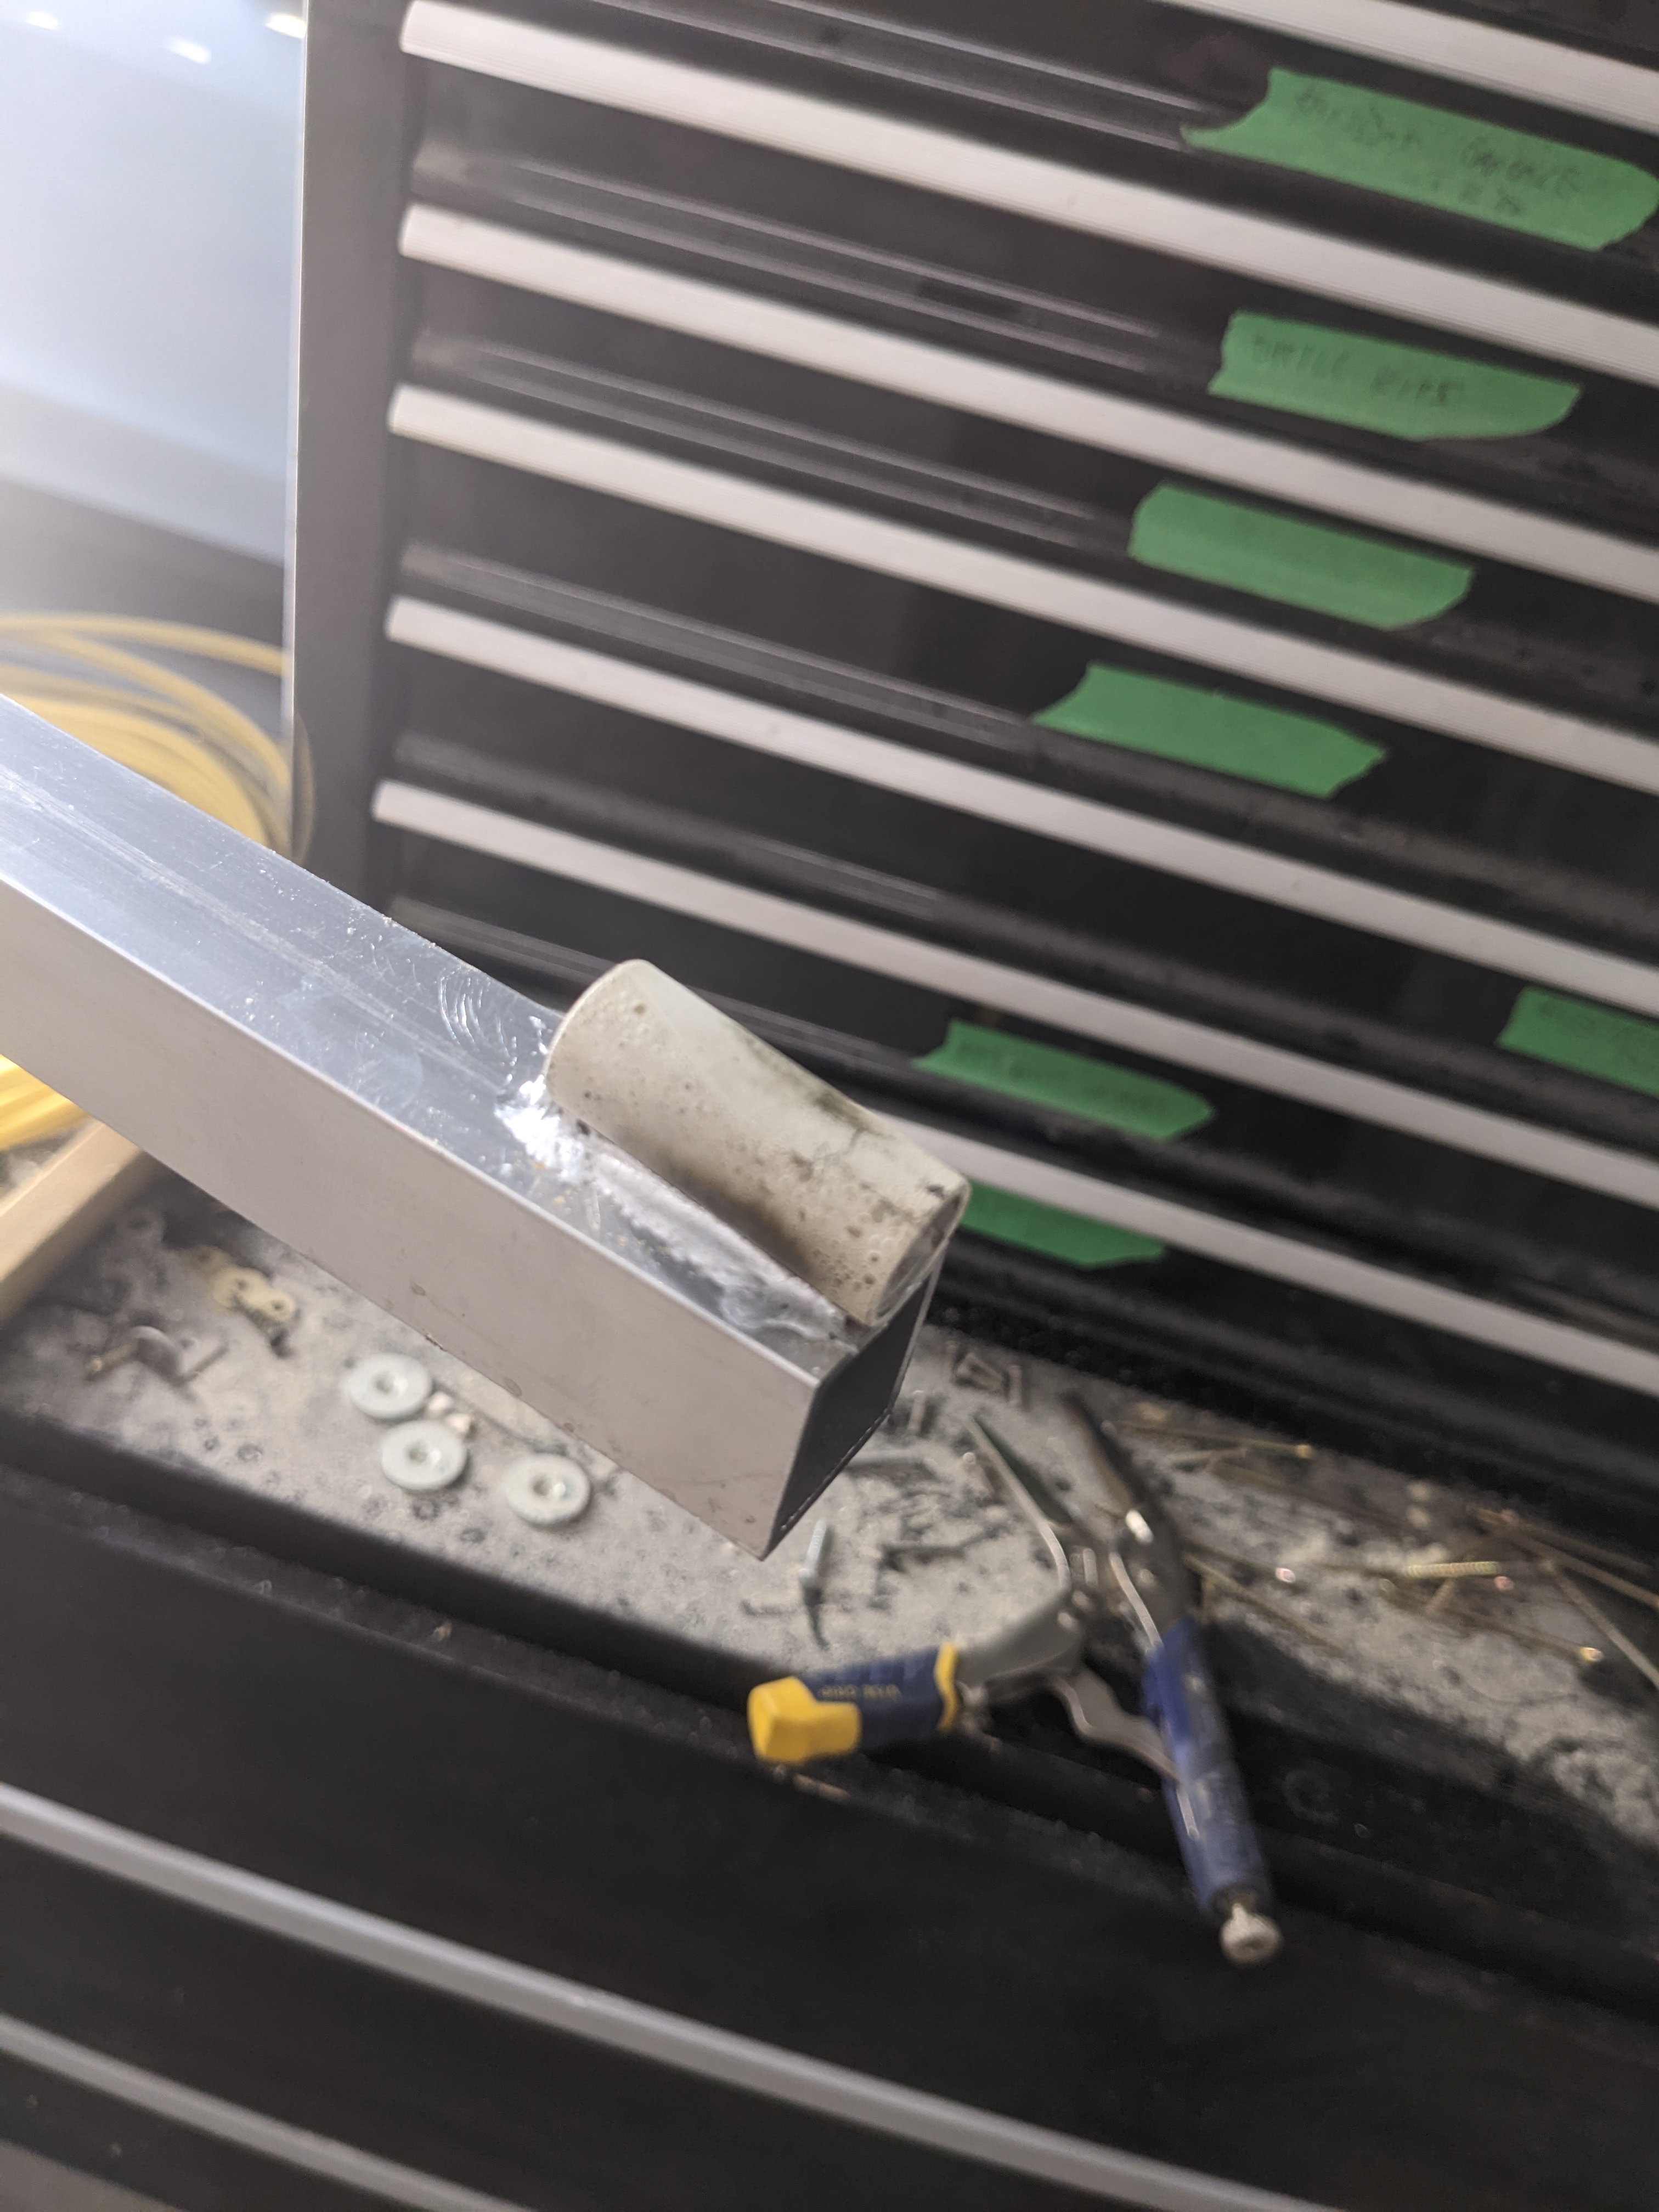
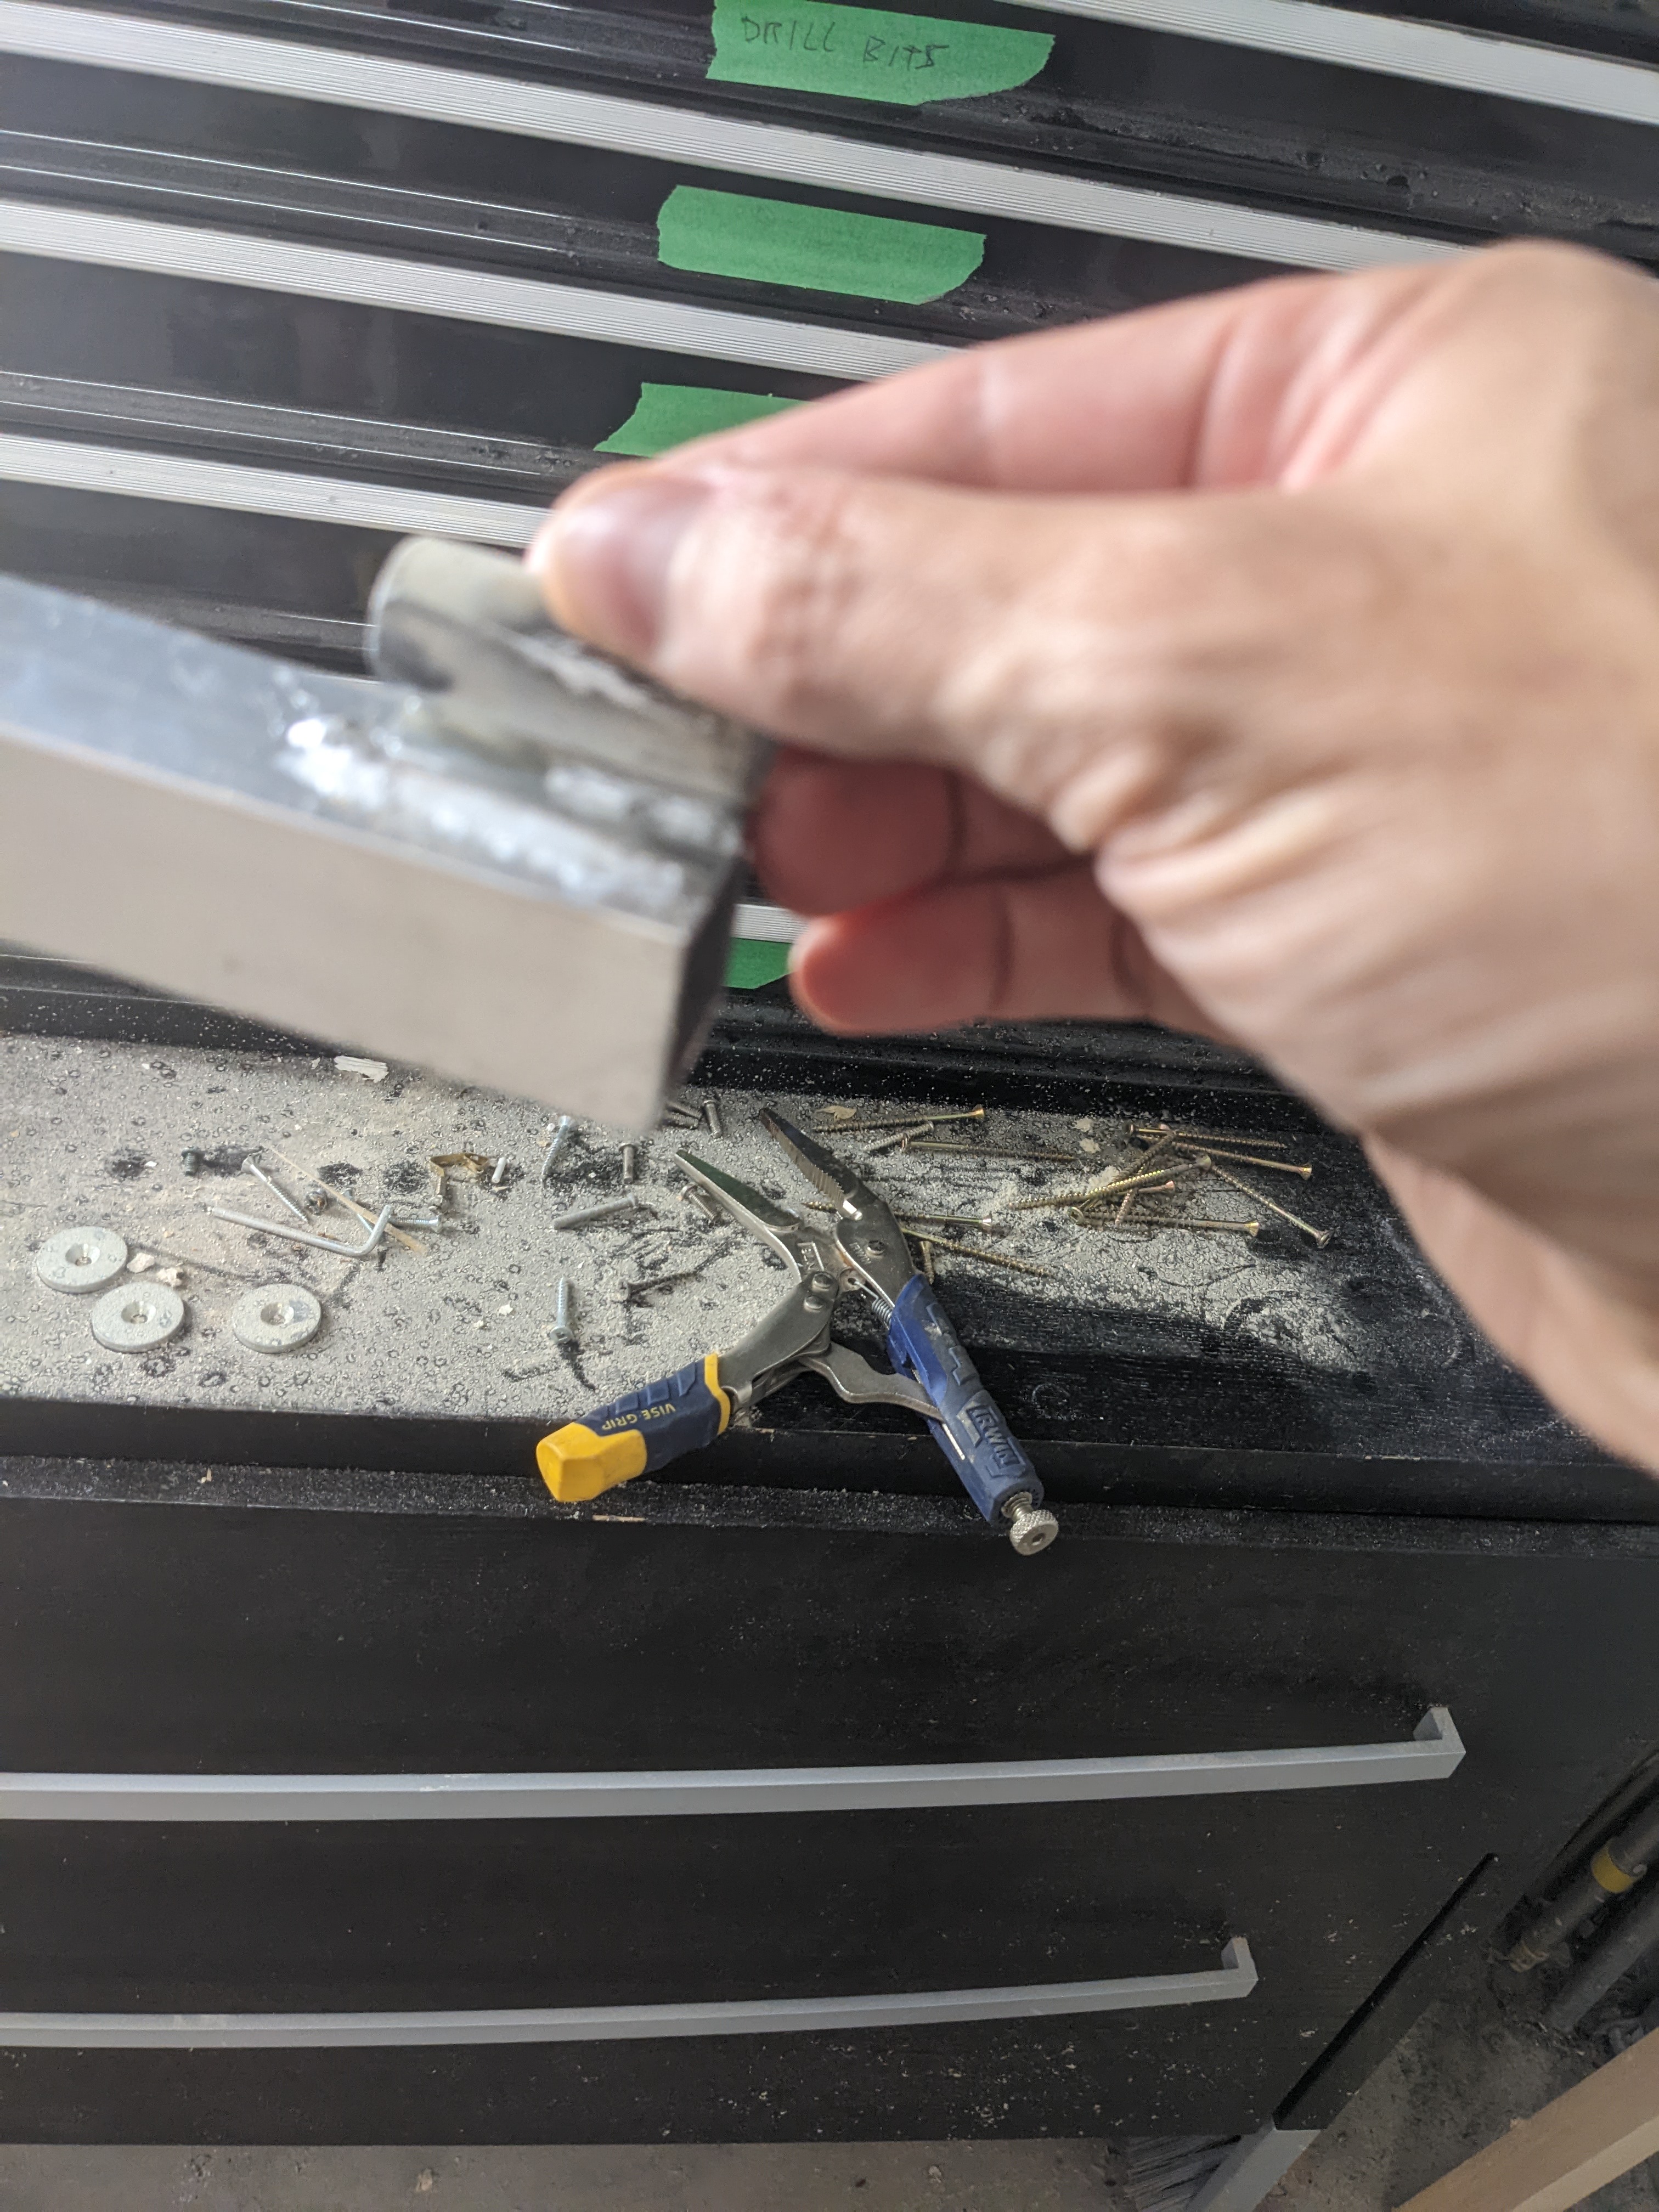
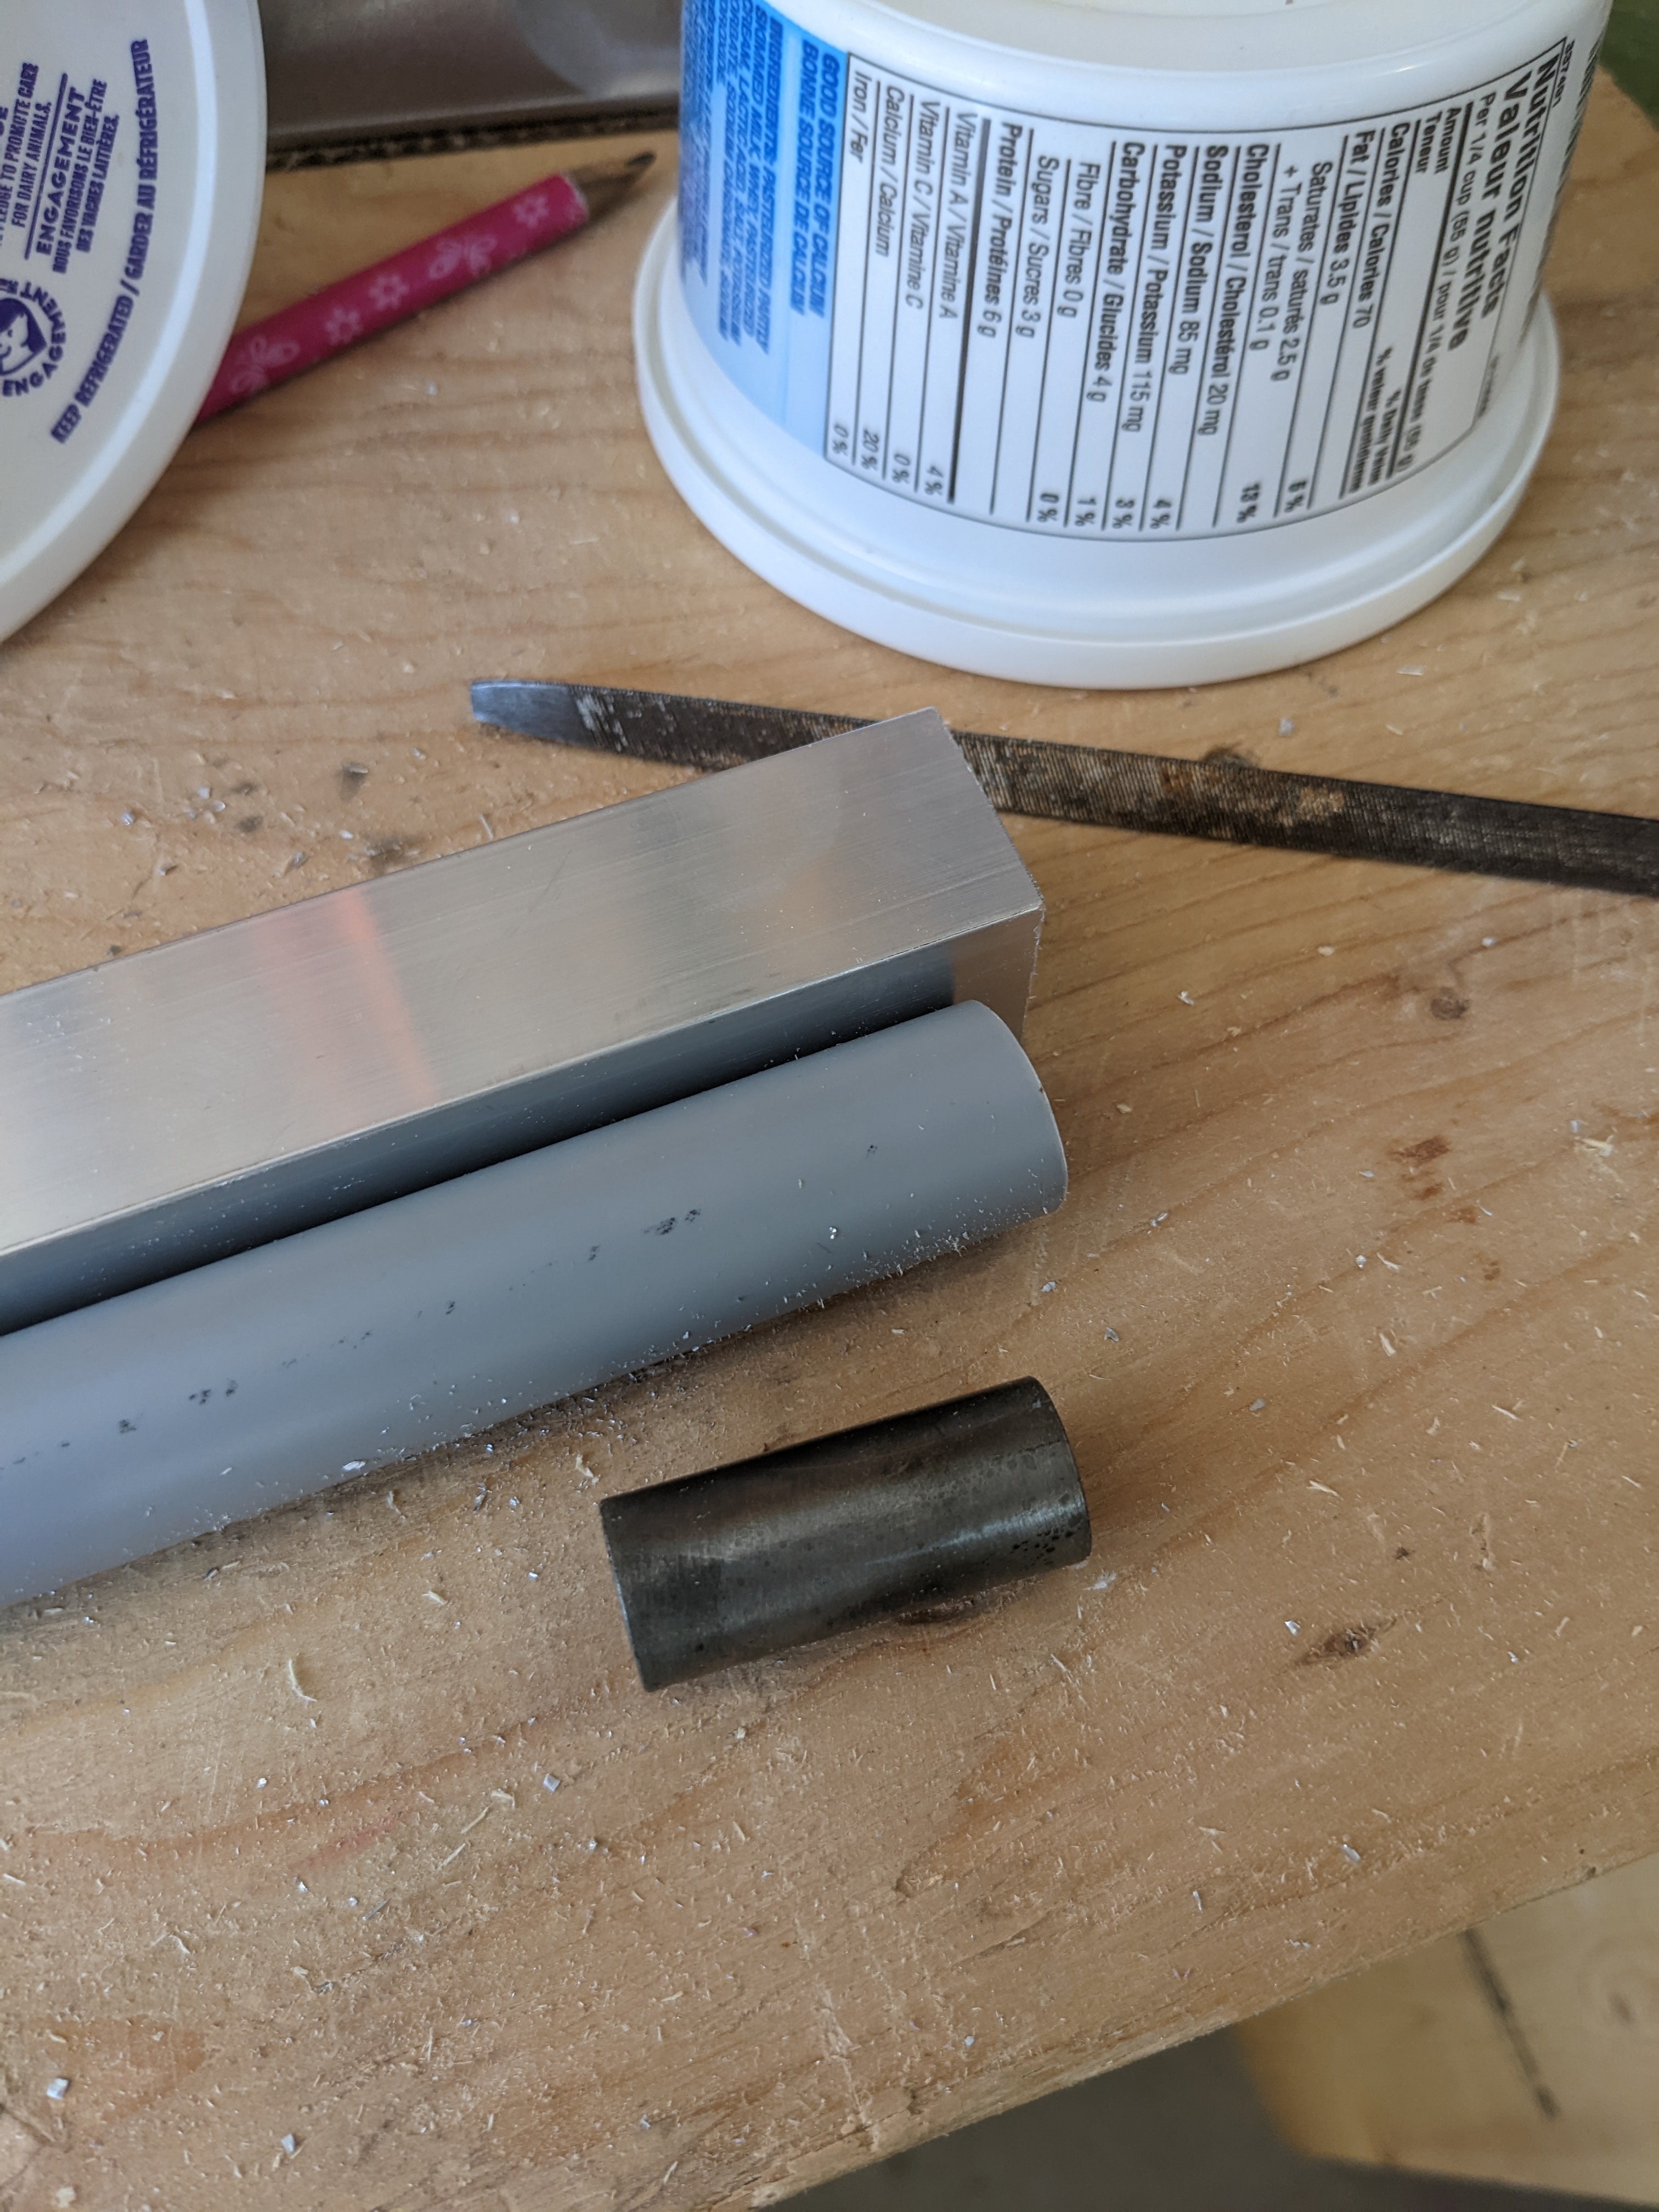
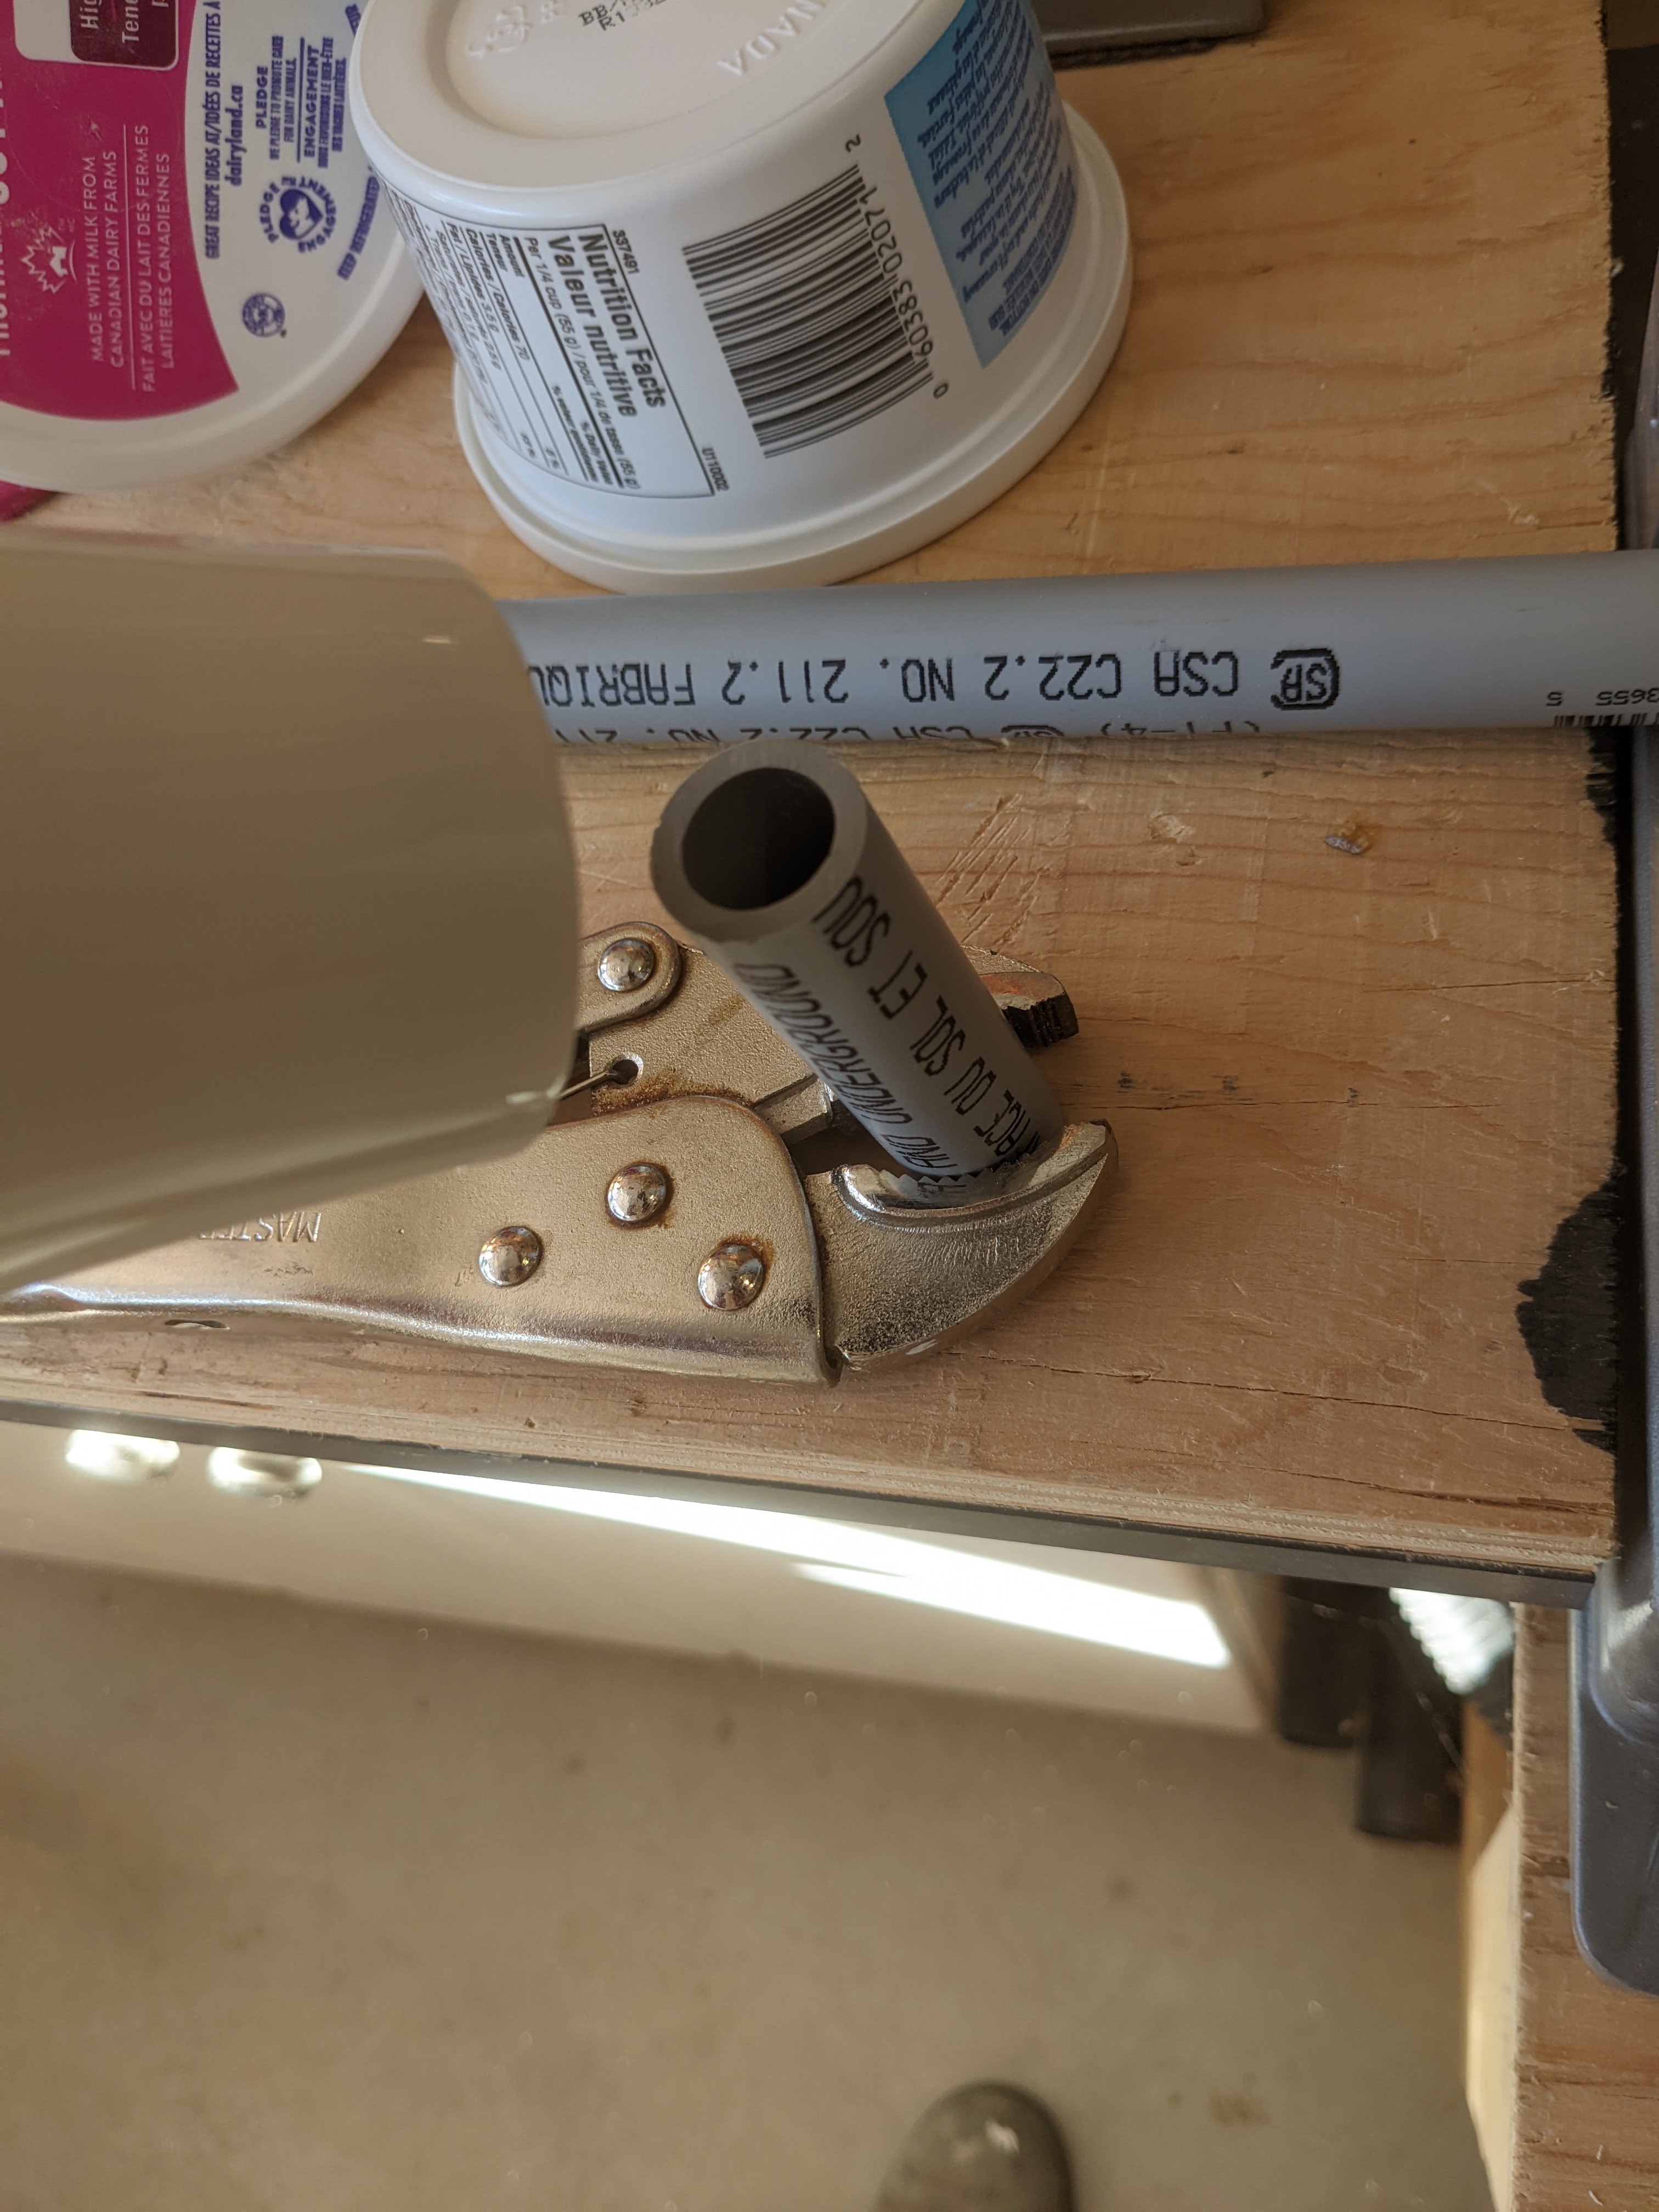
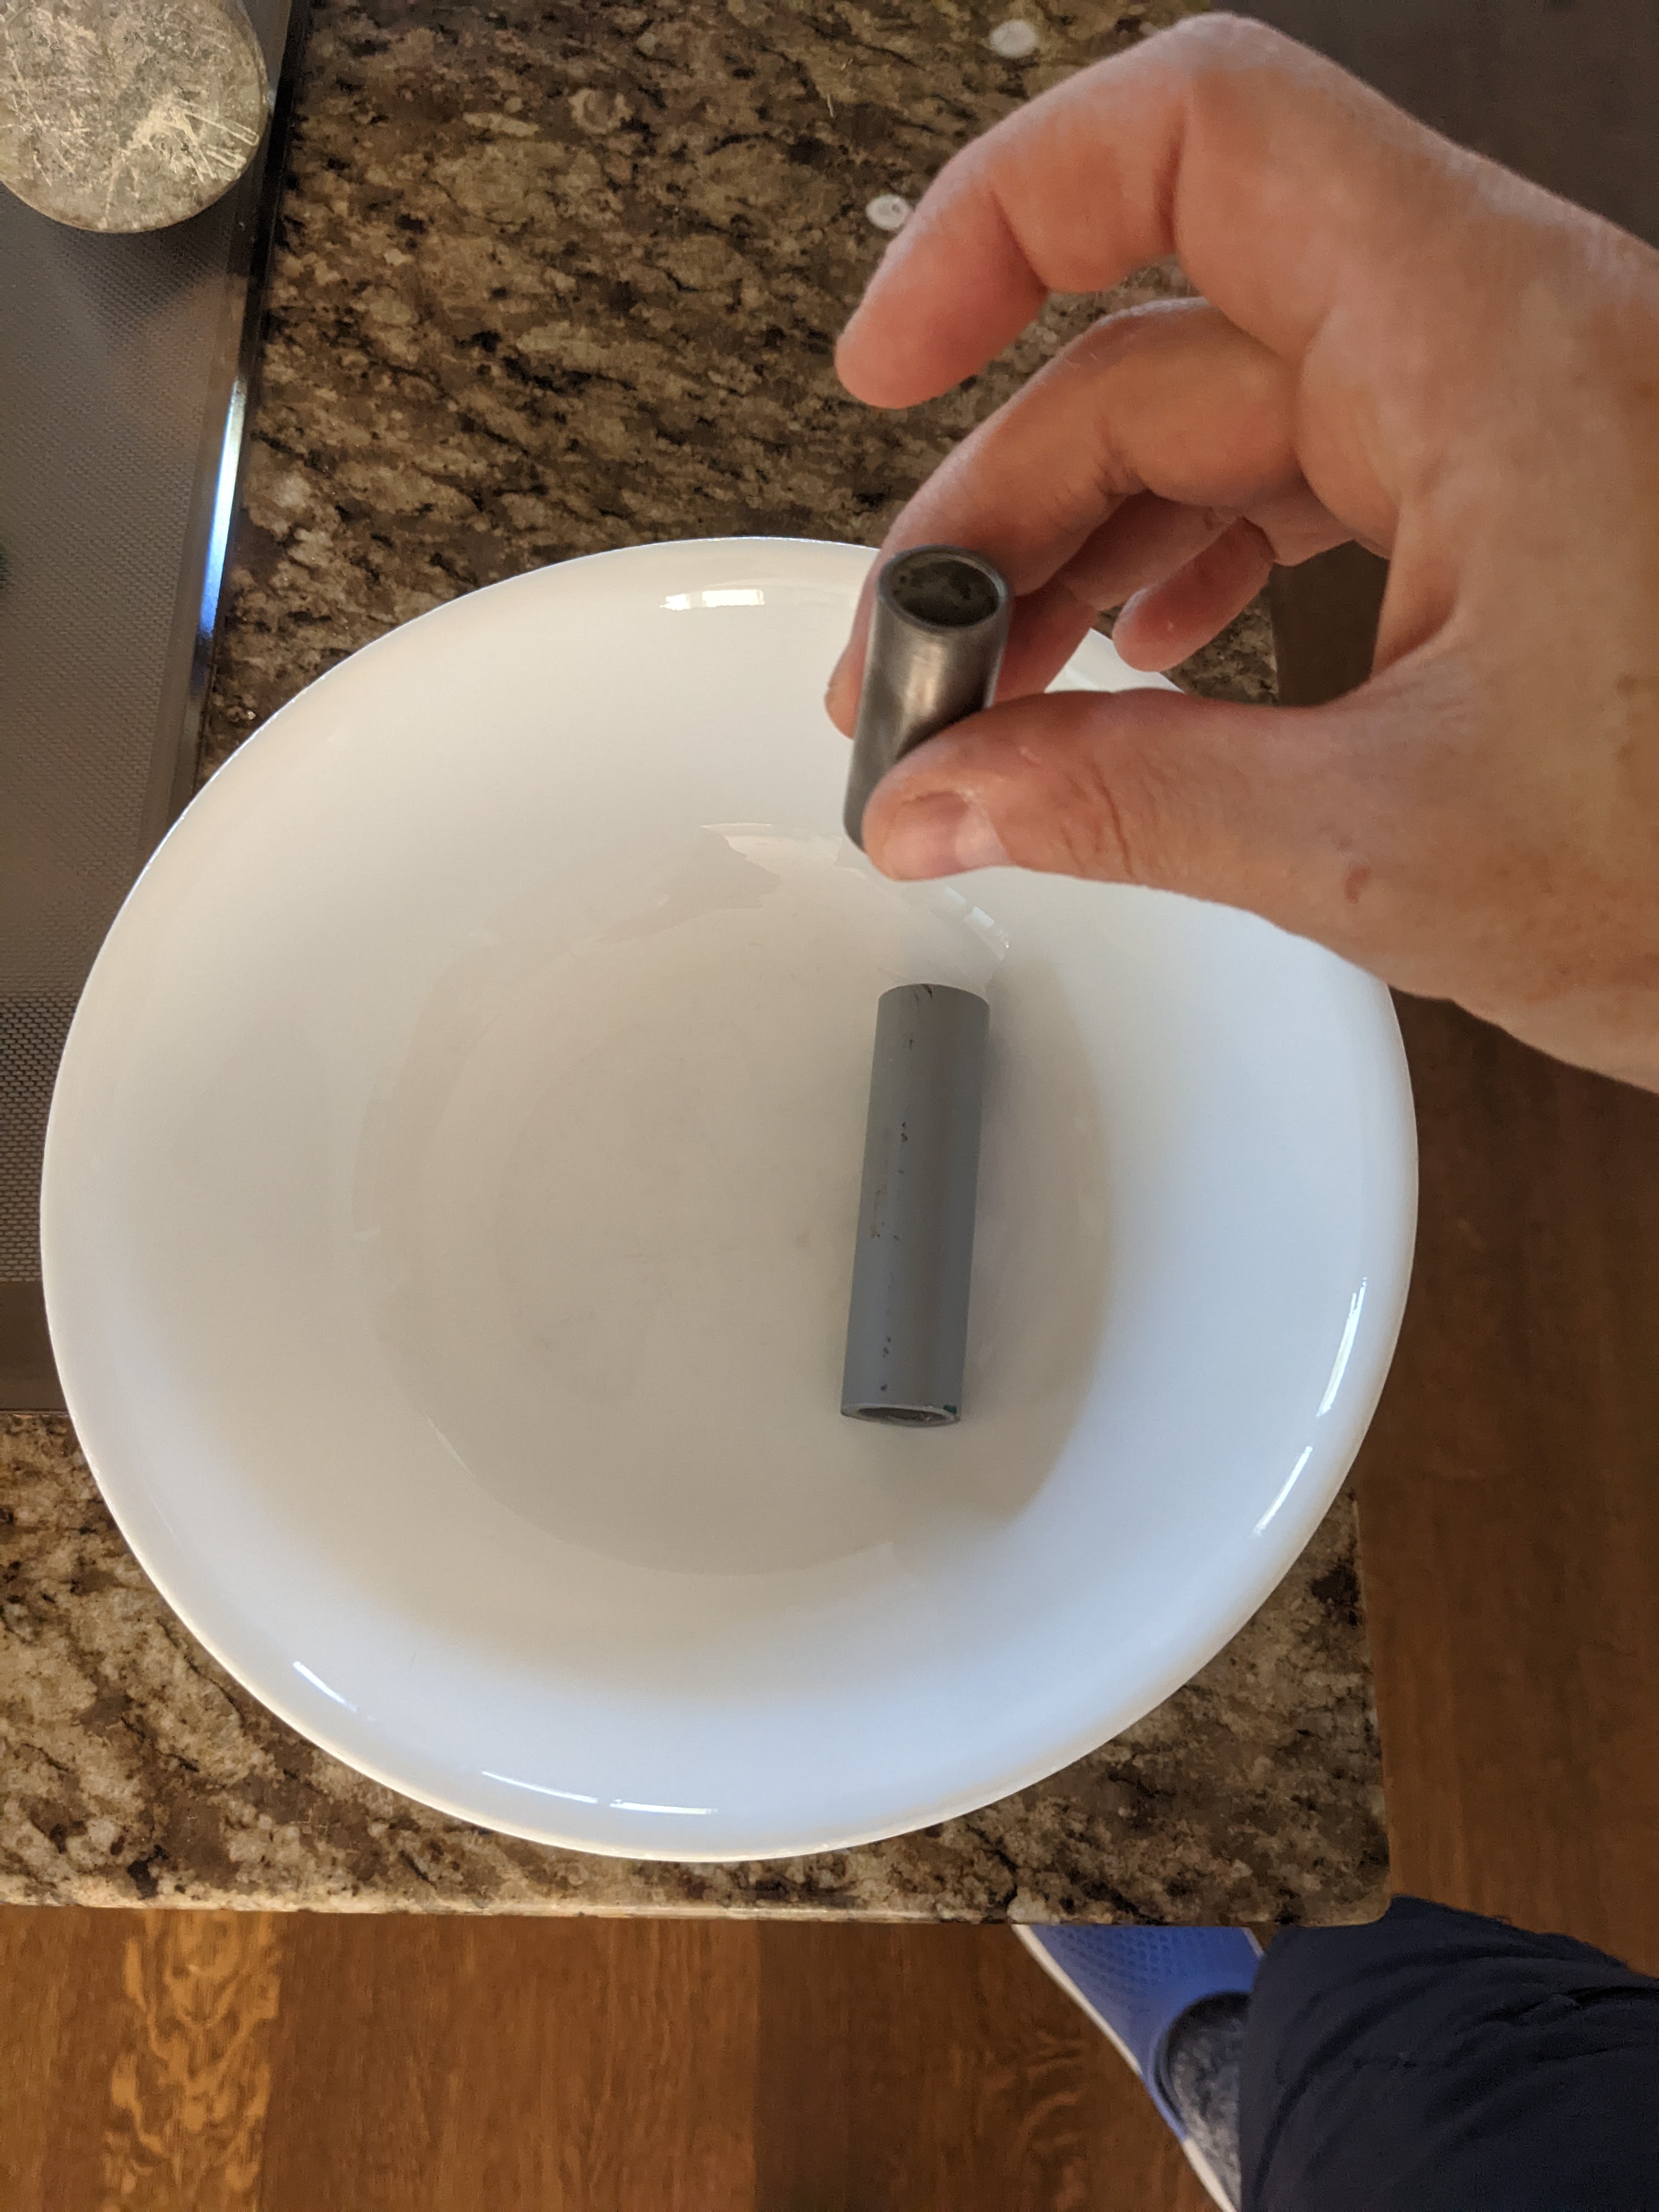
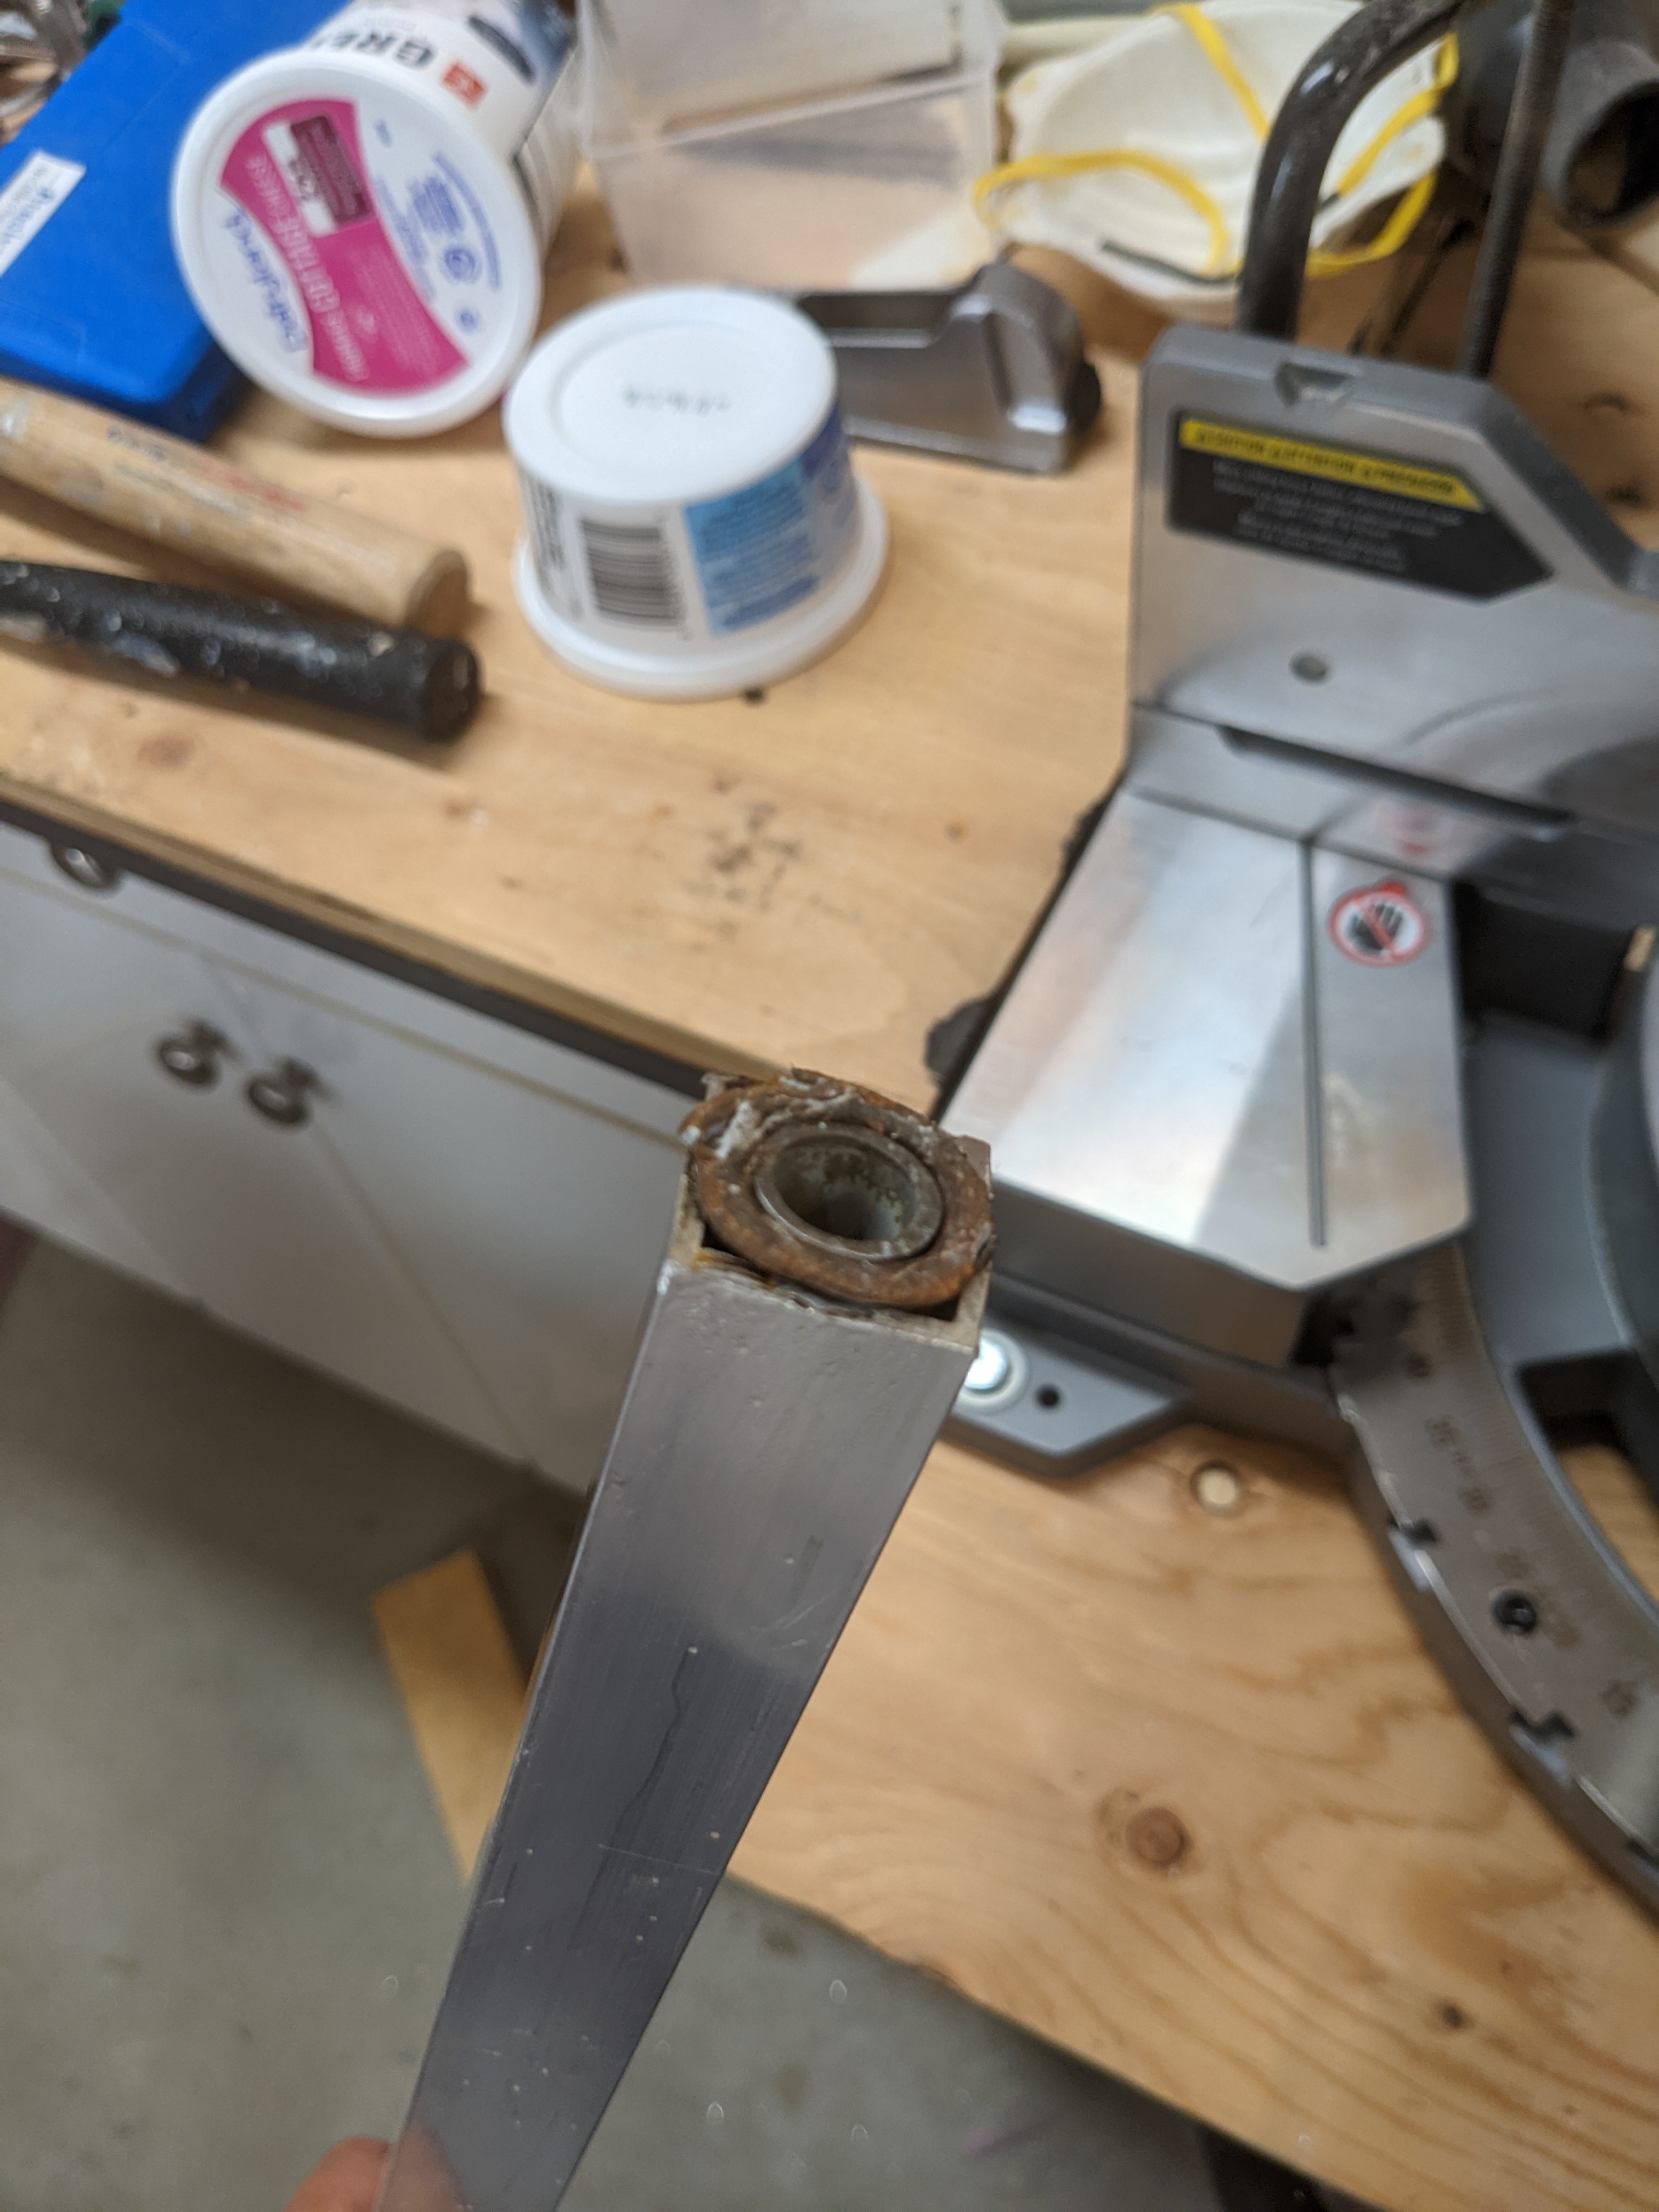
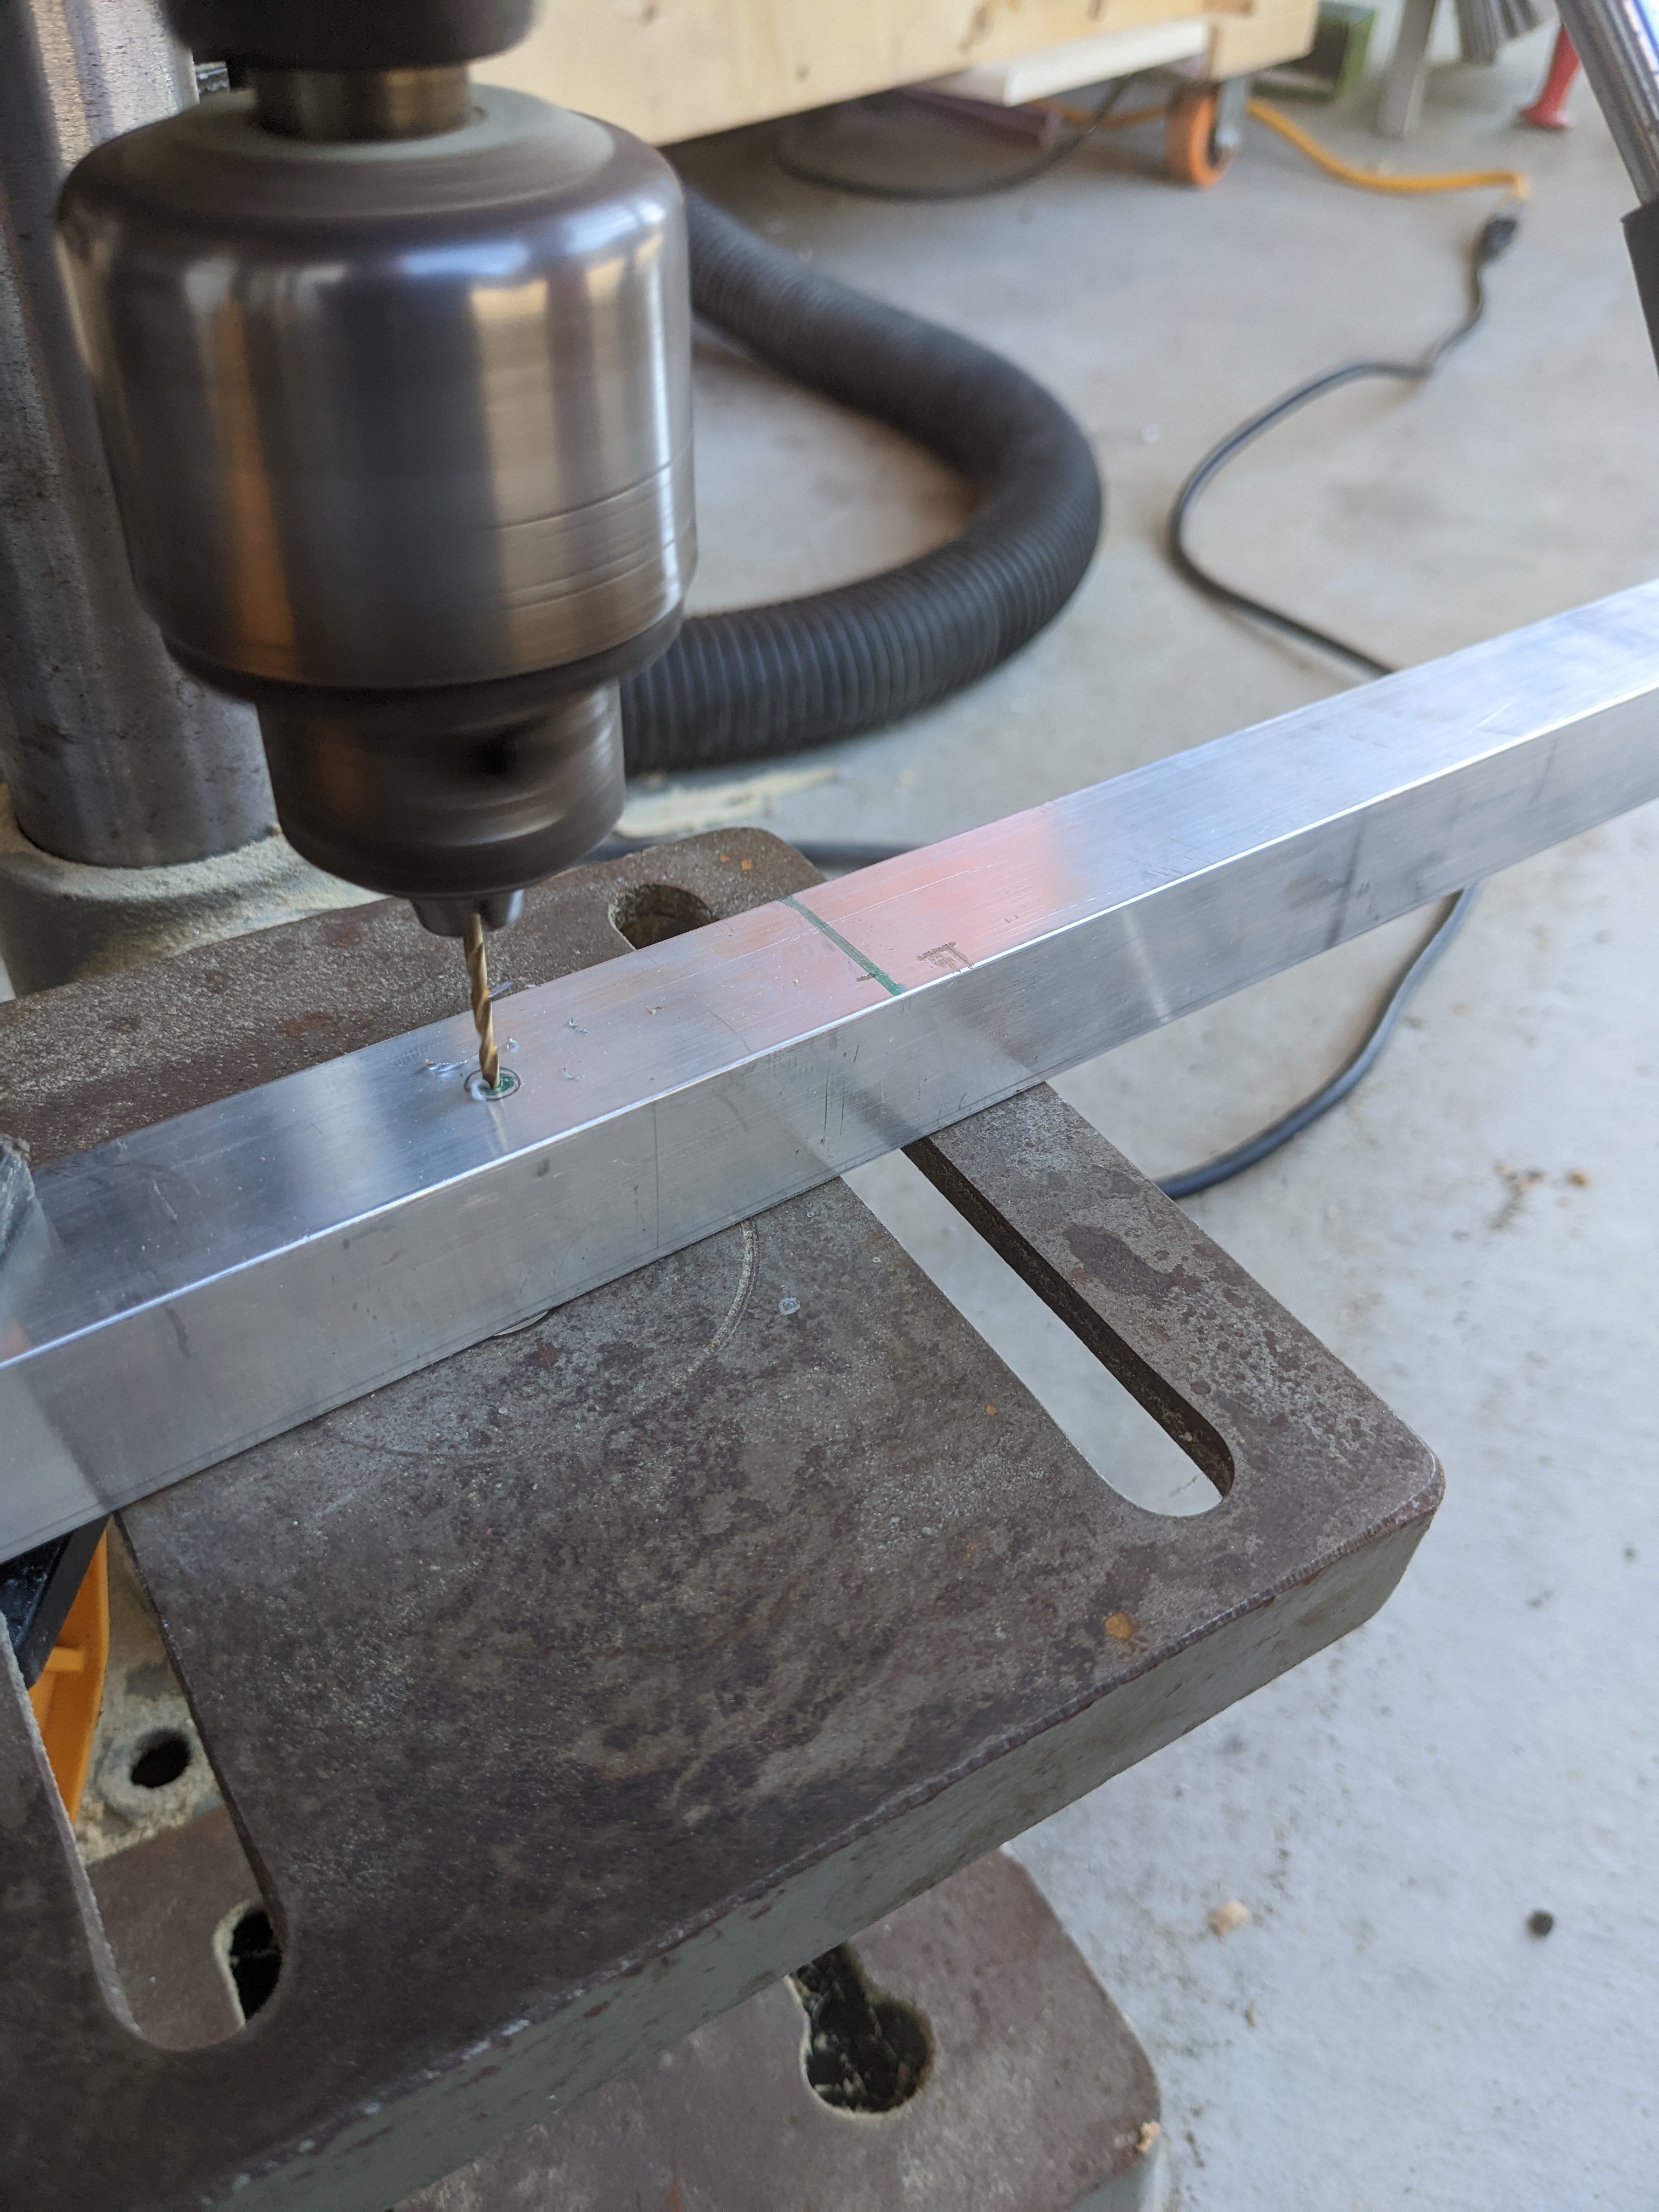
After various other ideas I settled for now on a 1/2" to 5/8" steel spacer (that is, I.D. is 1/2", O.D. is 5/8"). That part fits the wheel axle quite well, but I'm not sure how to mount it. It's also not quite the right length (about 1.5" long), so I need to 1) mount it to the trailer, and 2) adjust the length a bit. For #2, I settled for now on a nylon bushing (3/8"?) that makes it a snug fit. That pretty much fixes the length, though sacrifices a bit of axle support.
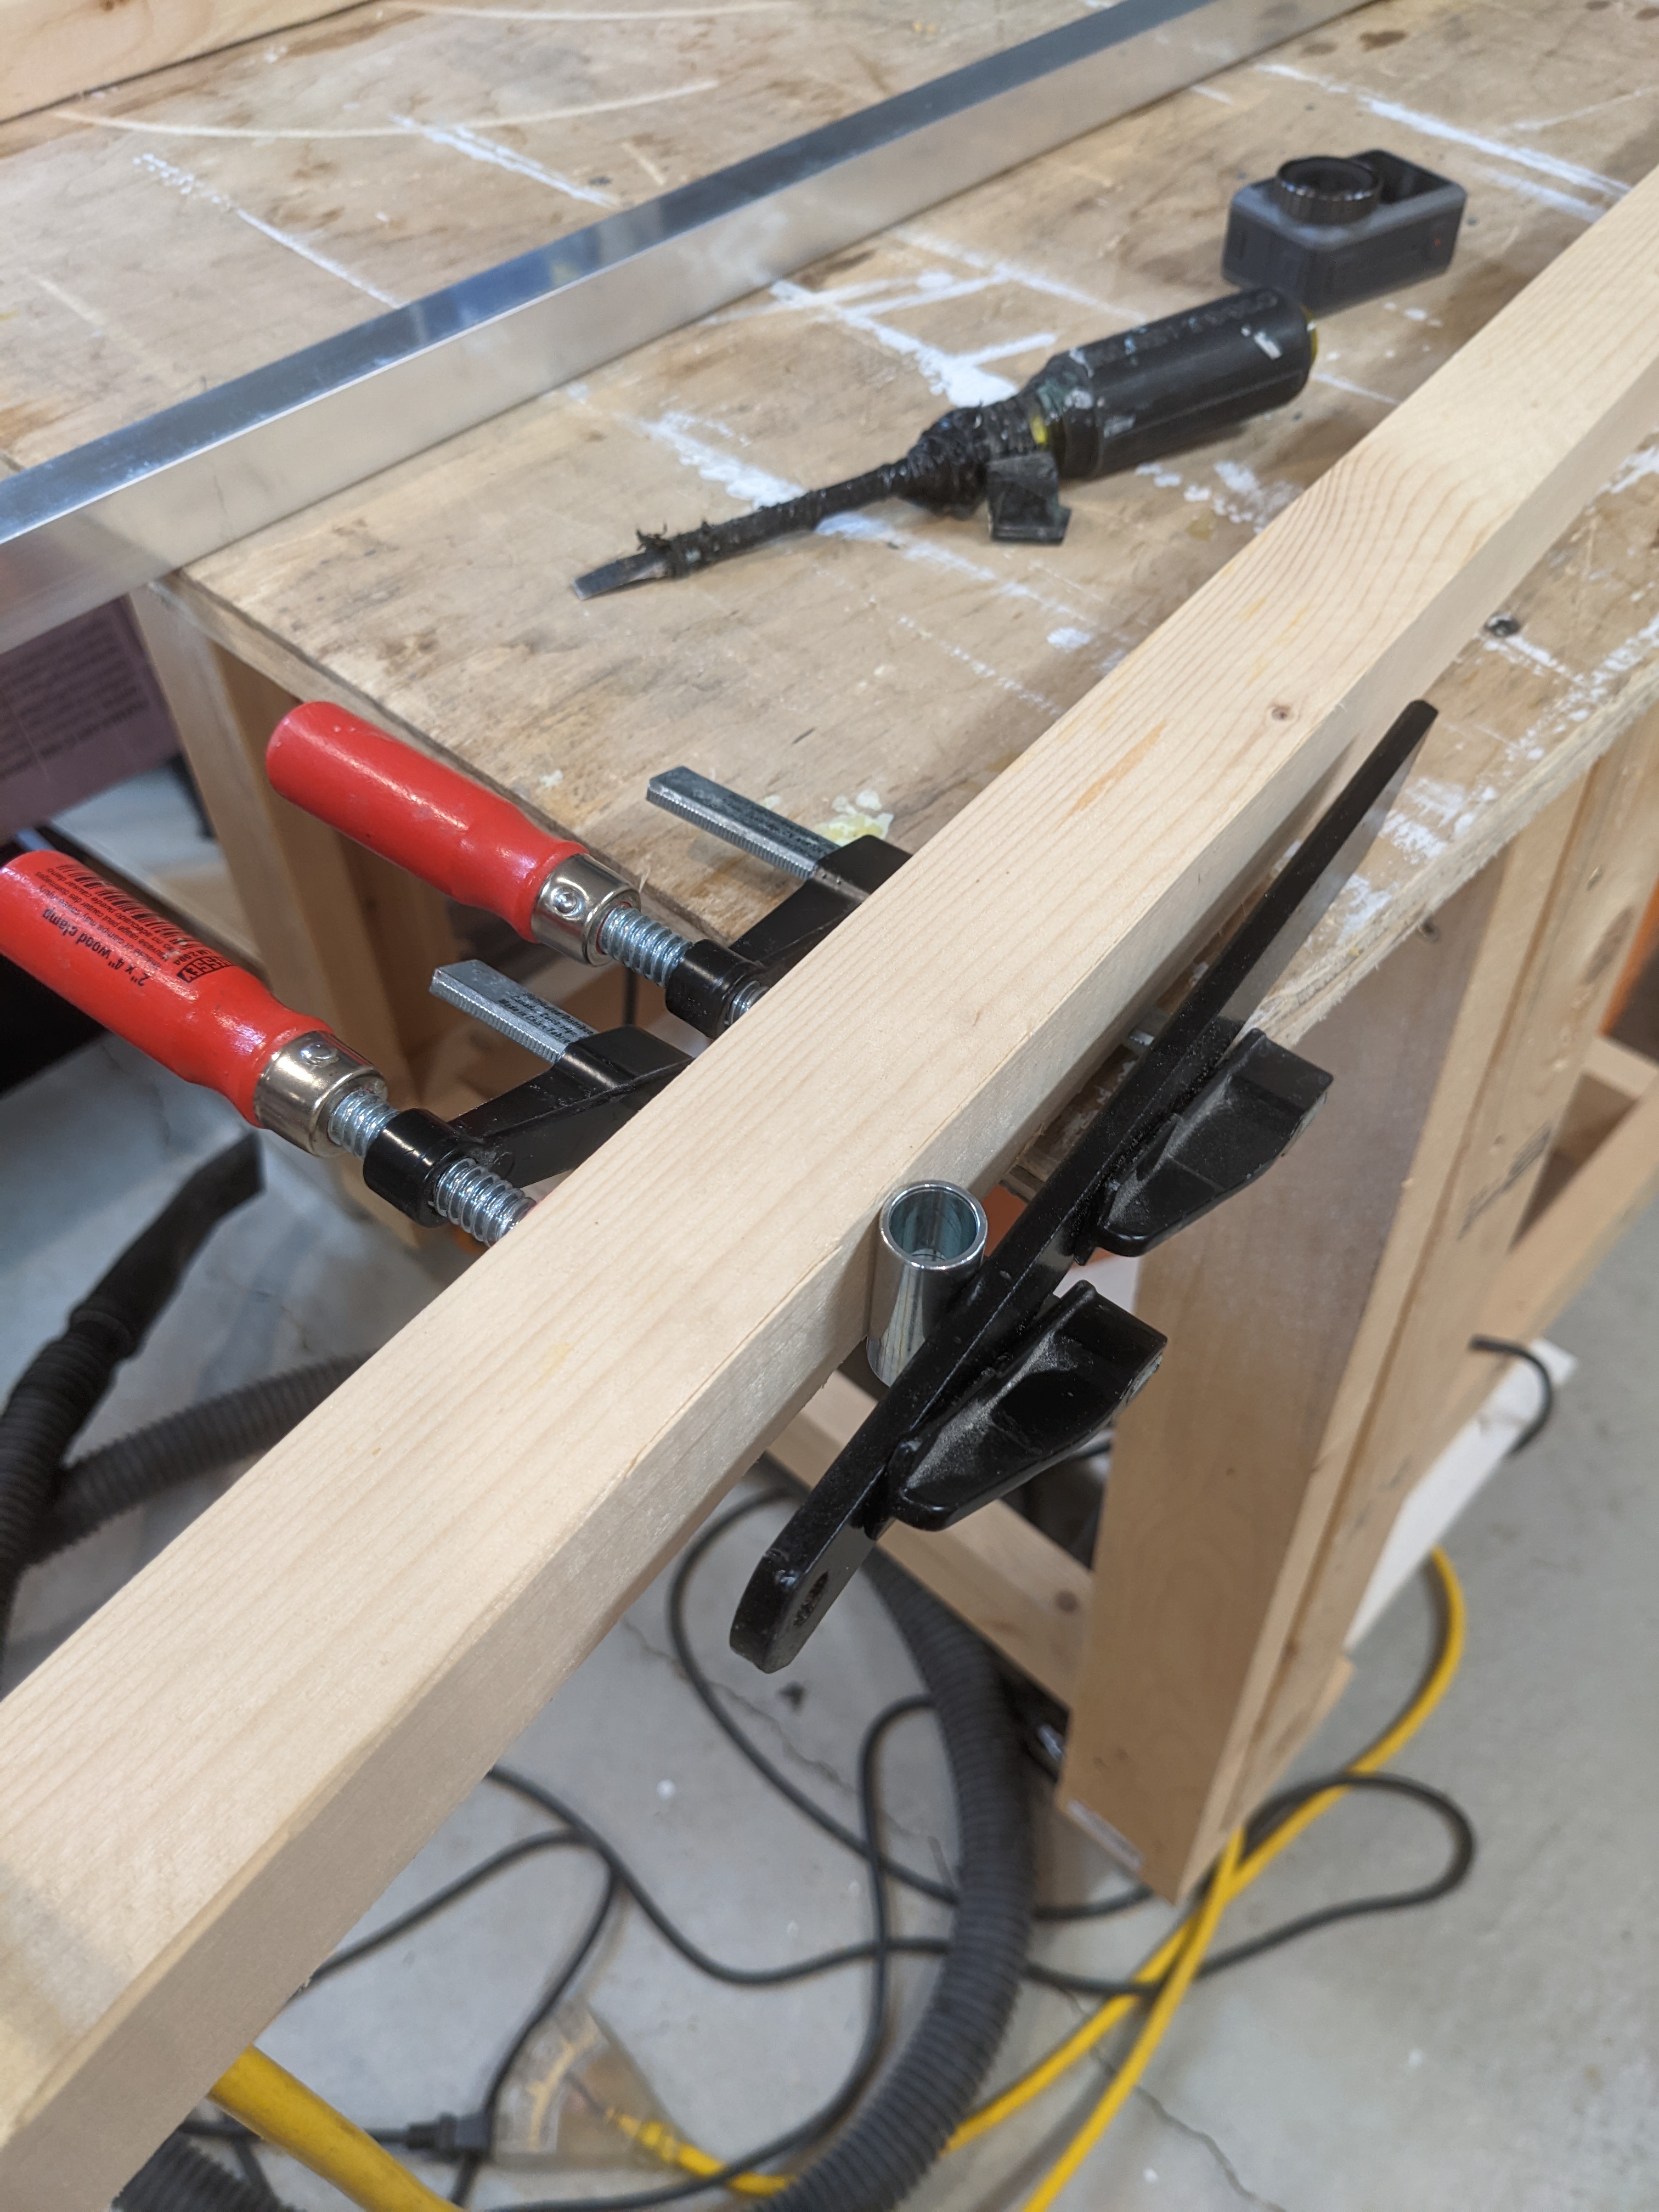
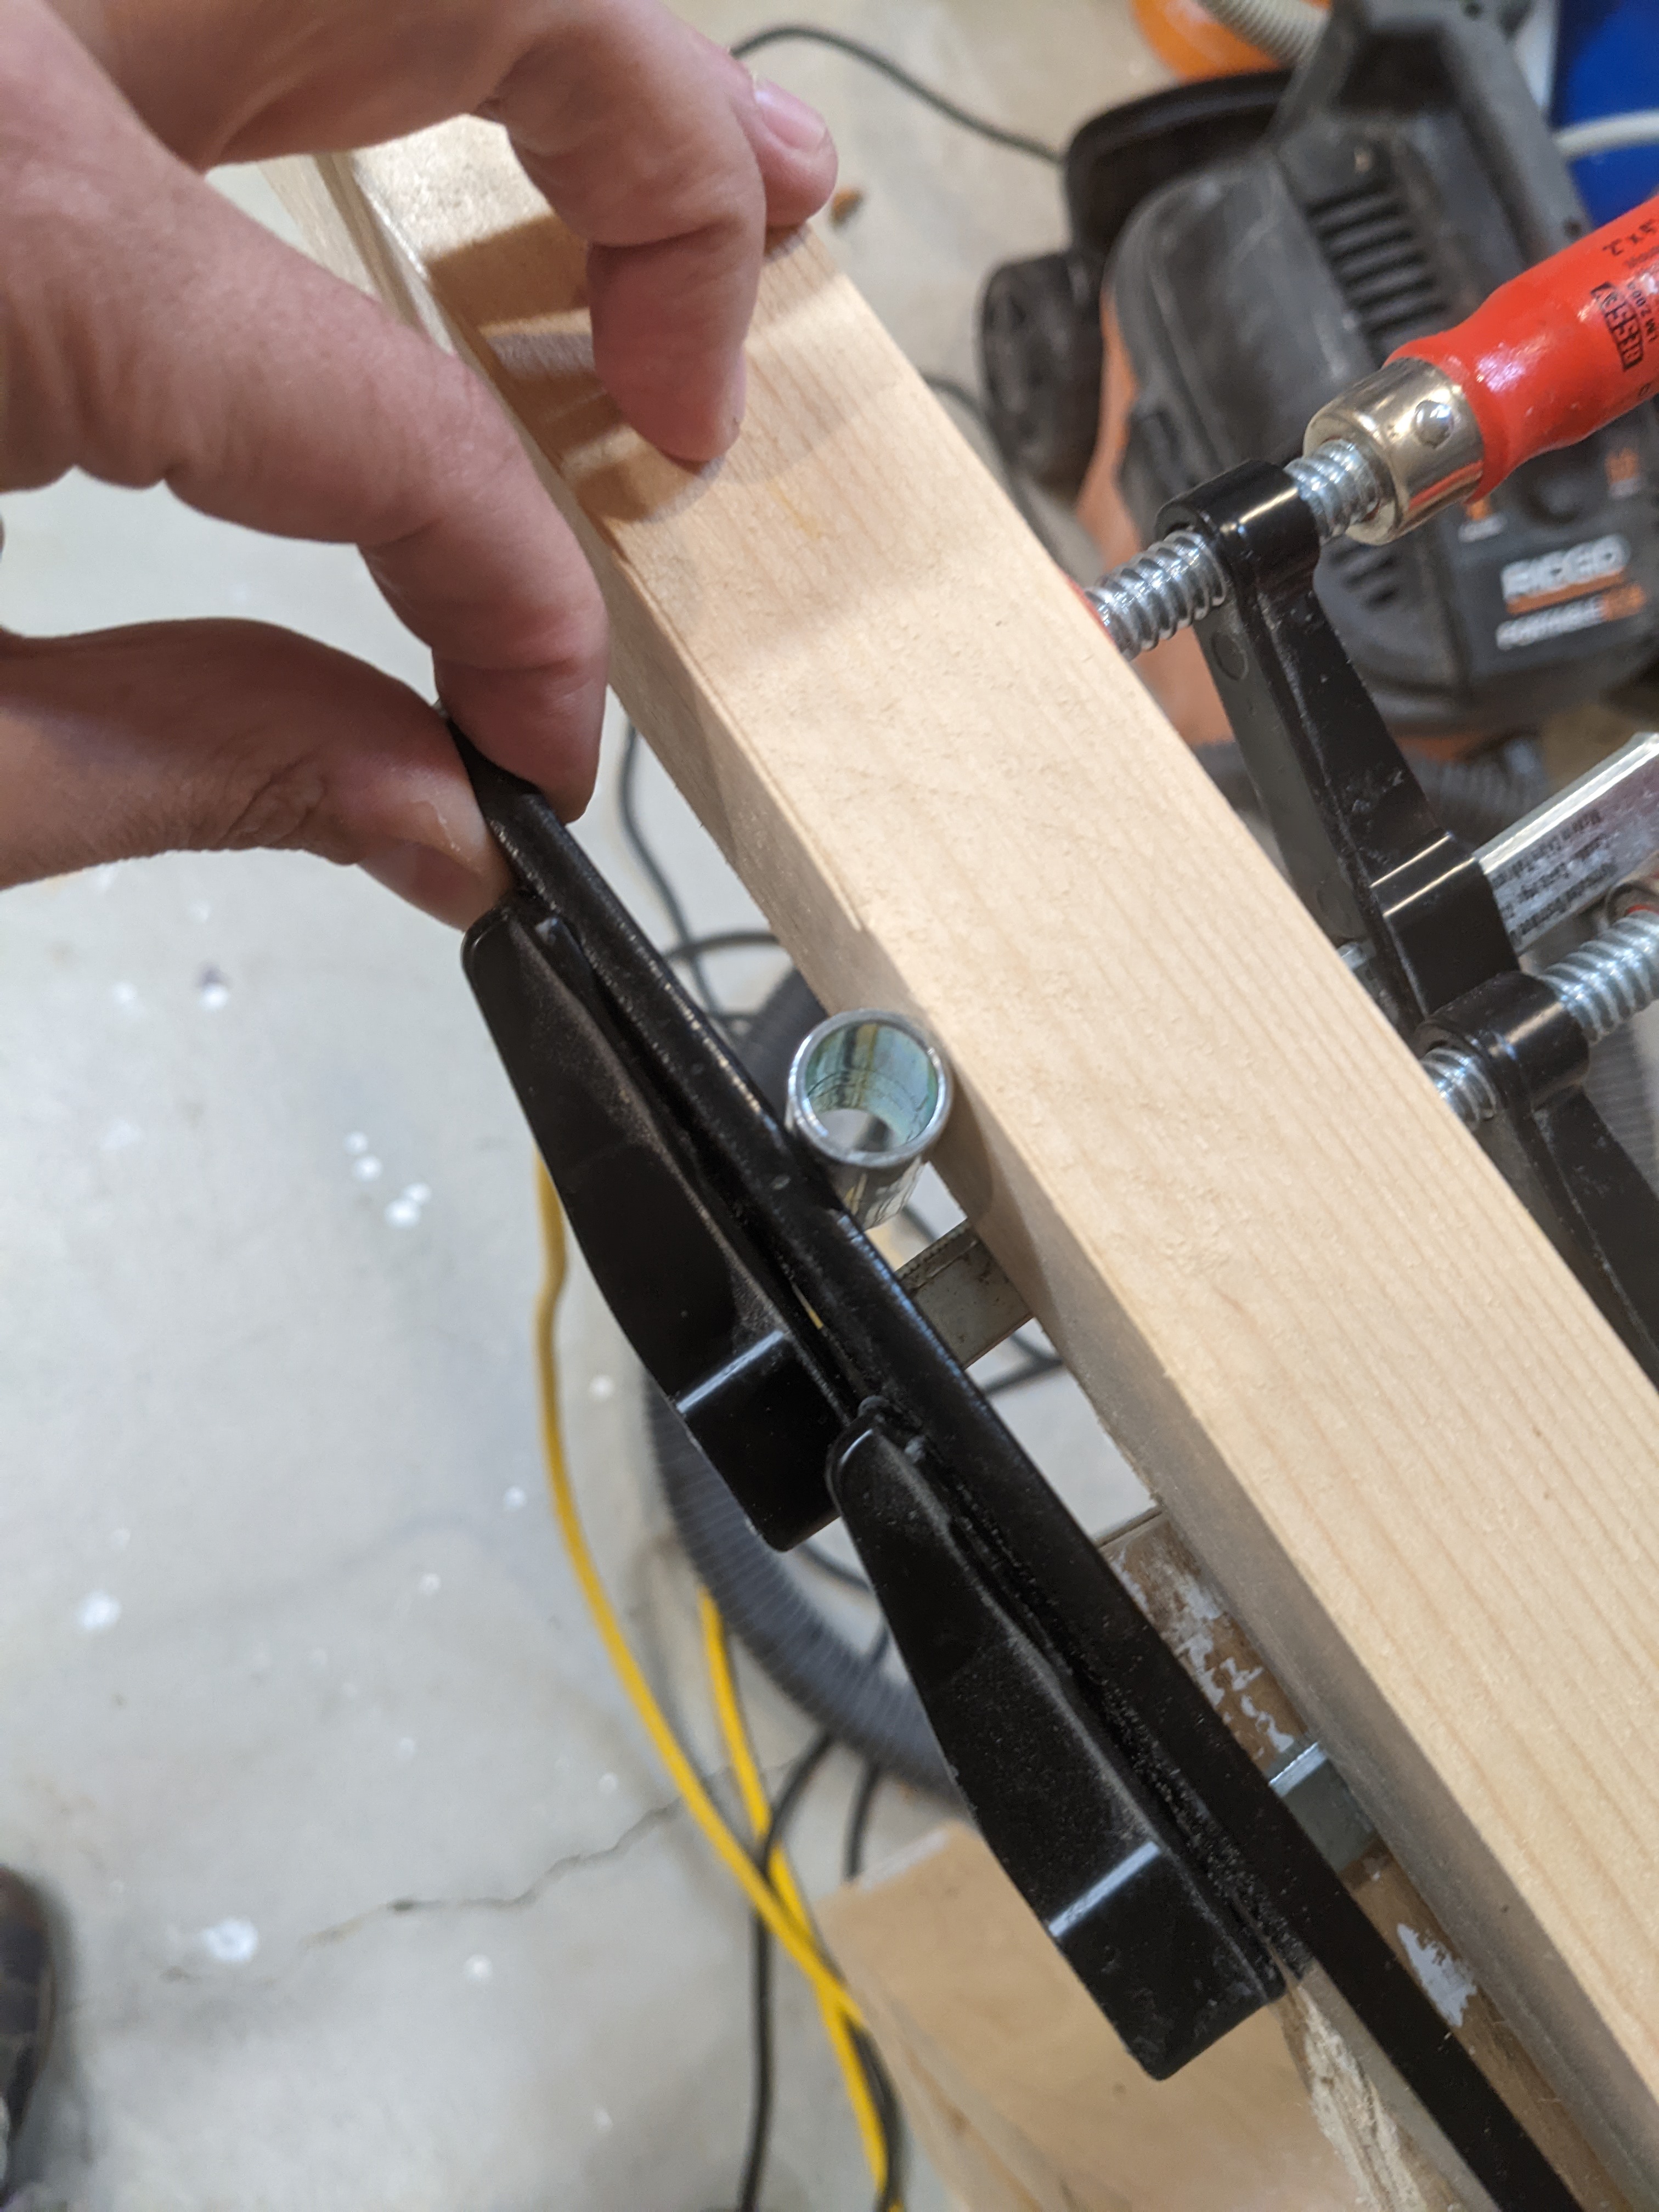
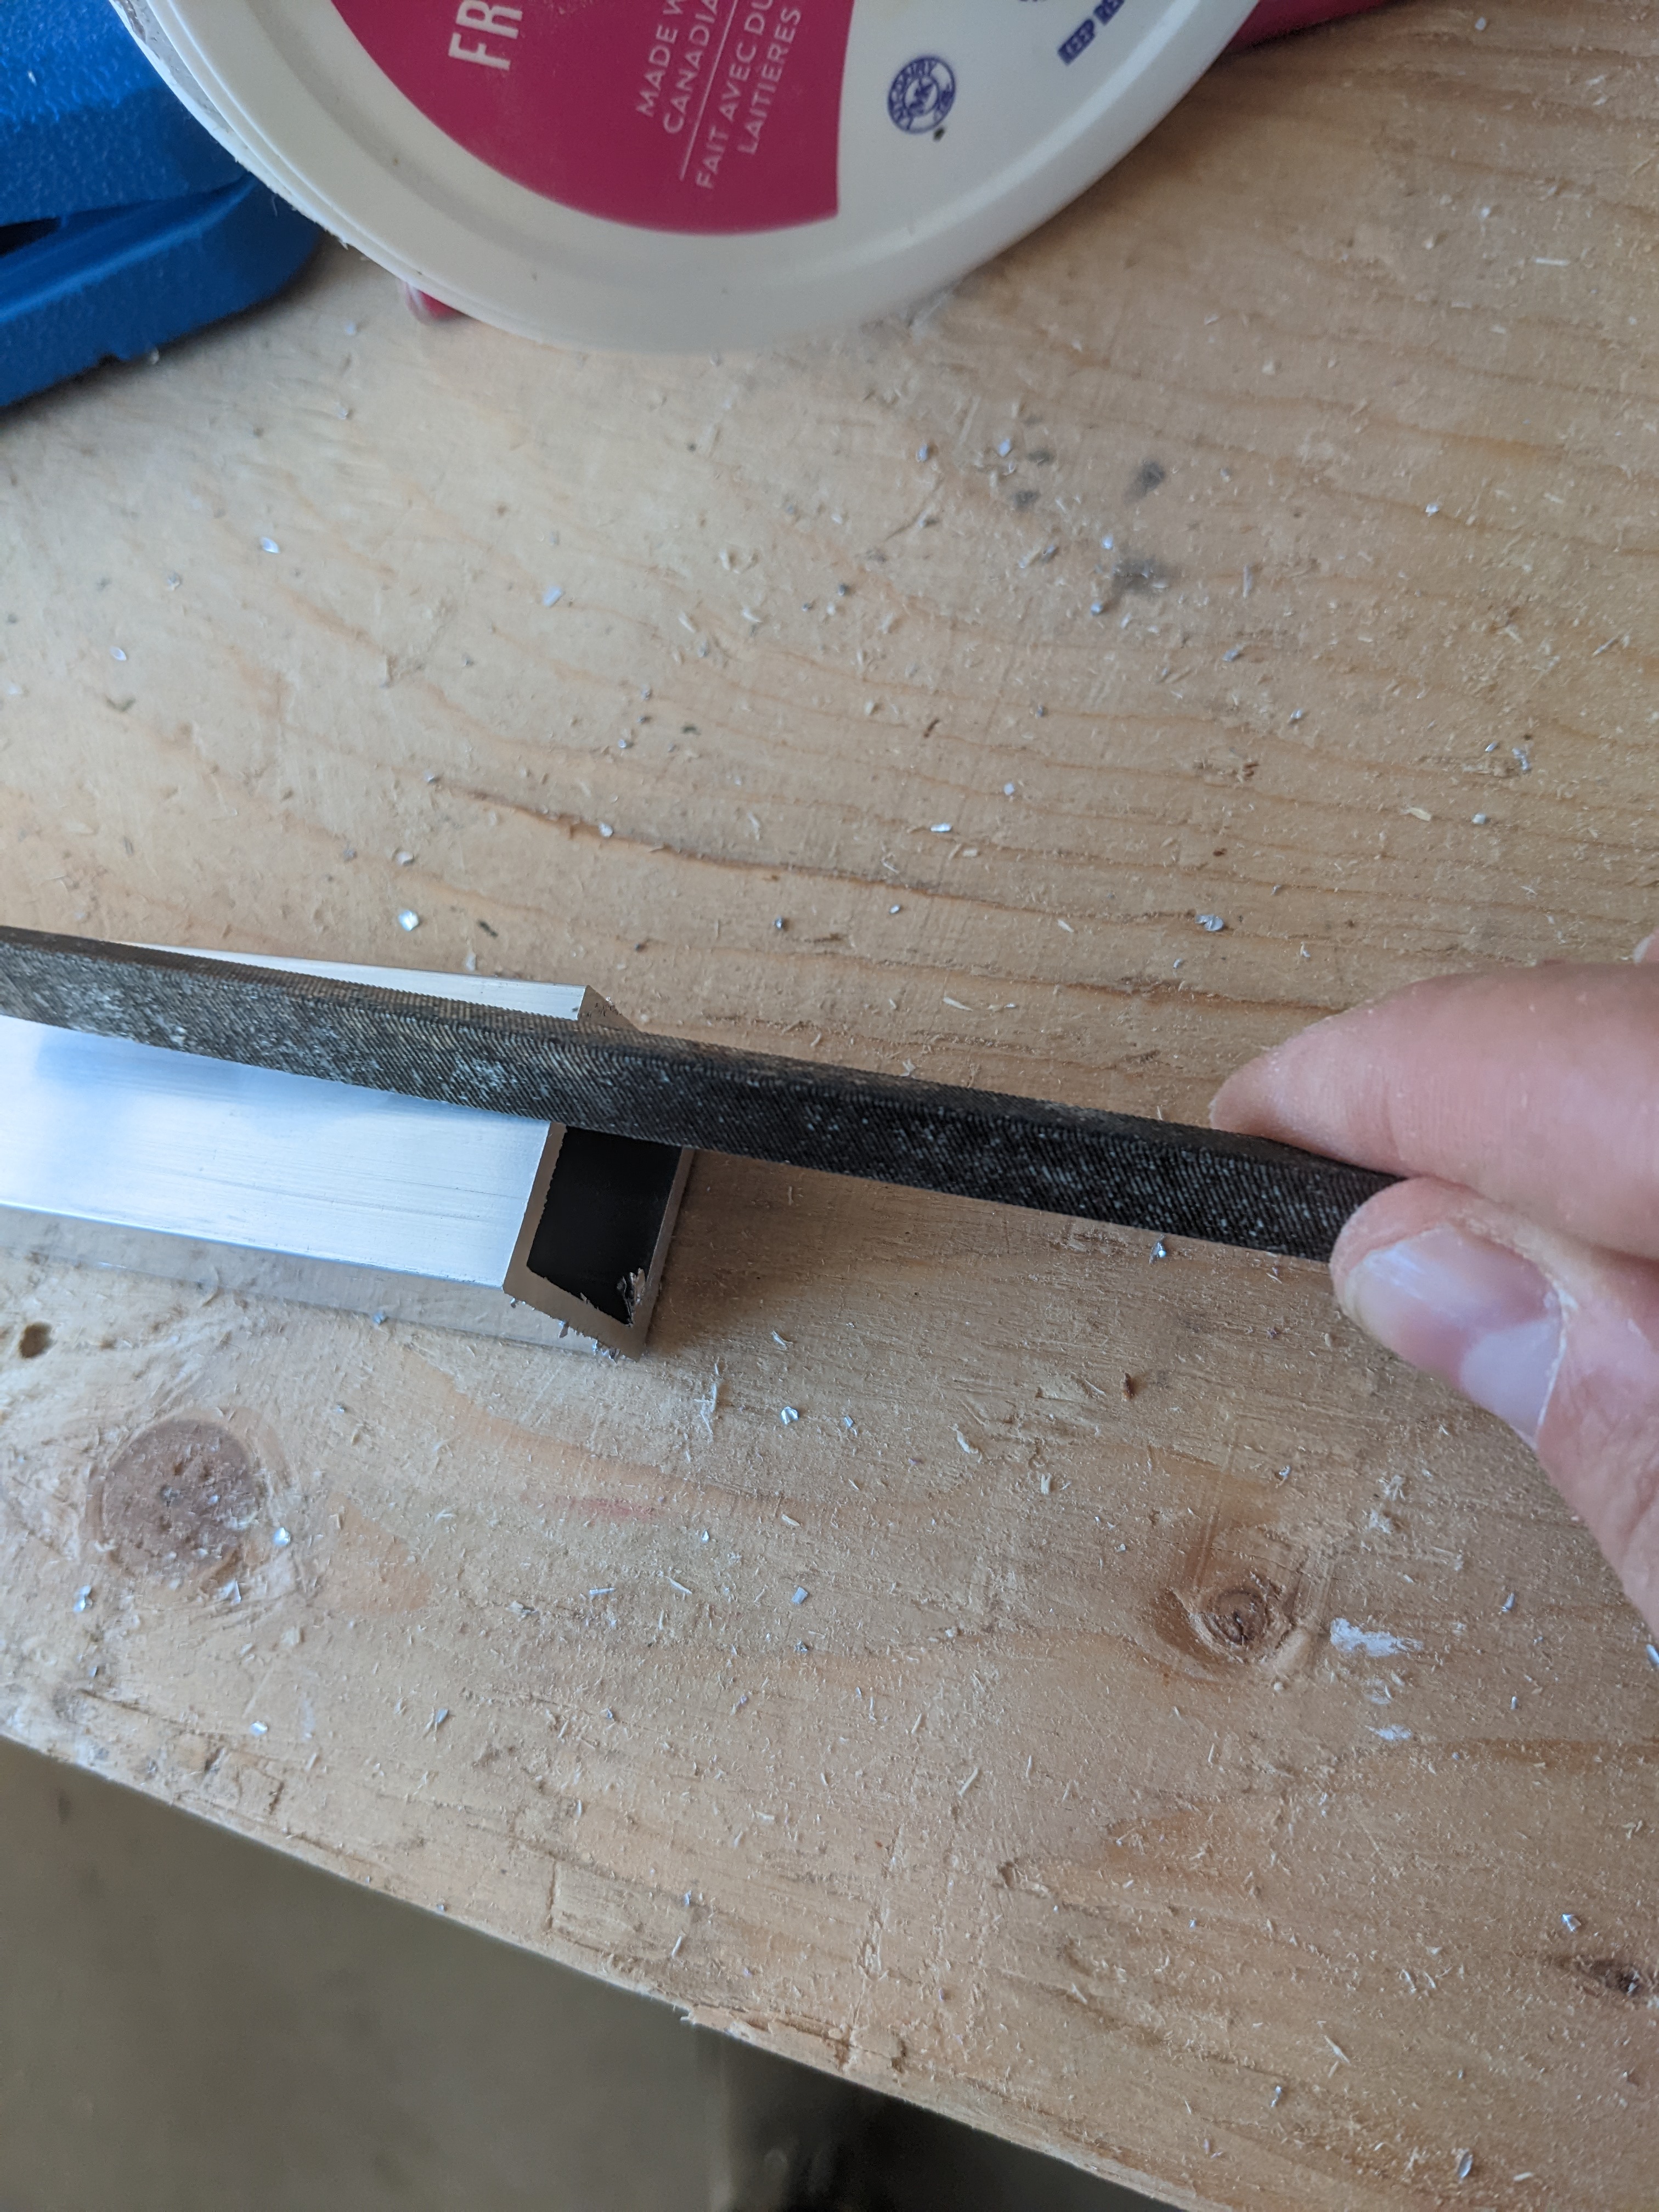
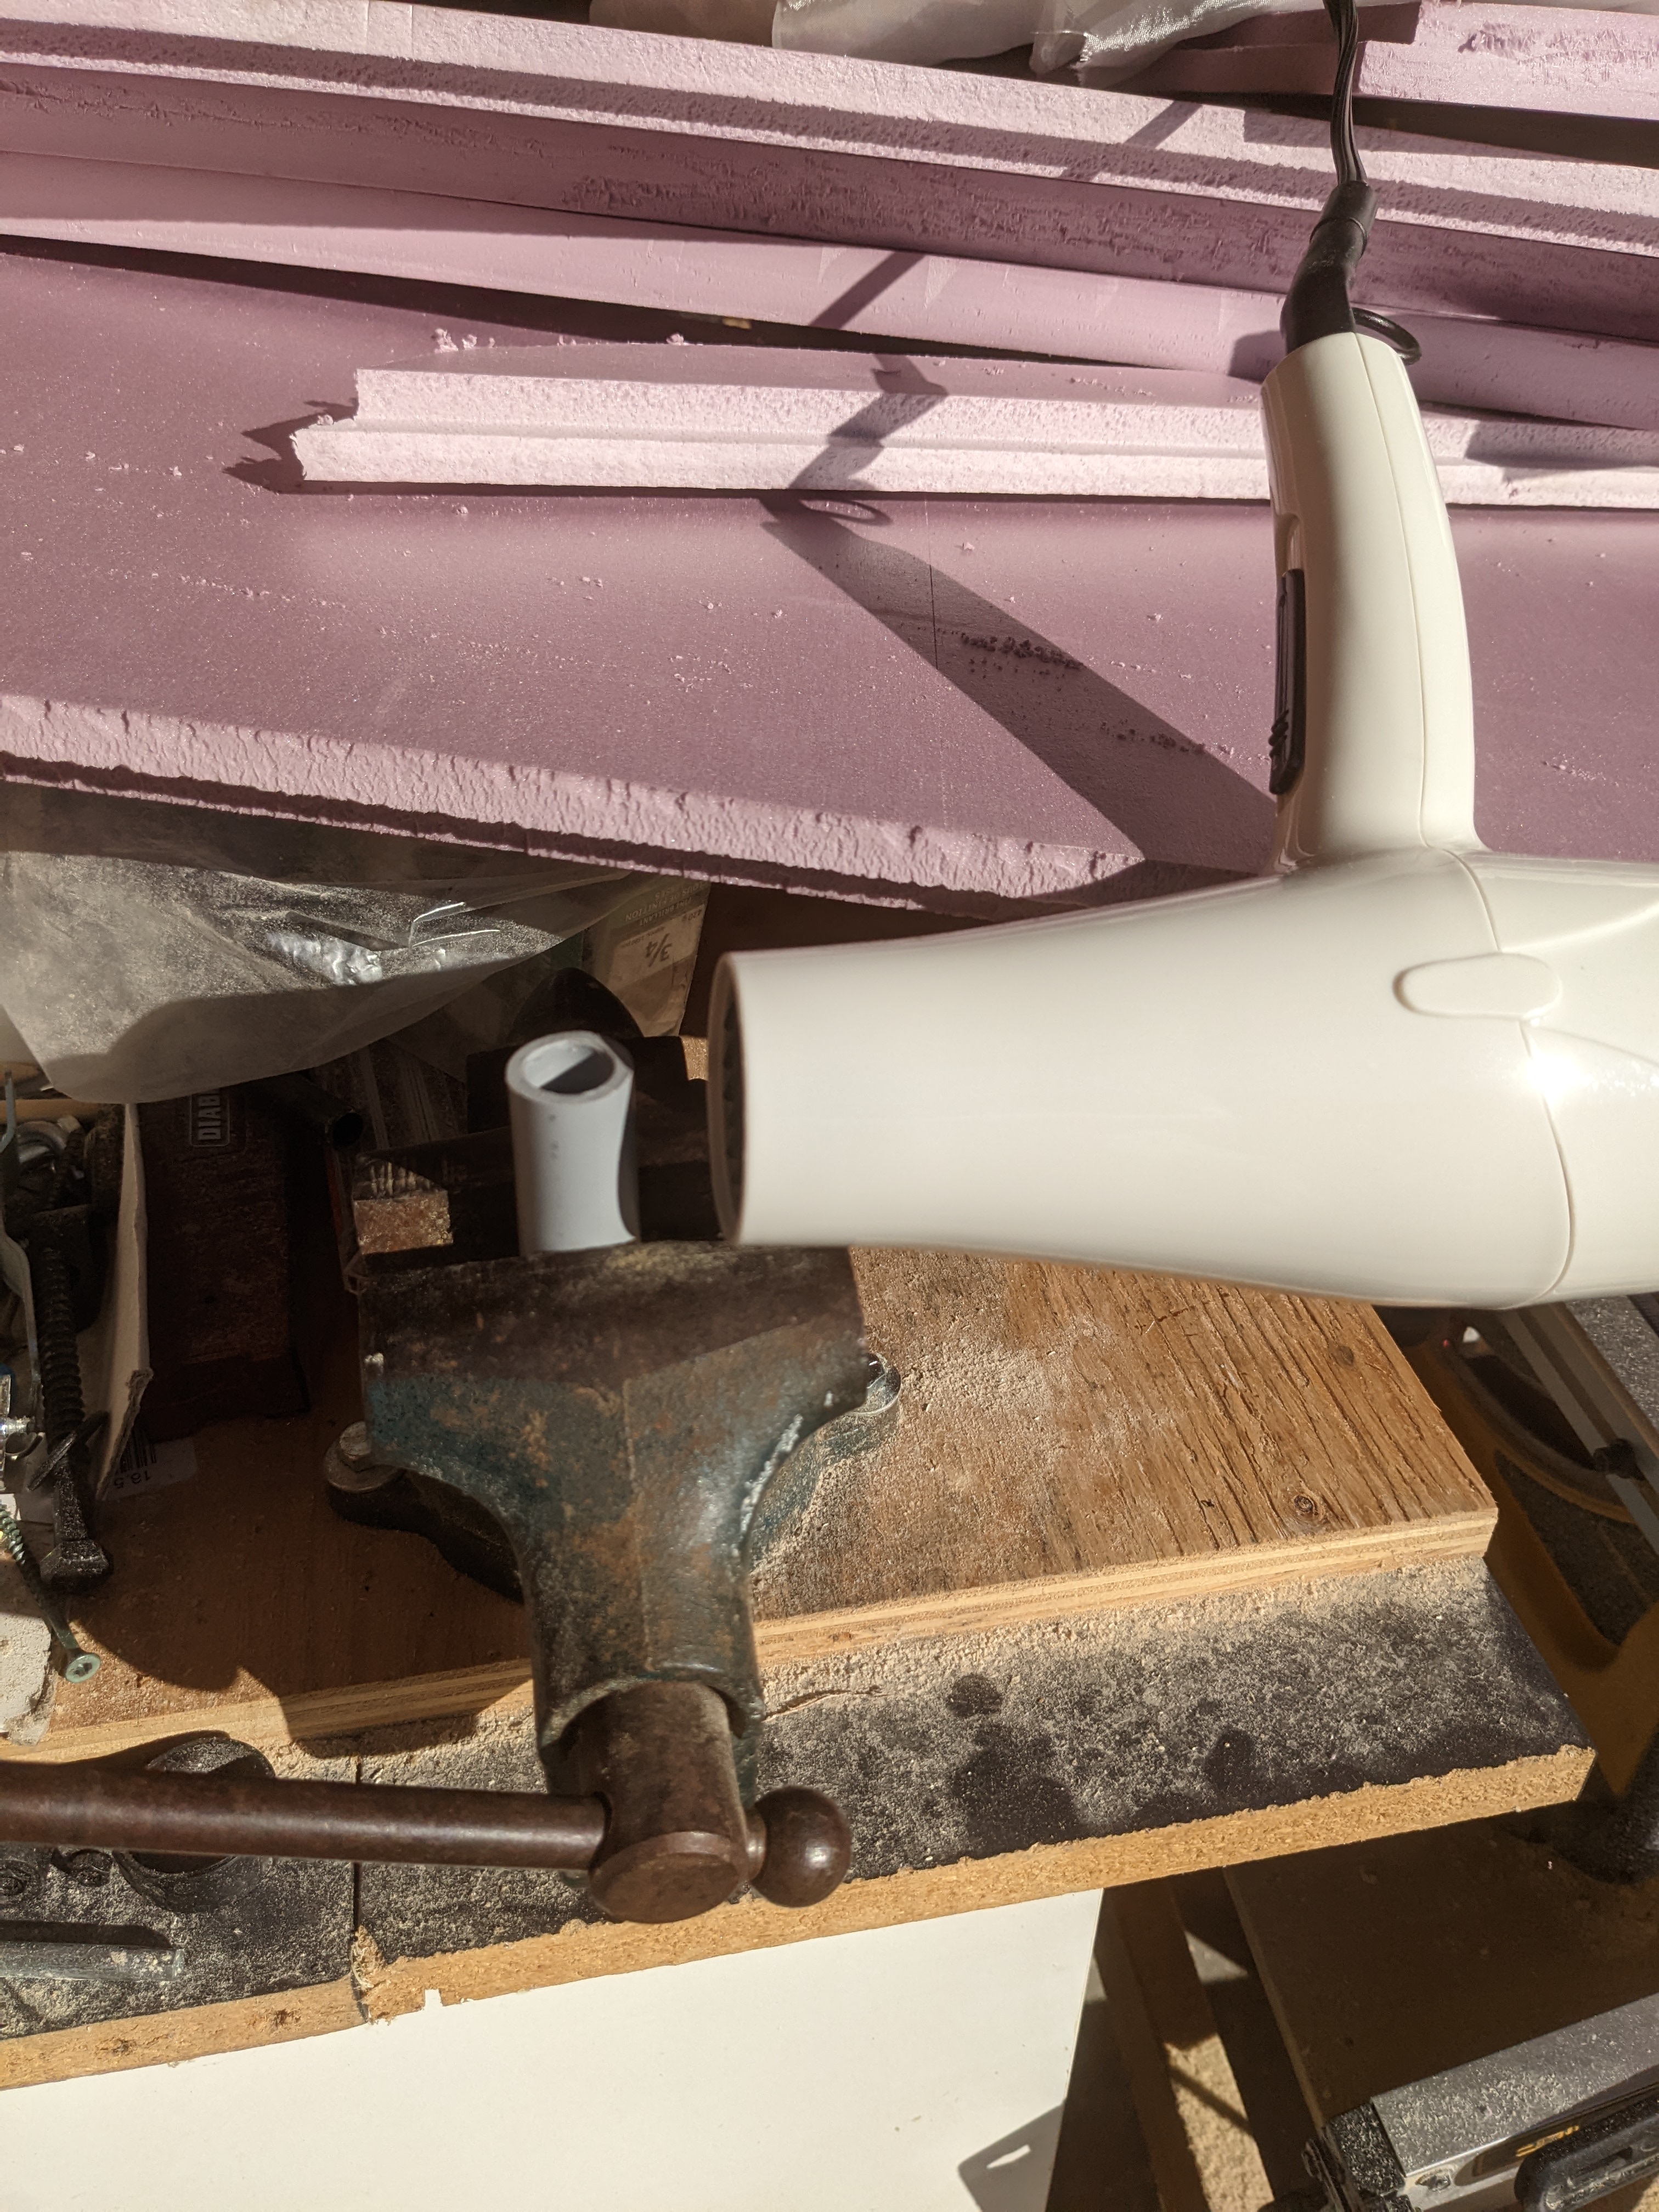
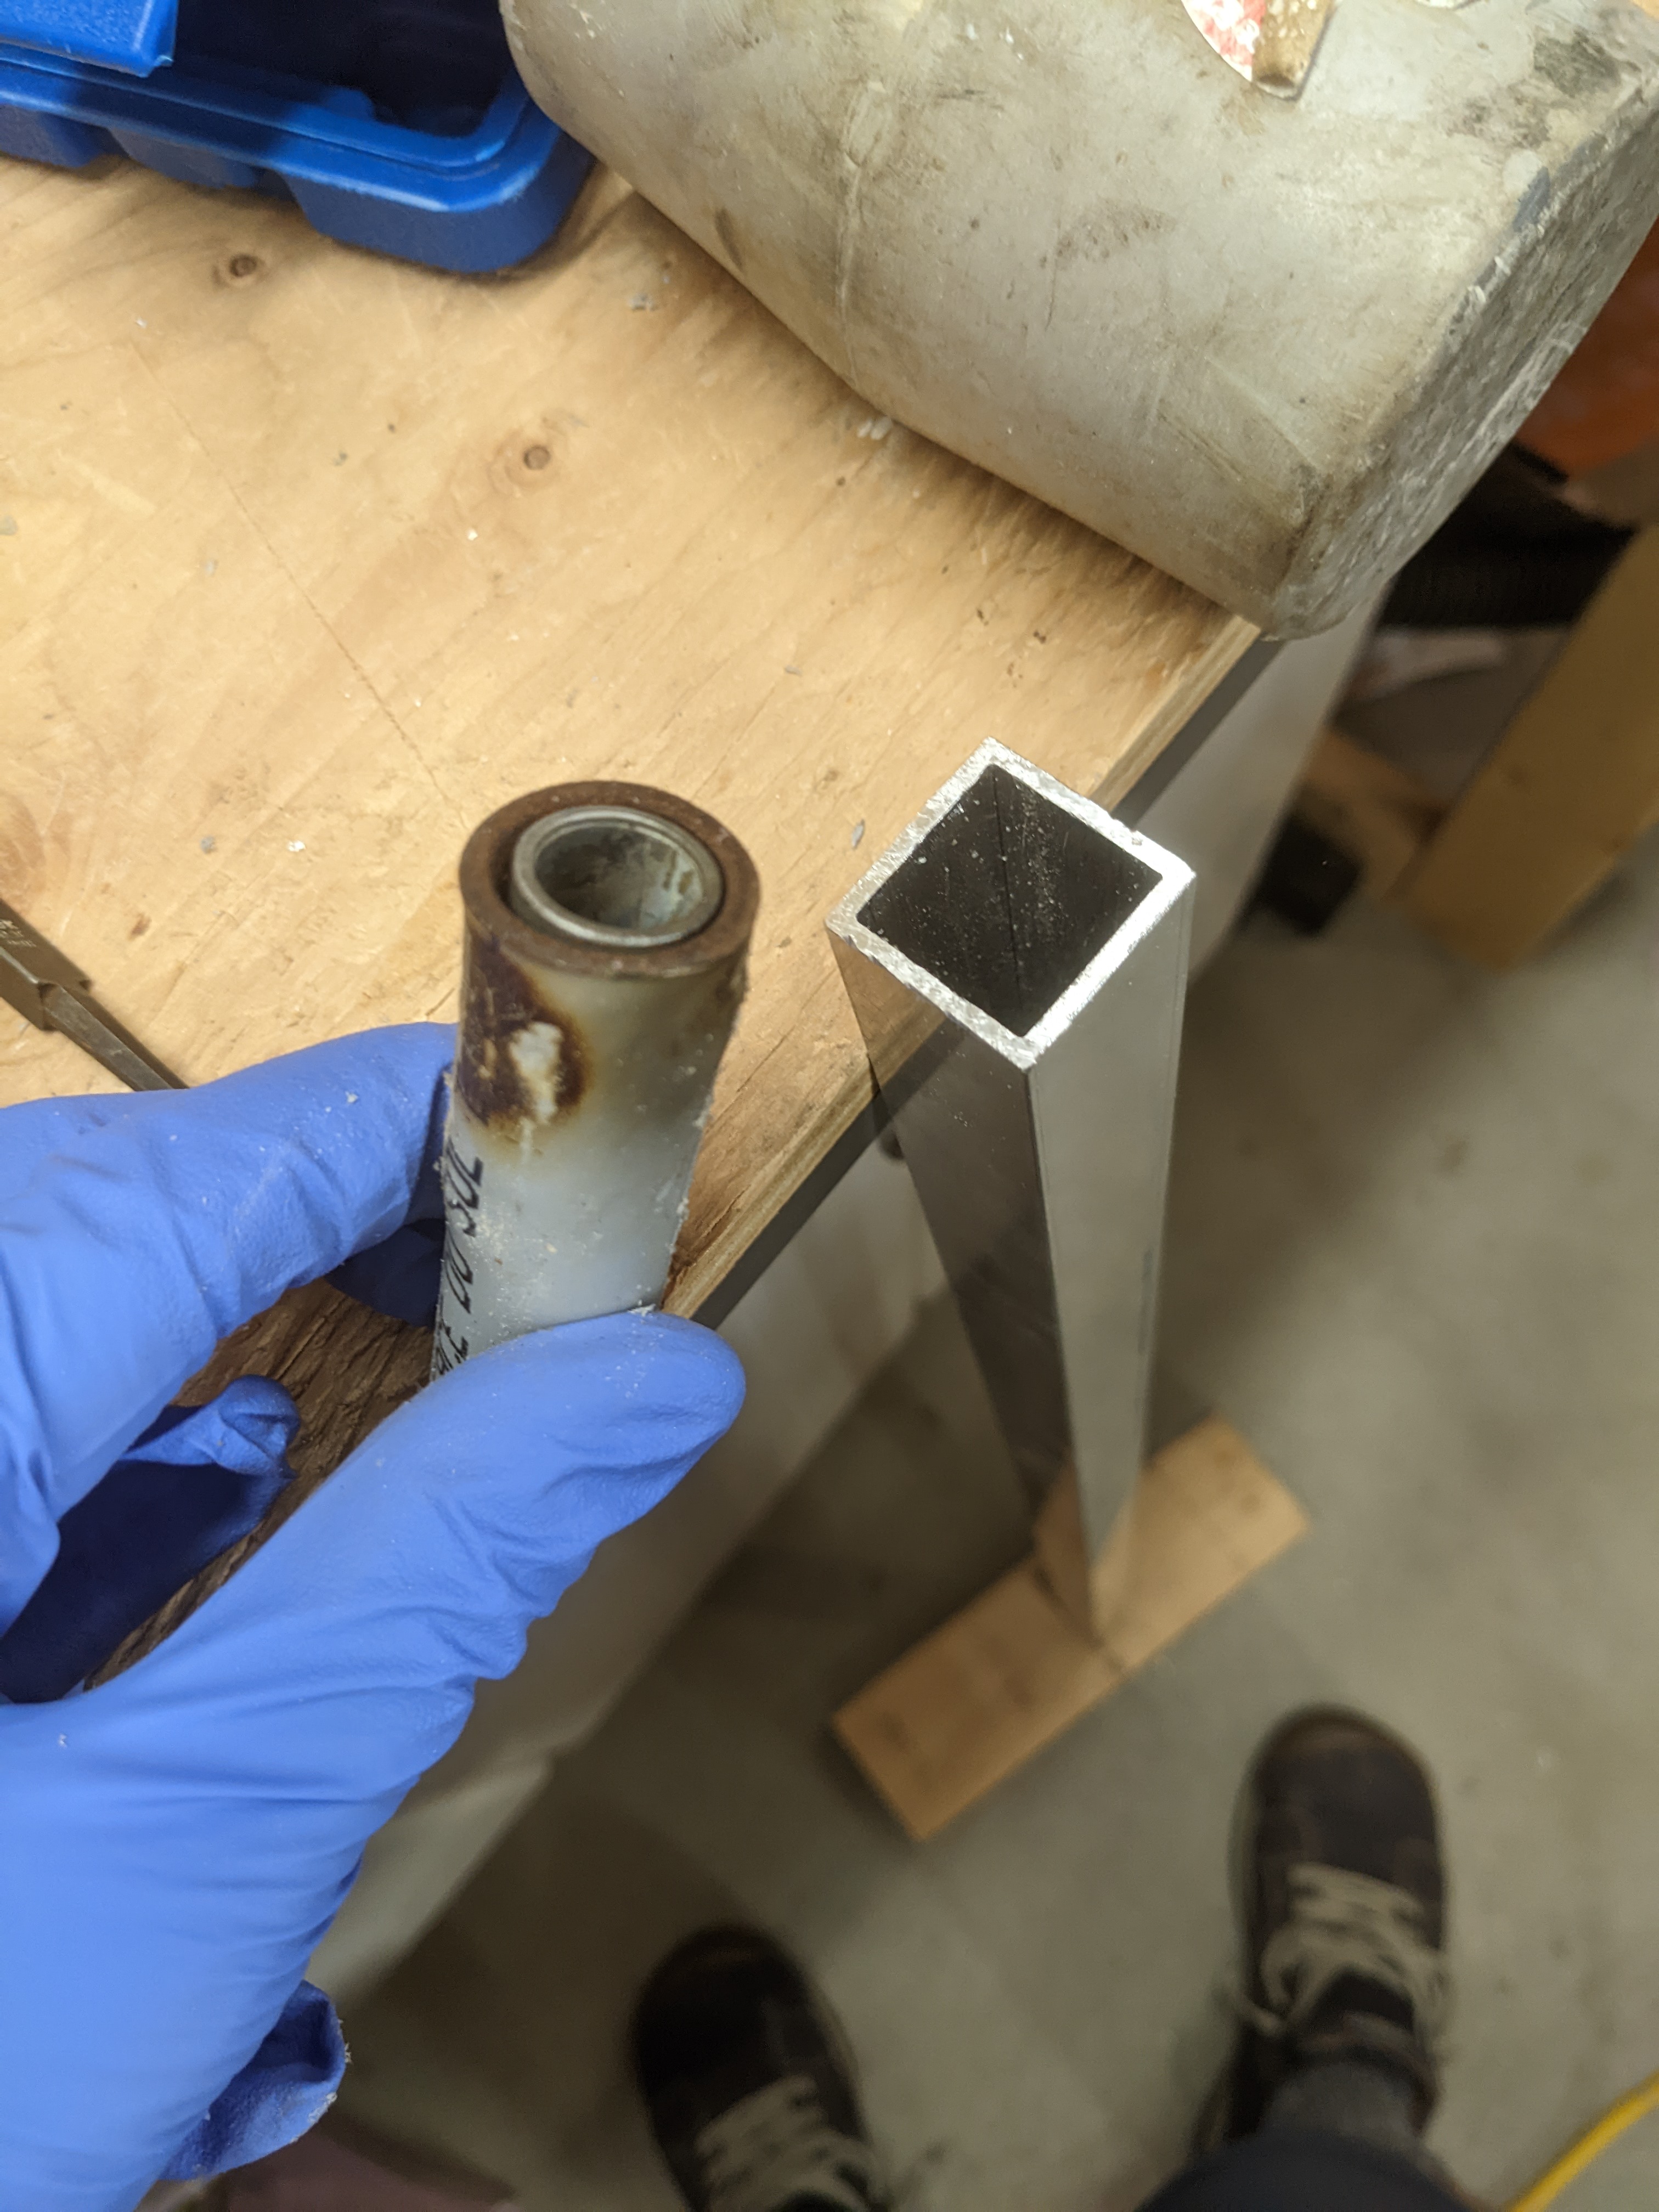
To mount it, my current plan is to put the steel spacer into some 1/2" ABS (I.D. of that doesn't really match, so I ended up using a torch to burn/melt it, and then smash it in). Then, take the ABS pipe+spacer combination and smash that into a 1" aluminum square tube, which... also doesn't really fit. One end worked better than the other, but in the end with various "encouragements" I got them both in, and they seem to work OK. I Gorilla Glue'd the first one because I was worried about it moving later, but that was a big mess and very tight, so I didn't do the second one. The second one went in differently, and shaved part of the ABS rather than squishing it, so wasn't as snug, unfortunately. So... I might be rebuilding the axle eventually, but it's probably fine for now. But I'm also not sure how much weight the the 1"x1"x.096" aluminum square tube is going to hold, so something else might fail long before the receivers do. (Possibly just epoxy the receiver onto the tube, and then a pipe clamp for extra support?)
In any case, once I figure out exactly where the door of the trailer will be, I'll know where the wheel needs to be so I can bolt the aluminum tube on through the wooden frame at the right spot.


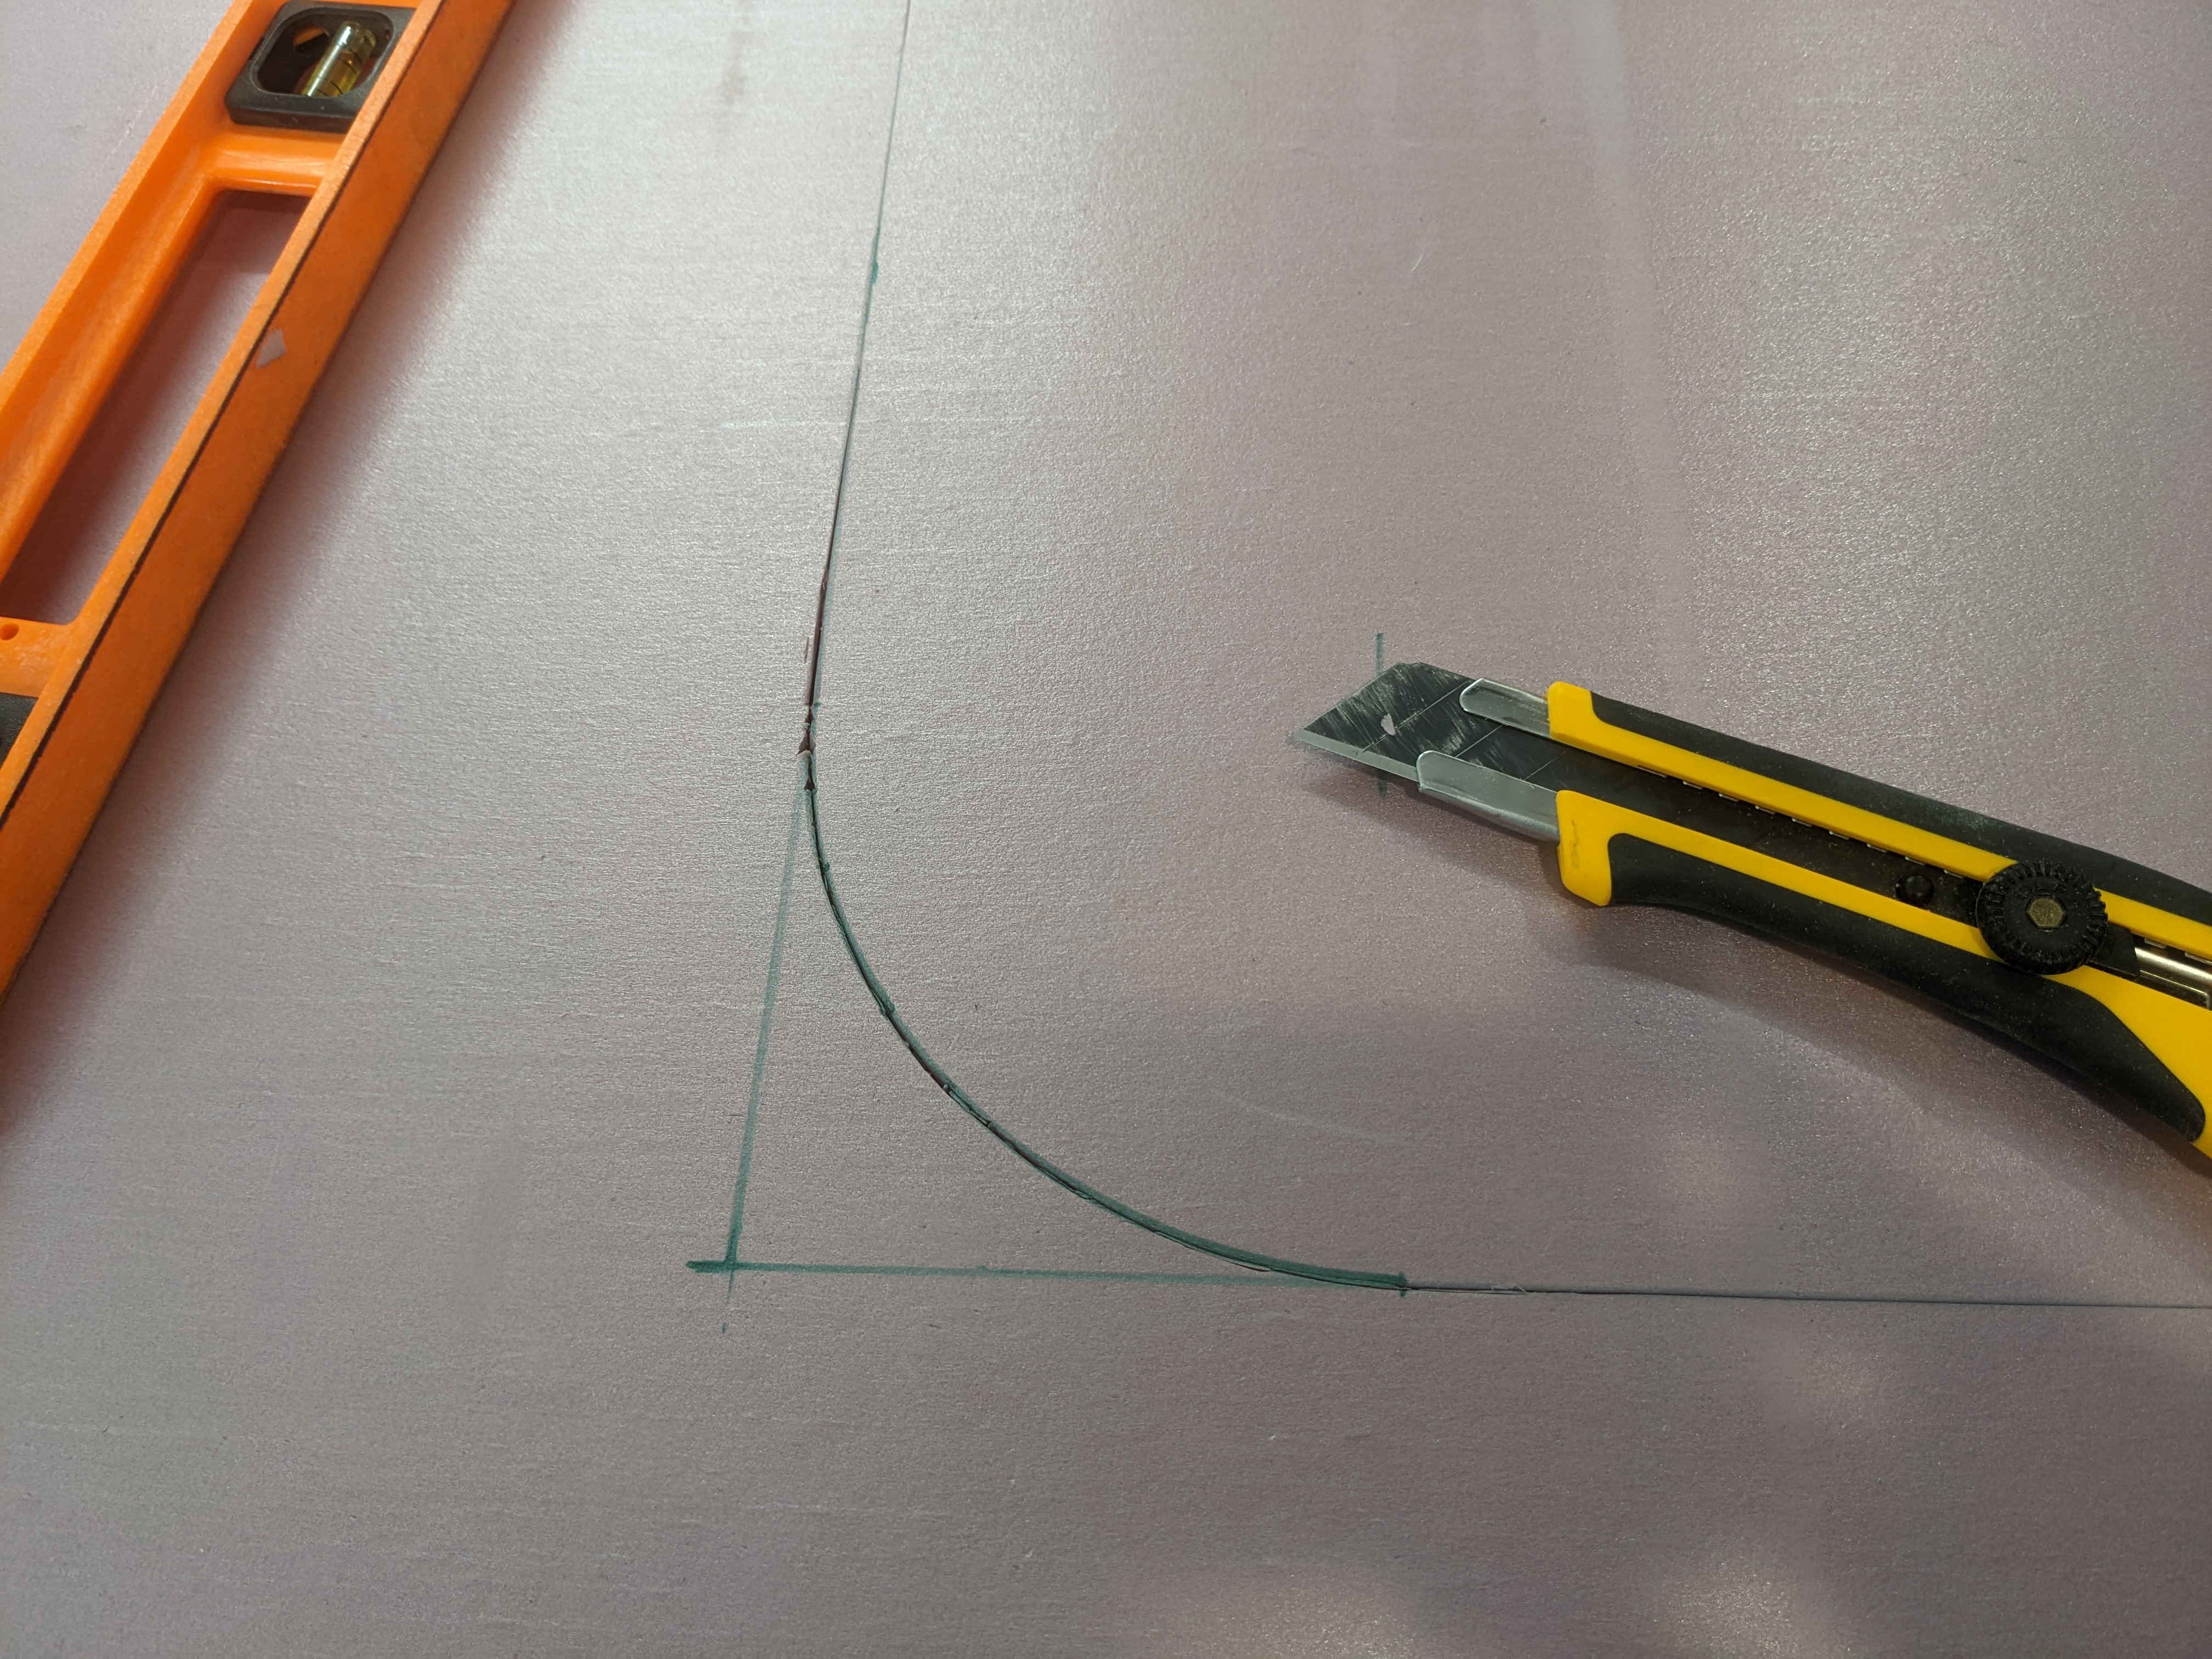
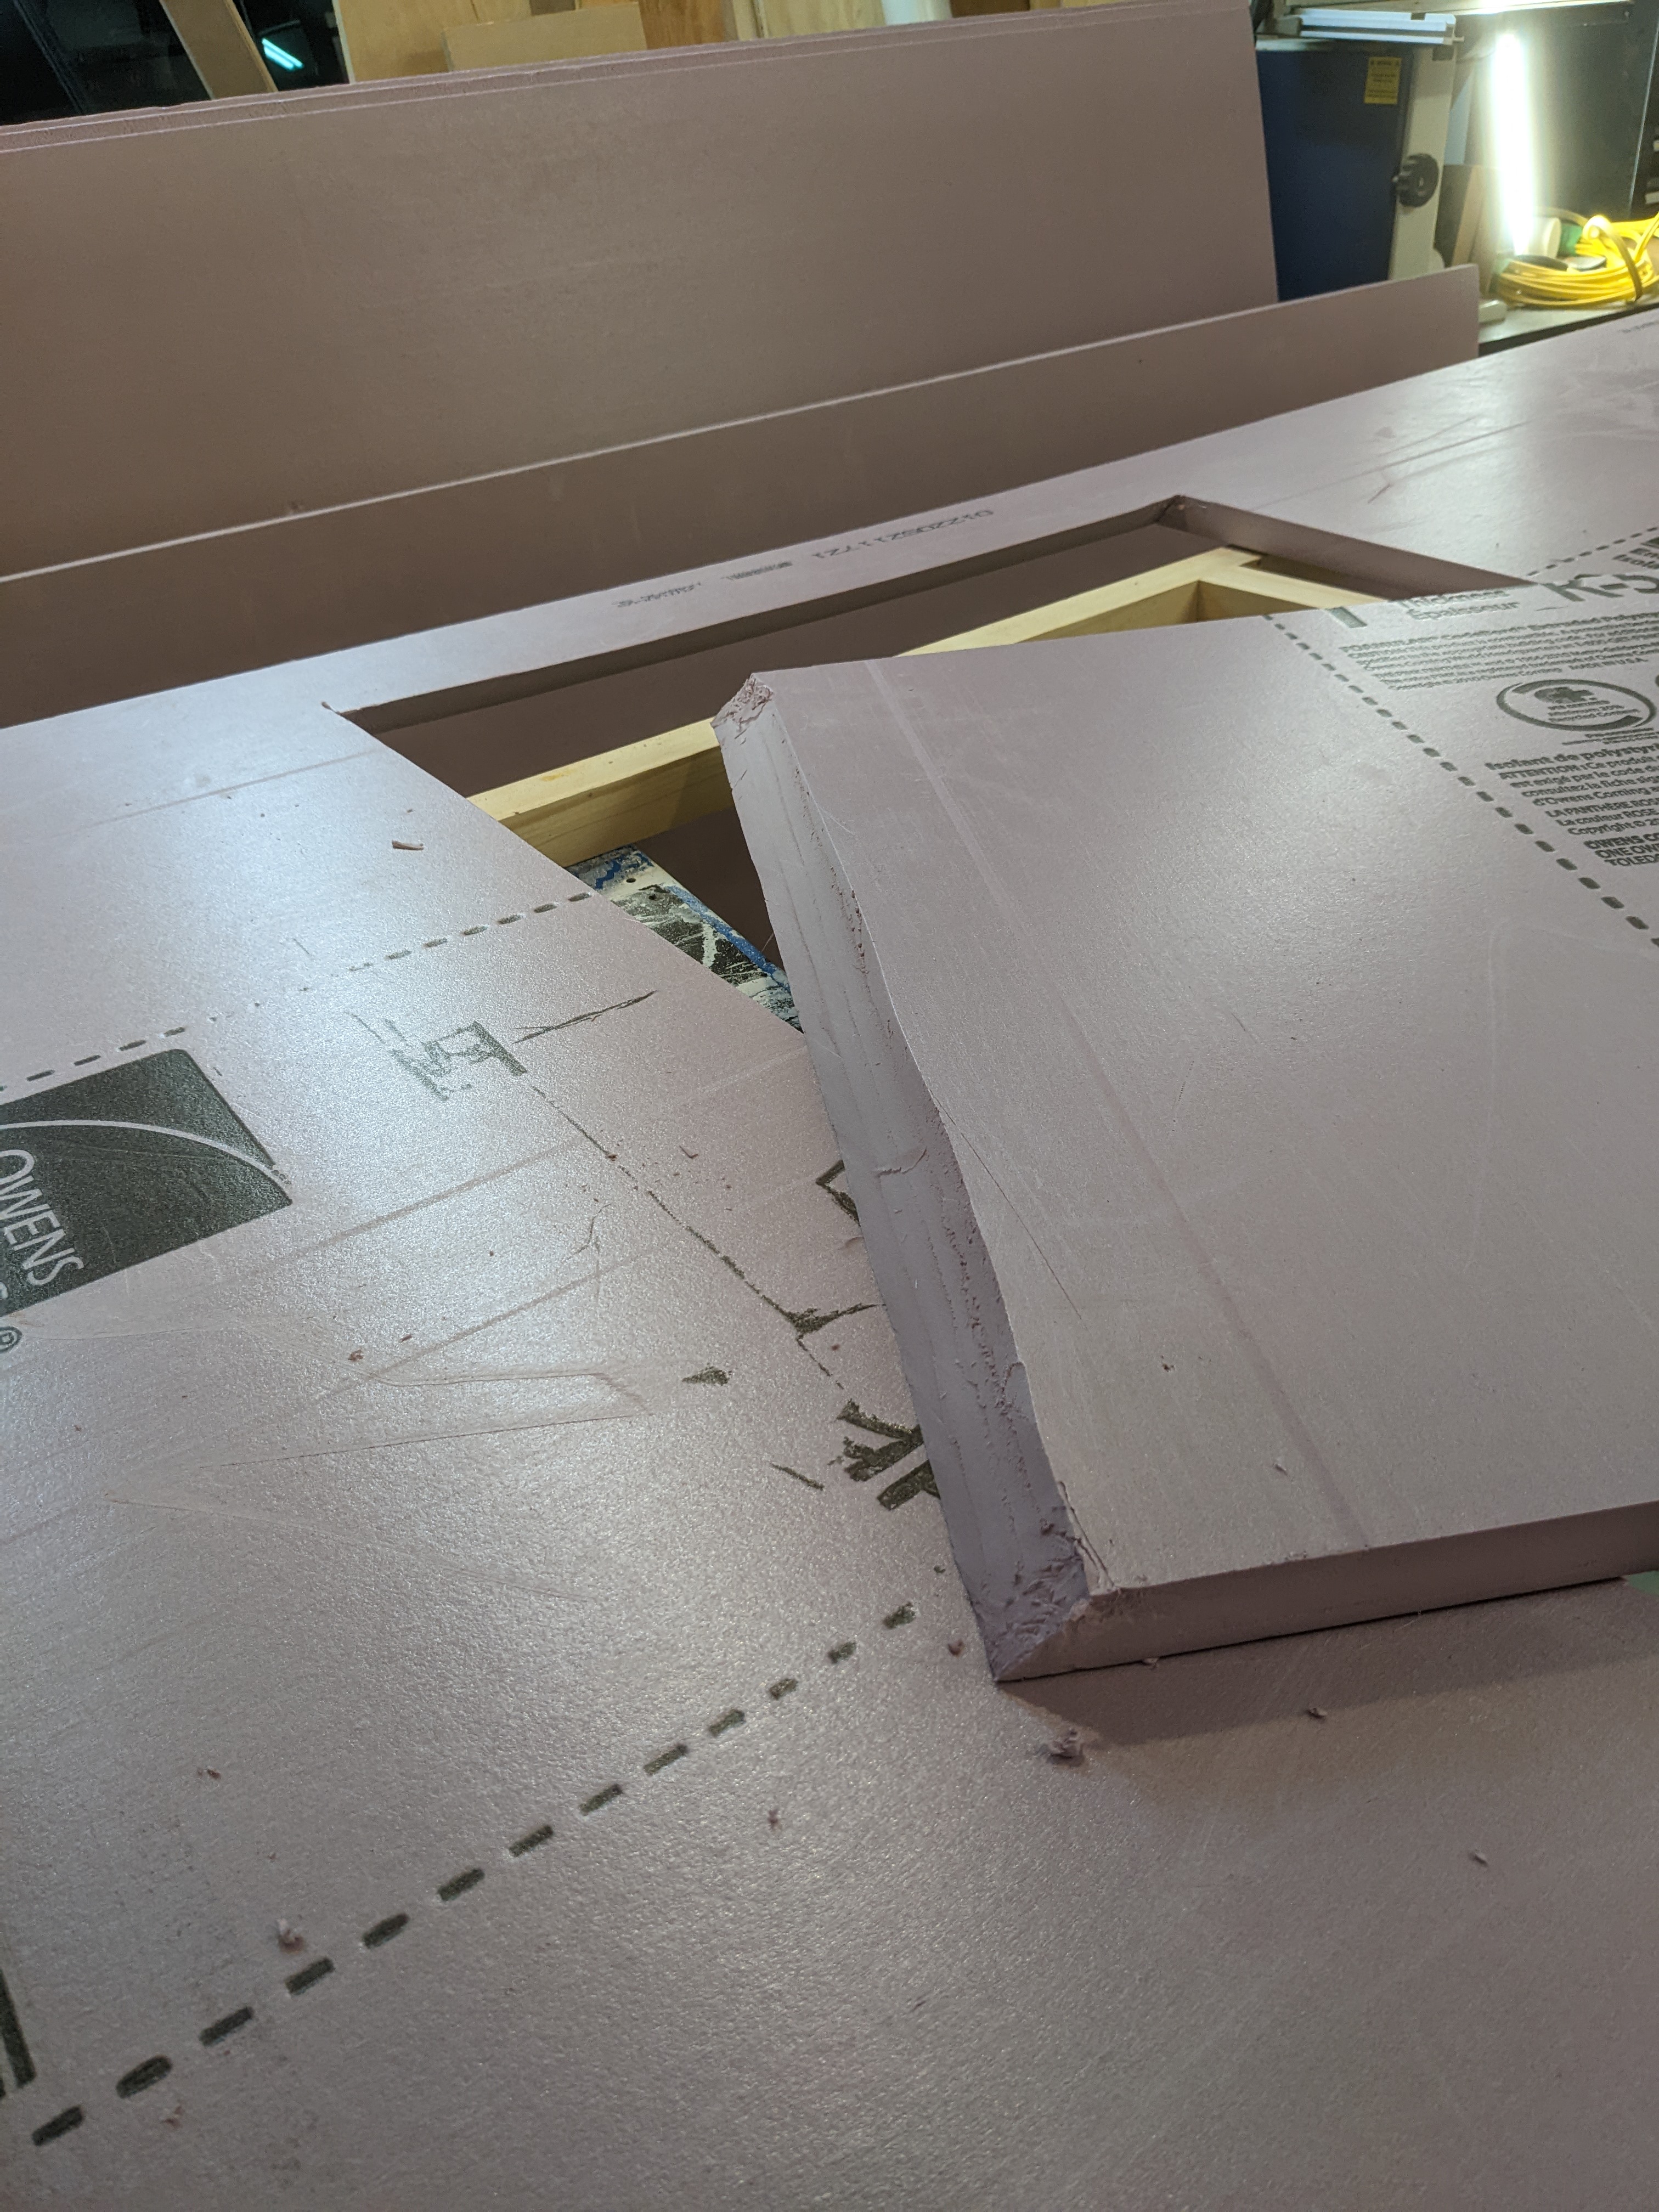

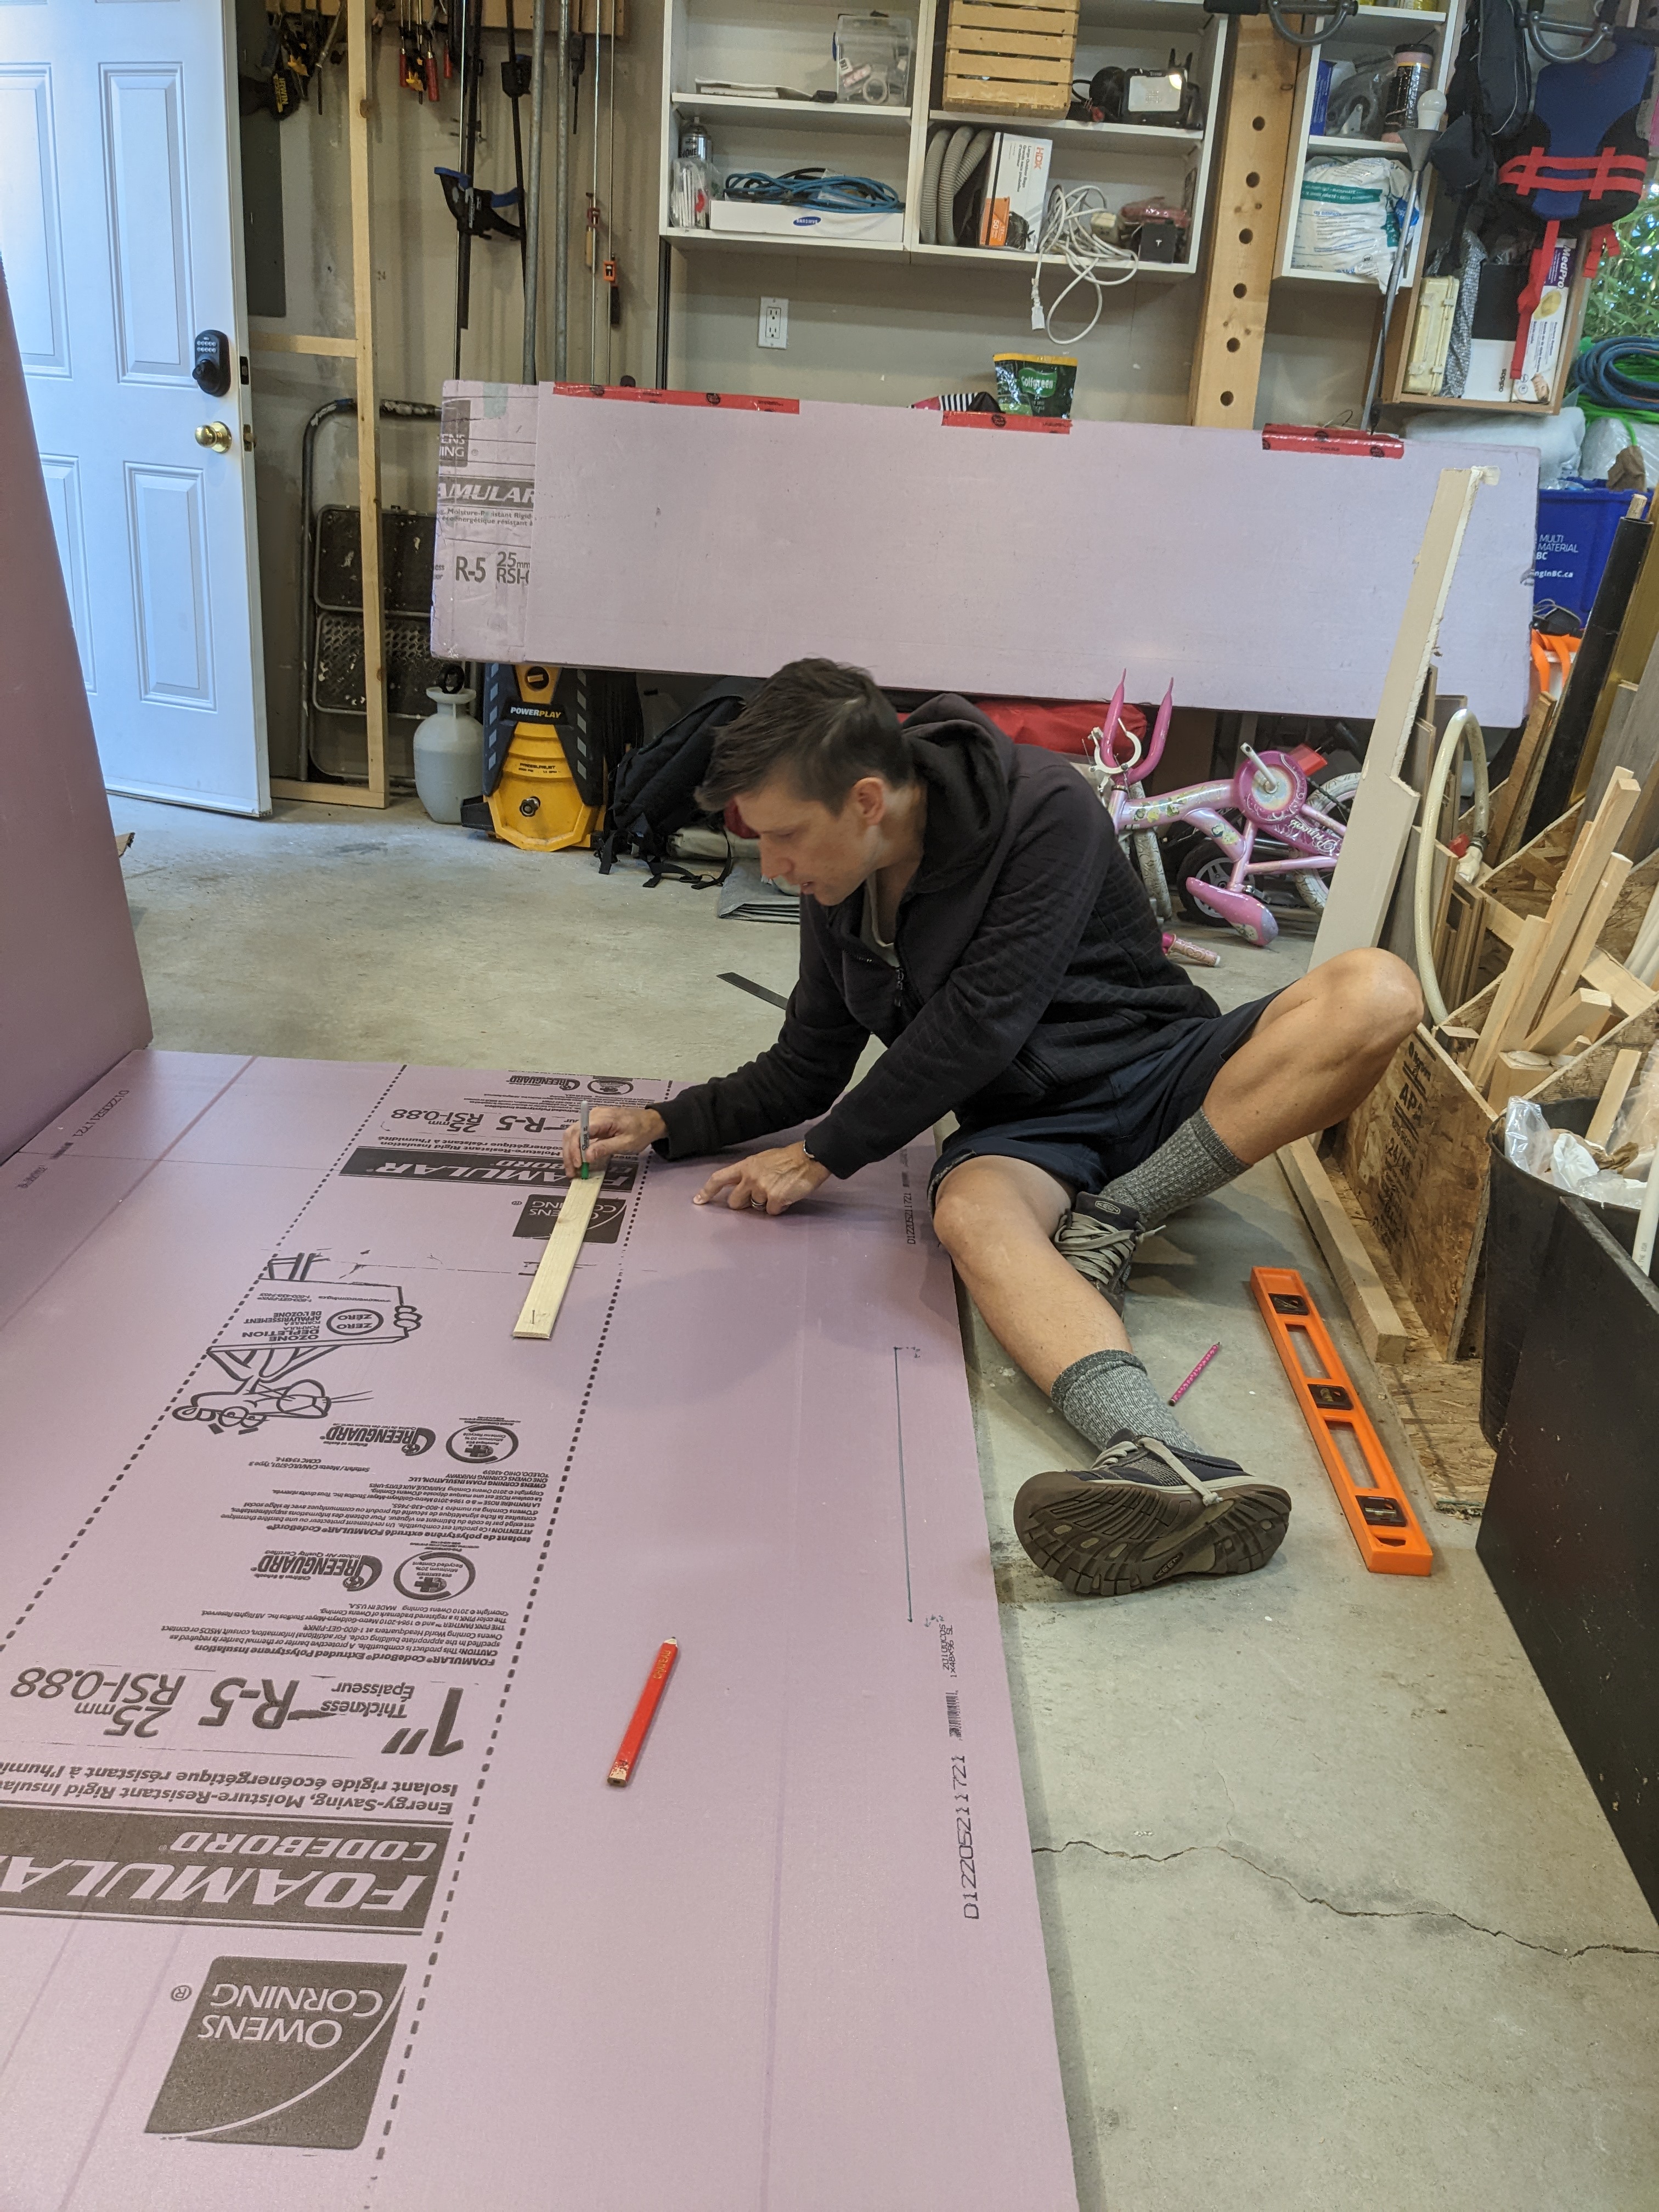
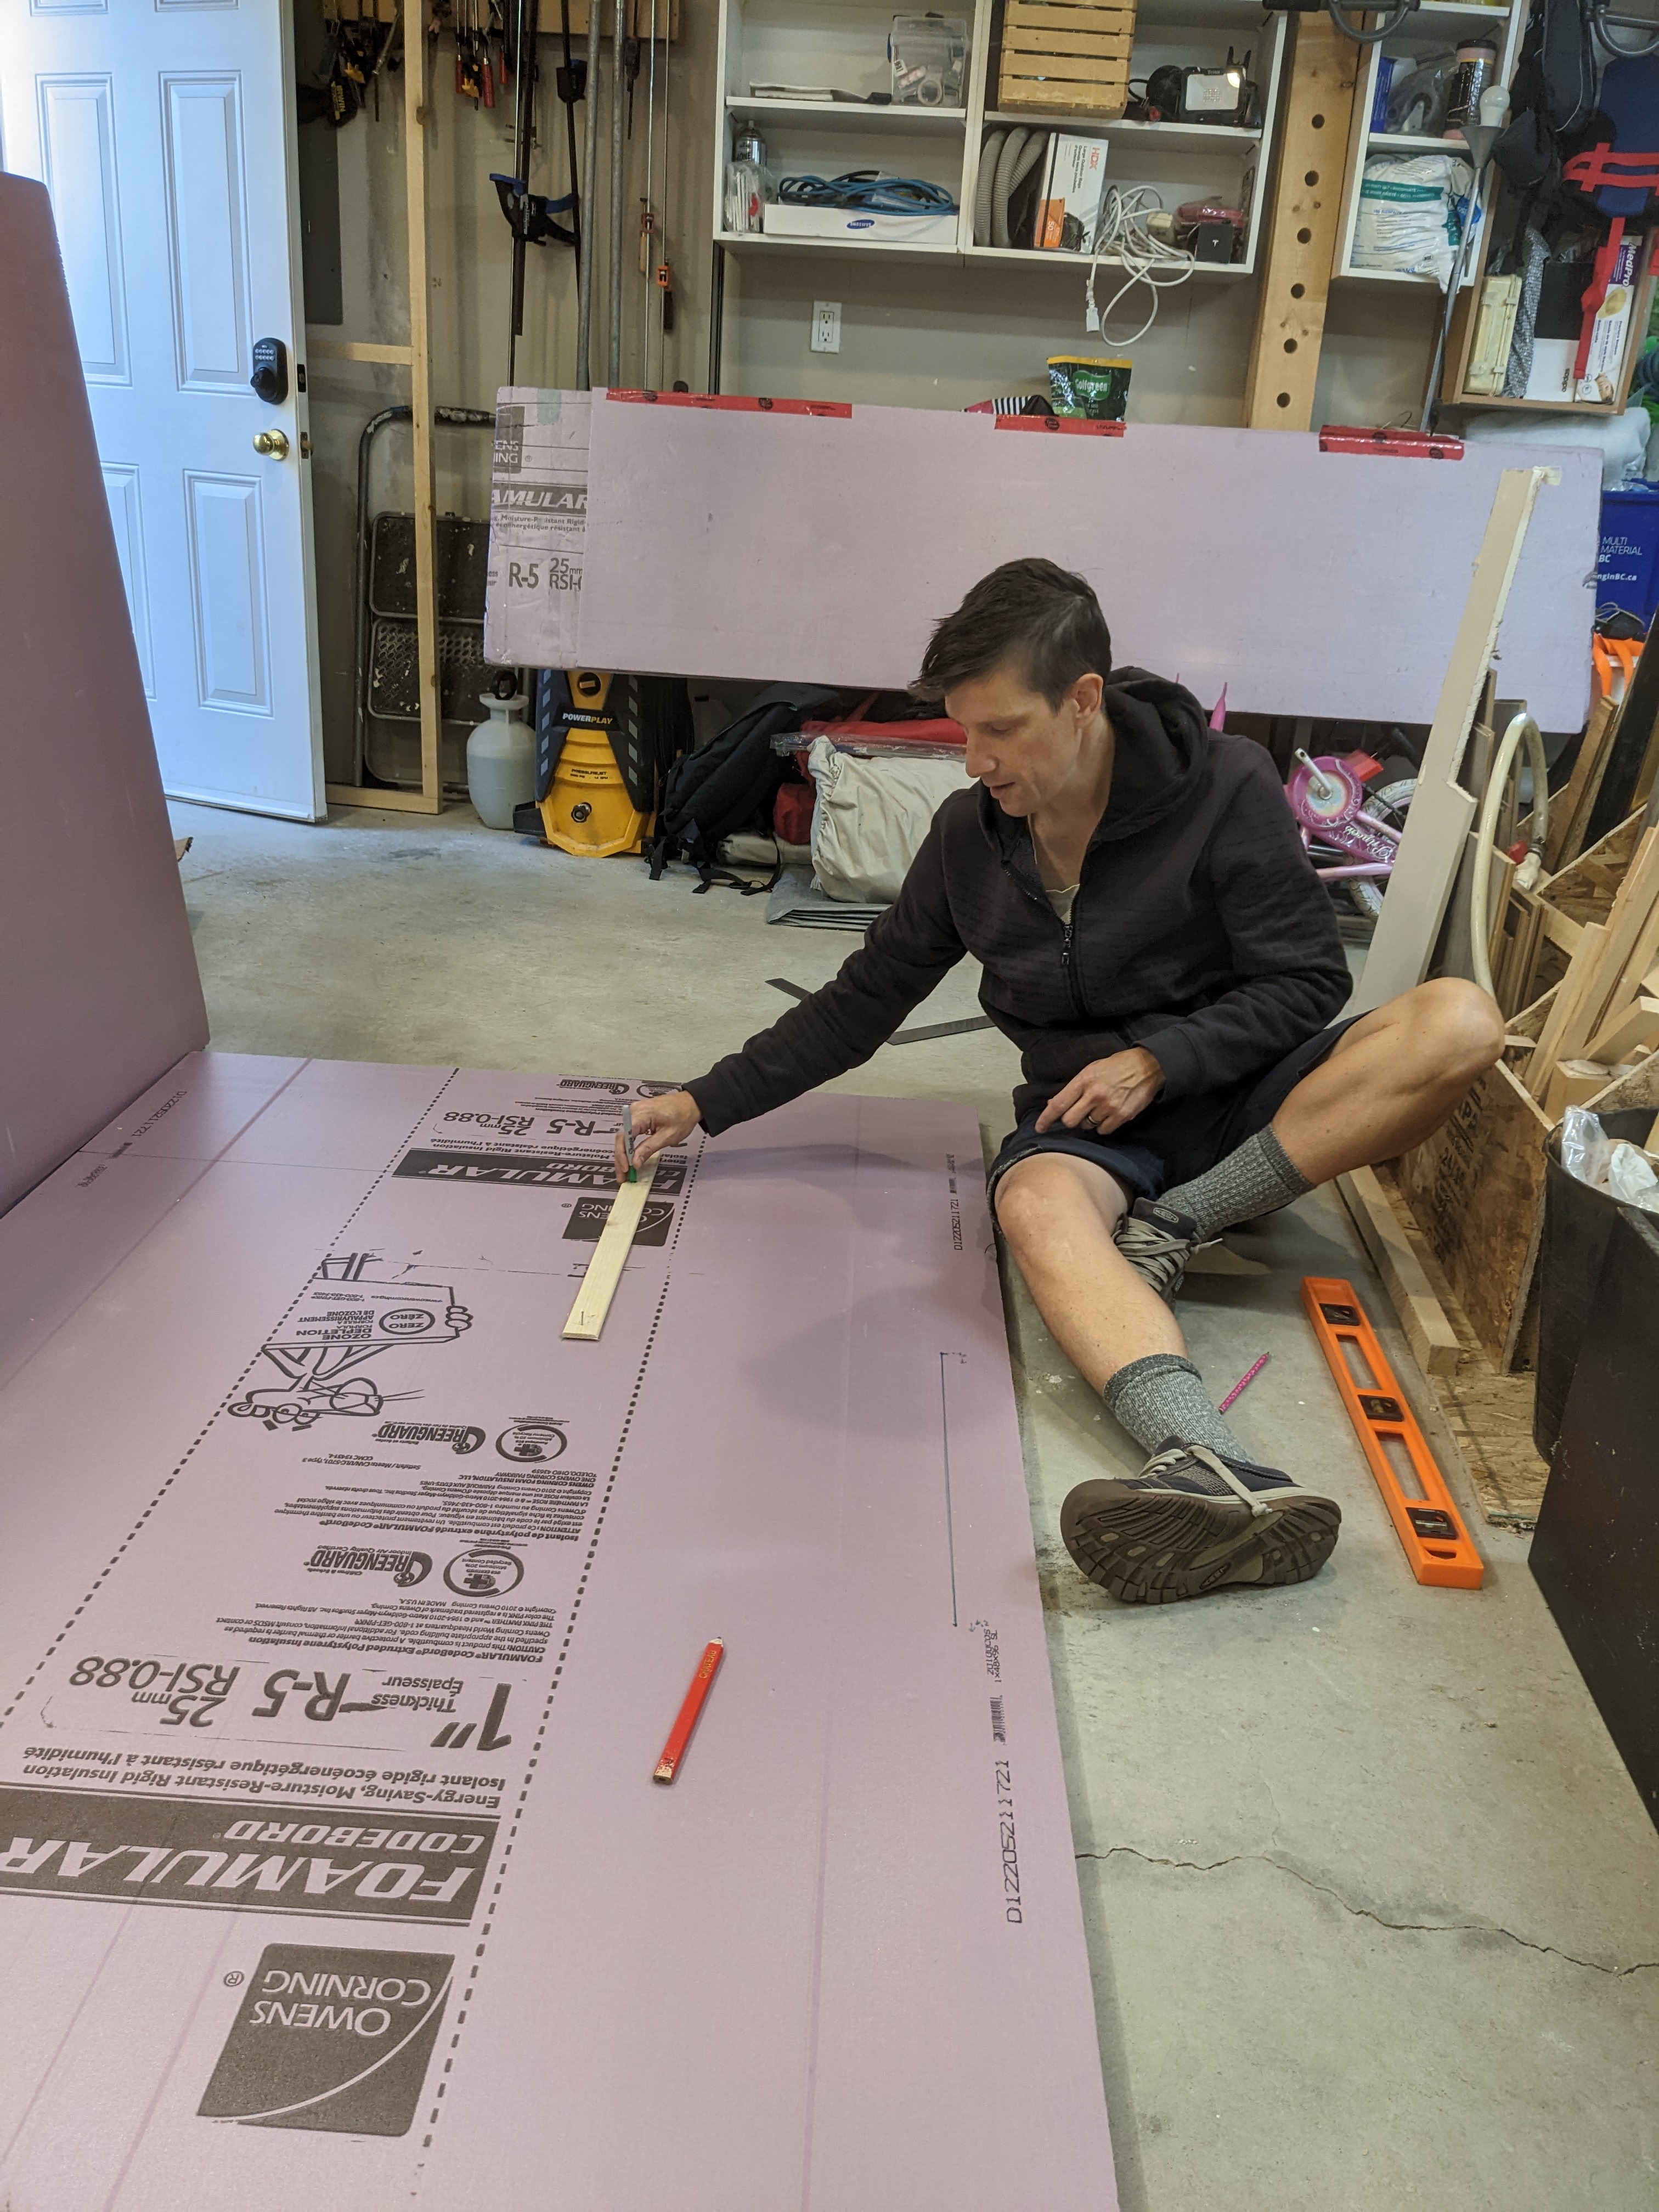
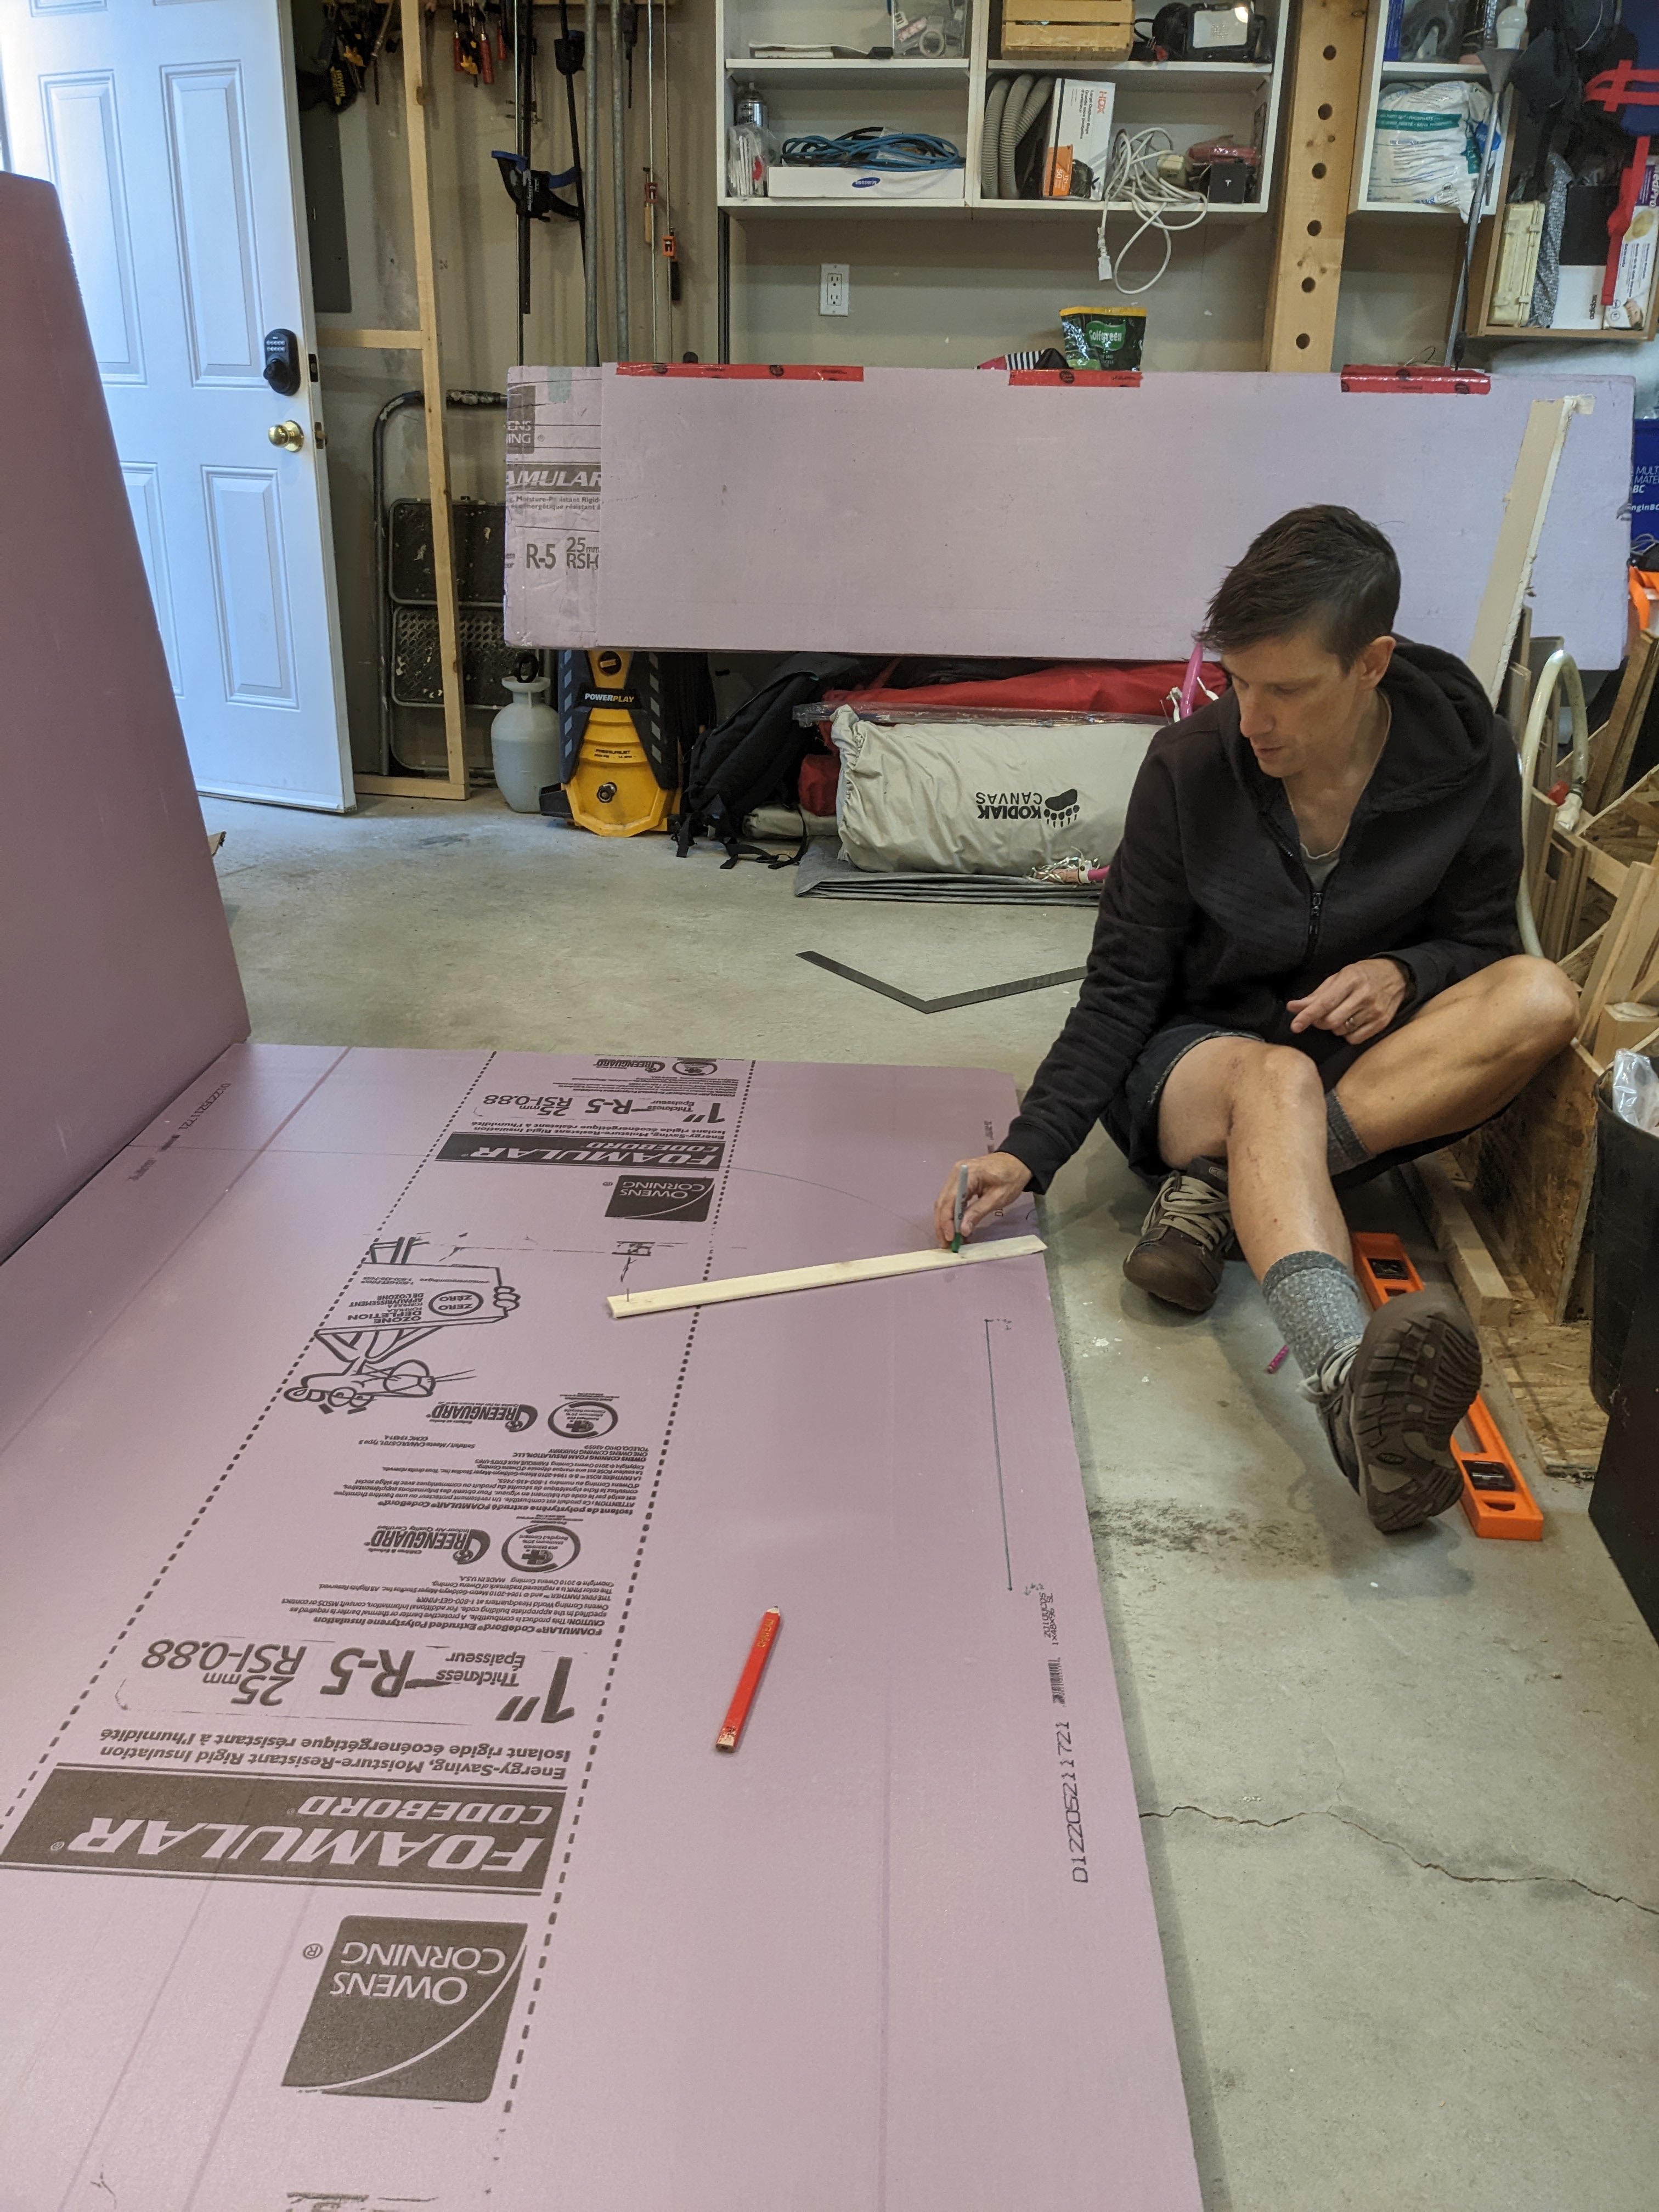
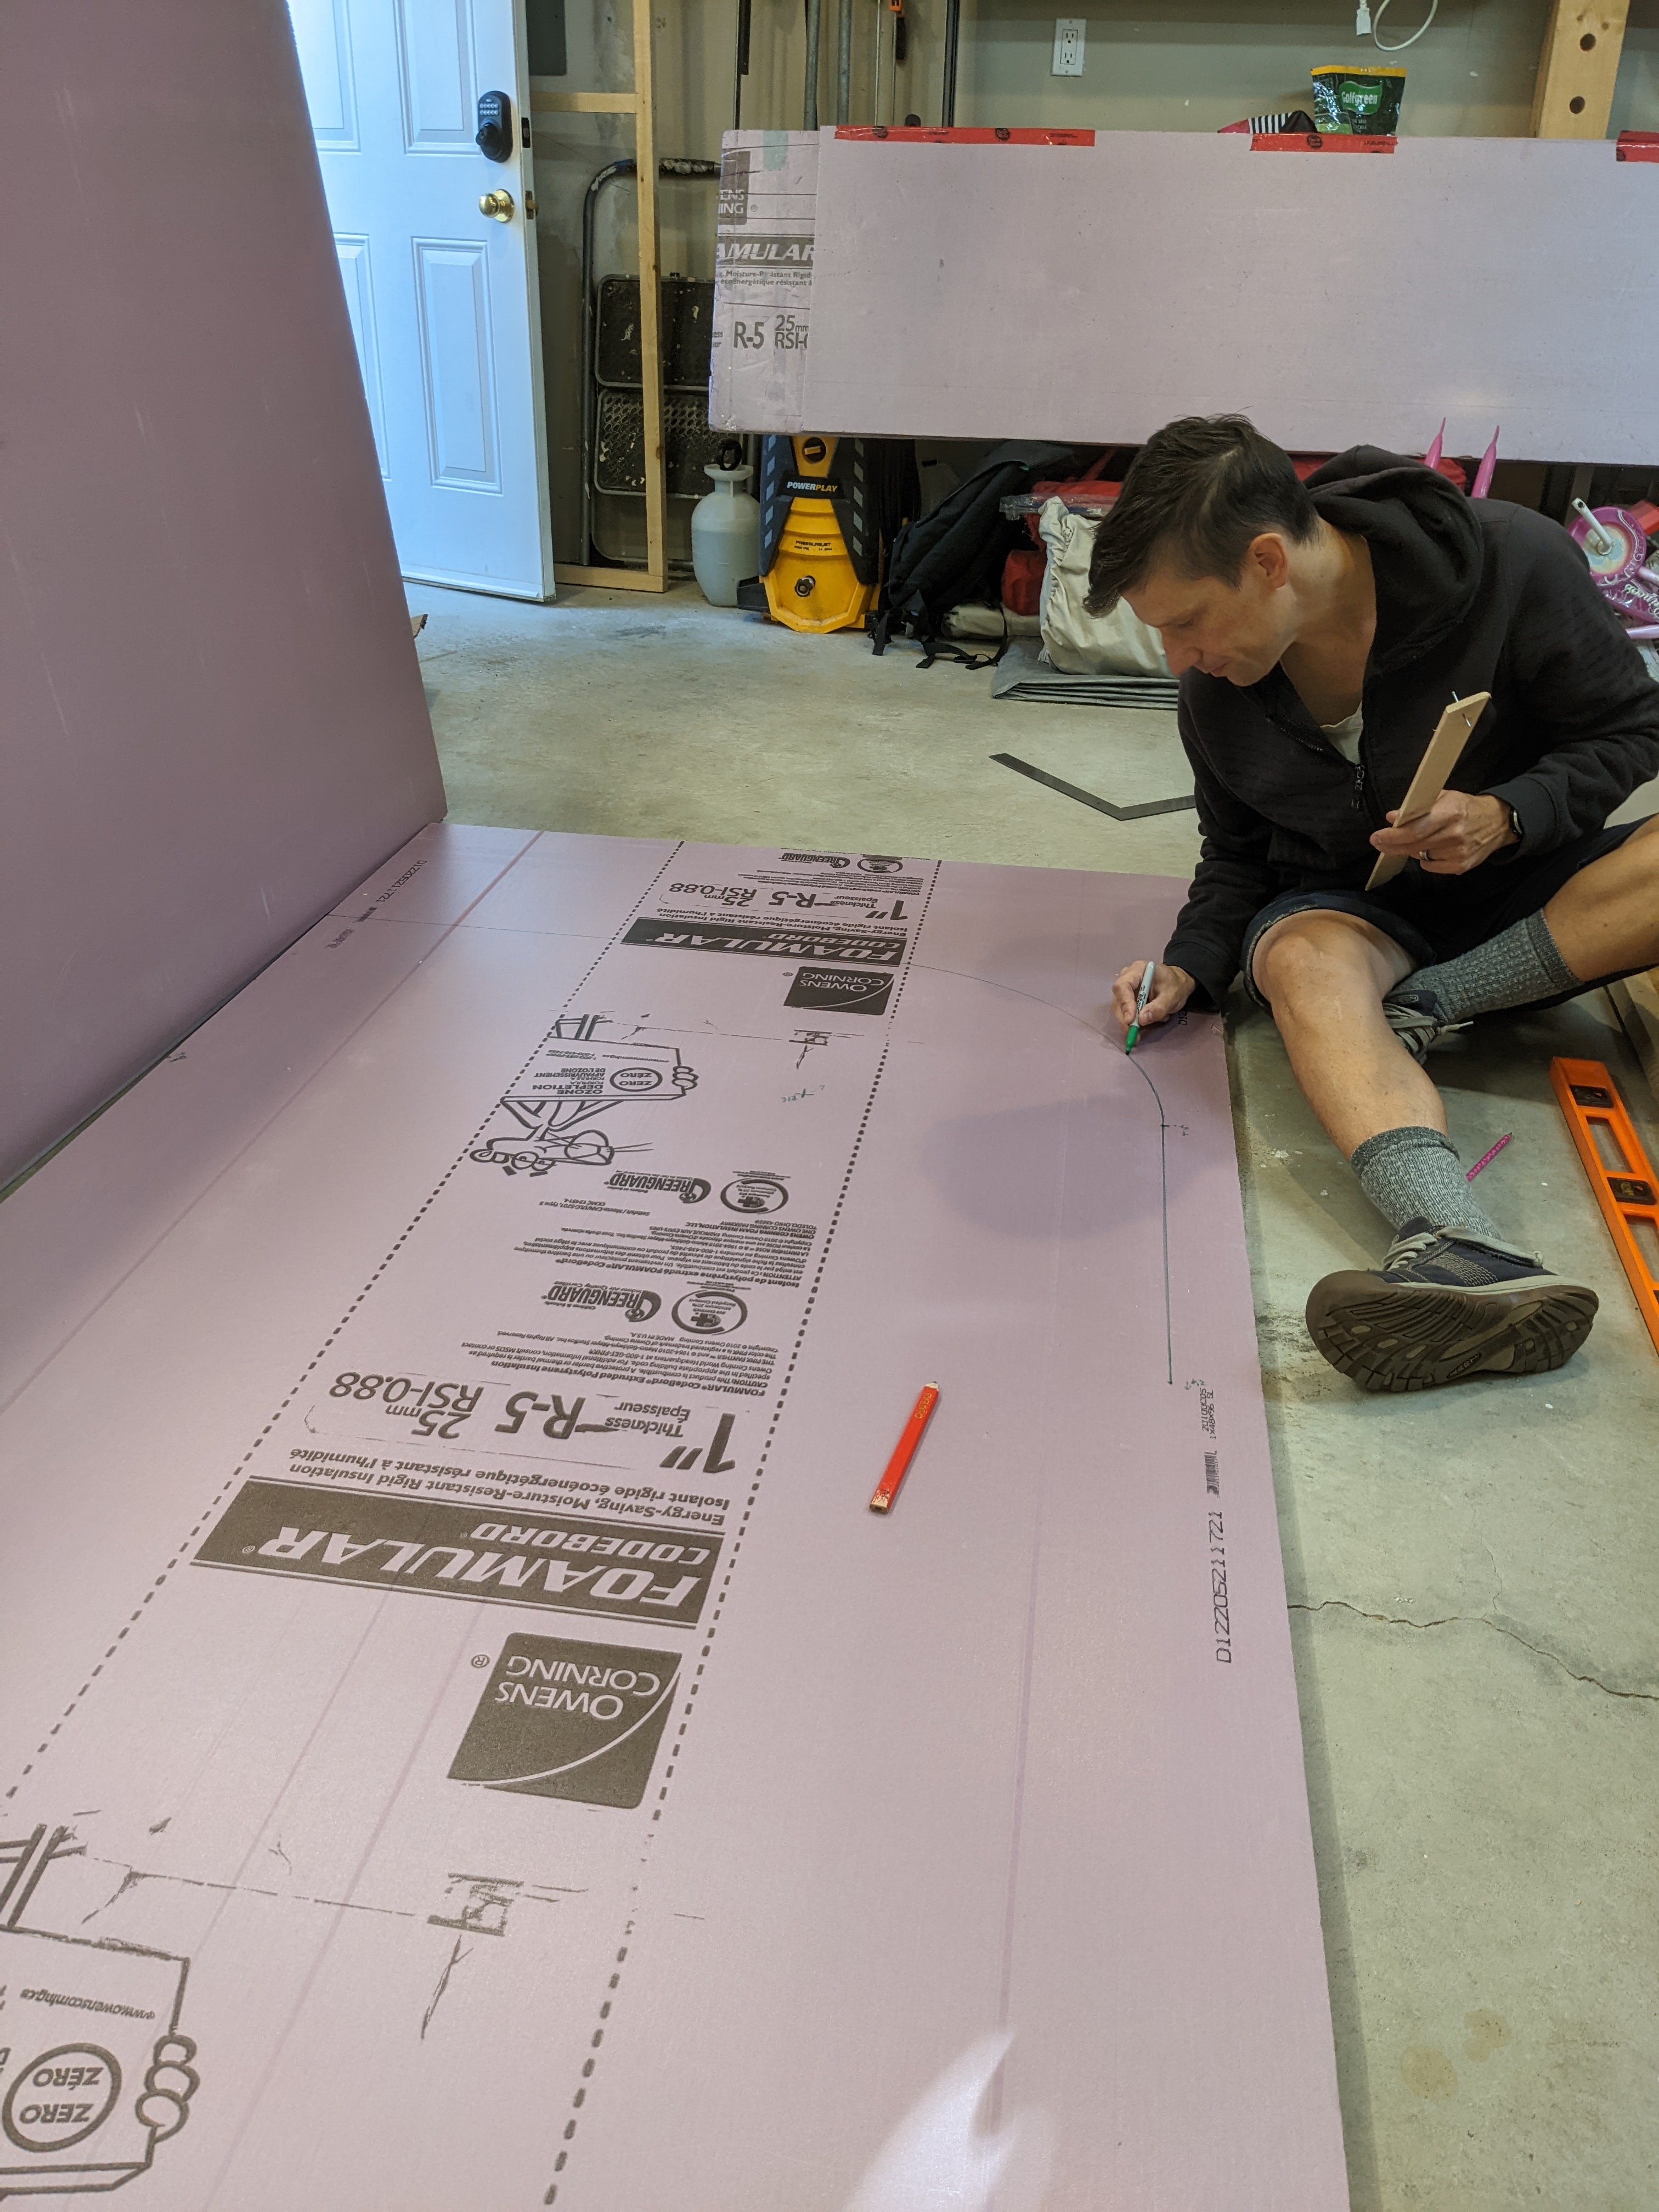
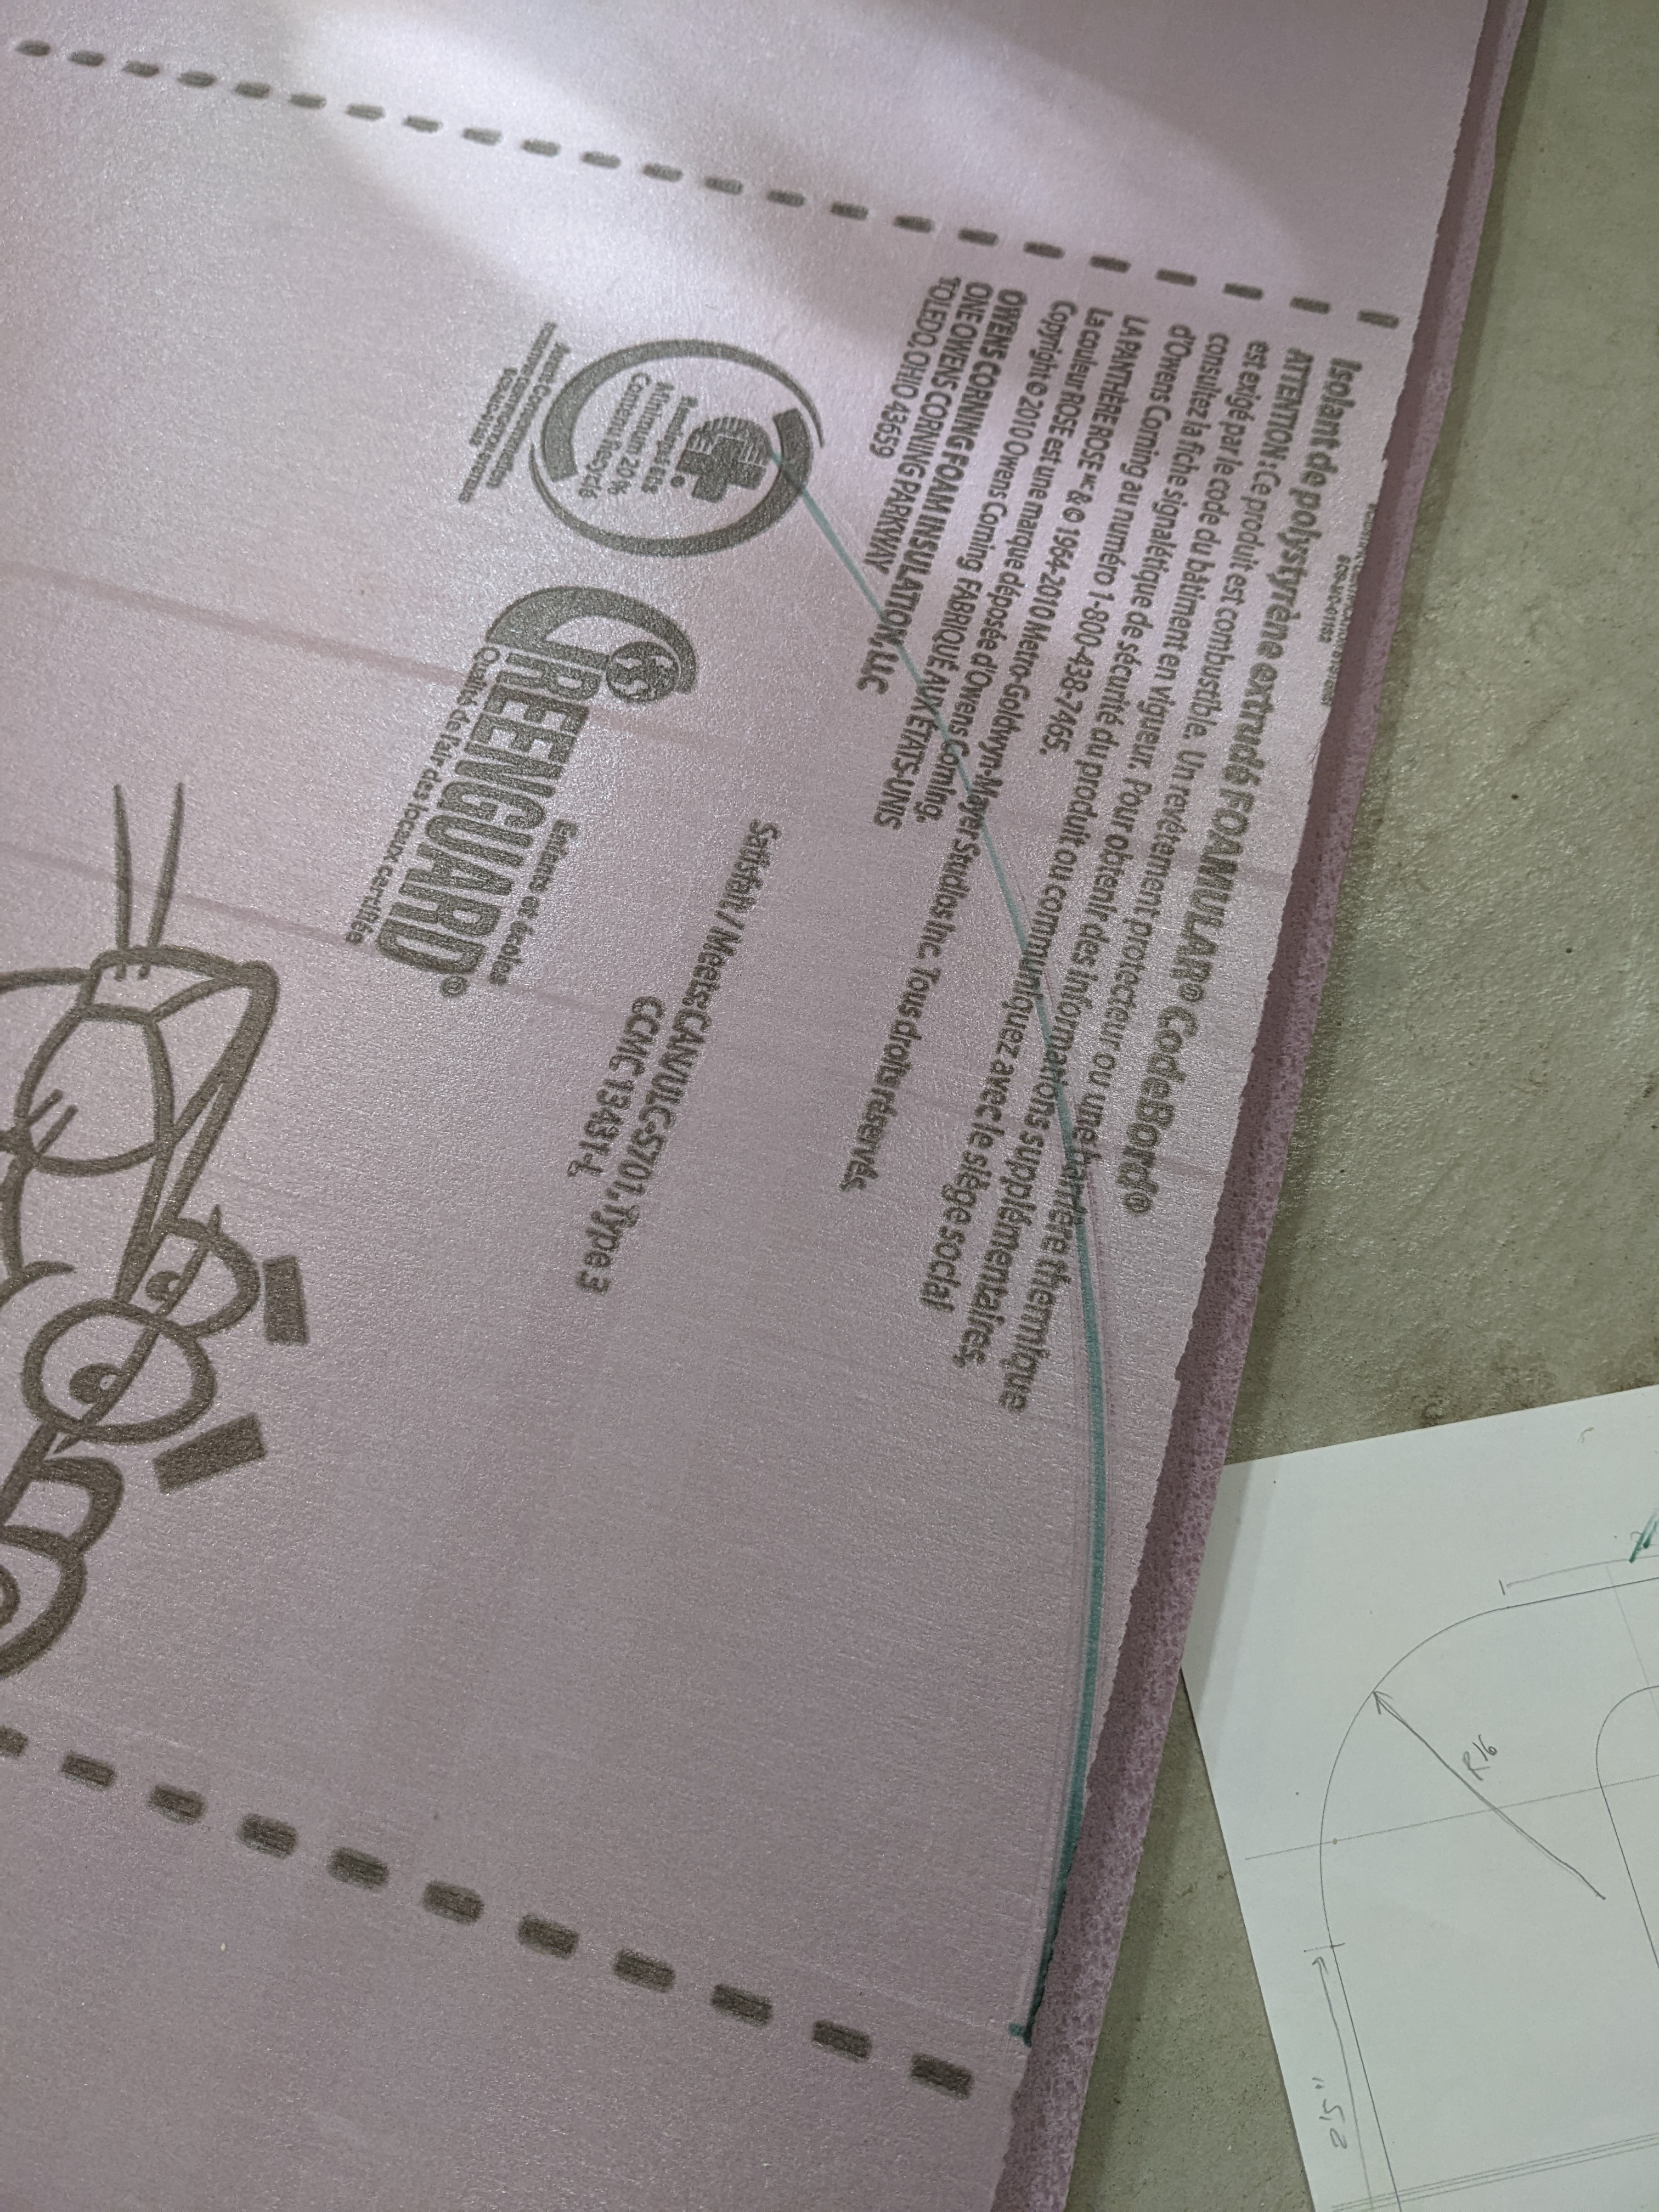
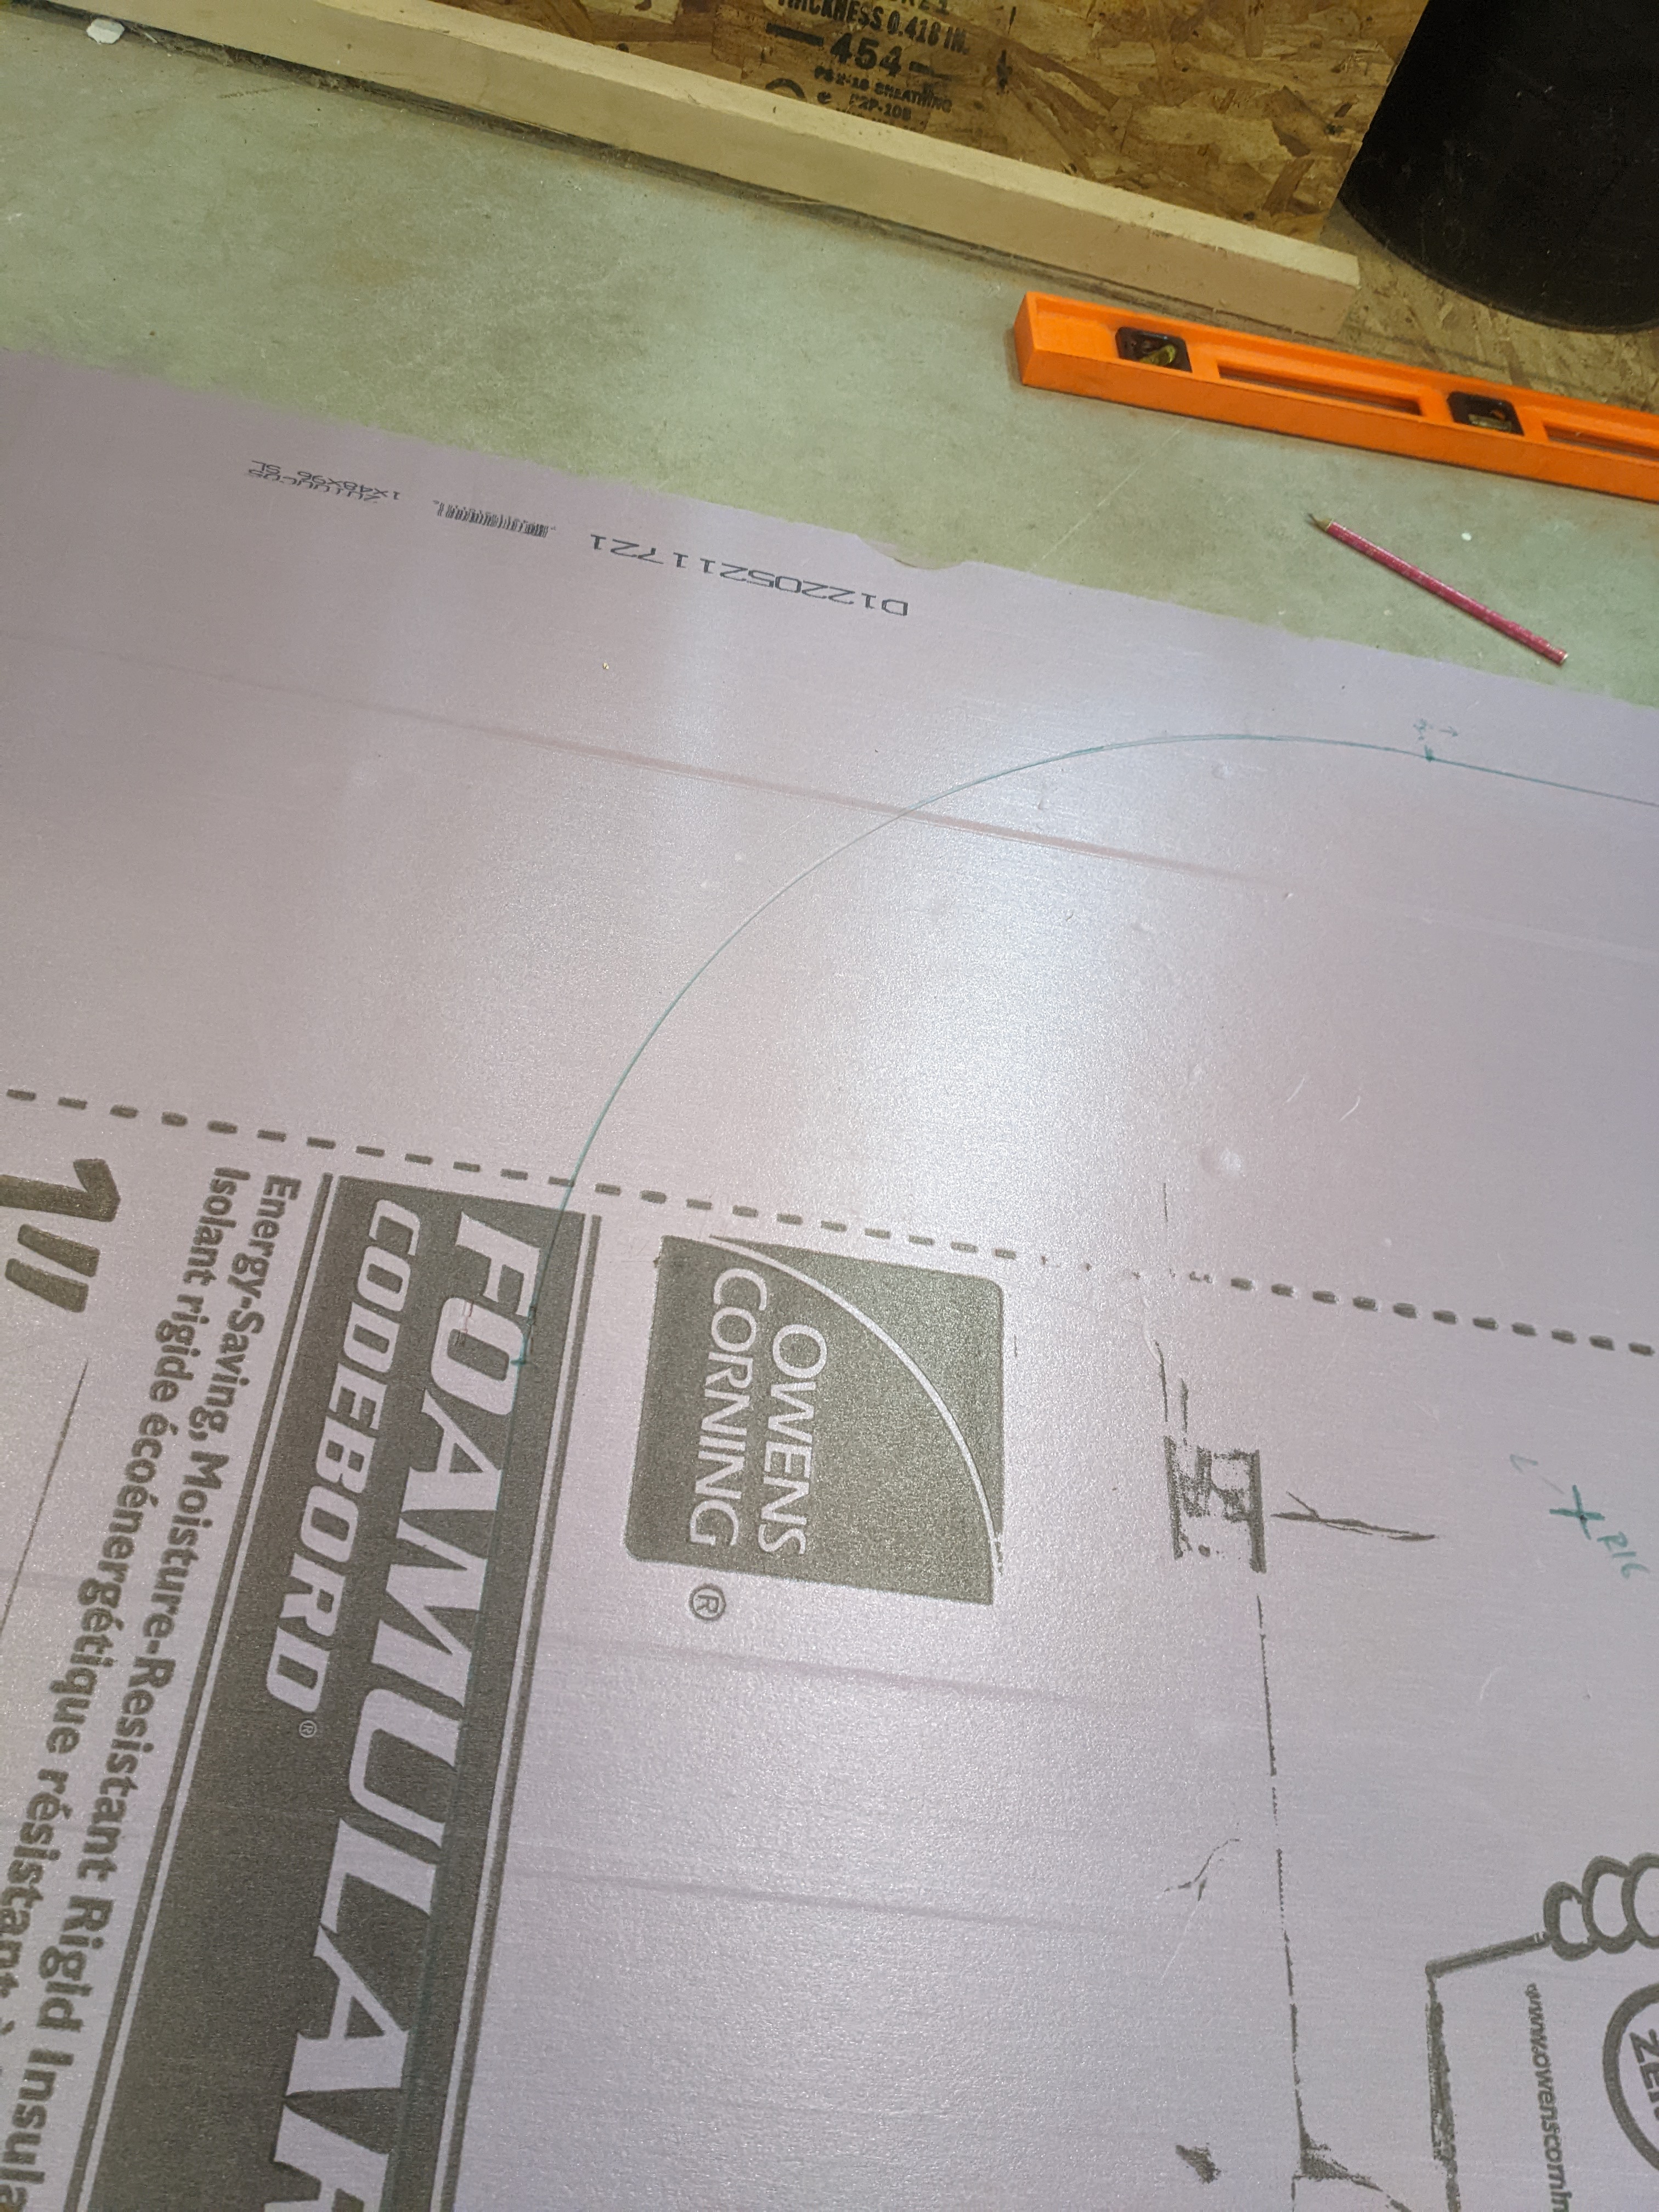
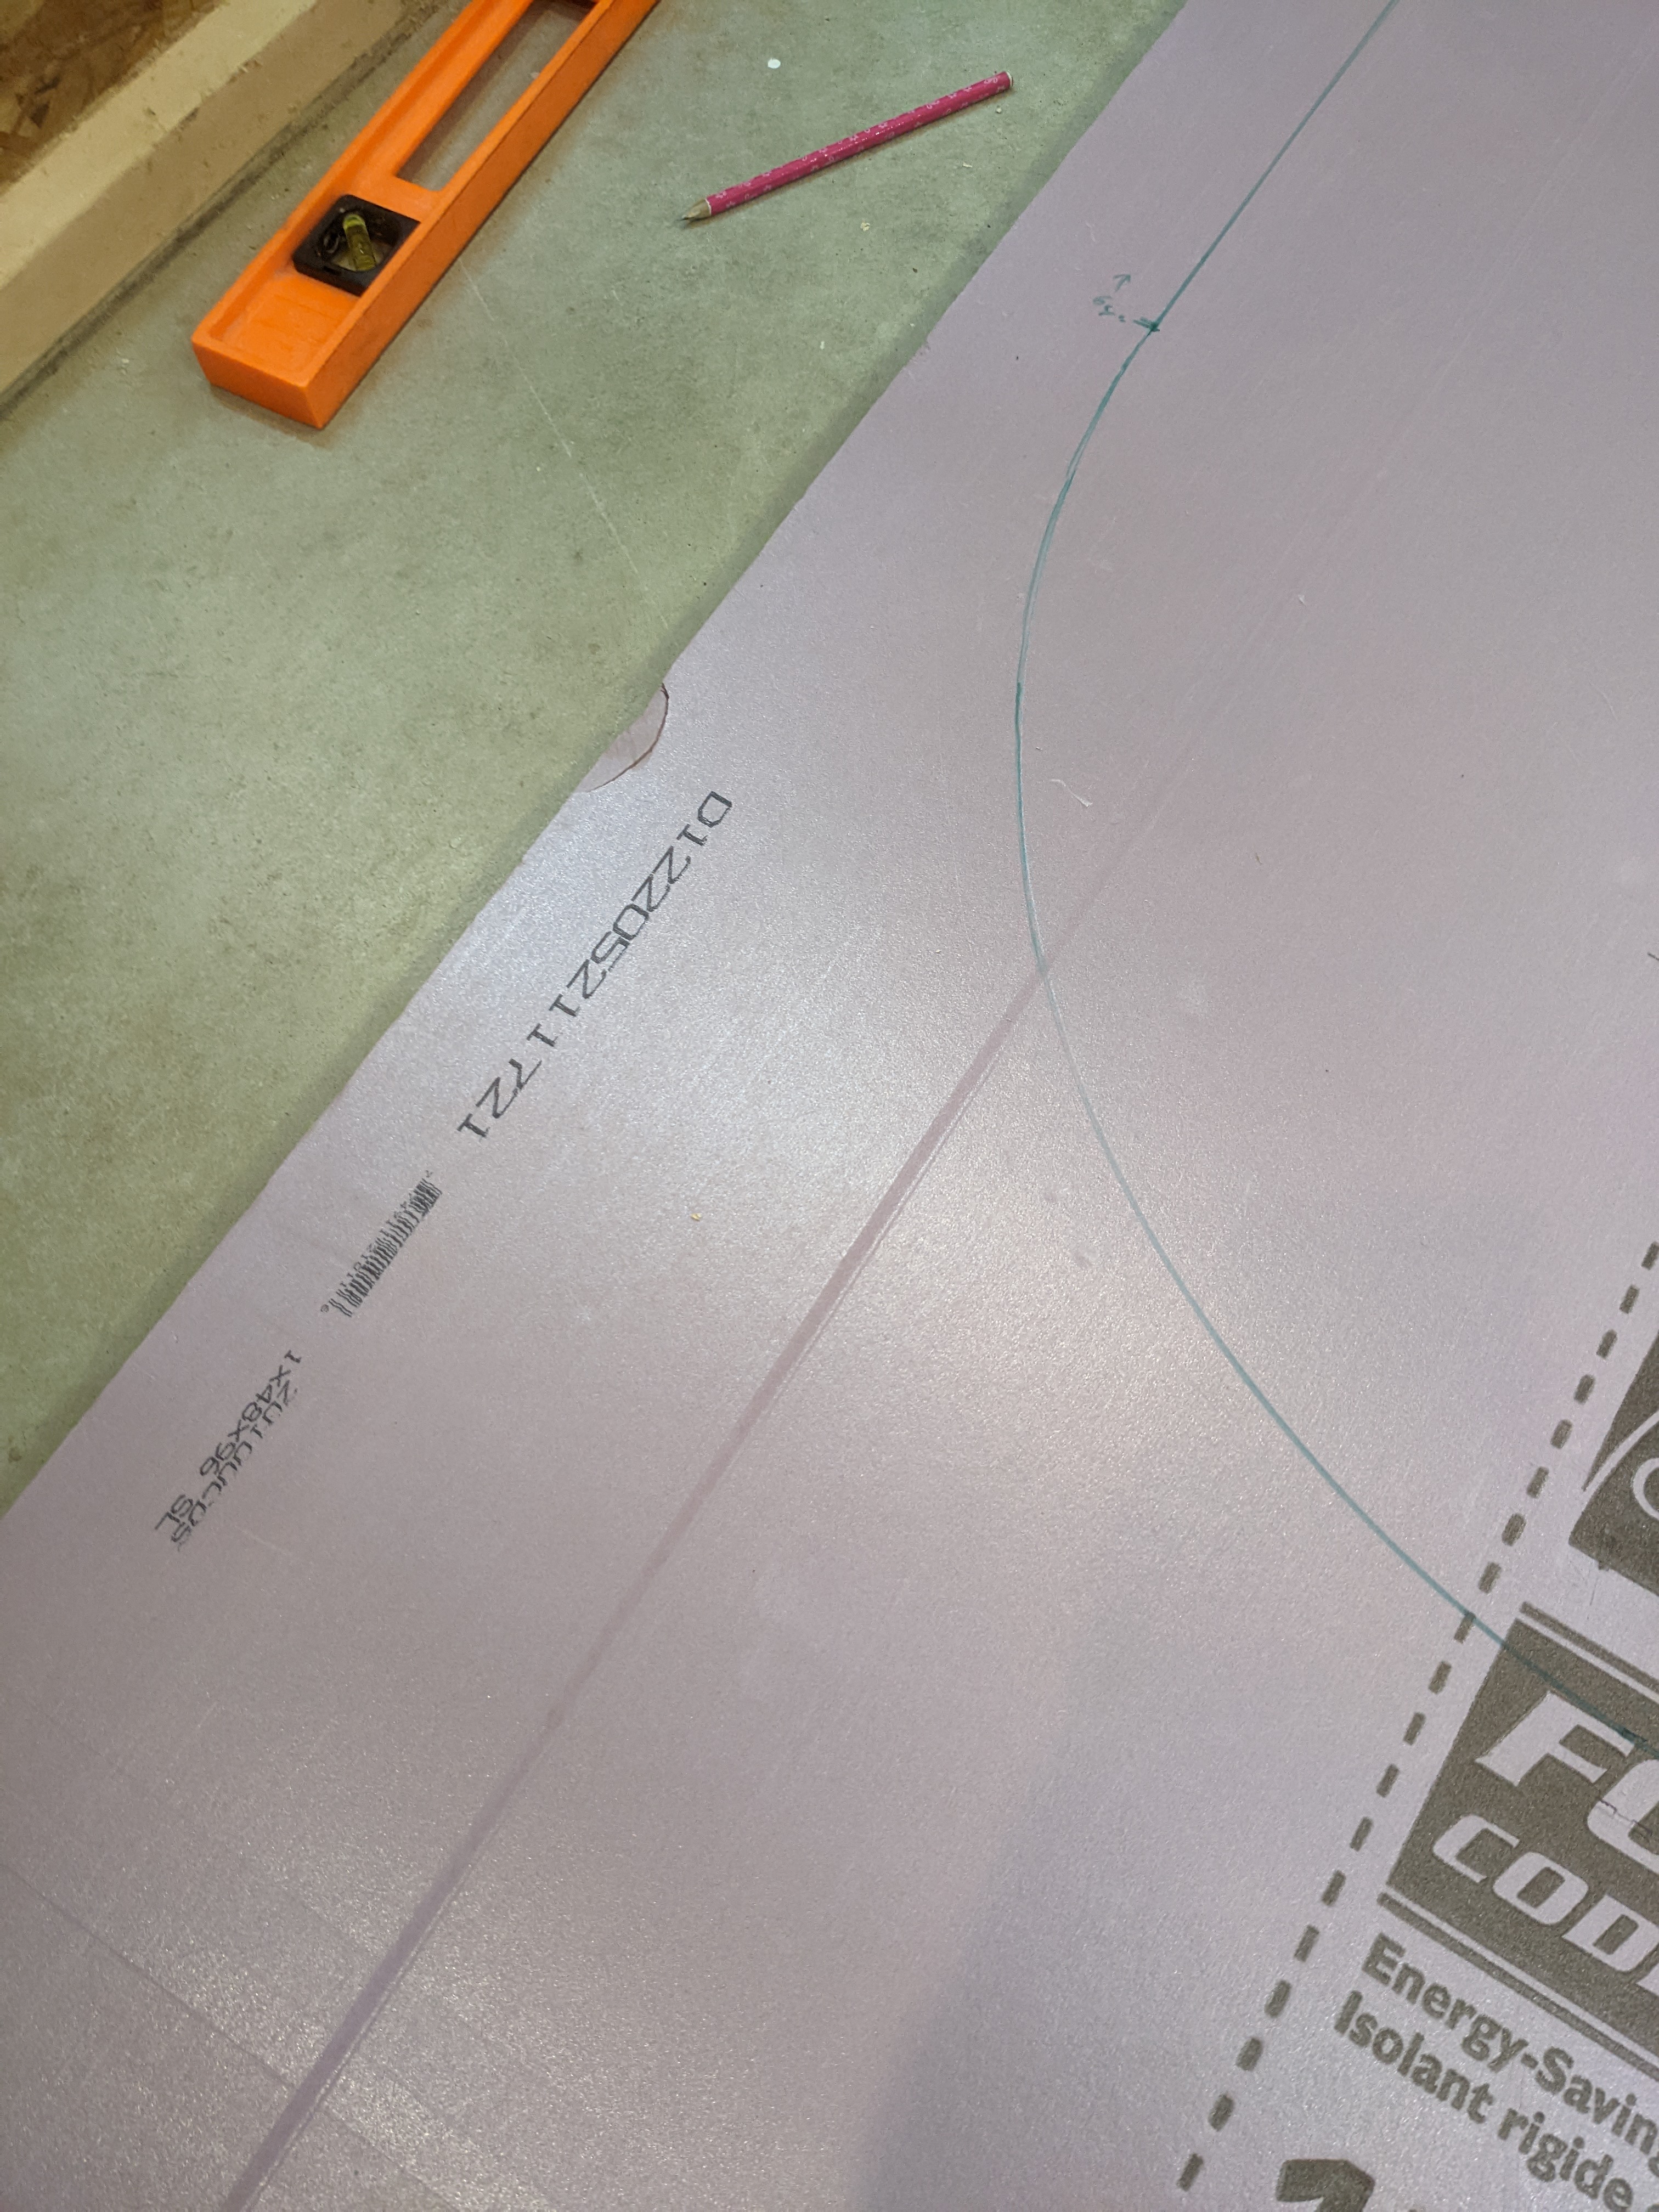
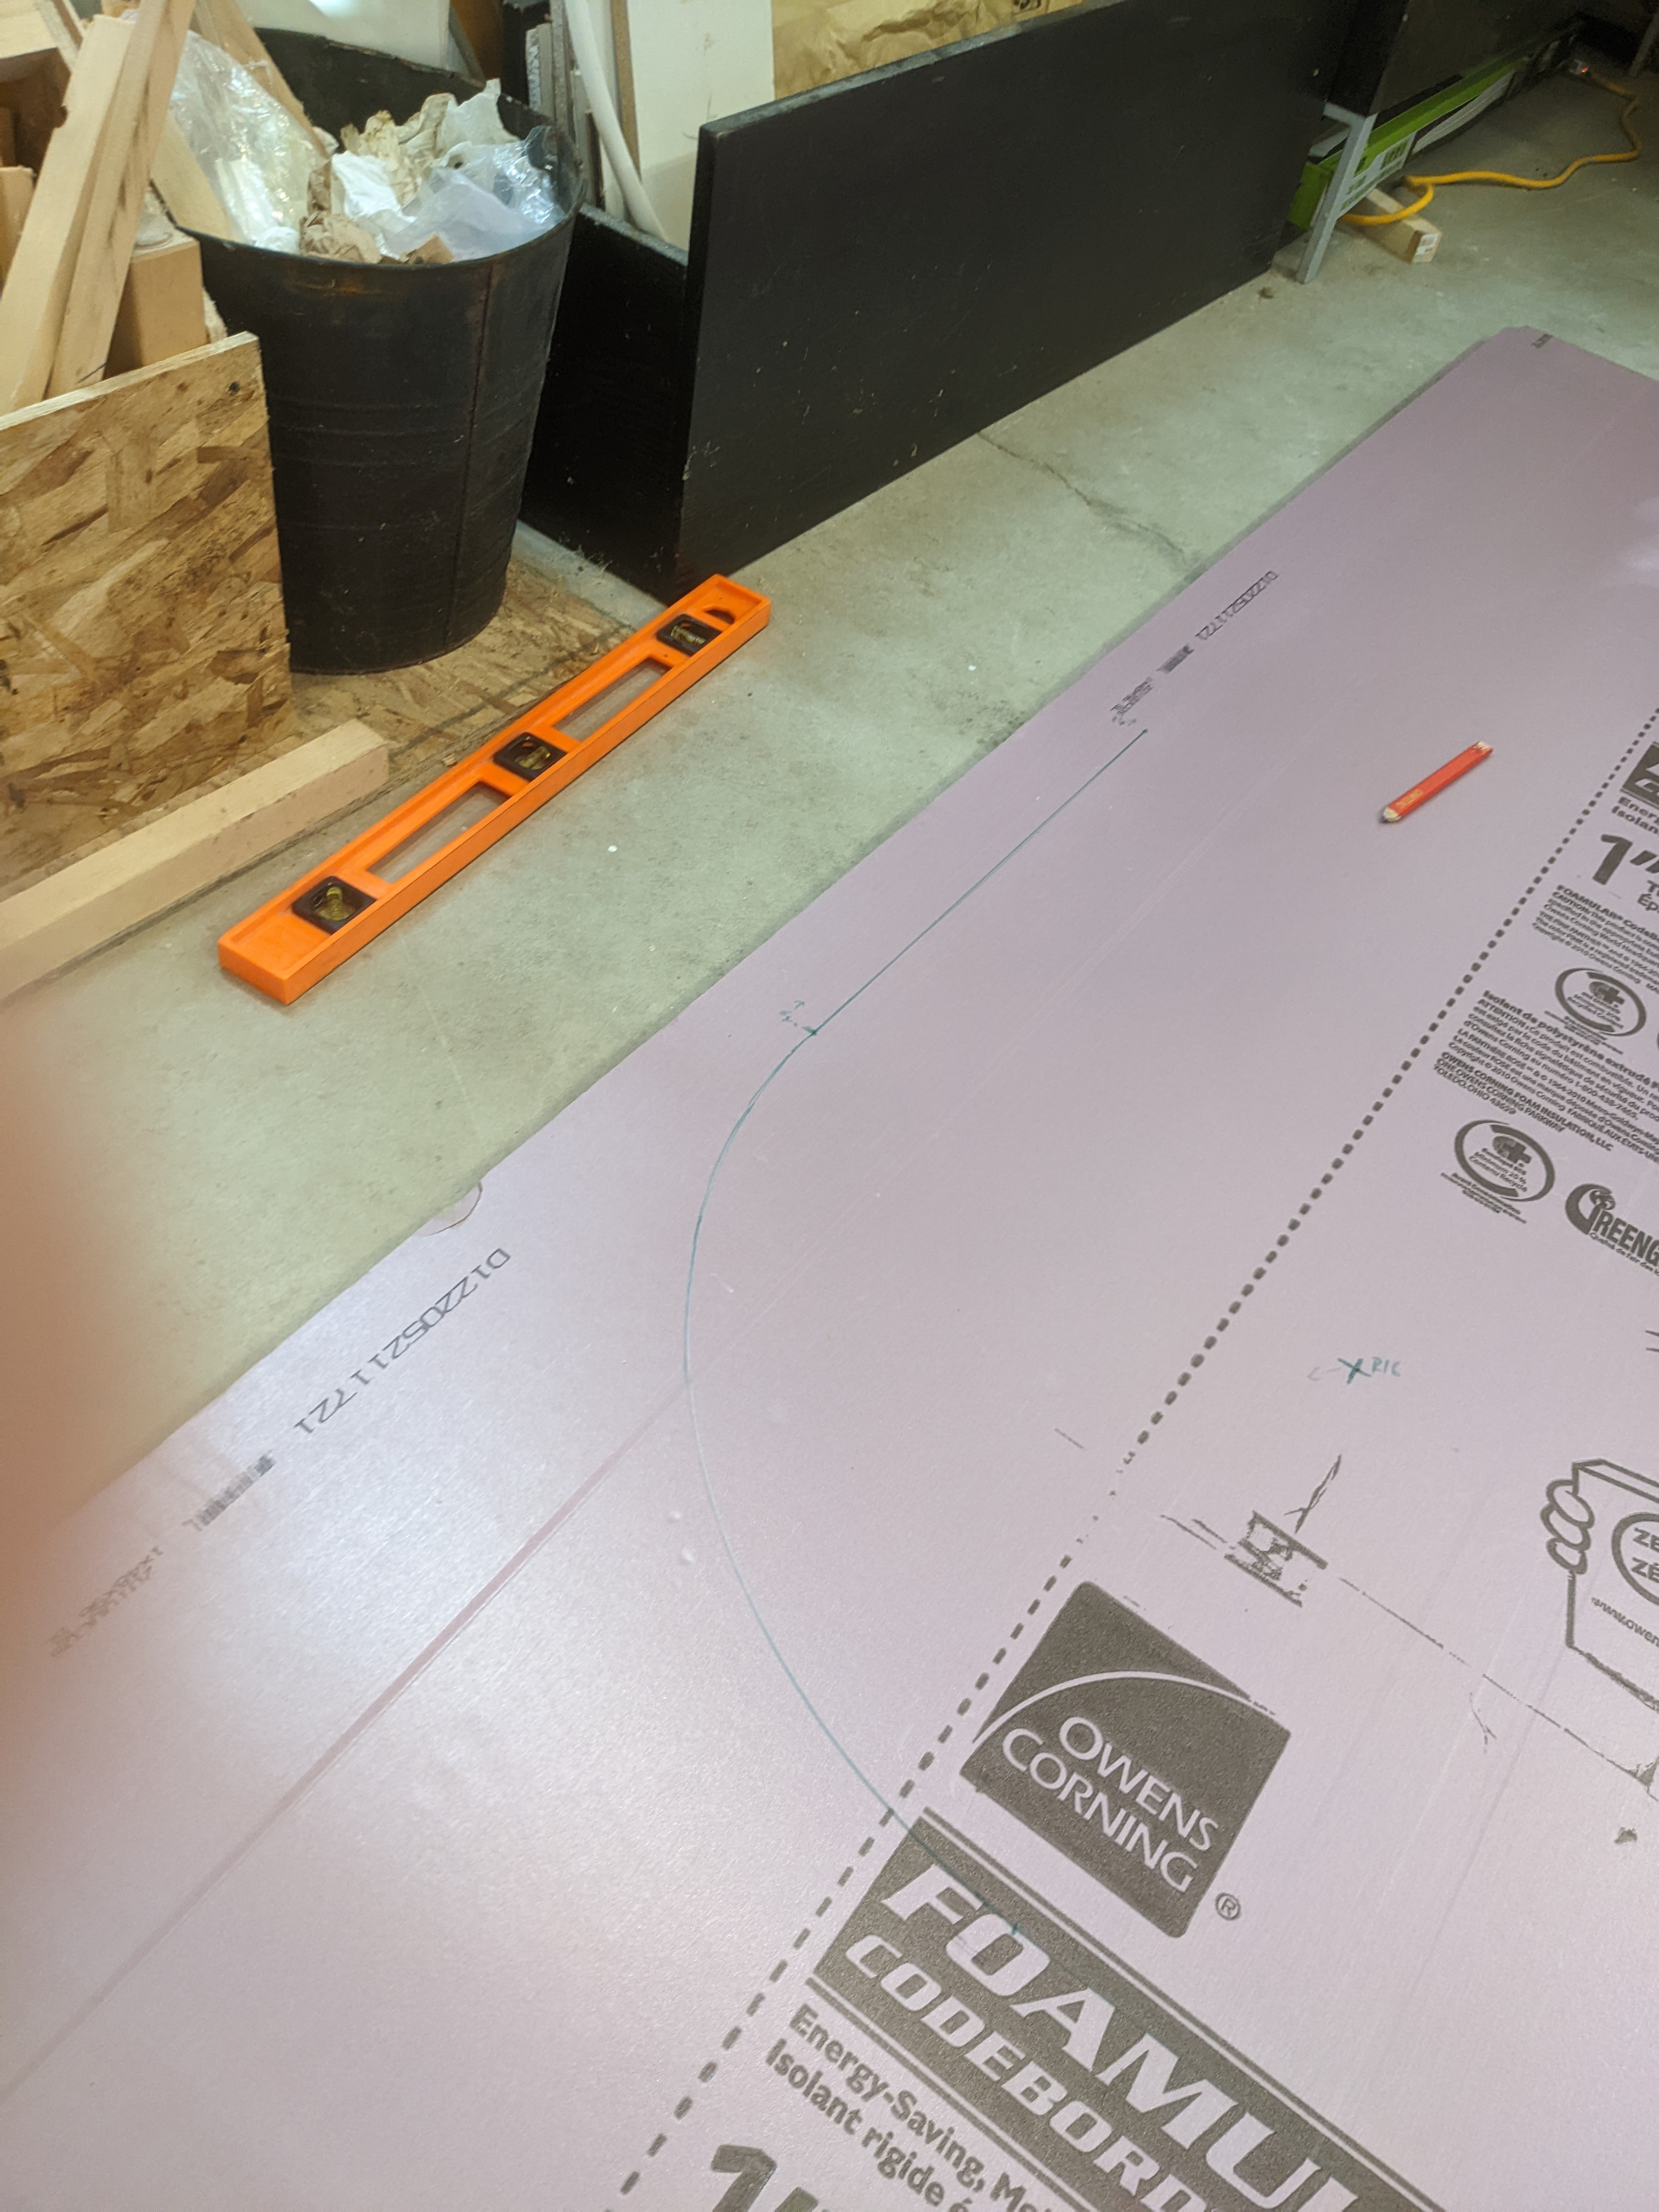
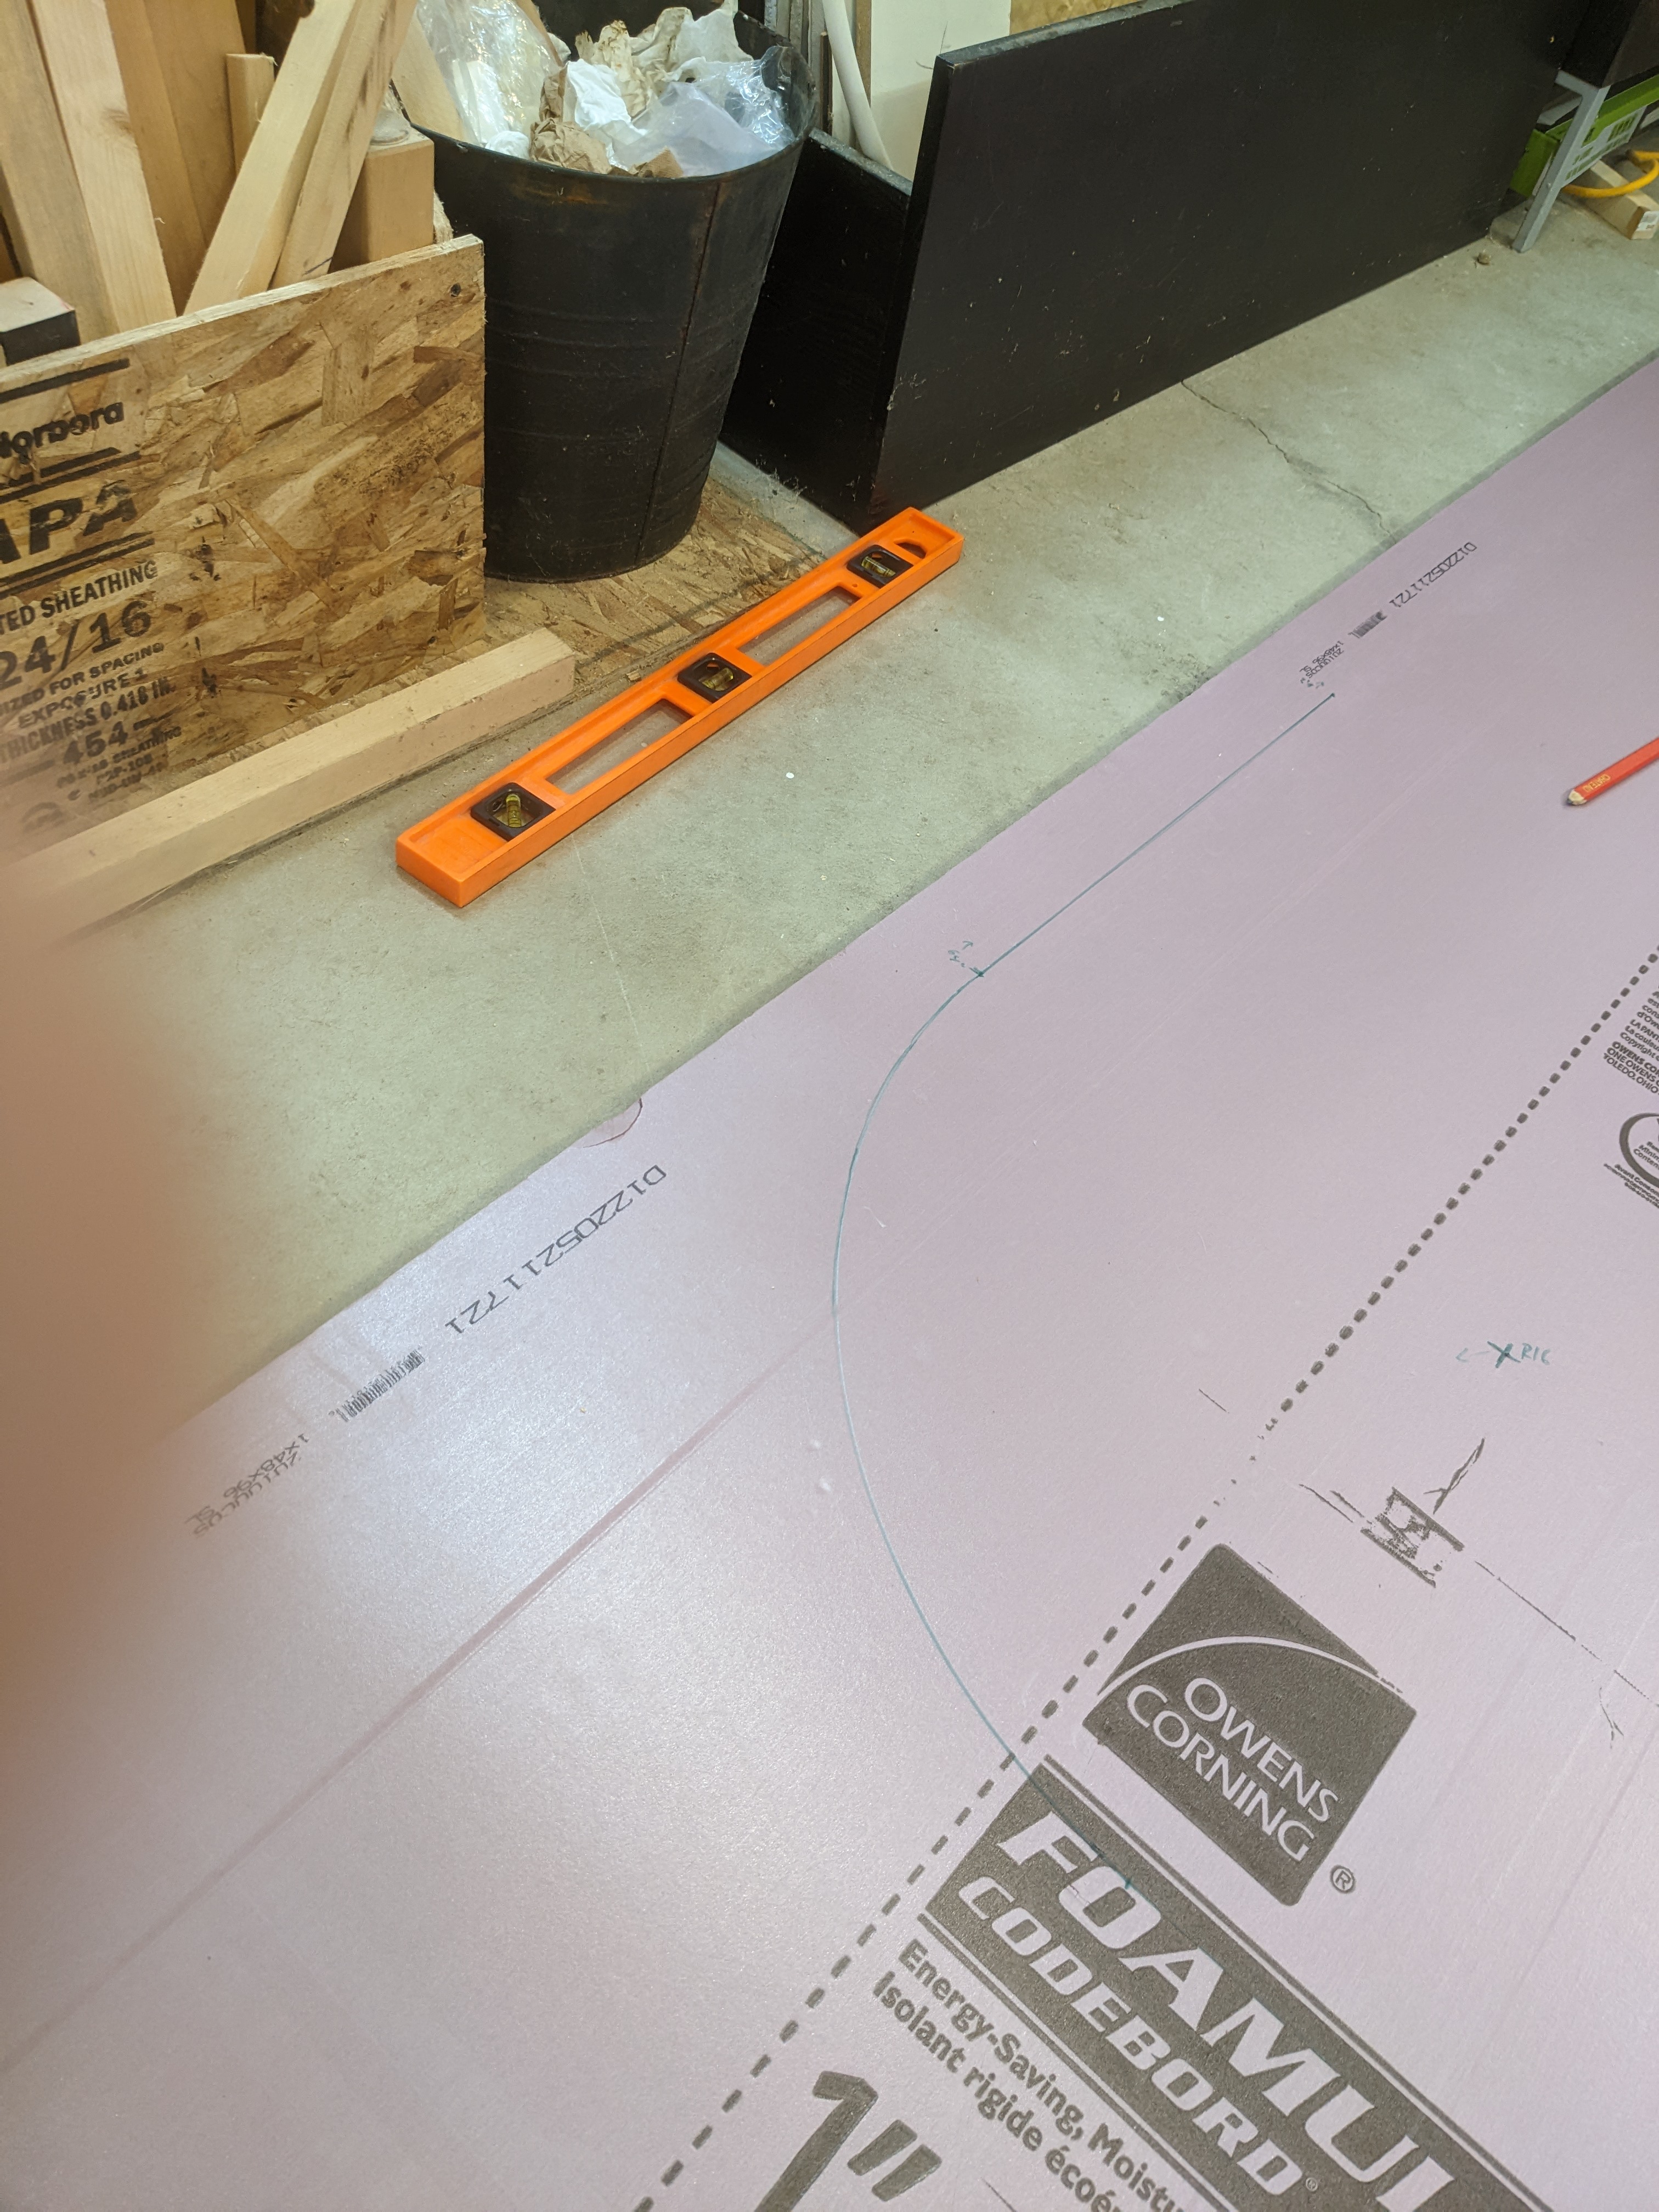
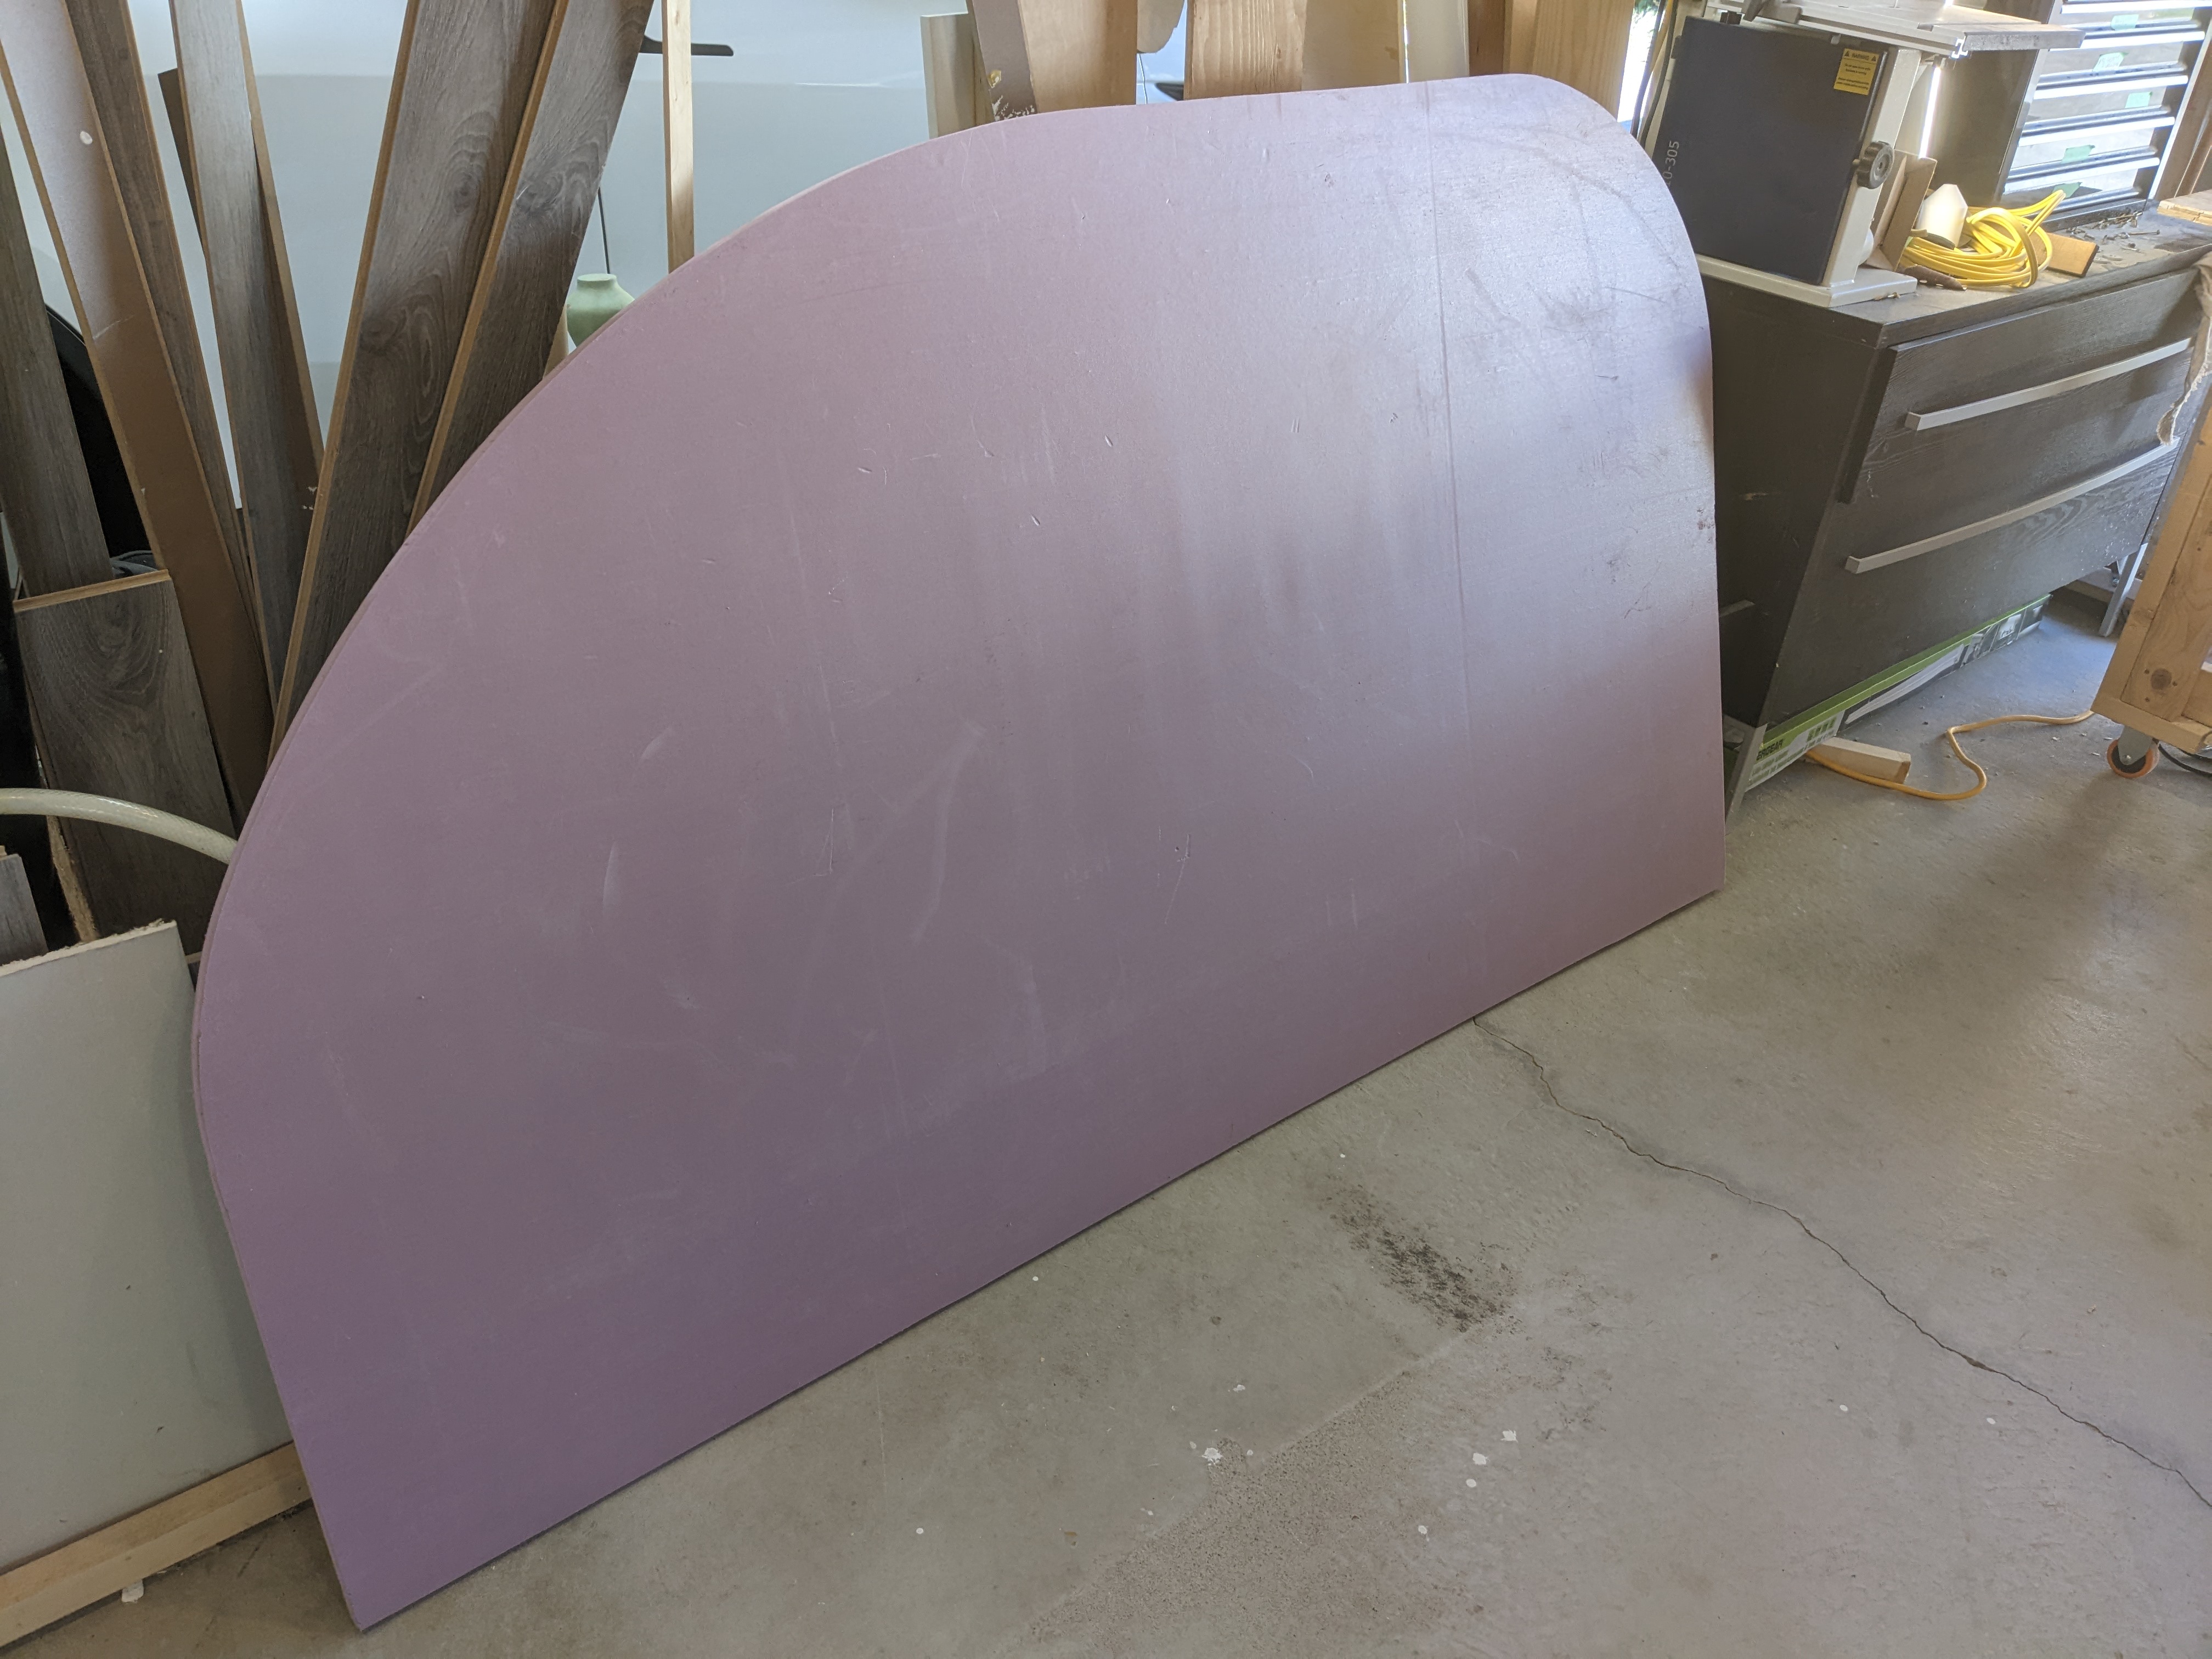
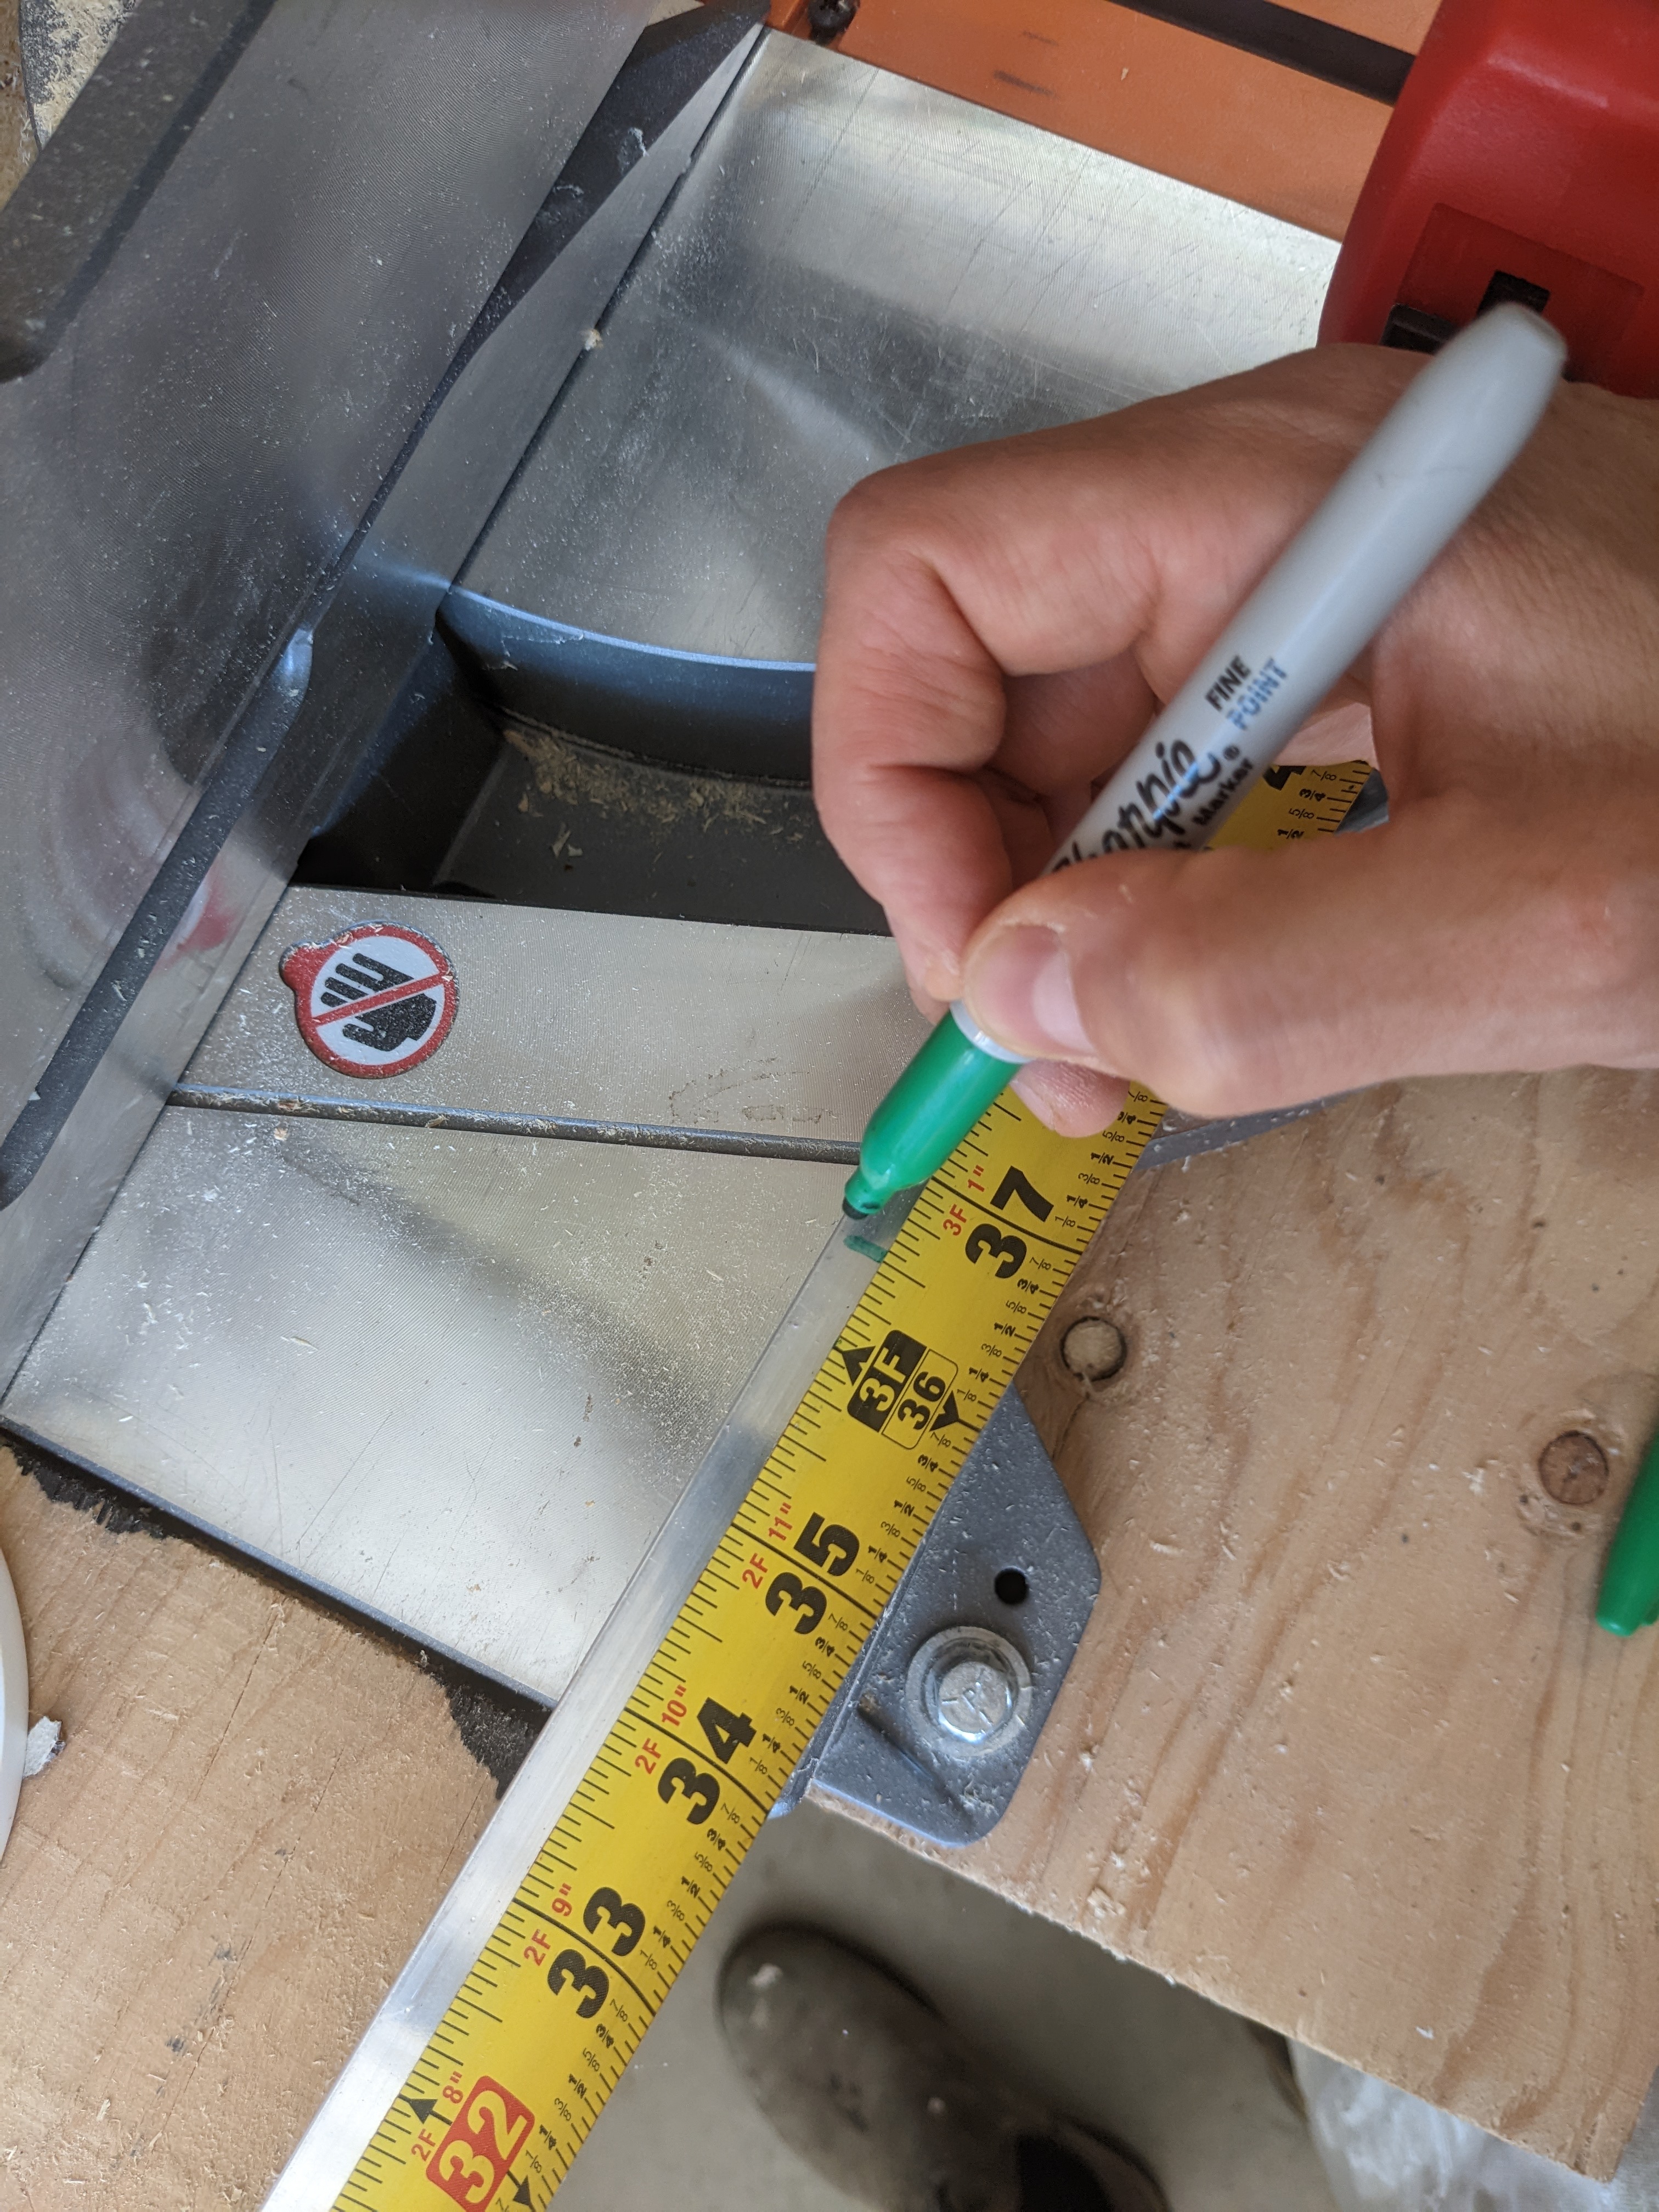
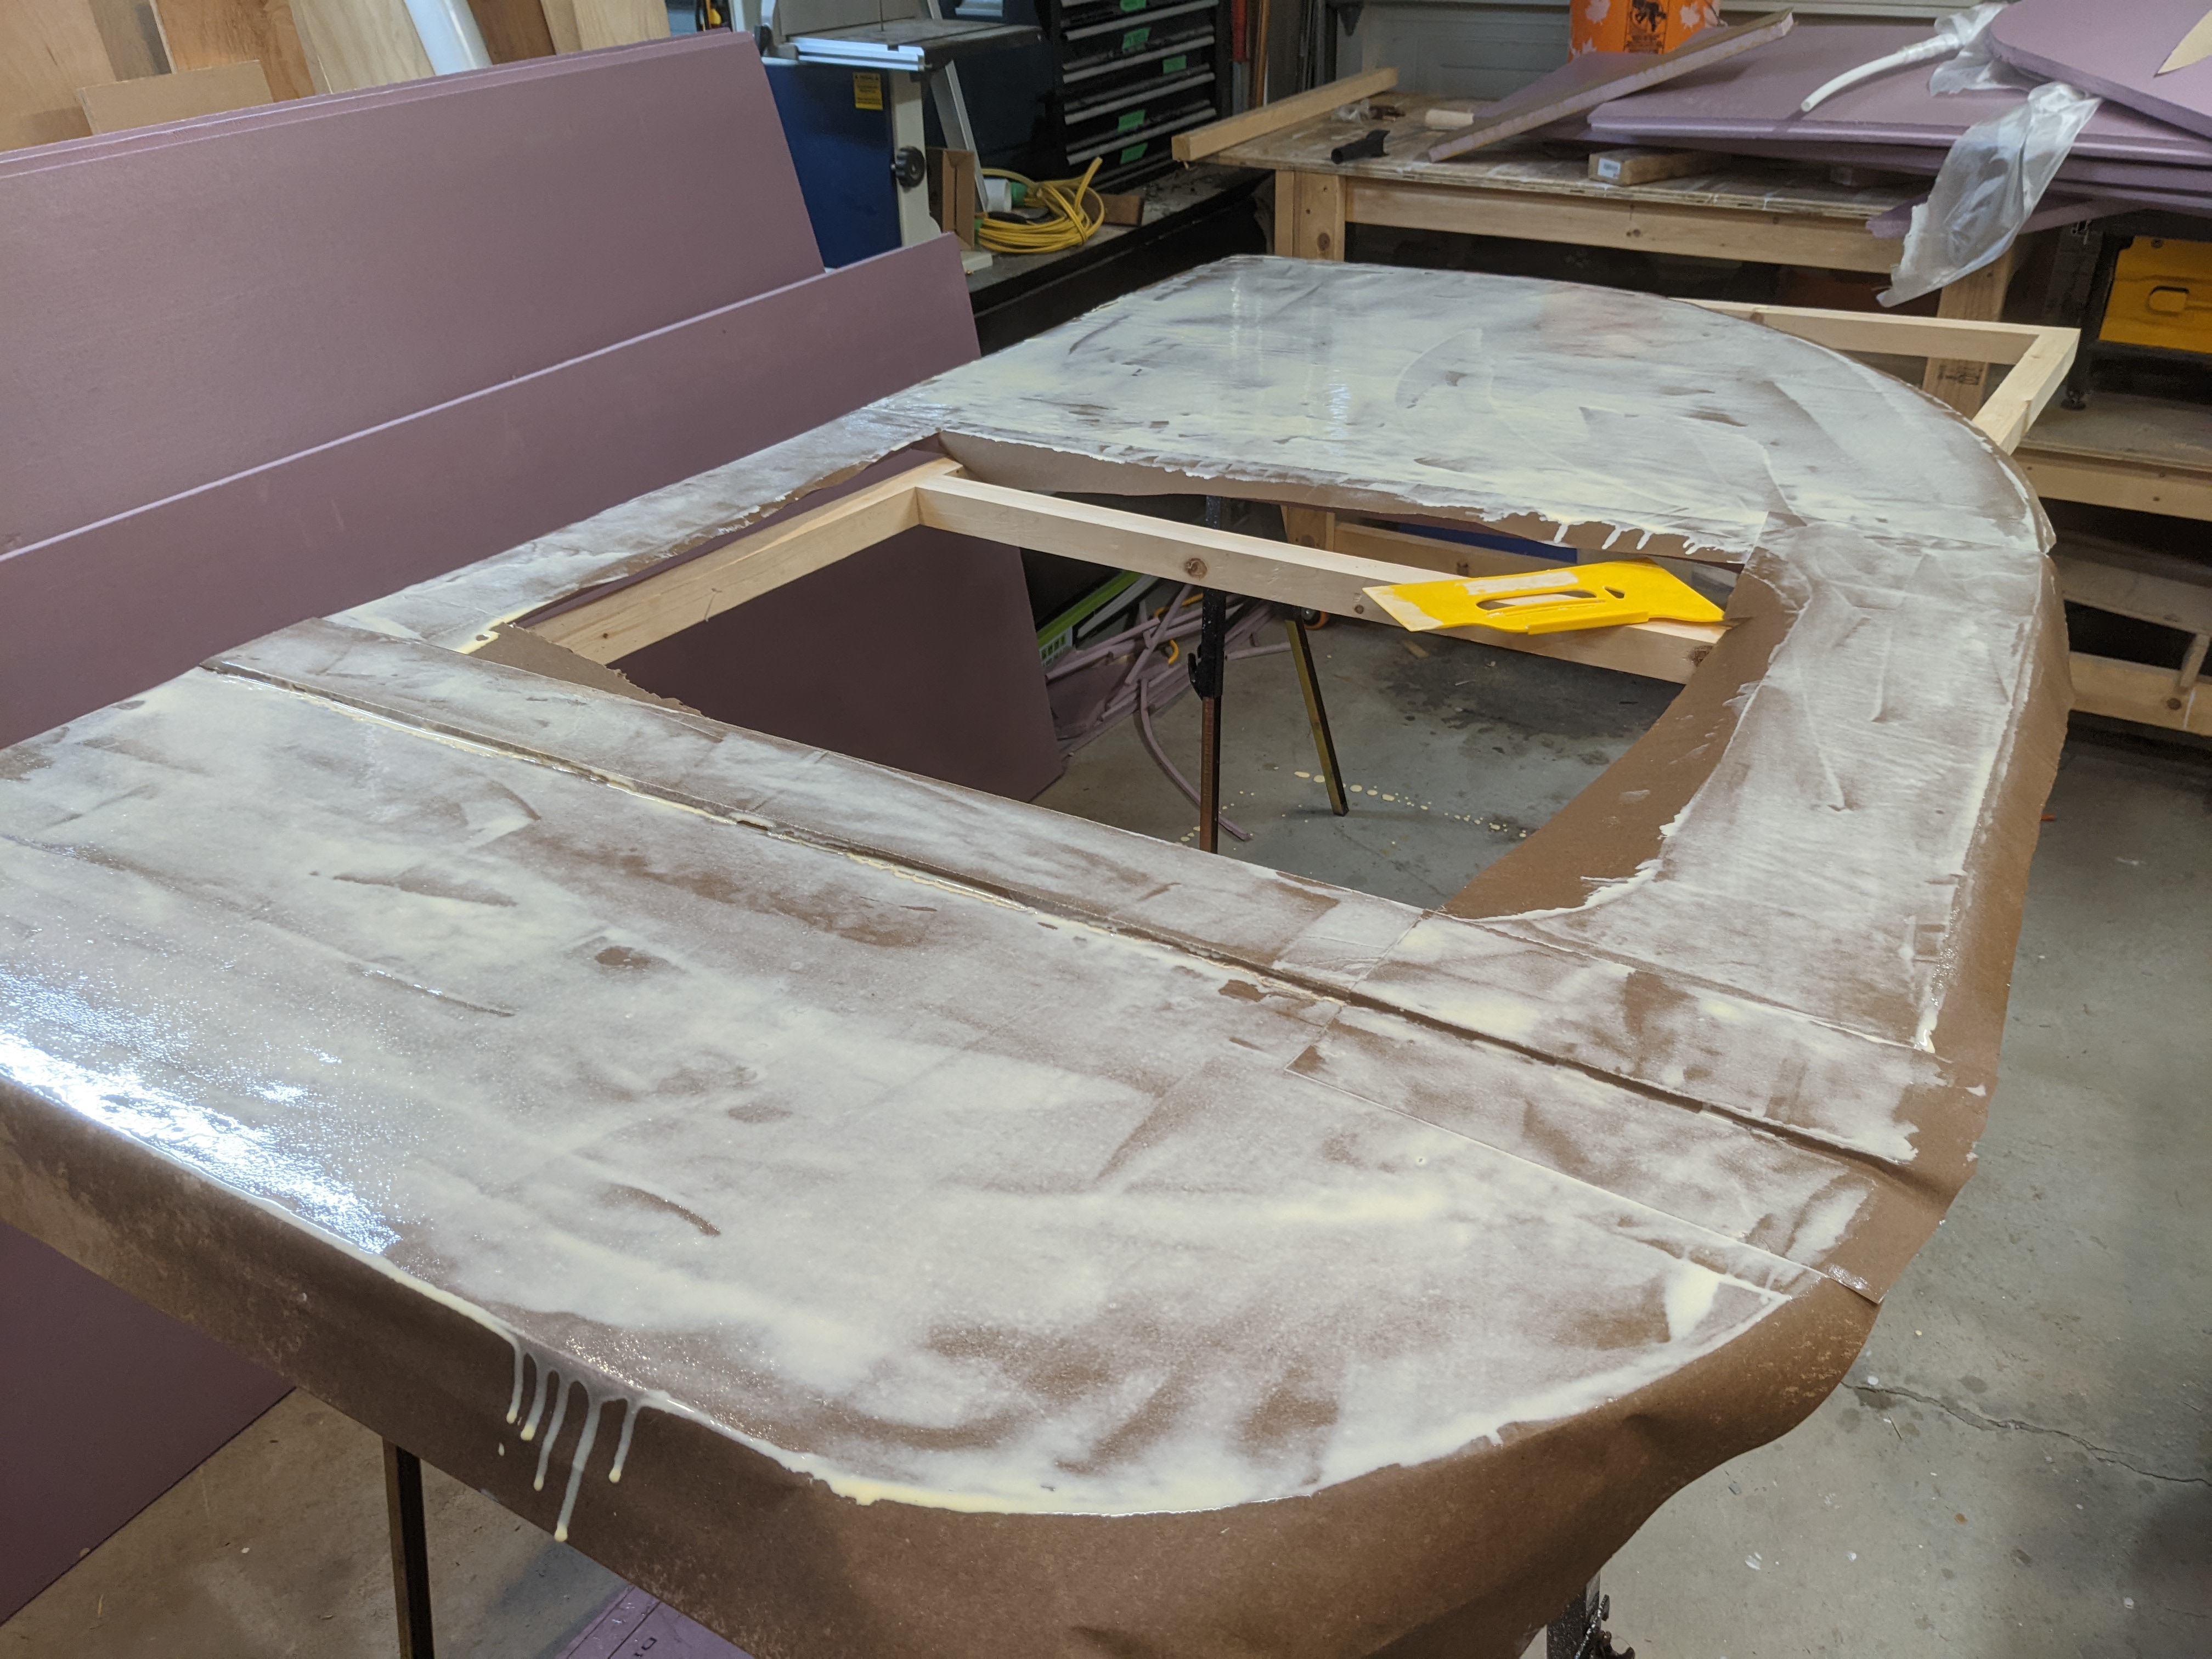
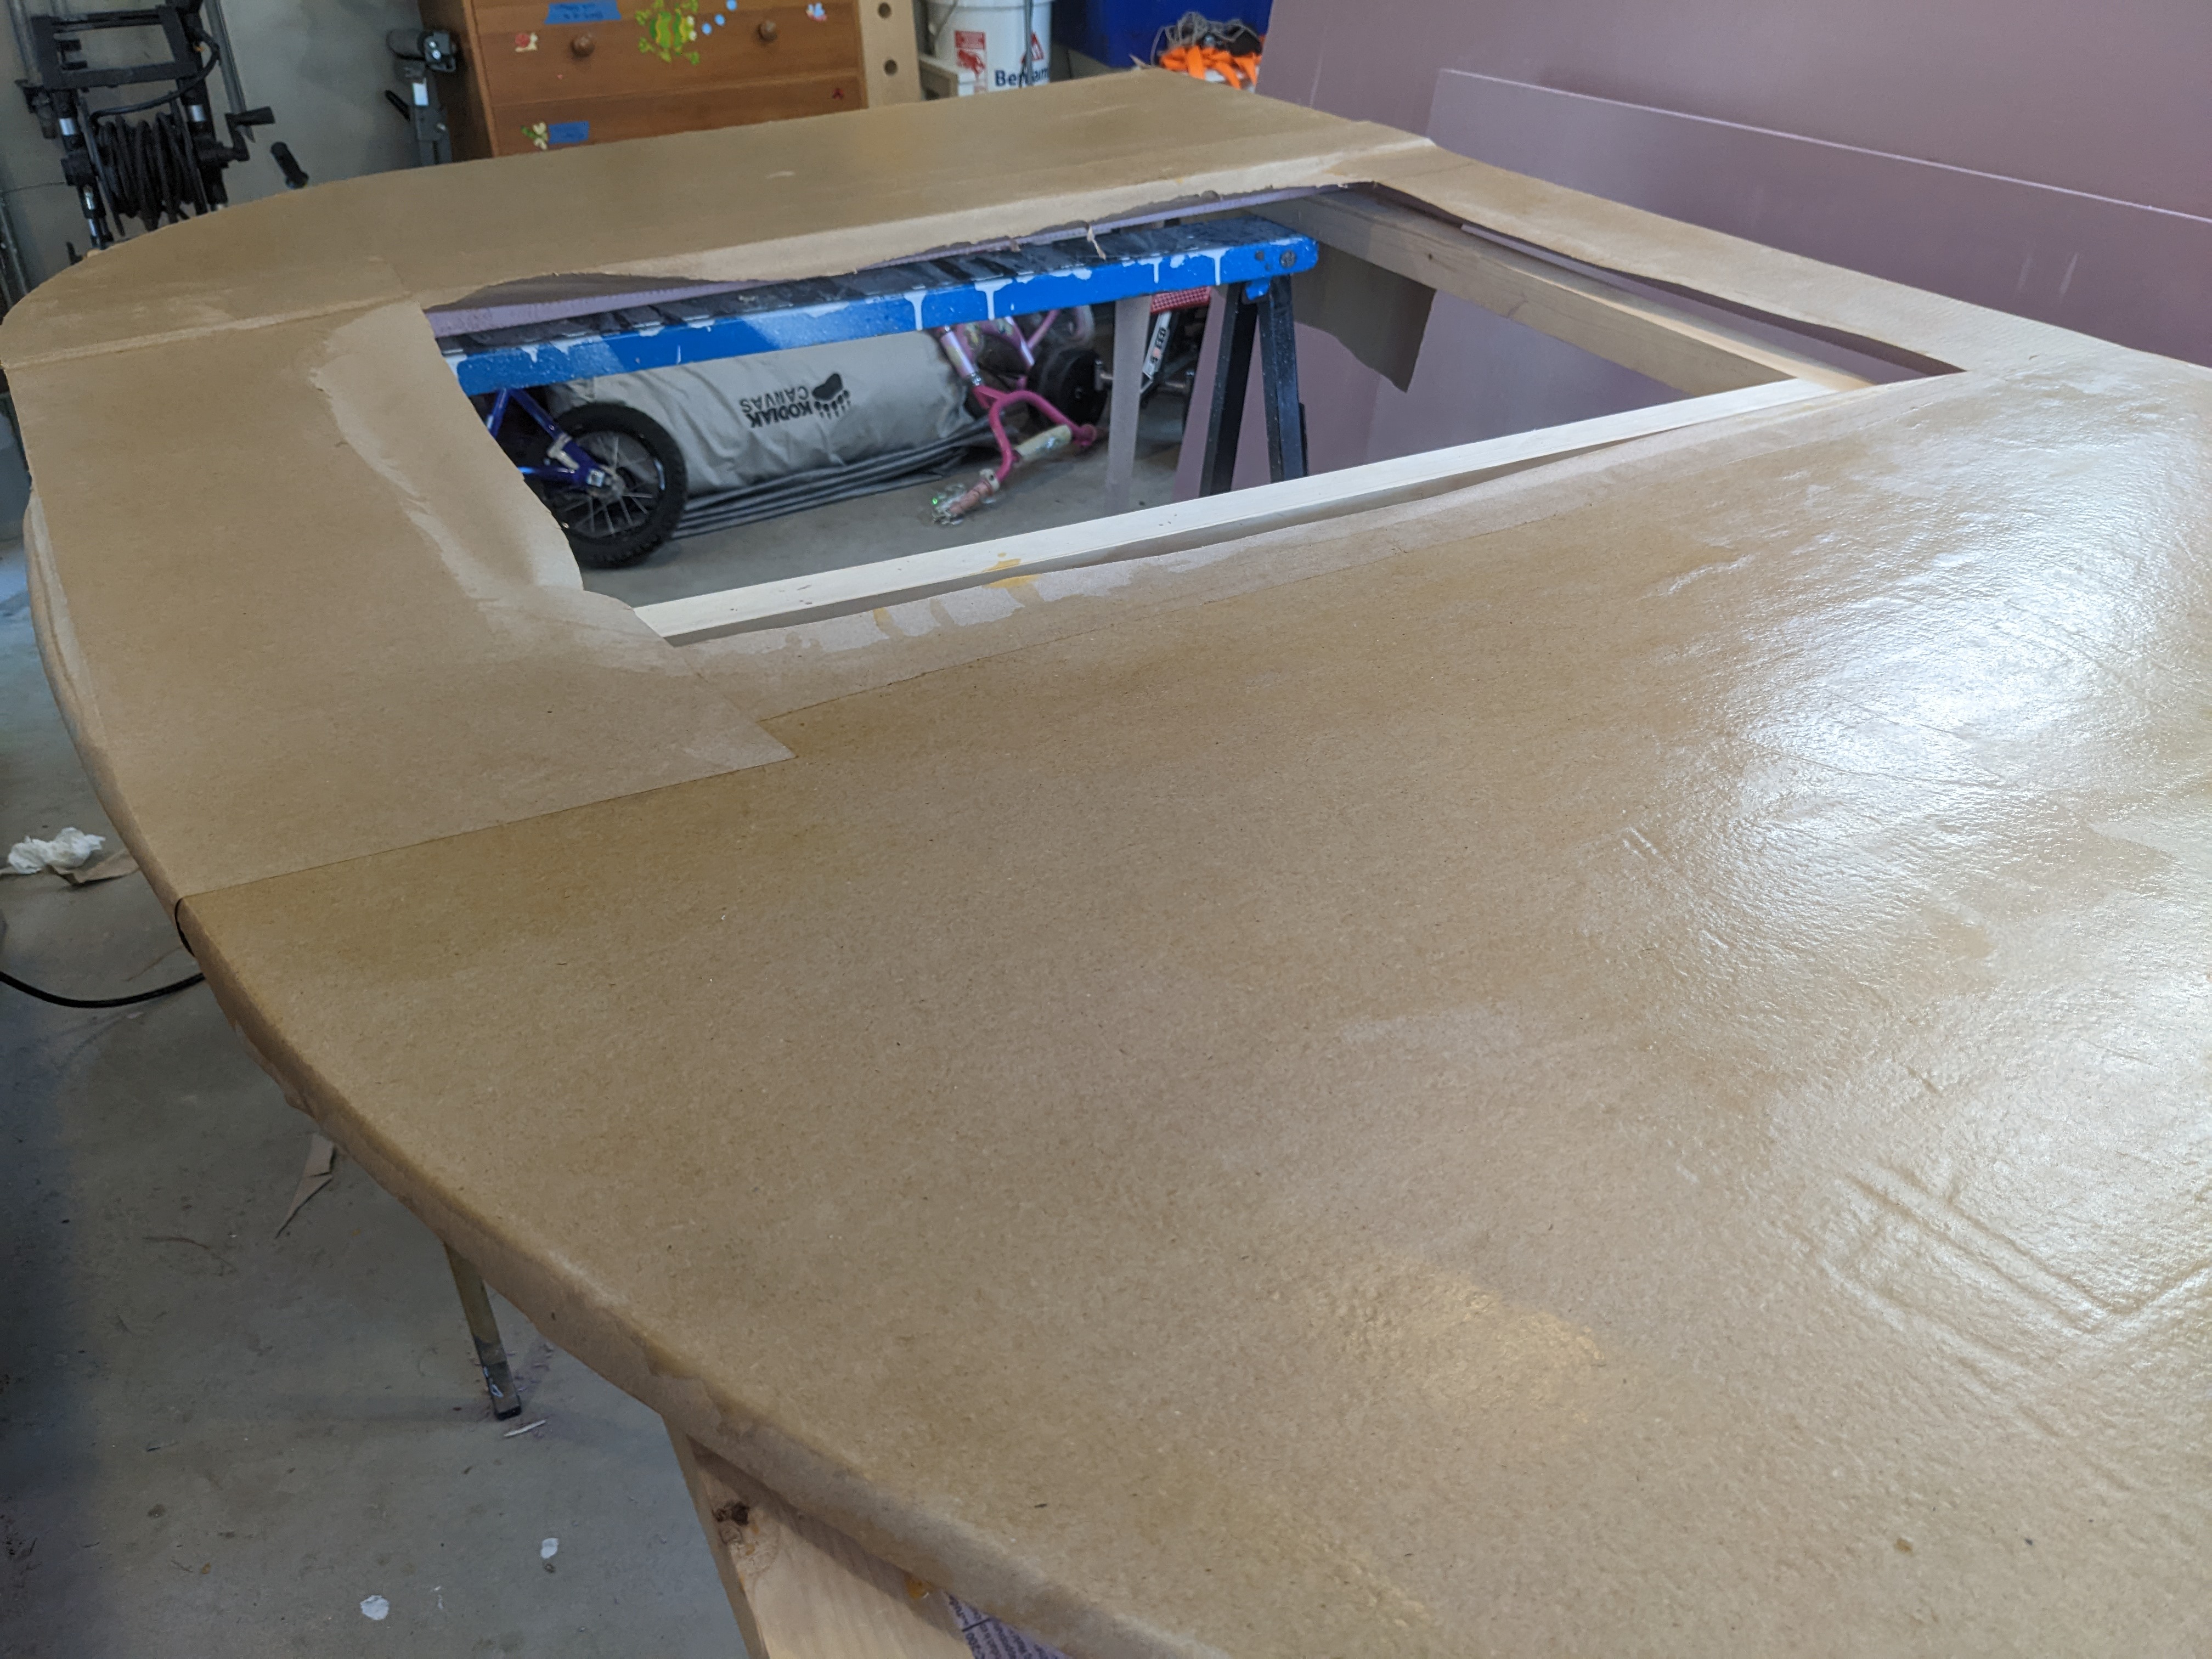
Cutting out the main door on the "driver" side.
I wasn't sure if I should cut the door before or after putting the kraft paper on. Doing it before reduces the strength of the panel quite a bit, and makes the paper more of a pain to put on, but if I cut it out later I was worried that while cutting I'd delaminate. It seems quite strong when it's on, but still relatively easy to tear off the surface.
The two tricky parts were cutting a 45 degree angle on the bottom (so that water would have somewhere to run out if any gets in), and the curves around the top. I wouldn't say I did a great job of these, but hopefully with some sanding, kraft on top, and paint it'll be OK.
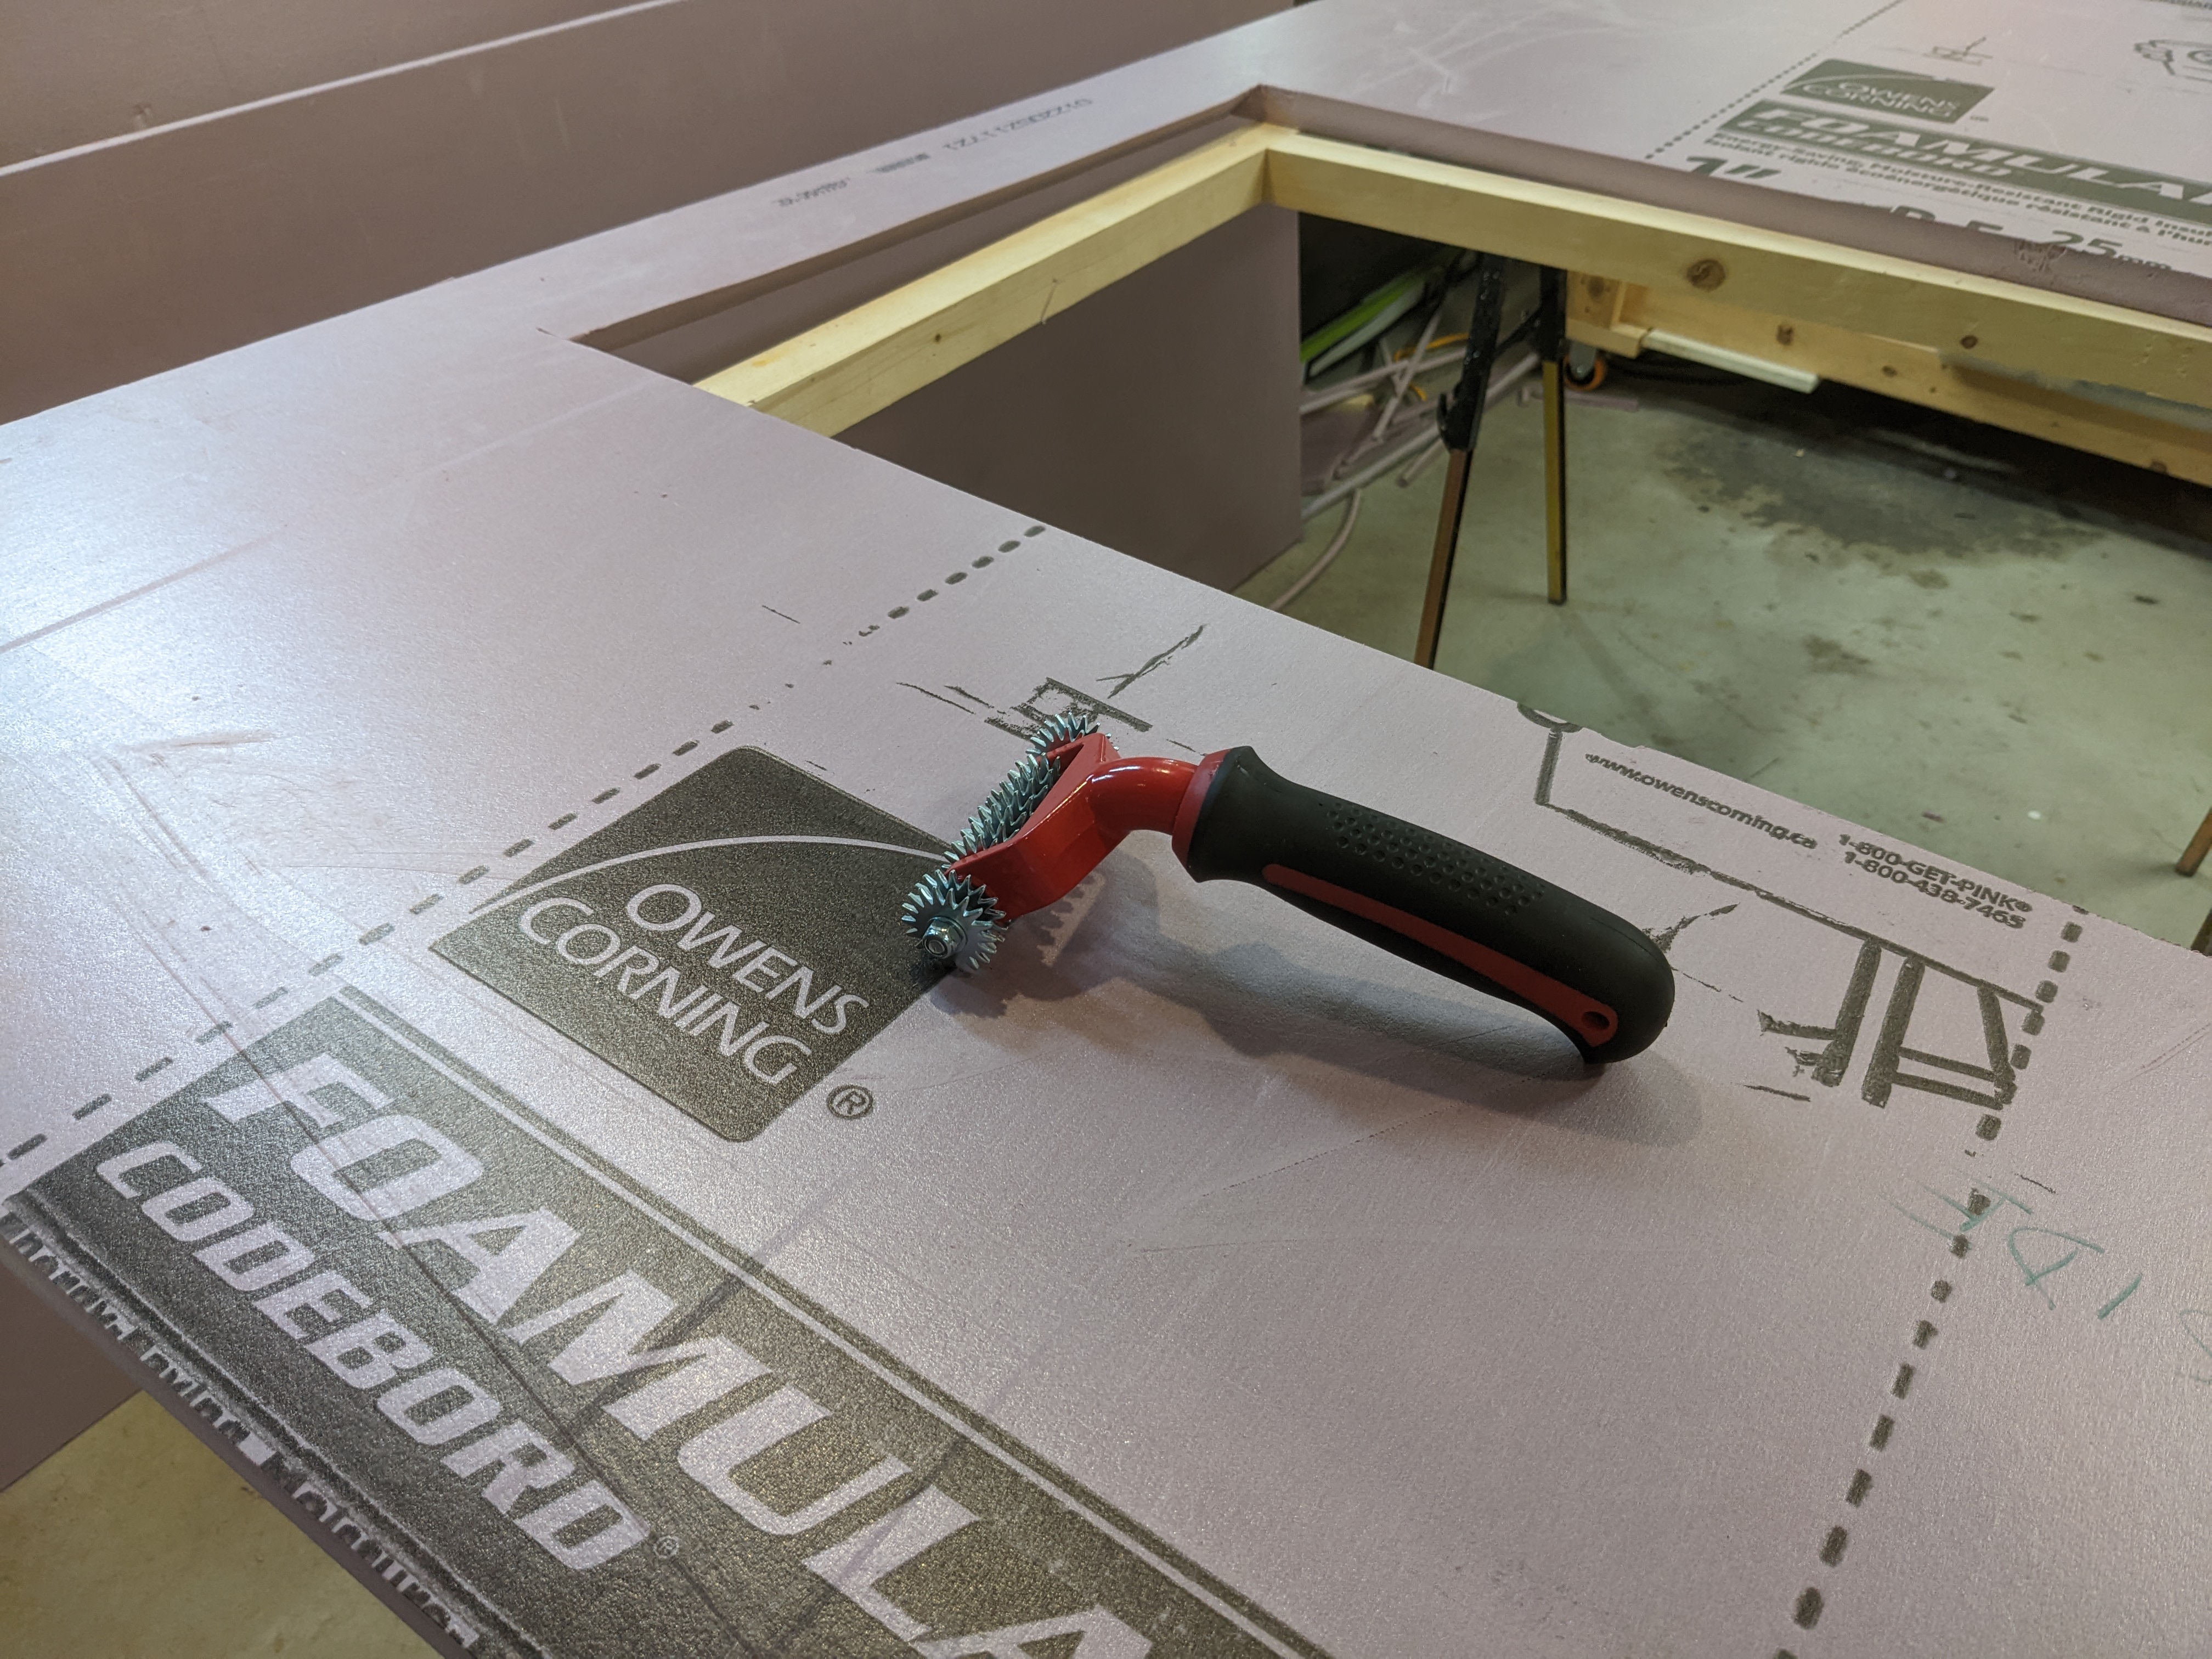
Then I used a new thingy https://www.amazon.ca/gp/product/B00A... (not affiliate link) which is supposed to be for installing carpet (?) but I used it to puncture the surface a bit. The idea is that the glue will have more surface area and grip better (to reduce that peel-off-ability).
Finally, I dithered trying to decide if I needed to reinforce the door frame, and which parts, and how. I decided to just reinforce on the hinge side so that a couple door hinges will have somewhere to attach, and I'm going to try some metal/paper drywall corner along the bottom later to reinforce the beveled edge.

This is applying a layer of Titebond II and kraft paper to the inside of the "driver" side wall.
Possibly pre-cutting the door was a mistake as going around the hole is pretty annoying. I didn't actually cut out the window that's also supposed to be on this side but it would have been extra annoying if I had, I think. (Or maybe since it's smaller it wouldn't have been too bad, I could have just gone right over it and trimmed later.)
Also, going over the door reinforcement wood there was a bit fiddly and ripped the paper in a few places when trying to go up and over the edge. Maybe I should have sunk it in, but I didn't really want to remove any foam thickness, and I was kind of feeling lazy.
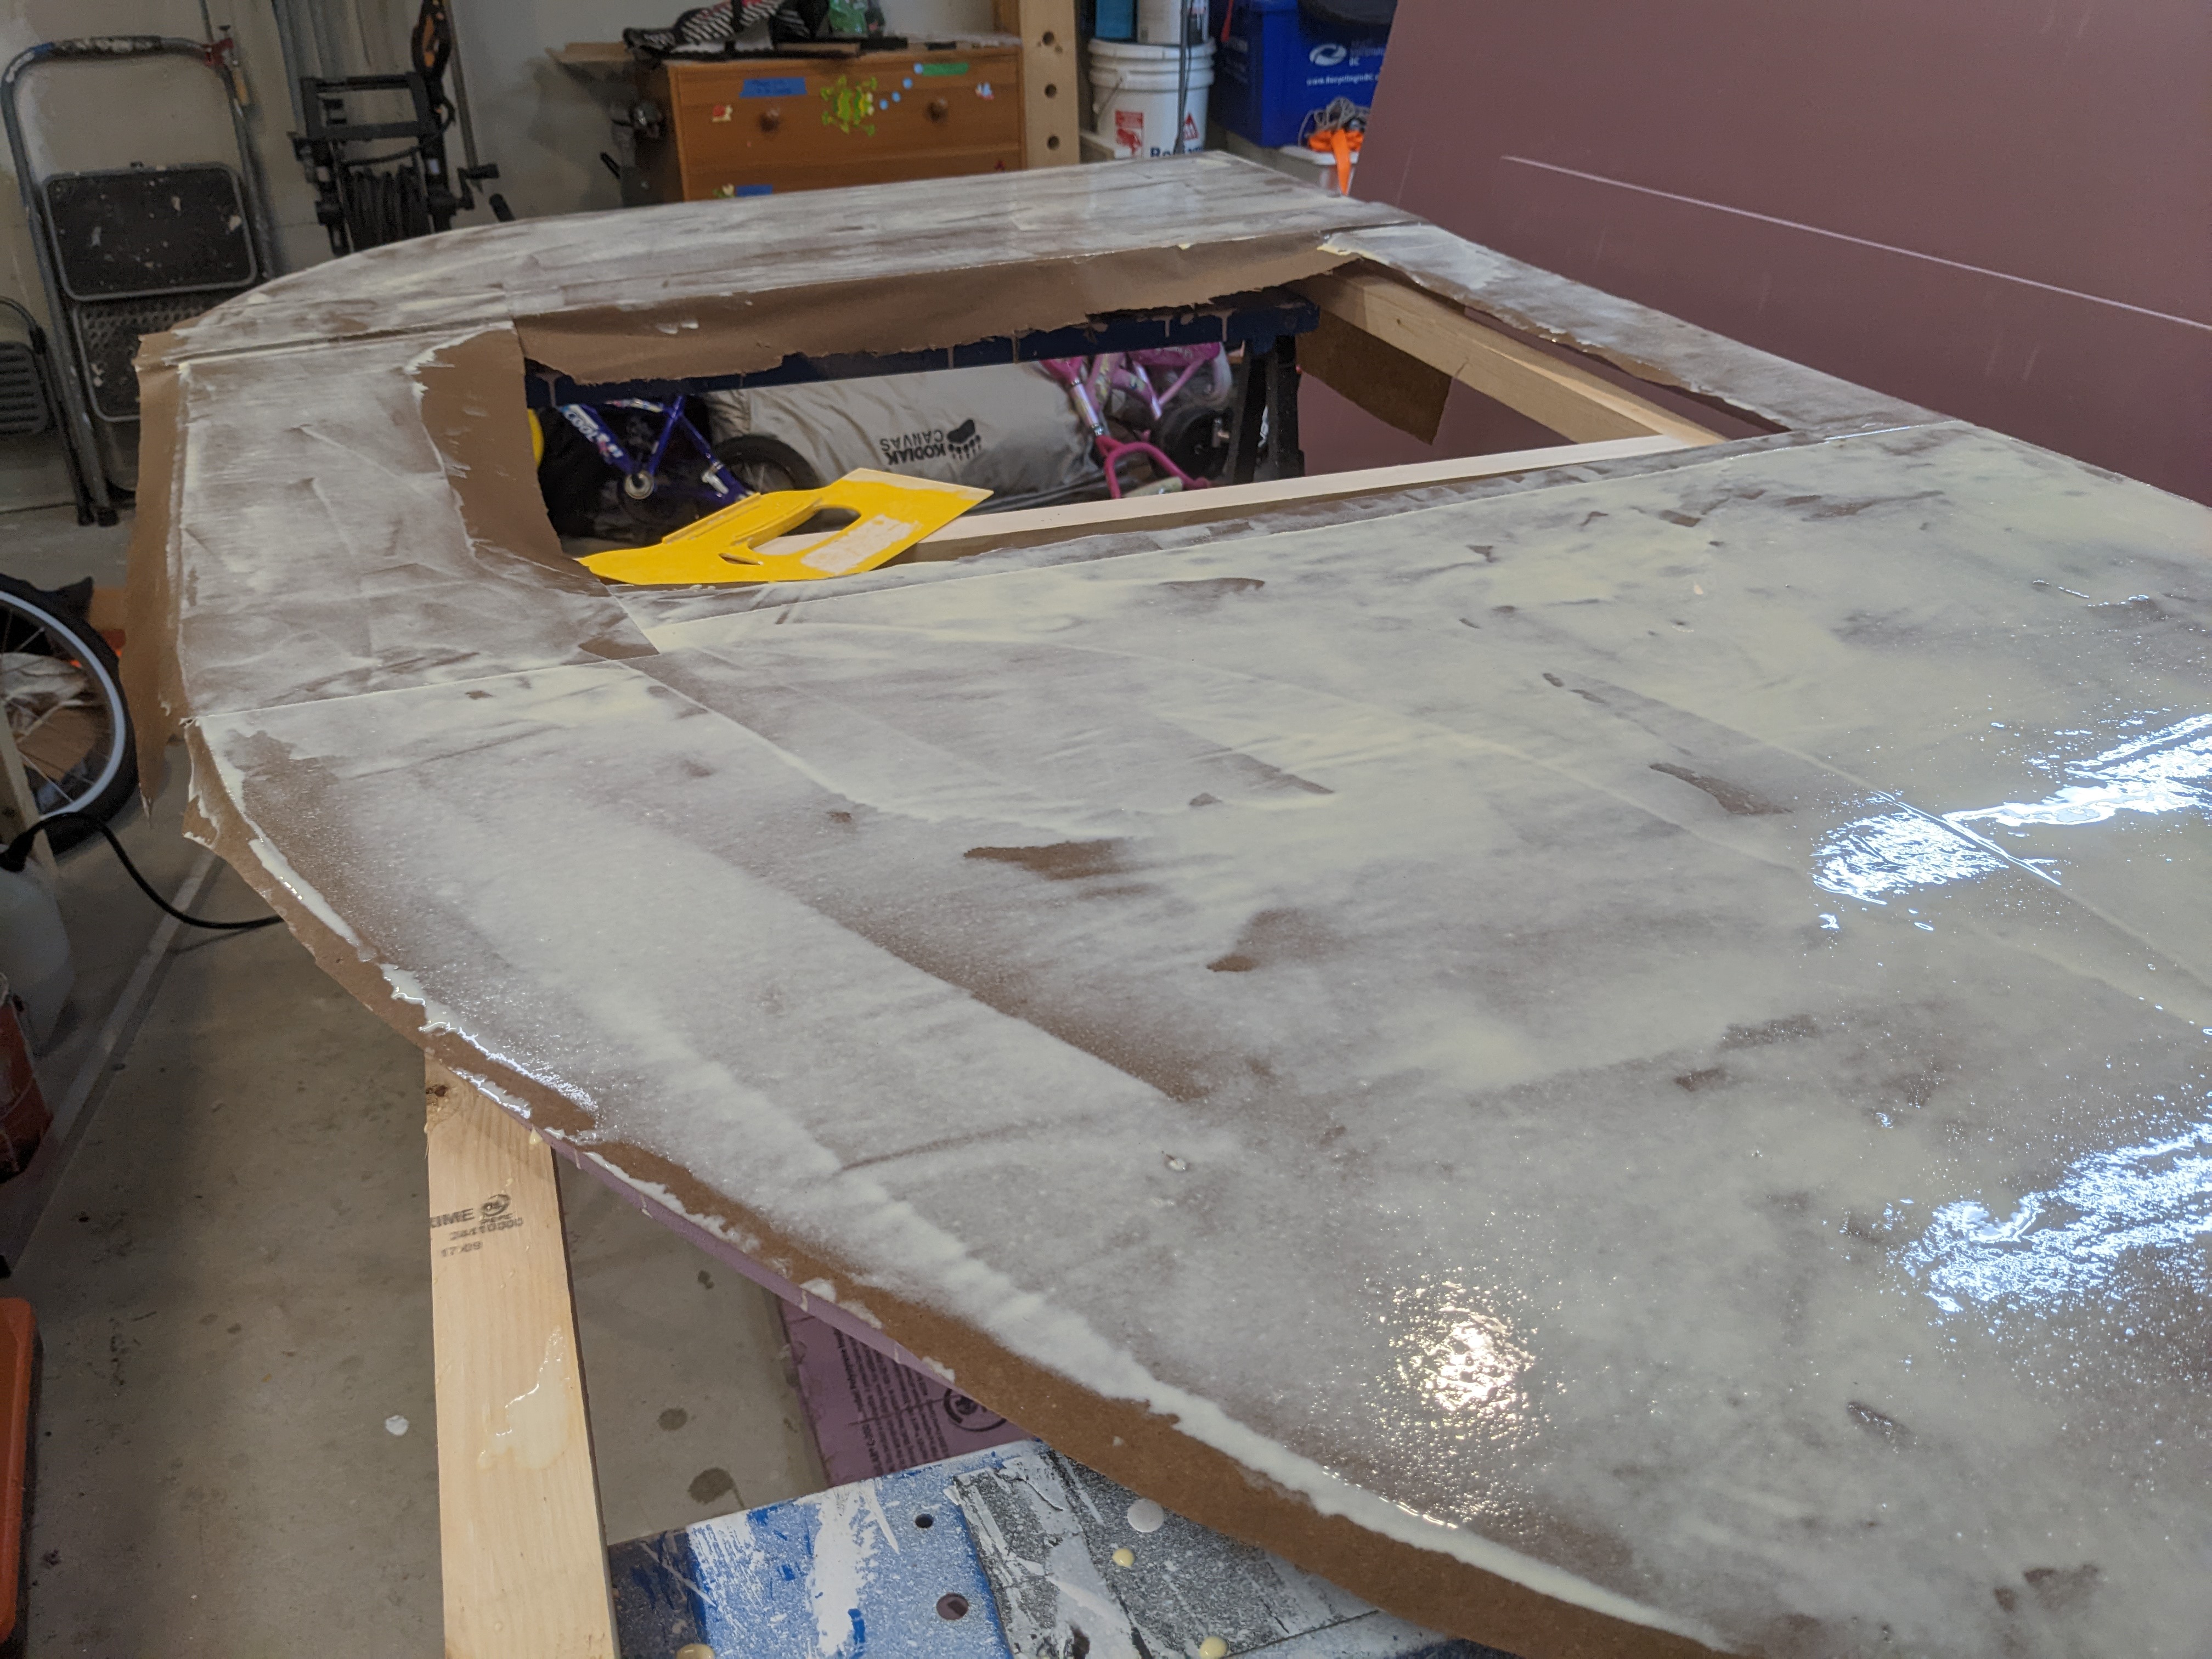
The basic formula is wet the paper, put on a layer of glue, spread and smooth the paper, add a layer of glue on top and spread it all out. I'm still not too sure about the amount of water to wet down with, nor the amount of glue to put before or after. I think I probably need to 1) give the water a bit longer to soak but also "dry" a bit, and 2) use less on the bottom layer of glue as a lot of it seems to end up on the ground squeezed out when I smooth the paper on to it. The top layer can have more or less an arbitrary amount as it just has to sit and dry for longer if you put too much (within reason).


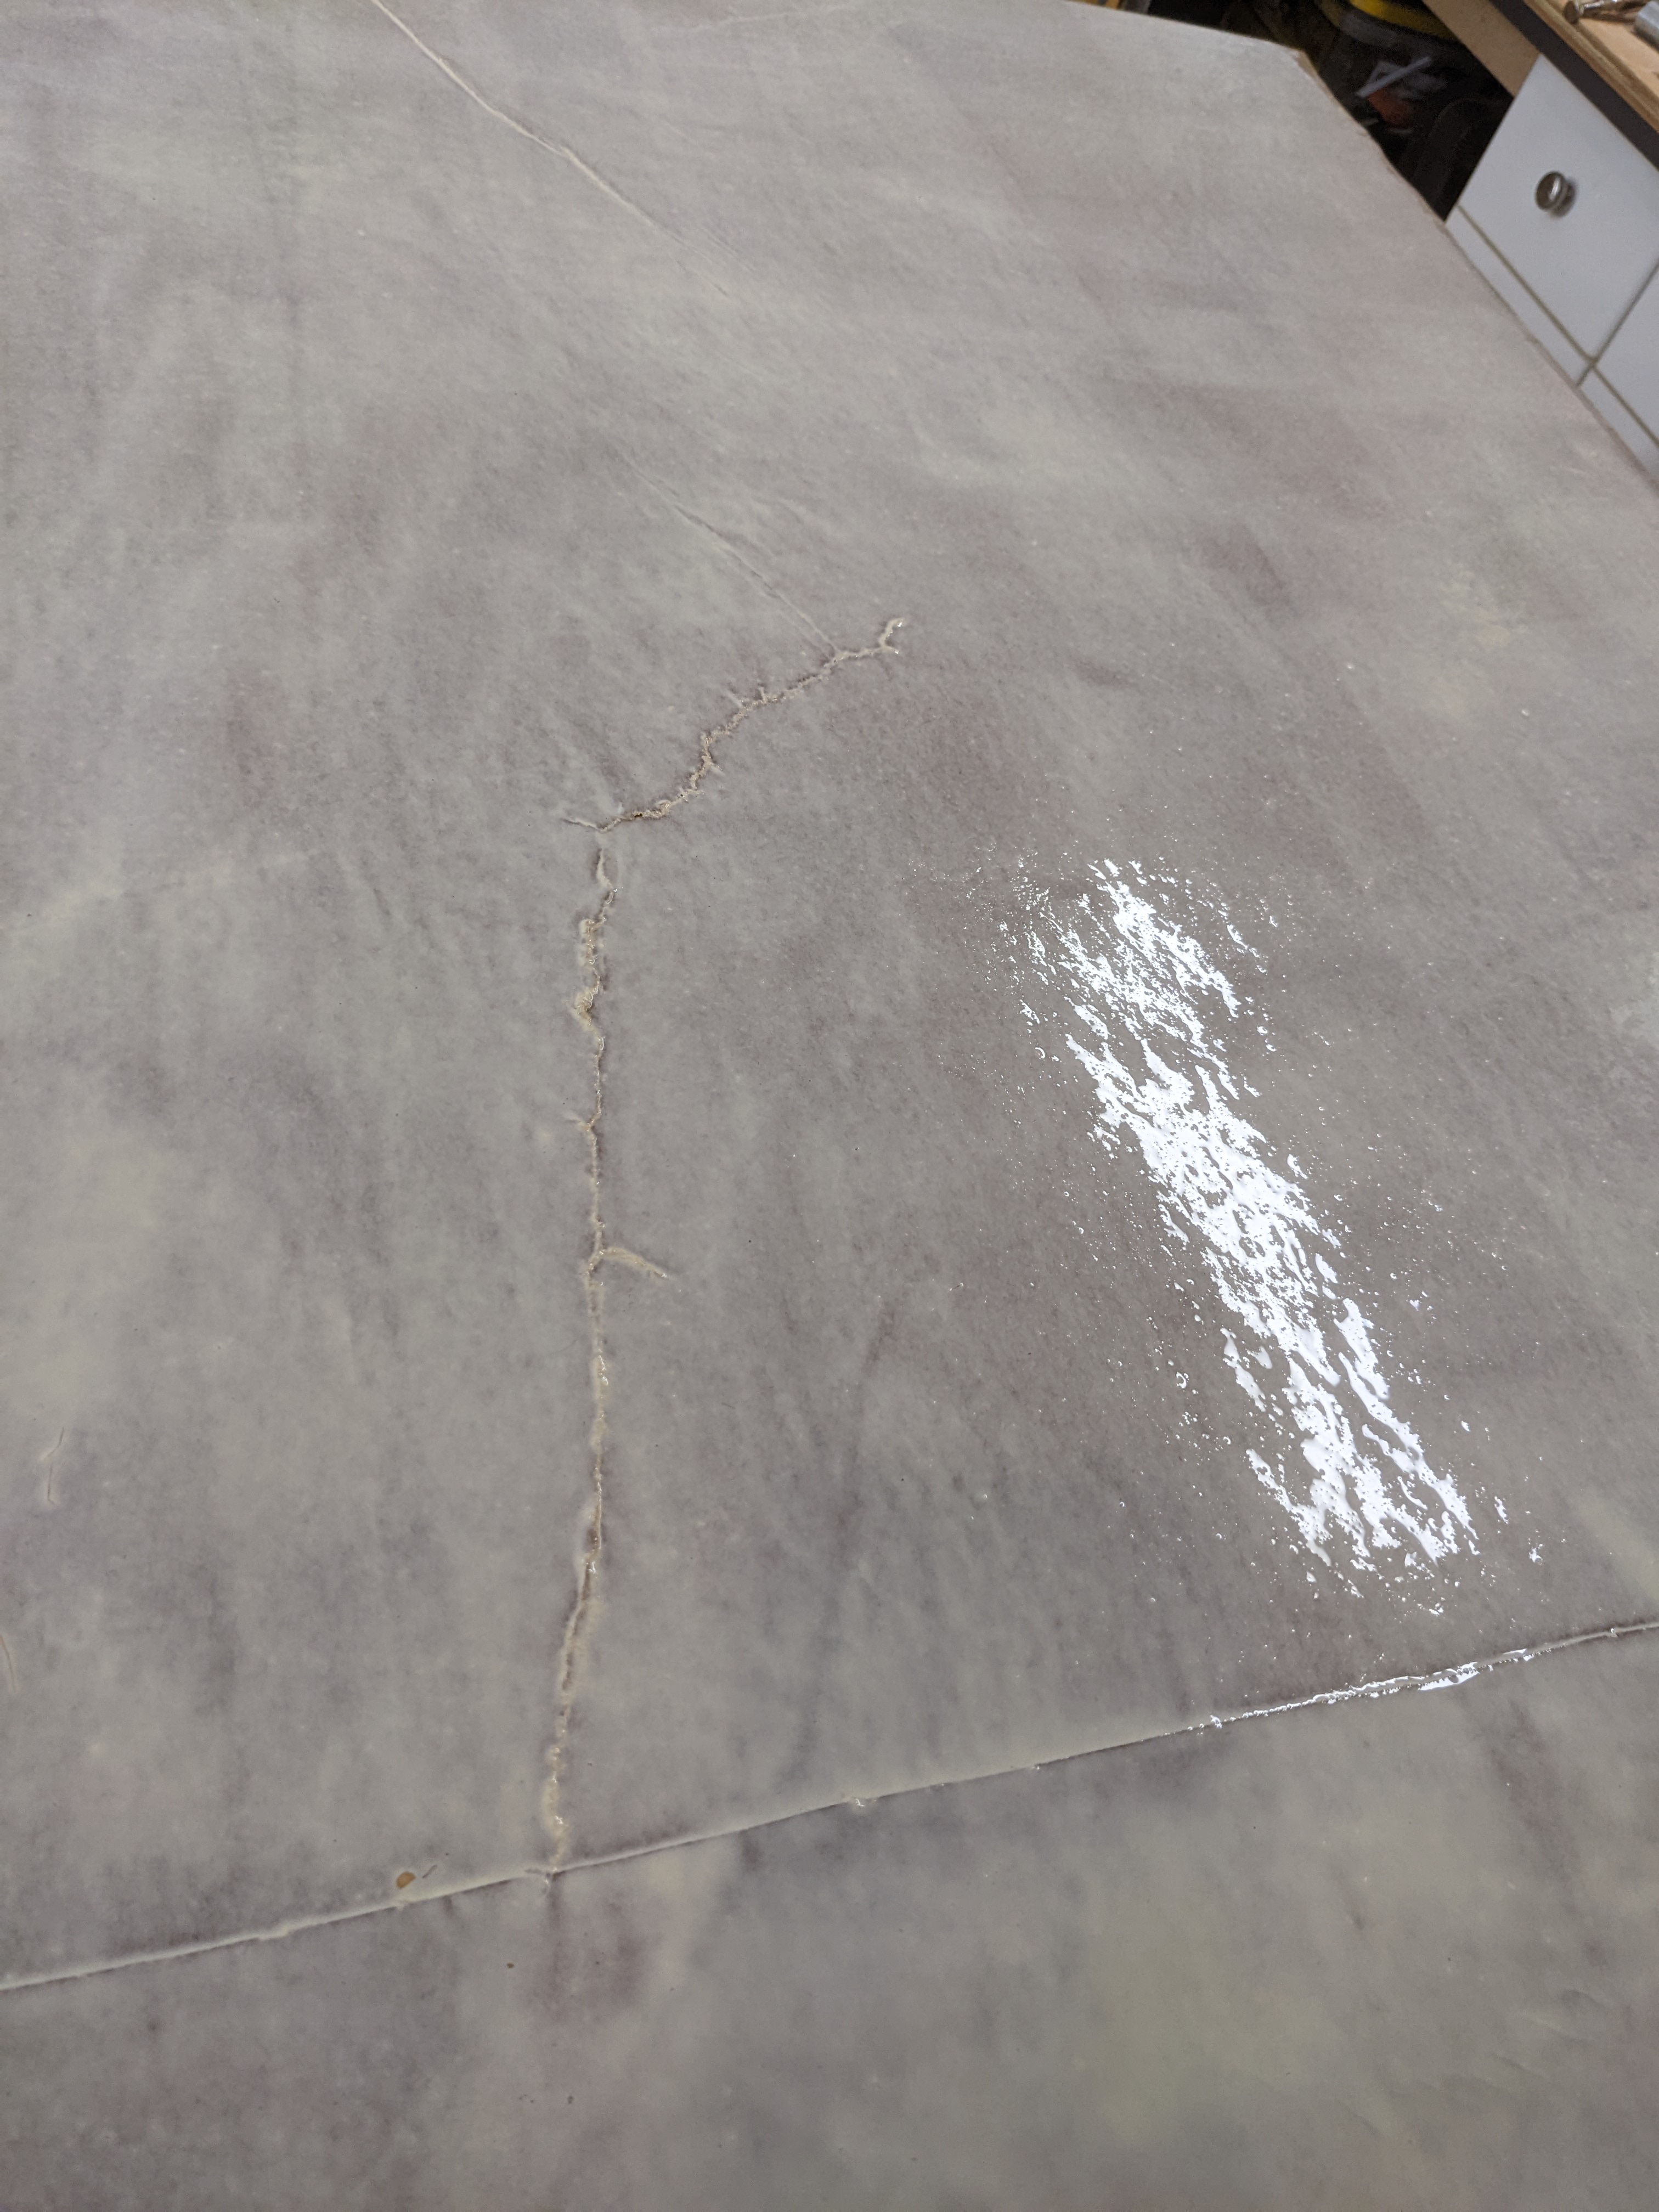
Laminating the inside "passenger" side wall. I'm still not sure about the amount of glue to use, but I think this was closer. I've used almost 3/4 of a gallon for a single layer on the floor, and both inside walls, so ... I'm going to need quite a lot at this rate. We'll see how secondary coats go, perhaps a little less glue required.
The first sheet of paper was too big, and so went on a bit "wrinkly". It works better to smooth with your hand than trying to use the knife or trowel to do it.
But I didn't learn from the first one, and I also screwed up the second sheet.
I think keep unrolling the 3' wide paper thinking "oh, that's not too big" and cutting off a 4' length because it fits nicely on the wall panel. But then trying to pick up a soggy 3'x4' piece of paper doesn't go well at all. It's just heavy enough that you can't really slide it on the glue that's already down after you place it, and it's also heavy enough to rip itself when you try to lift it up to adjust. So aiming for ~2x3 sheets now. There will be more seams but I think they'll be sandable, or maybe not that noticeable at all anyway. 2x3 is easy to lay on more or less accurately on a first try, and much easier to adjust too.

I started by trimming the extra of the passenger inside wall, and then tried to add a bit of extra glue, a bit on a corner that wasn't quite laminated, and then also one spot where there was a bubble. Not sure that it helped with the bubble so that might need to be cut out and patched later.
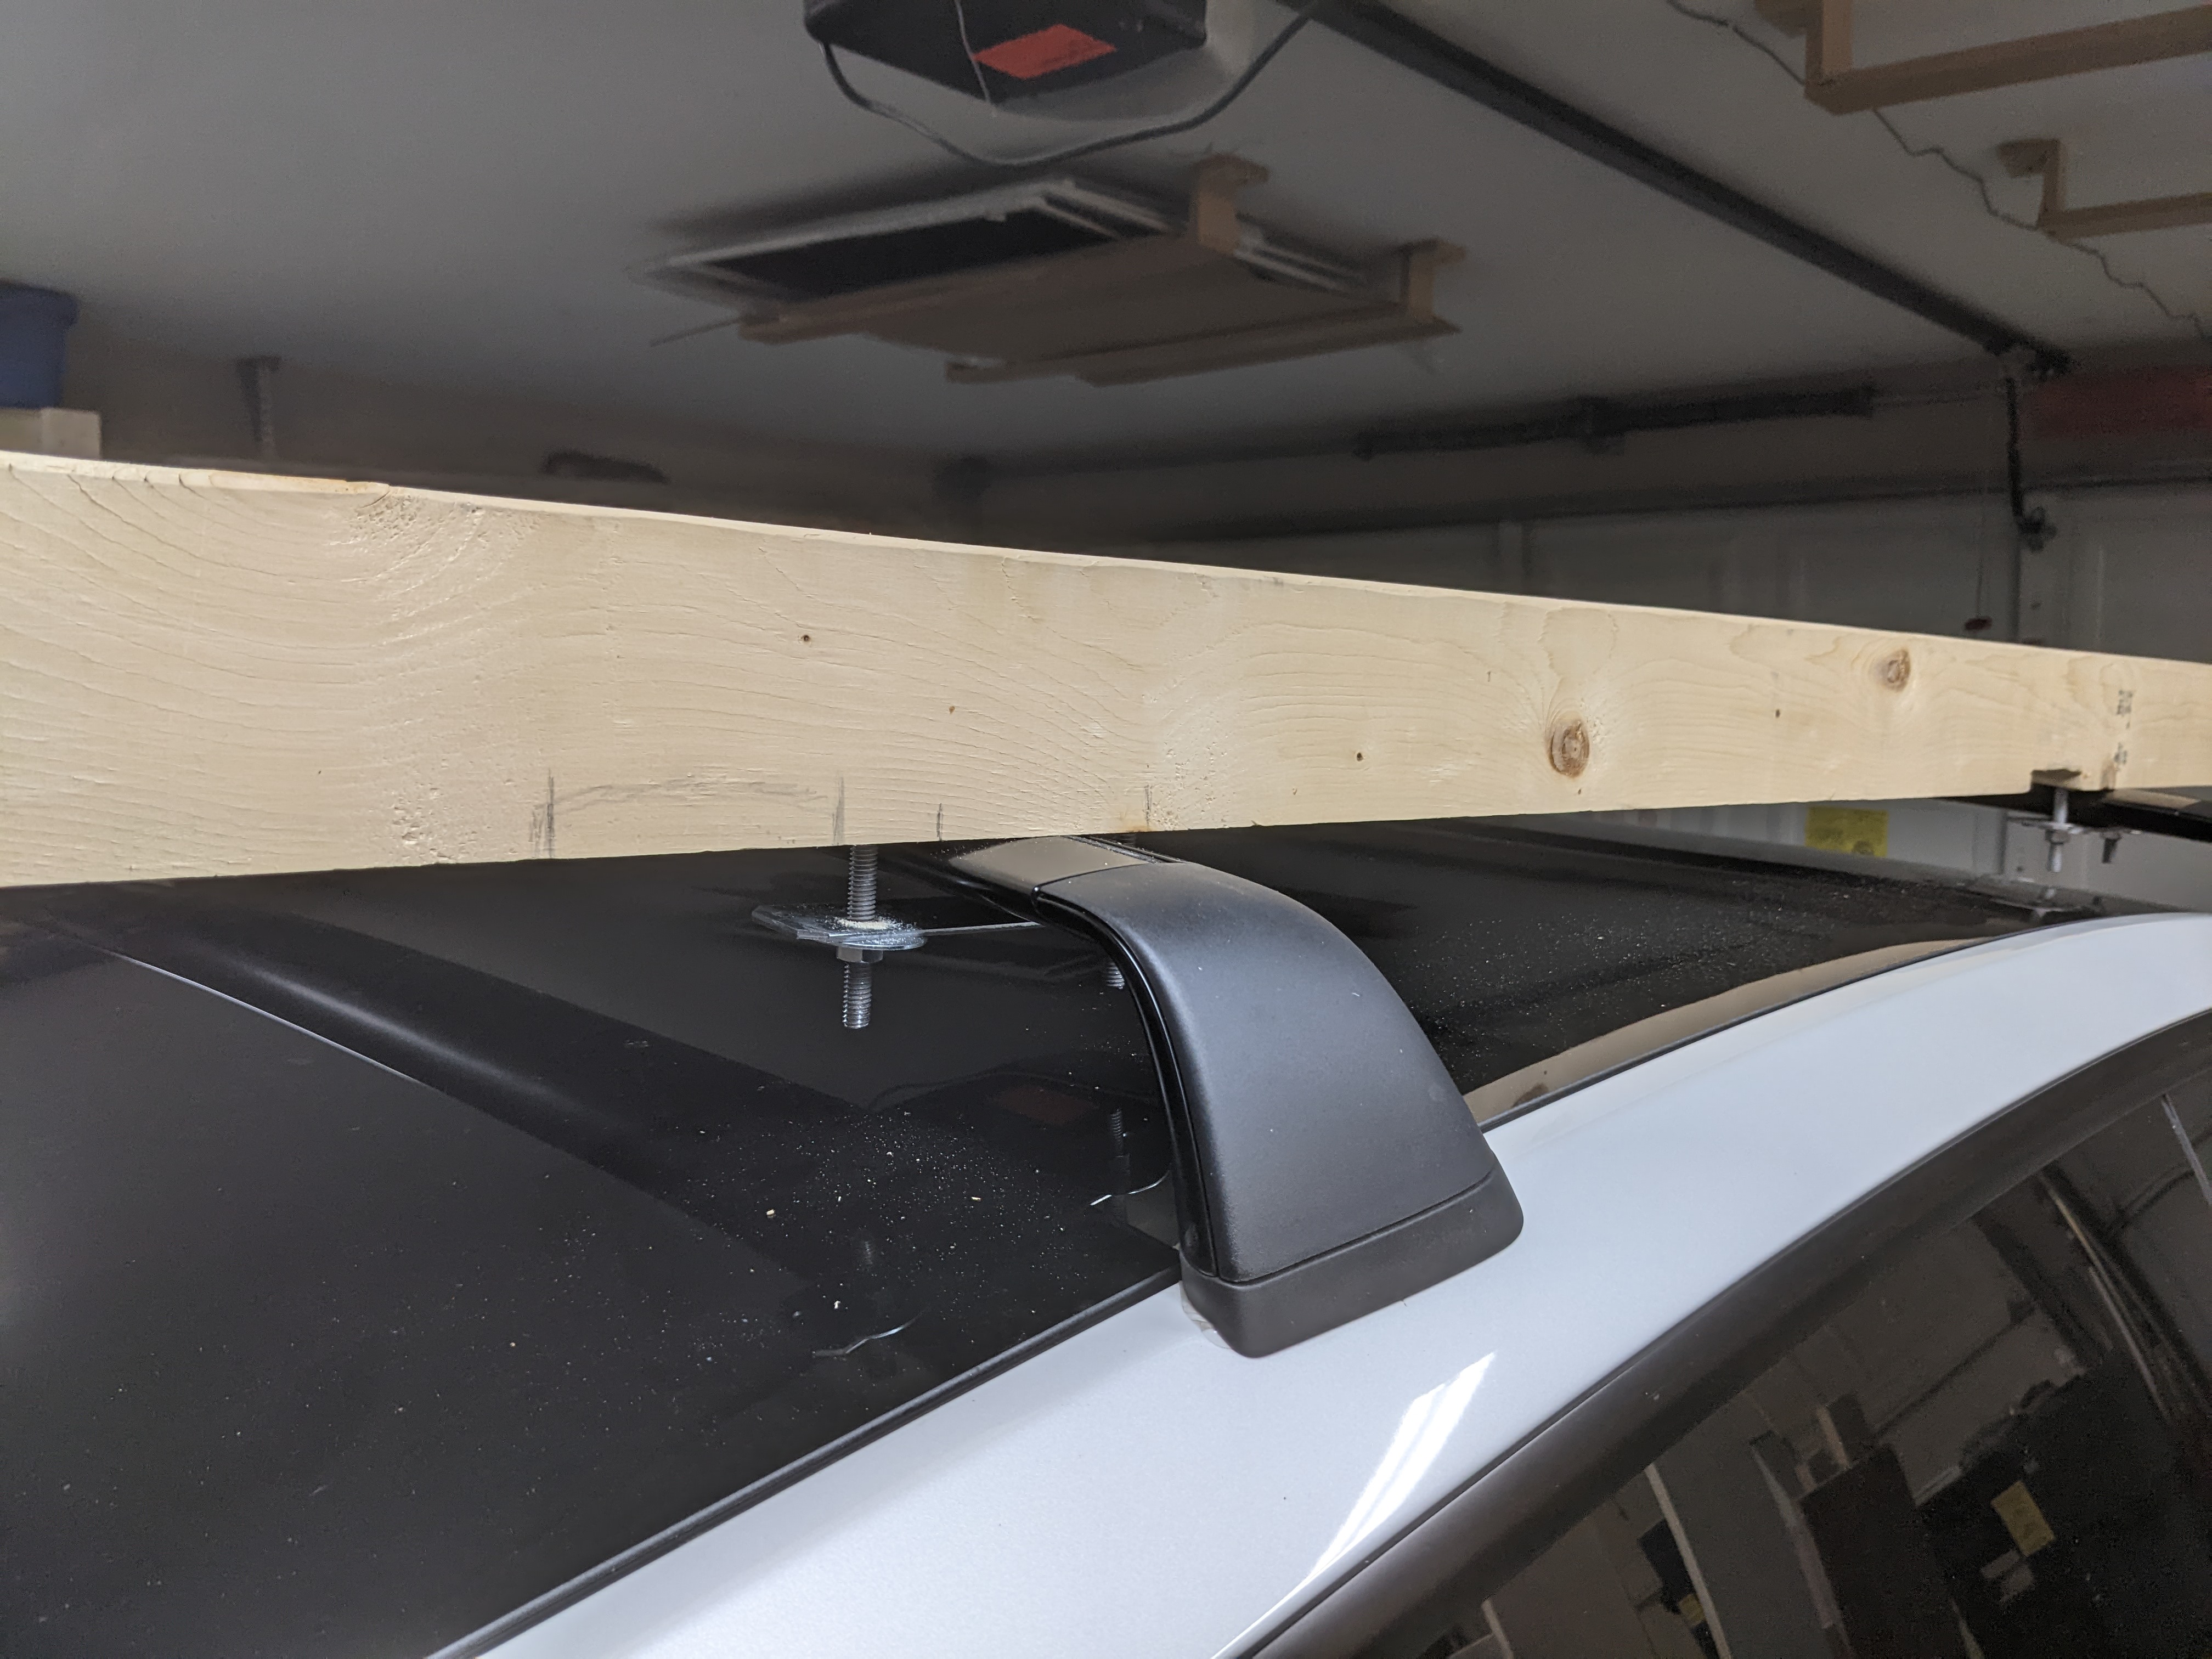
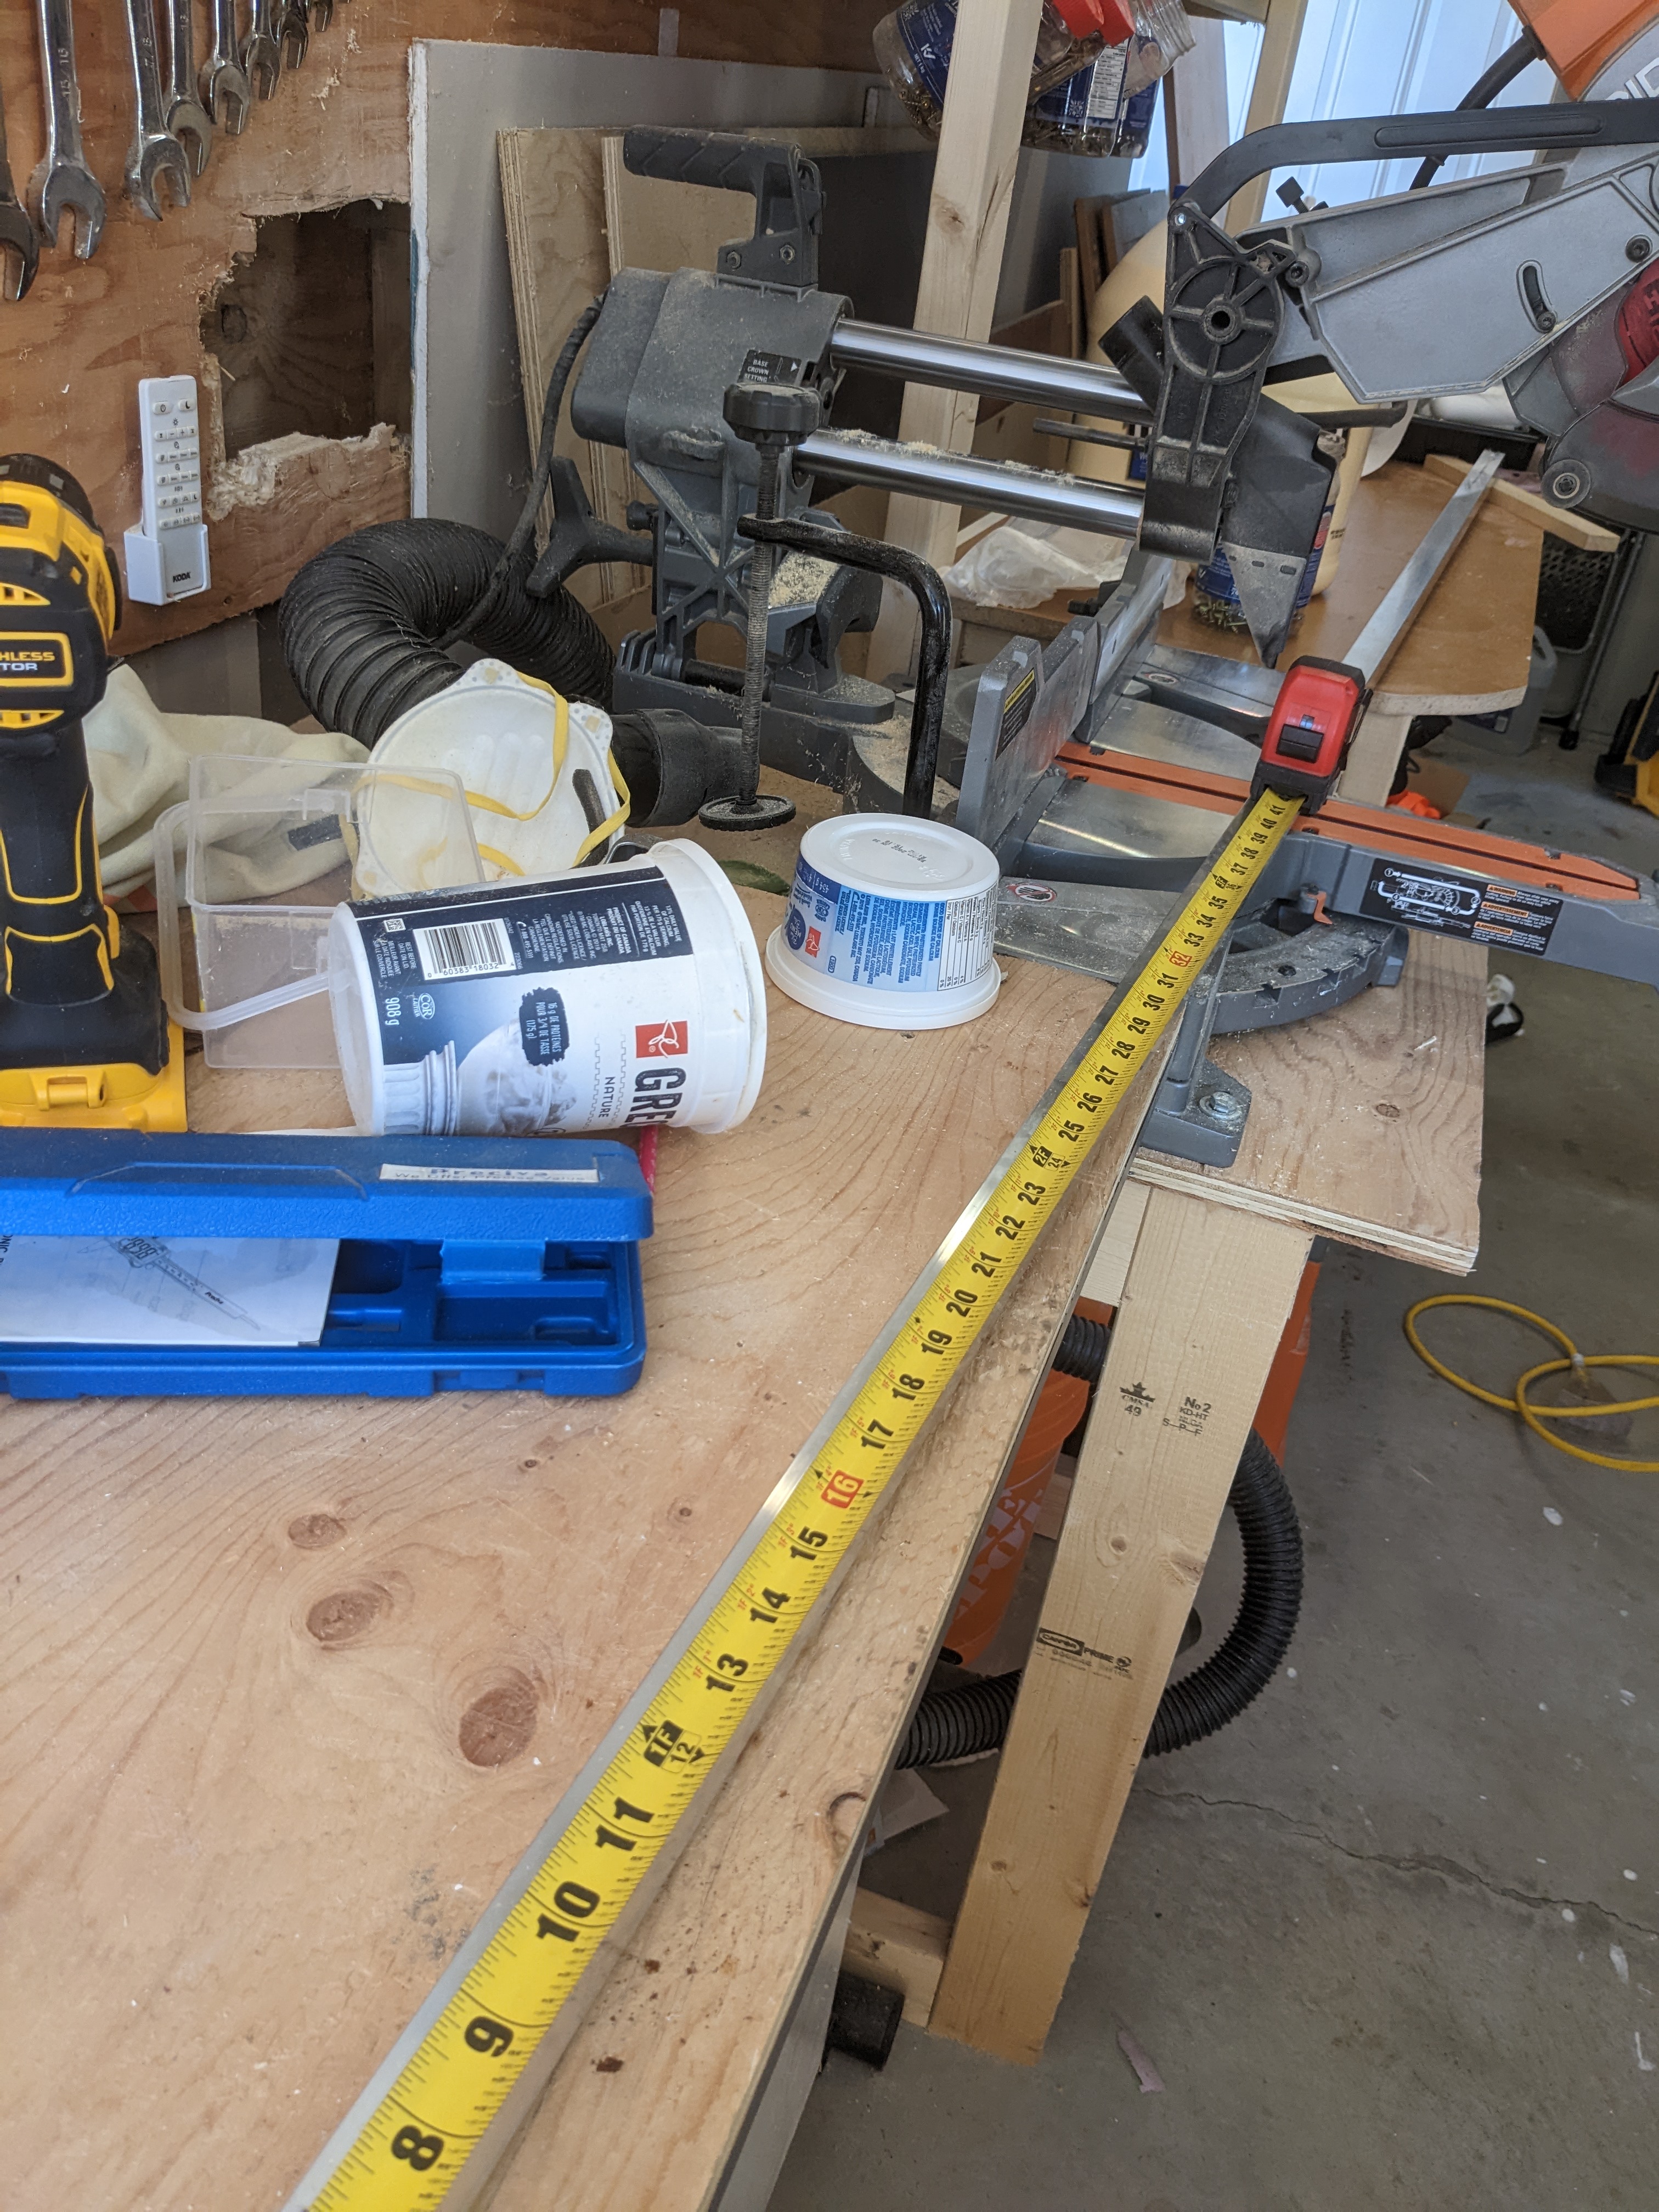
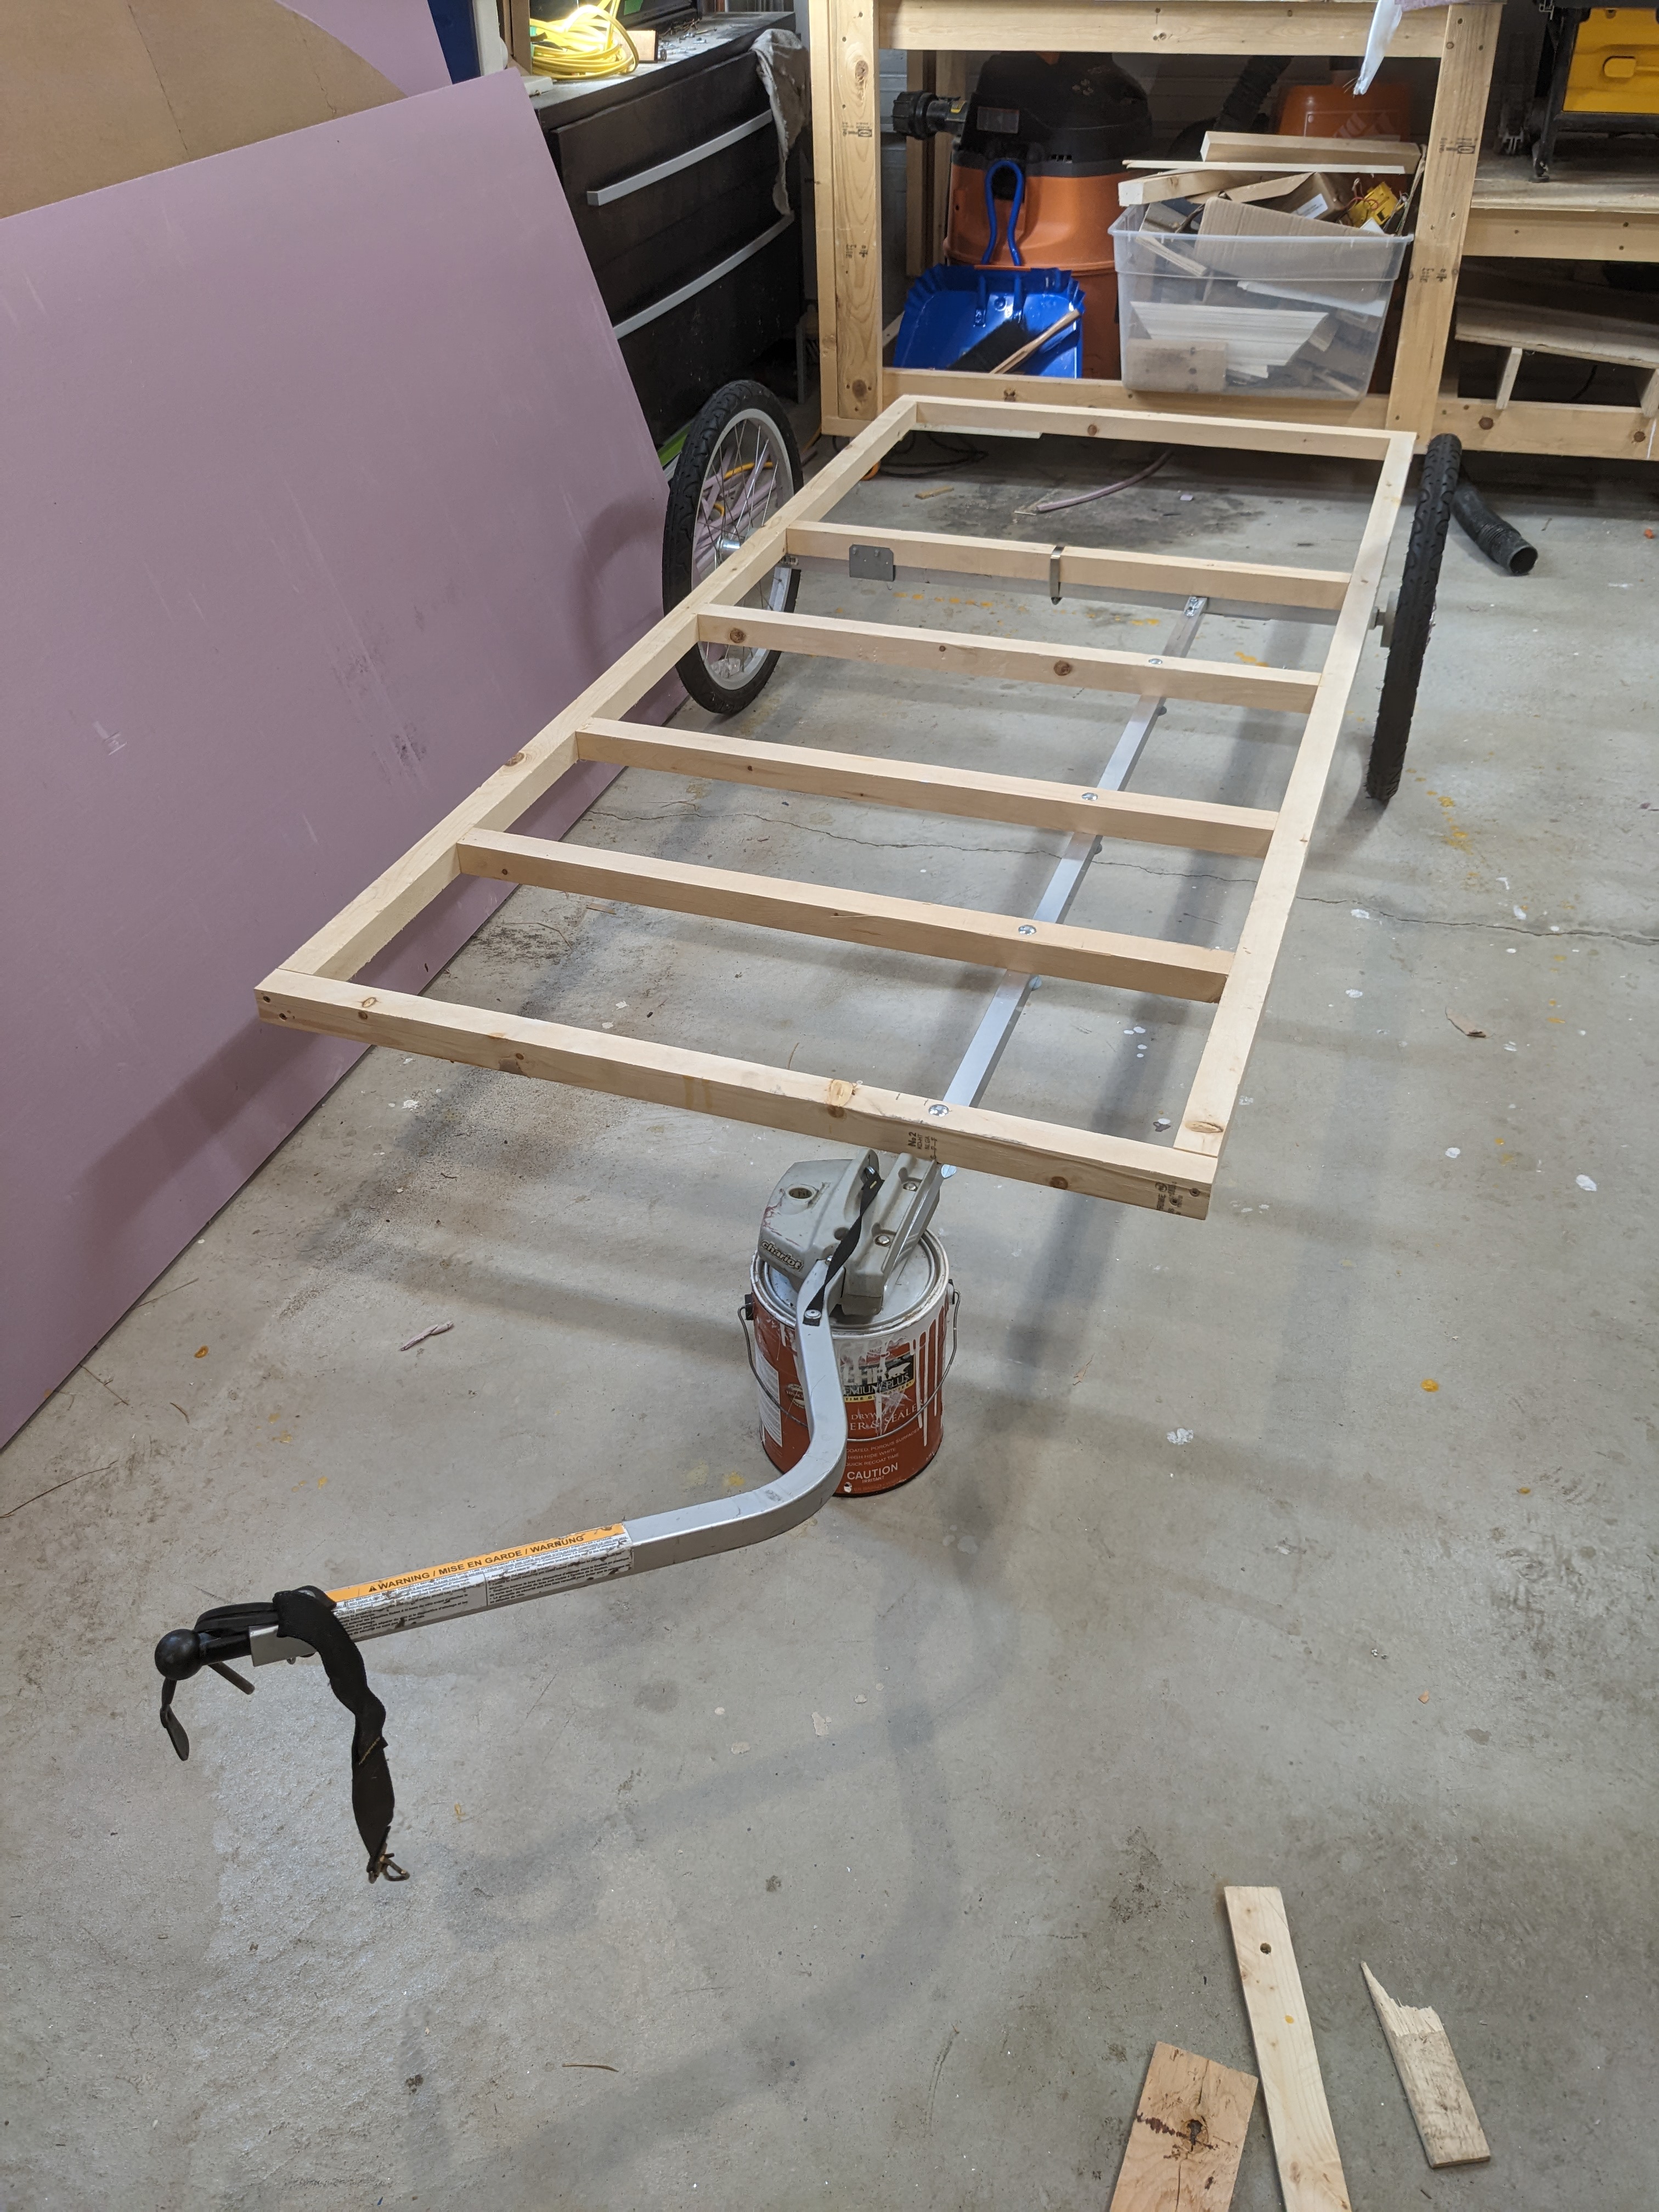
Once that was dry, I started trying to figure out how I was going to mount the axle to the frame. Held up the wall to get a good idea of where the door opening would be so that it won't collide when it's opened, and then cut a couple cross pieces, one for farther back where the axle will attach, and one for where you'll sit down through the door for a bit of extra support.
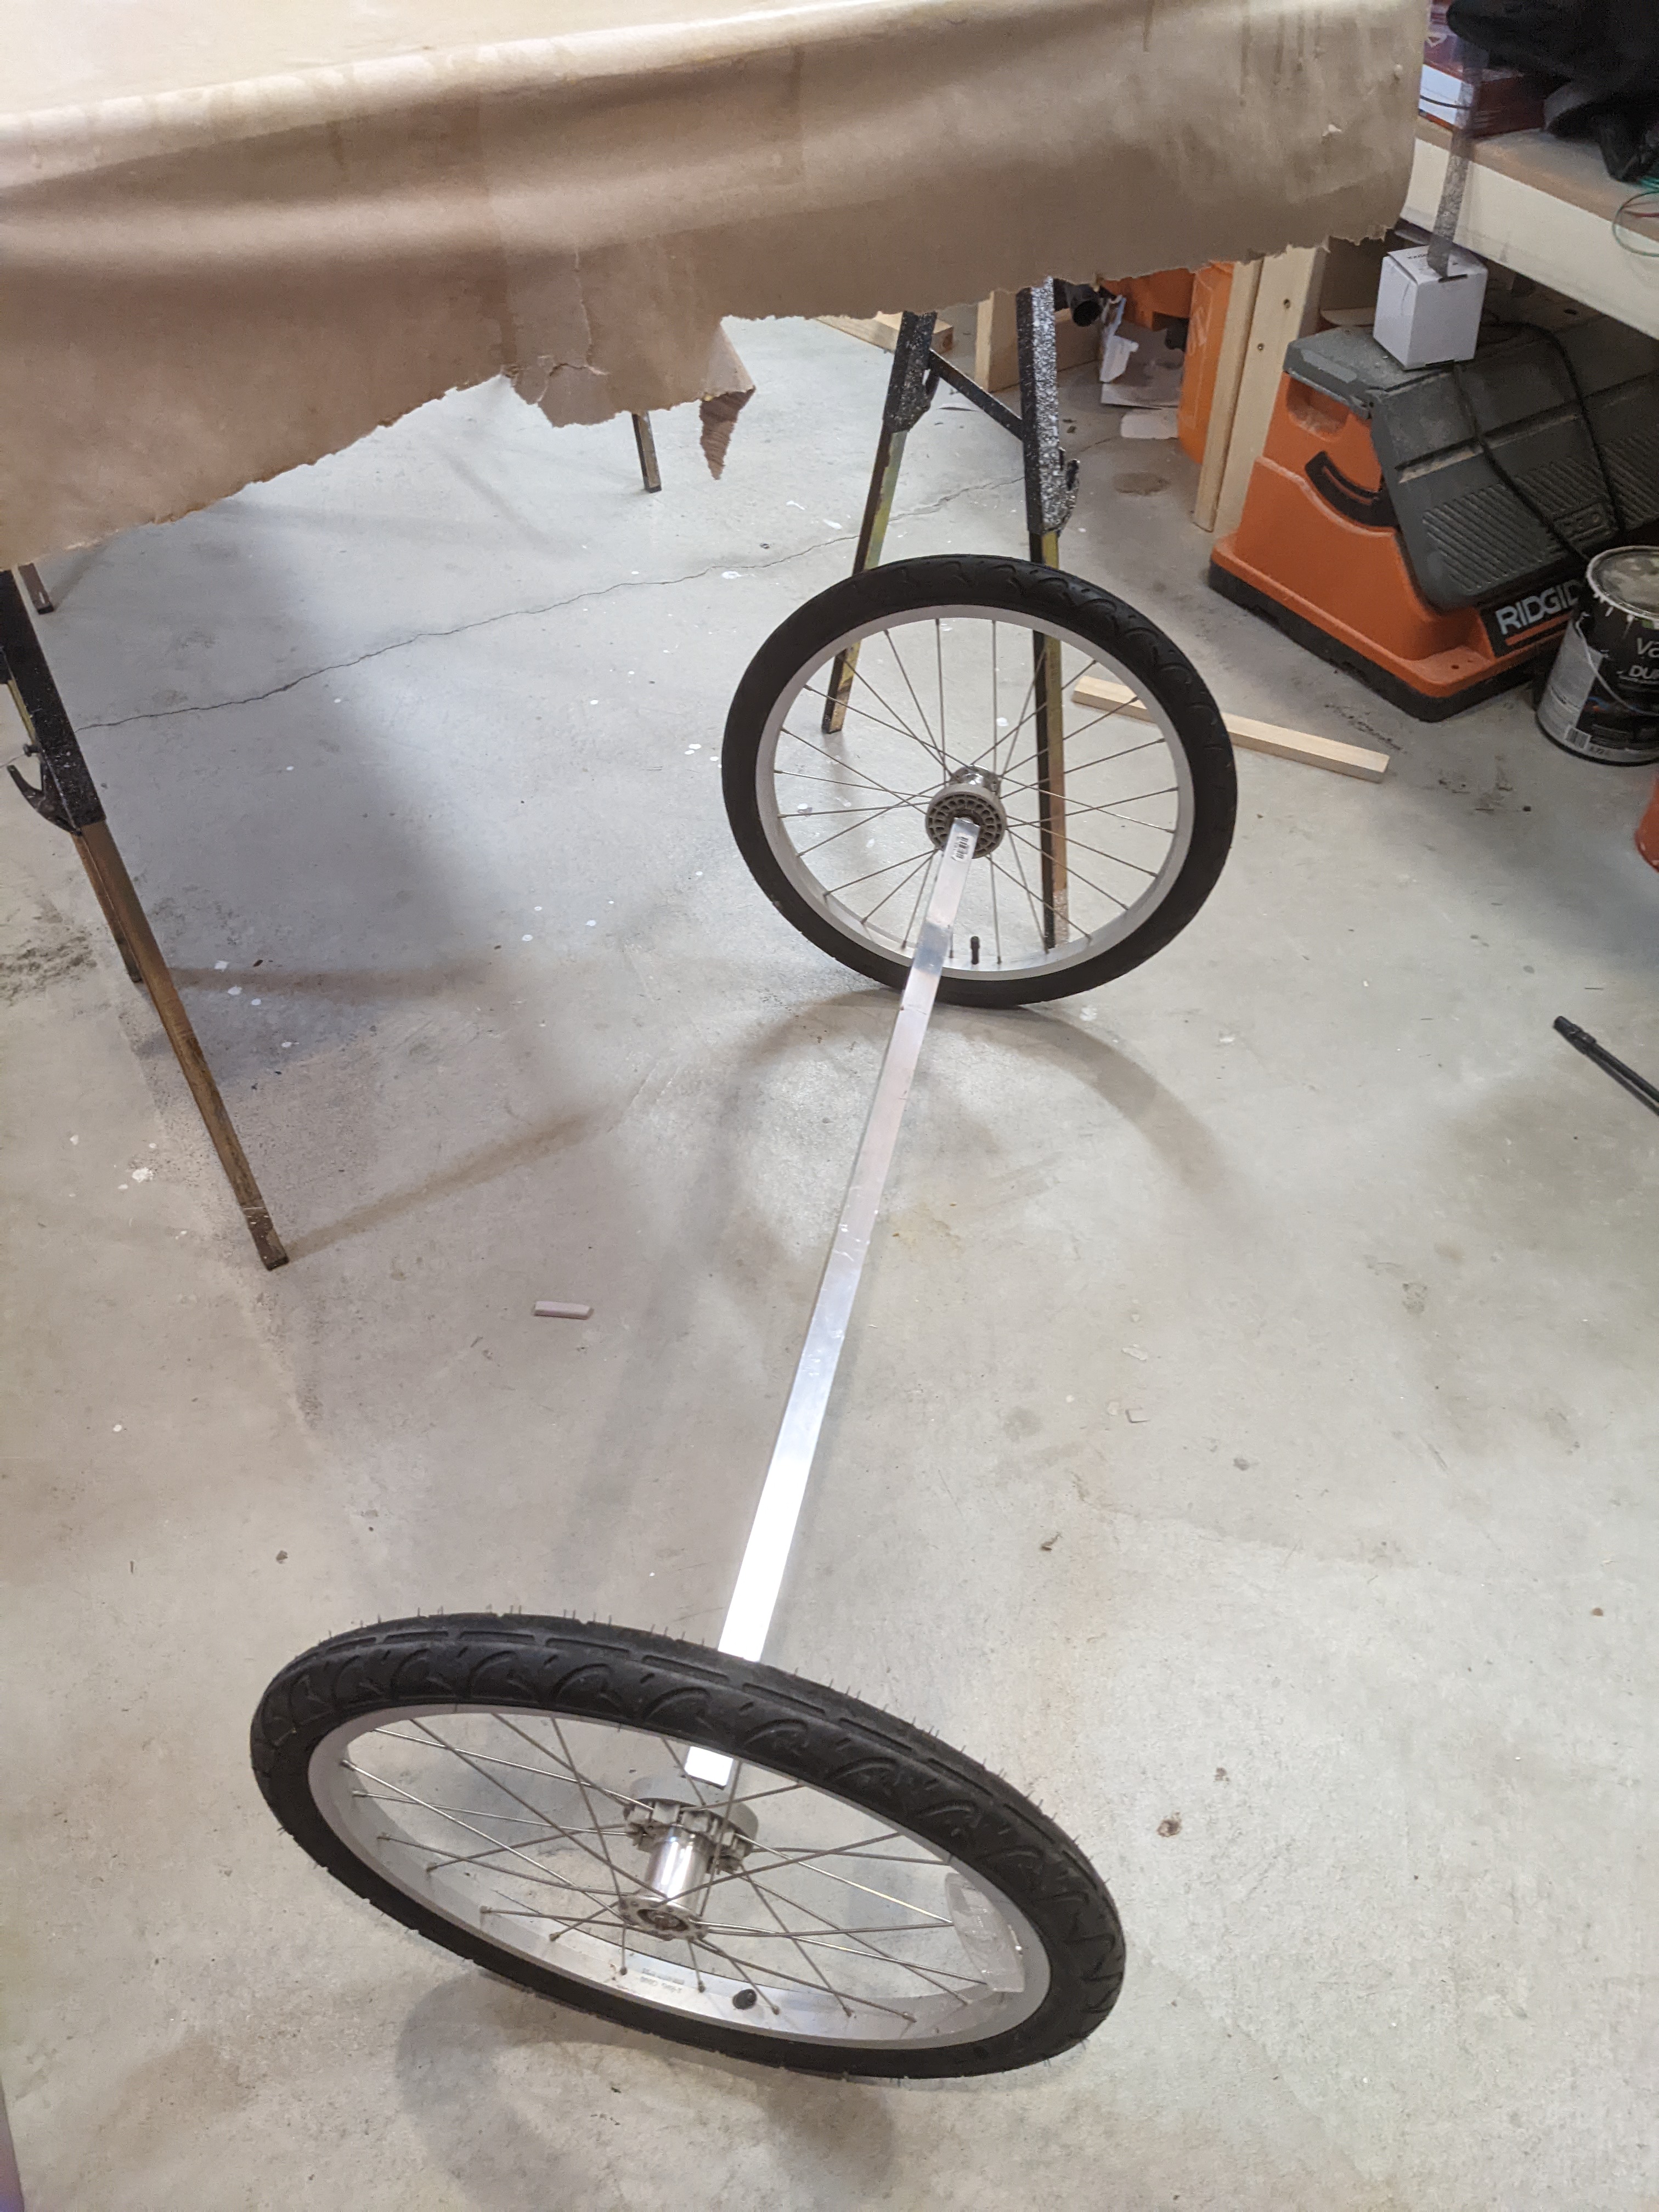
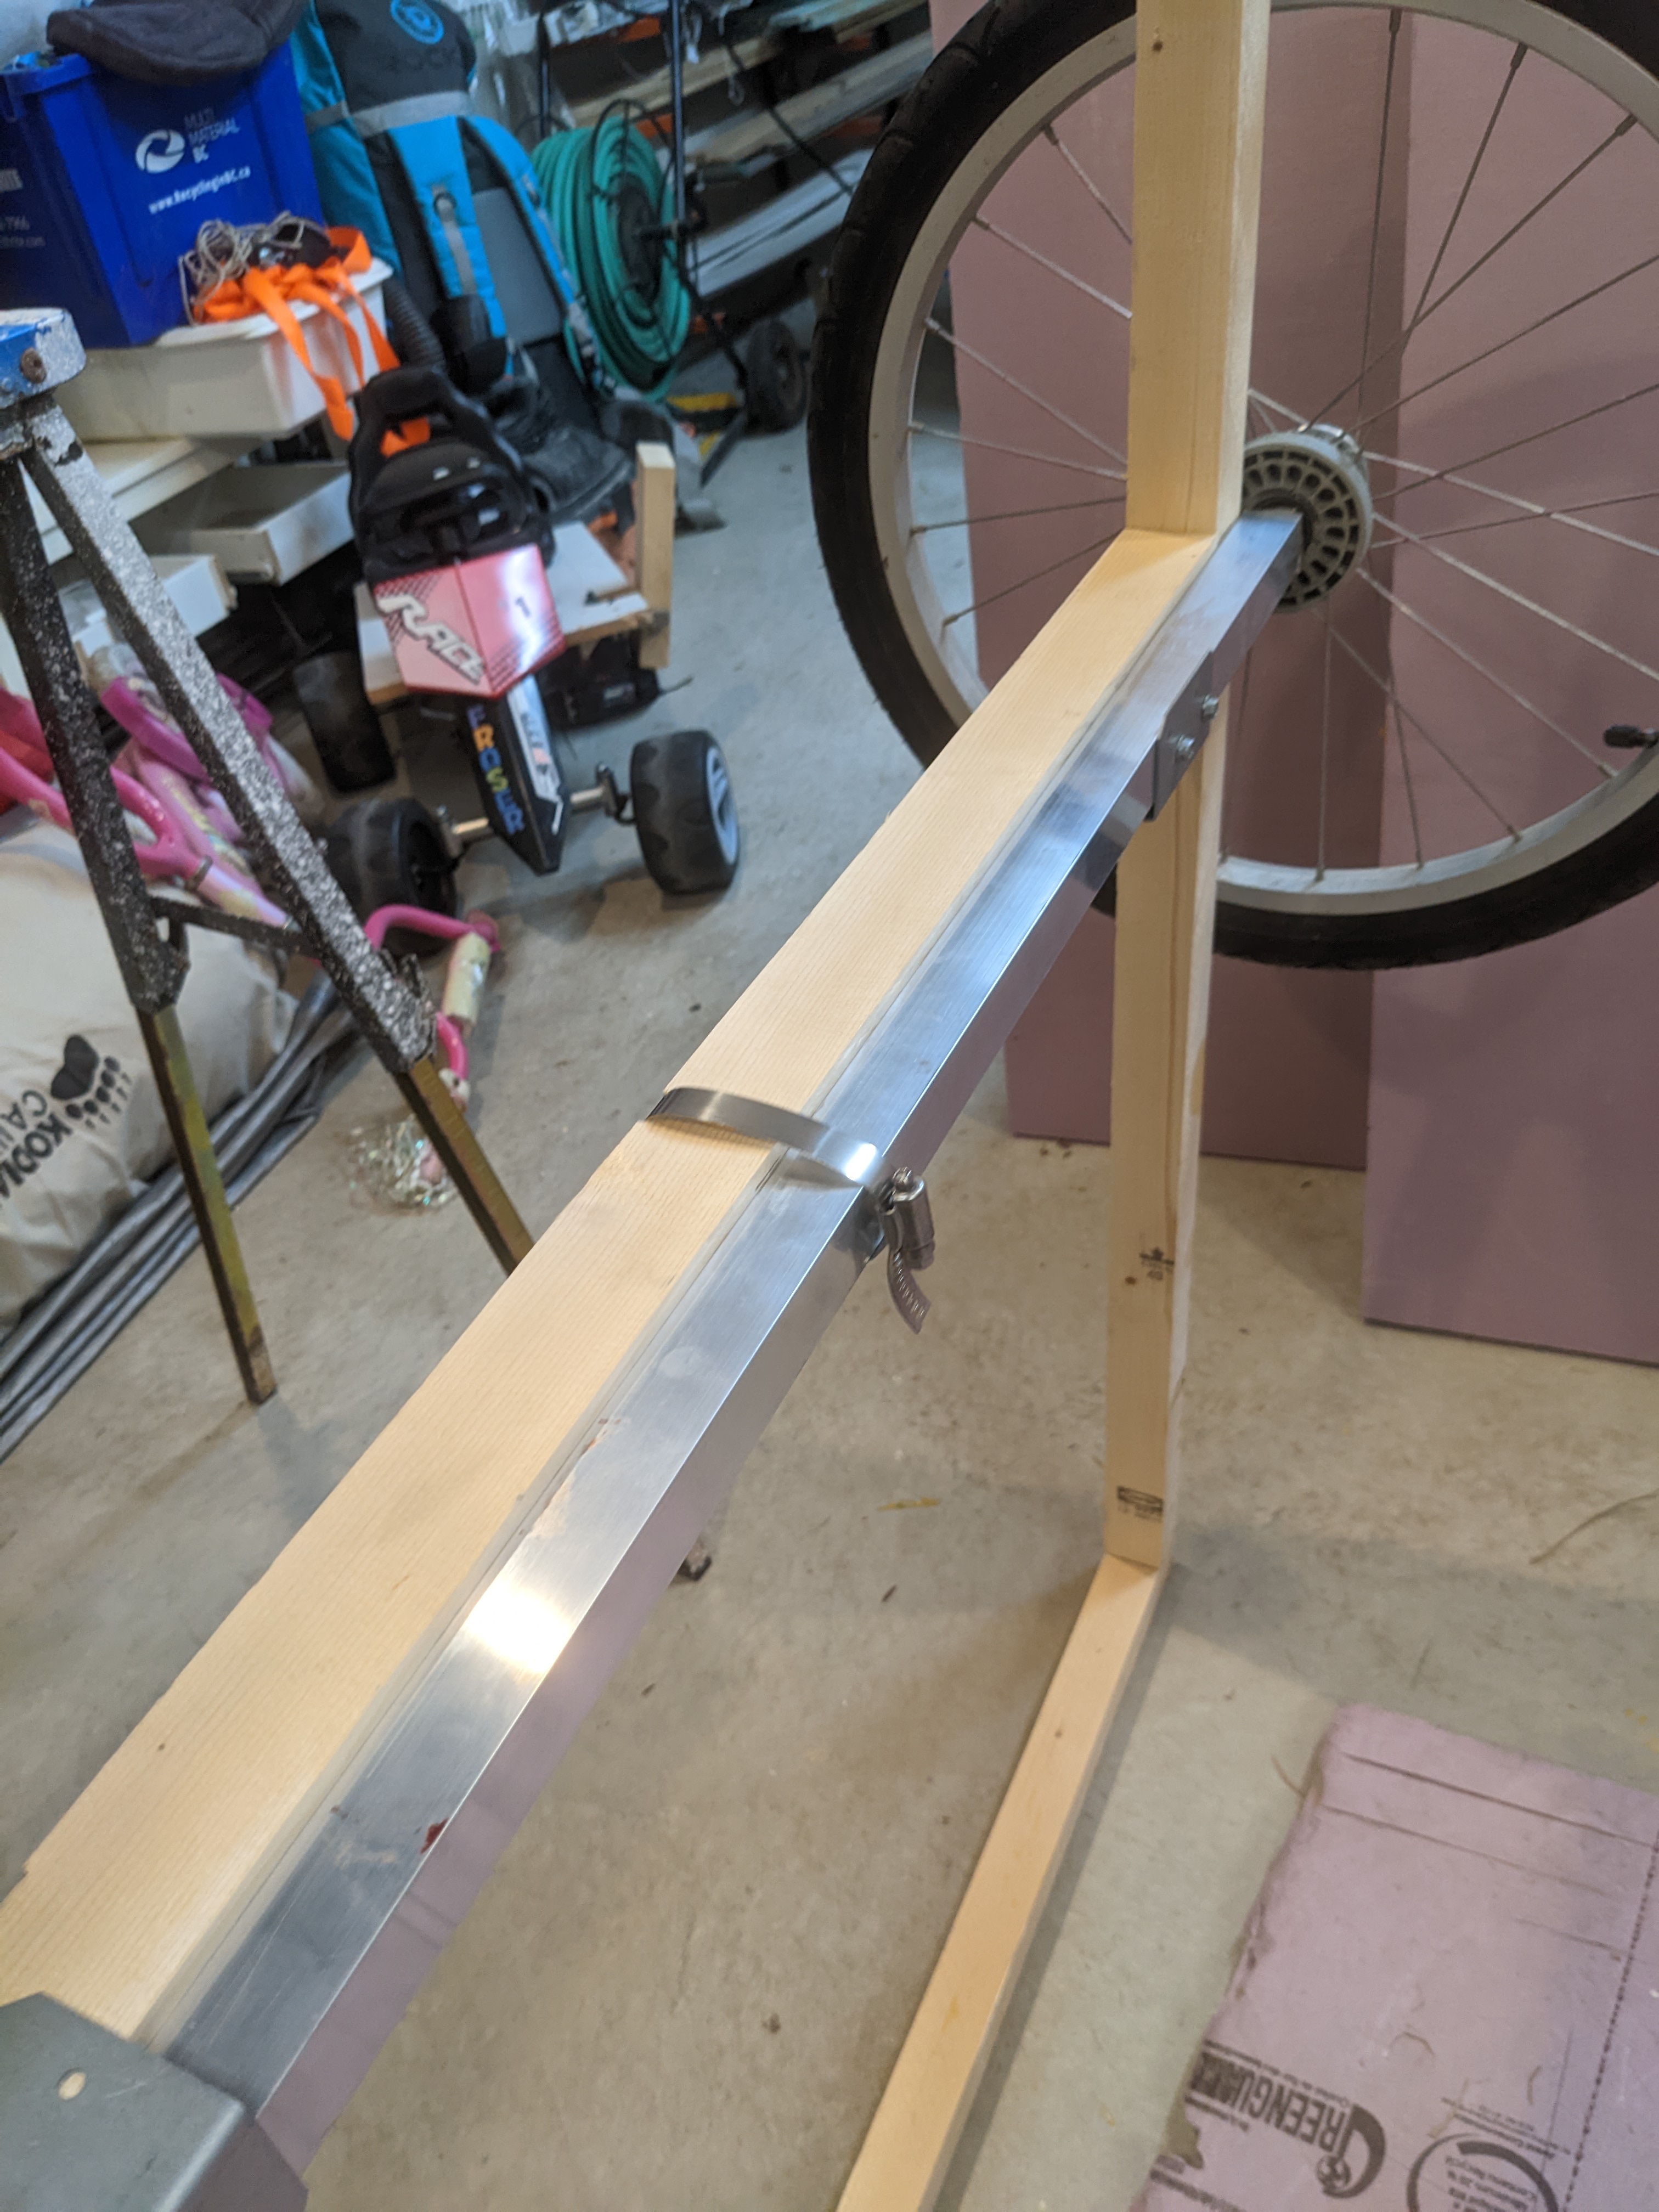
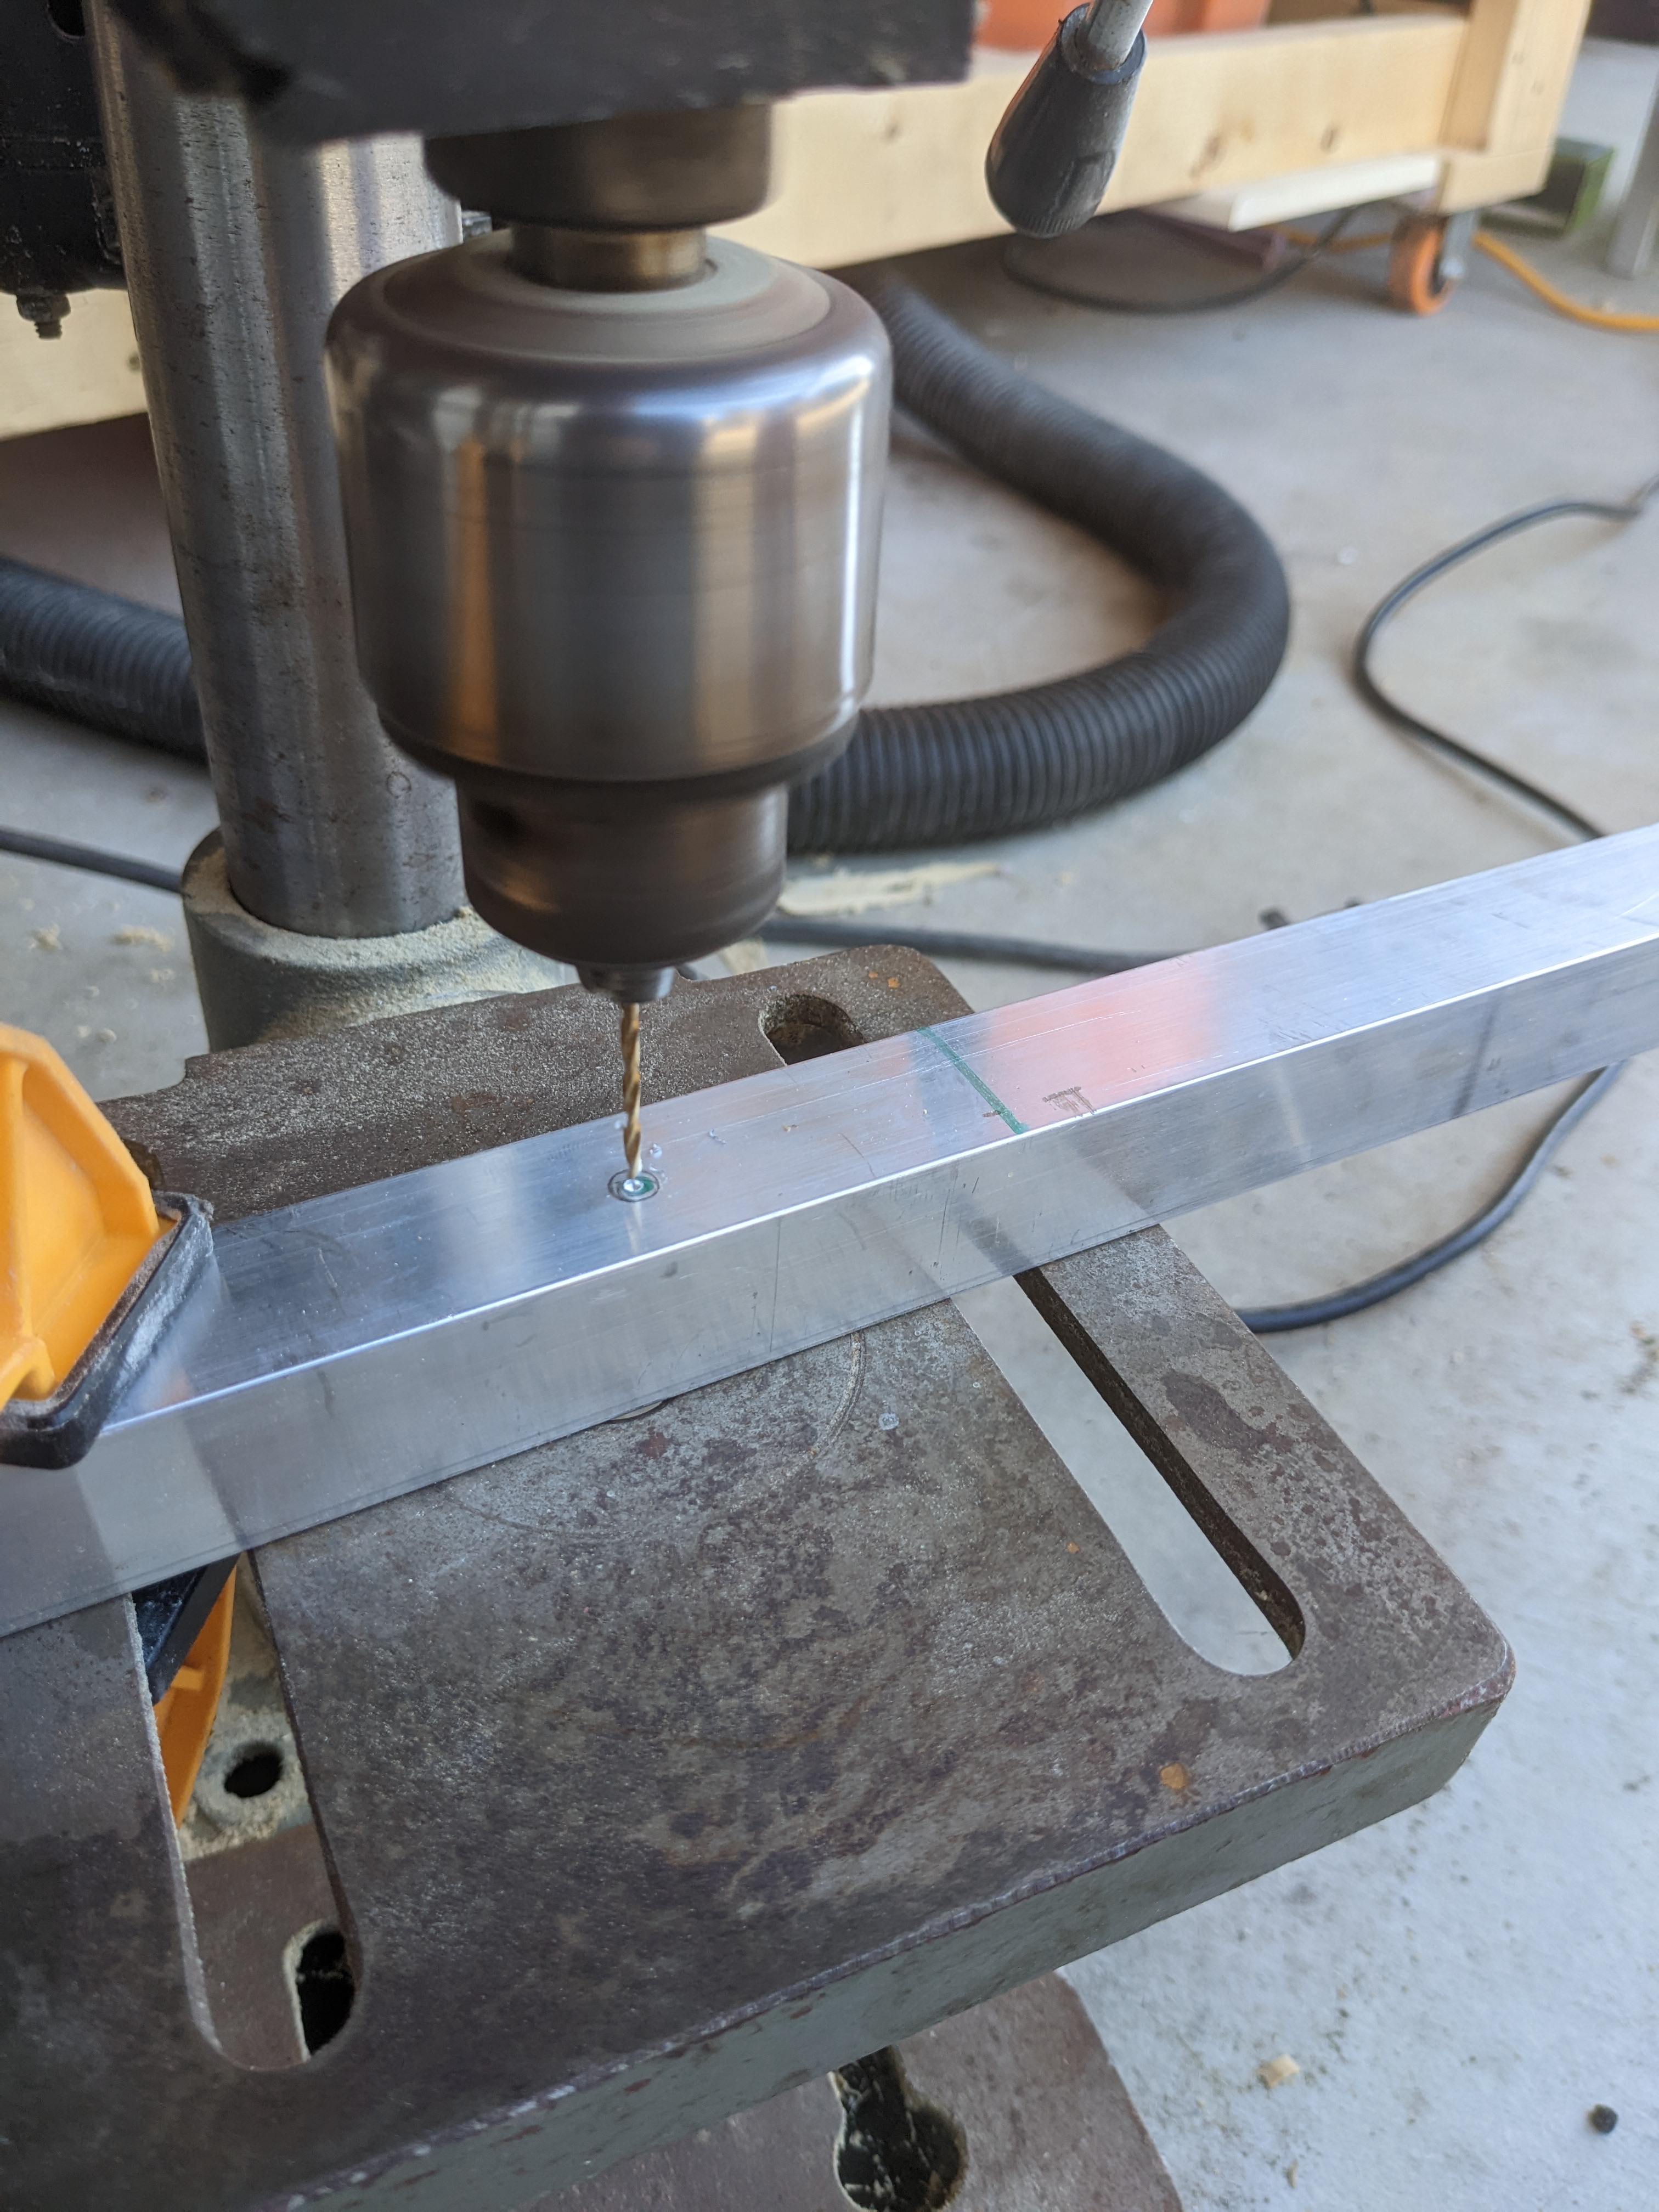
Then, pondered how to attach it for a while. Originally my plan was to put some bolts through the axle (1" square aluminum tube), but it turned out that the bolts I happened to have were about 0.5" too short. I was going to go pick some up, but later I thought maybe it wasn't going to be that great to have a bunch of 5/16" bolts through the not-that-strong aluminum tubing. I happened to have a couple angle brackets and heavier fasteners so I decided to go with those, as well as using a single pipe clamp (worm gear clamp?) that I had that was the right size. My thinking was that most of the force is pushing the axle up into the frame (?) so, uh, it'll be fine. I'm pretty sure I'm going to keep the trailer and frame/axle relatively de-couple-able, so there's always the option of building a different frame if this one seems too janky.
Not sure about the drawbar yet, but thought about that for a while too. I think I'll be able to cannibalize a bit more of the kids' trailer (where I got the push-button wheels) just by unbolting some of its pieces (i.e. without destroying the that trailer.)
Also tried a test fit of the floor onto the frame, and the whole thing actually seems fairly solid so far, especially given the partial construction and the building materials!
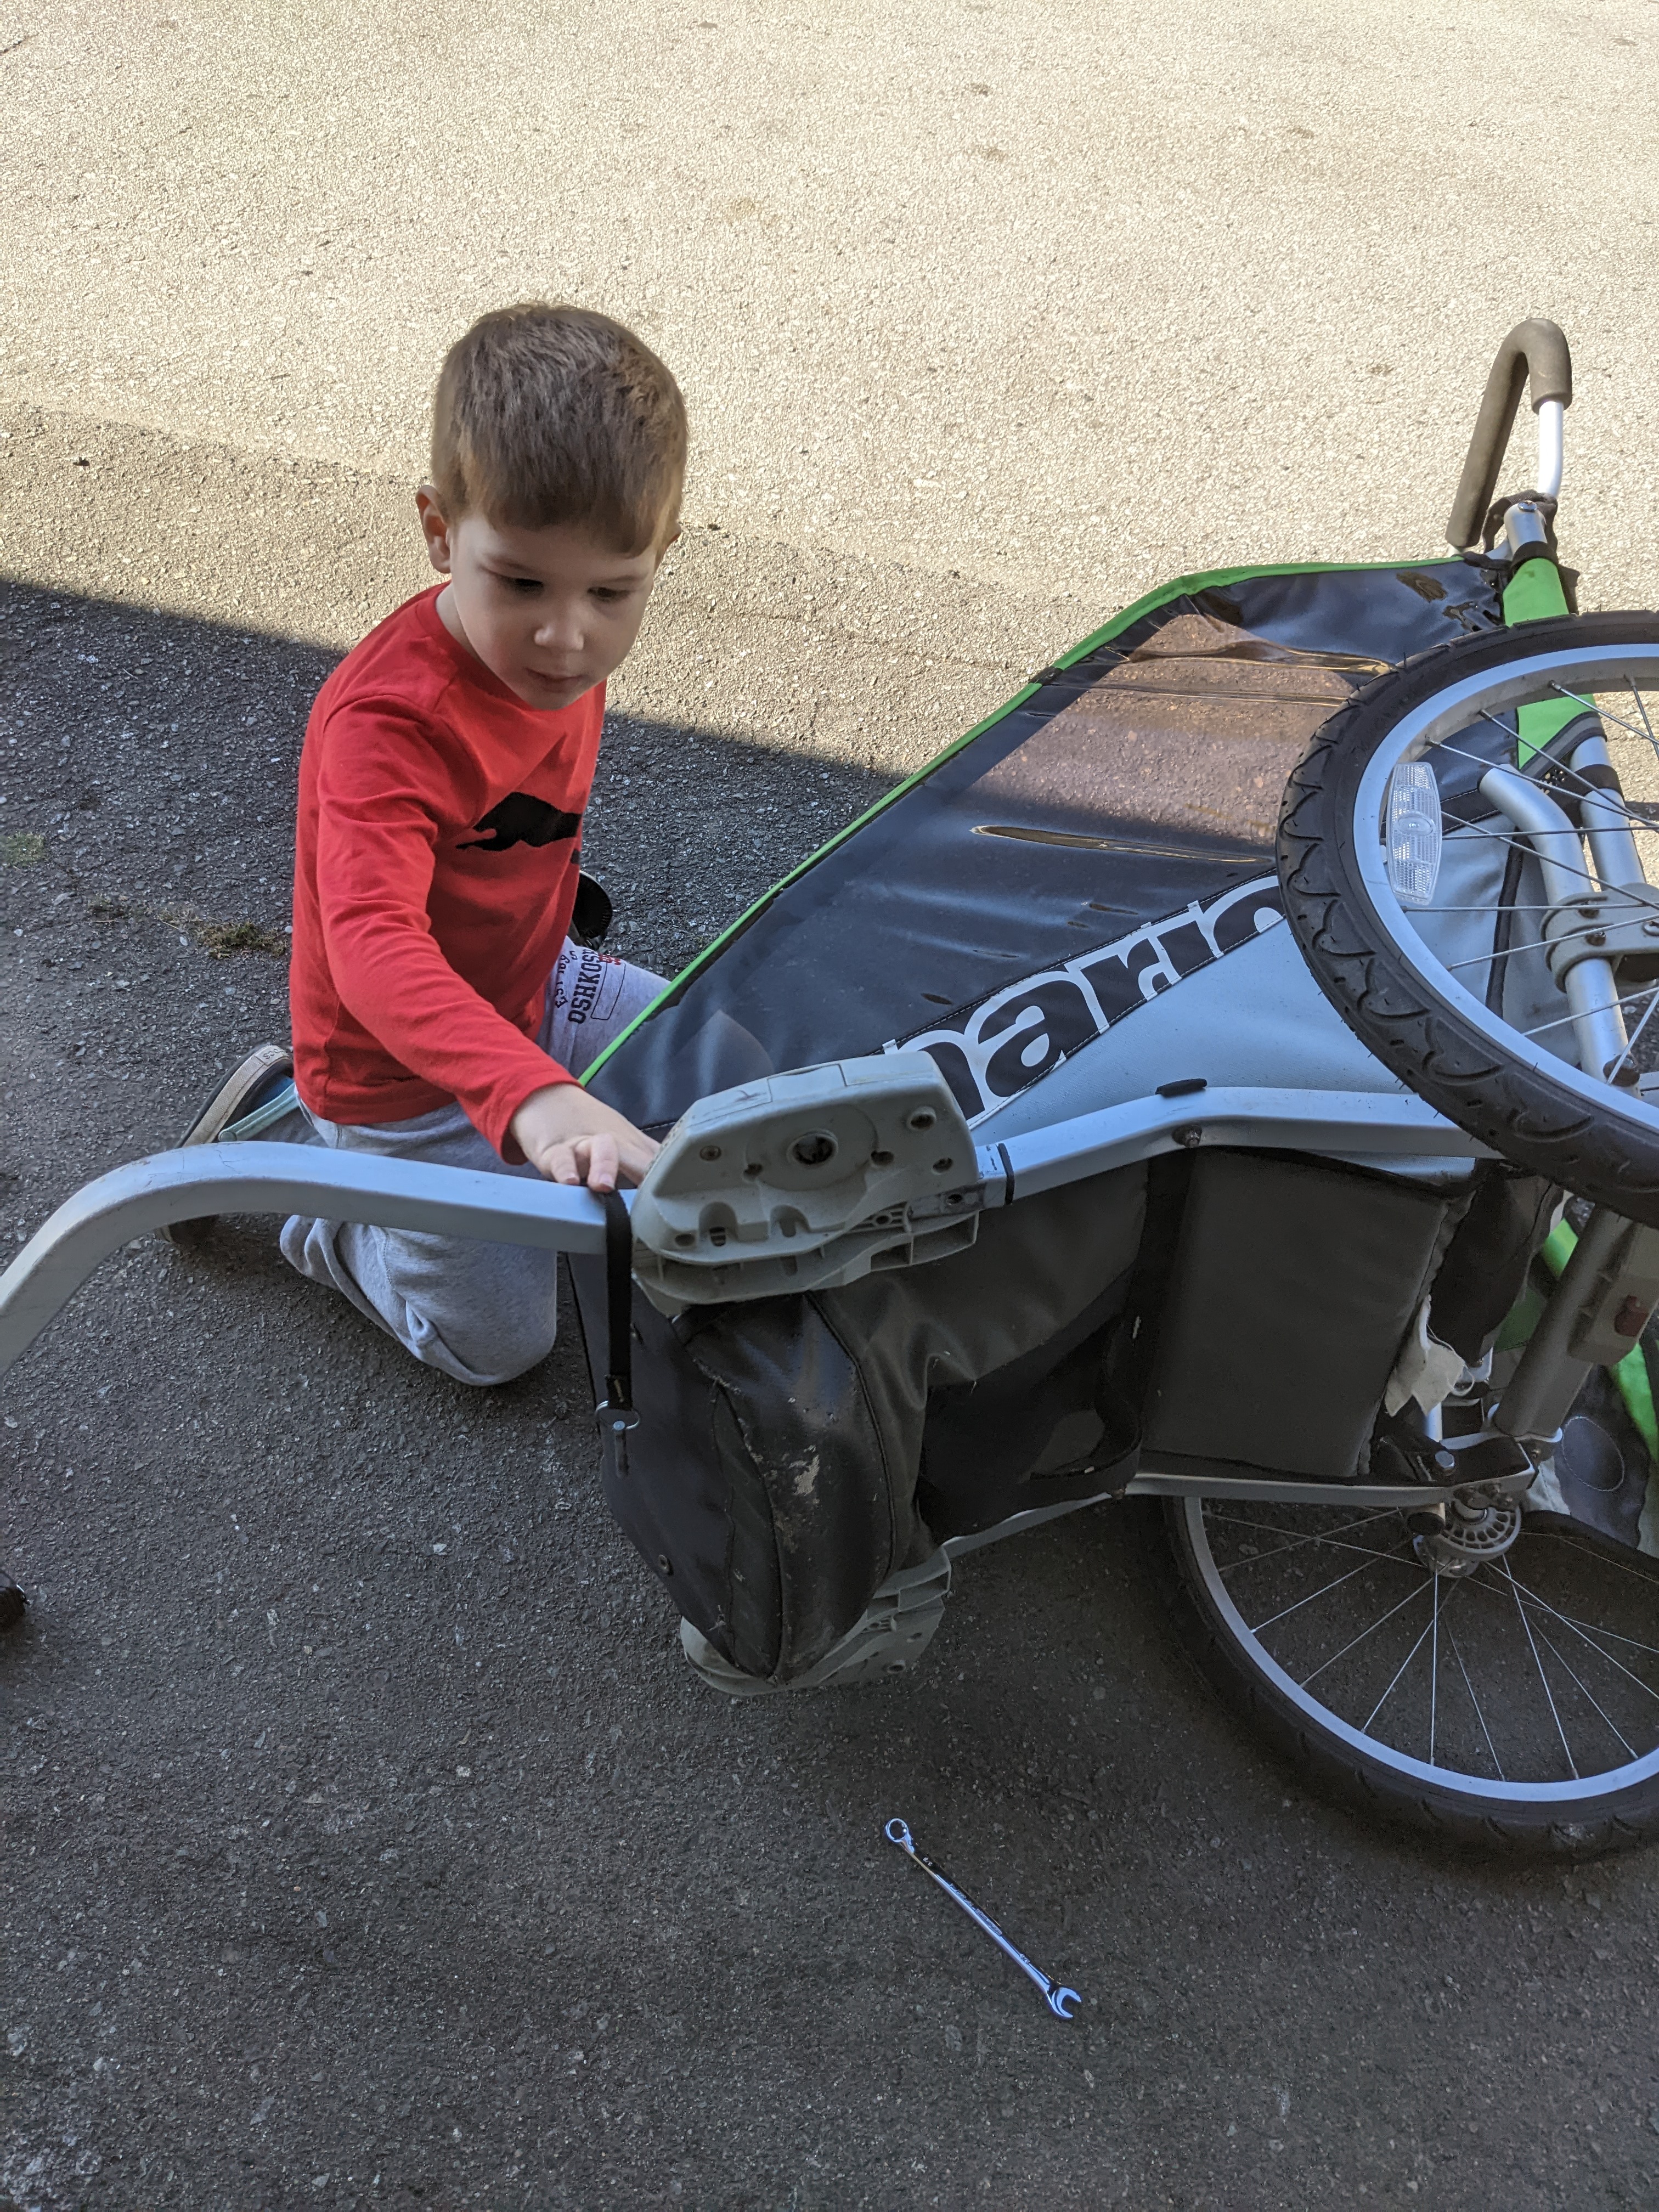
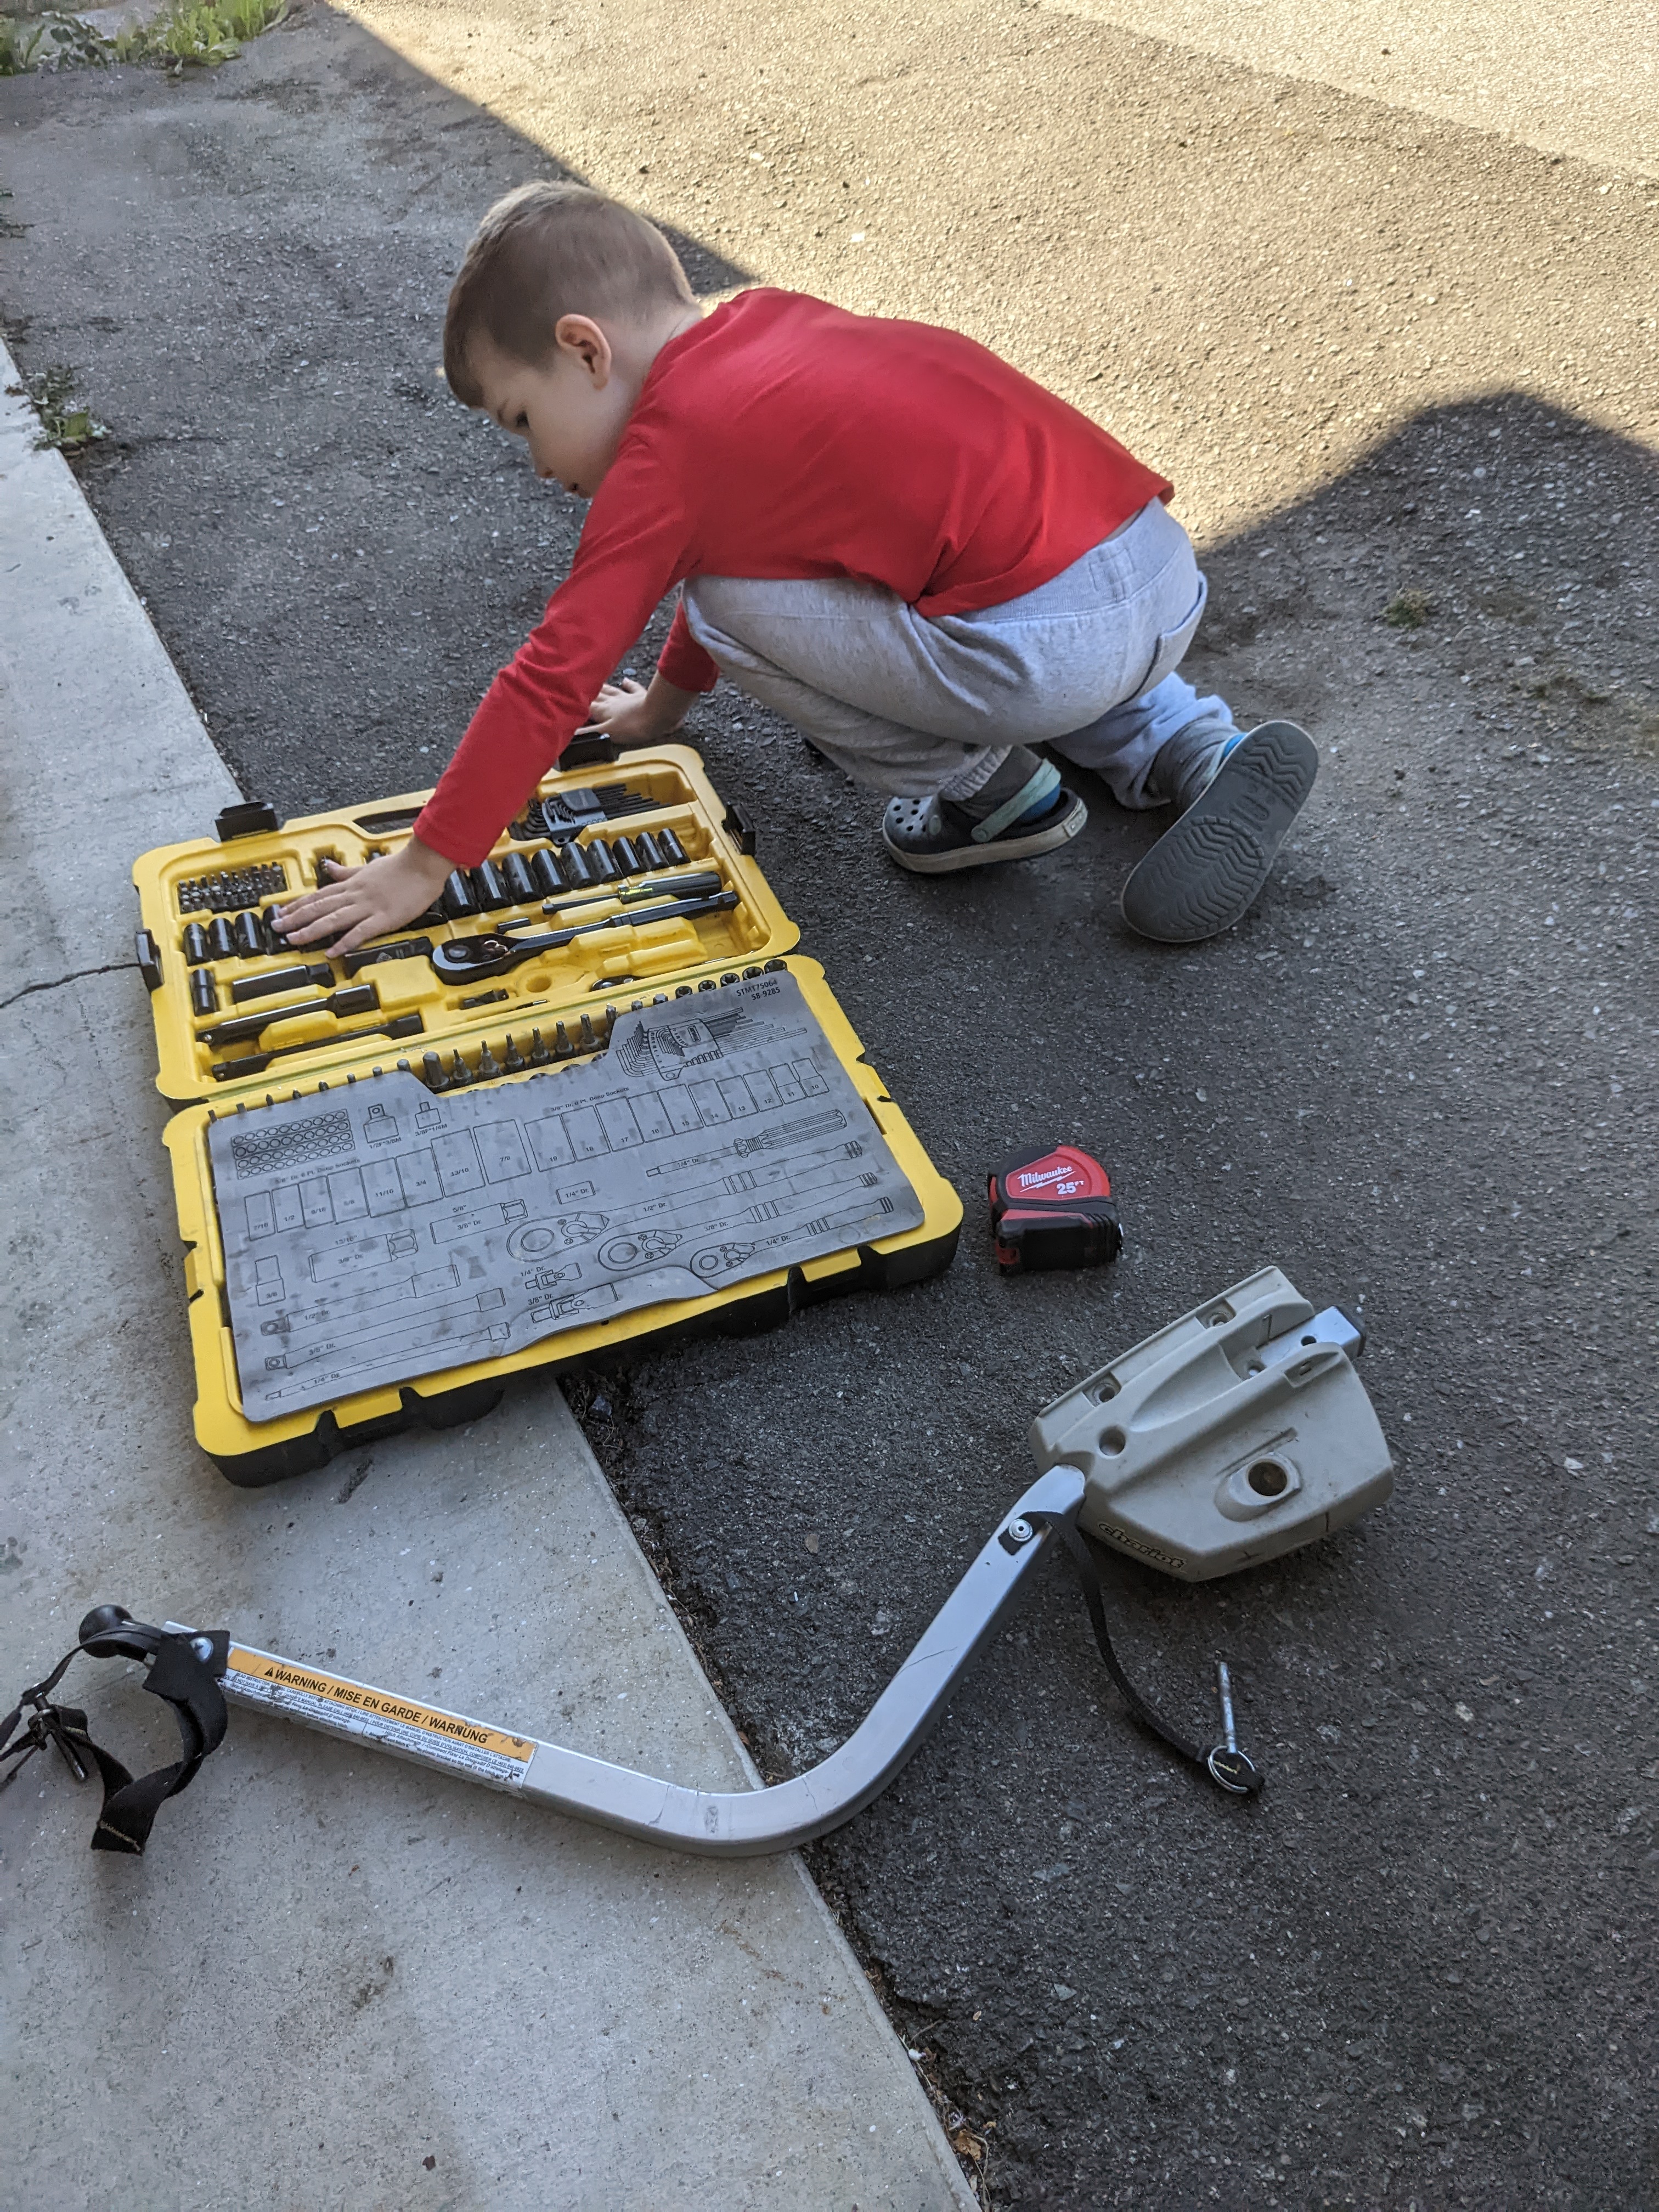
Working on the drawbar to attach to the bike. Start by disassembling the donor trailer, and try to figure out how we're going to attach it to the frame.
I realized because it has two of the grey parts to attach its frame to the curved part that attaches to the bike, we can actually use the "off" side, but upside down. That way the old kids trailer will still remain usable as a cargo trailer just by swapping the wheels over still.
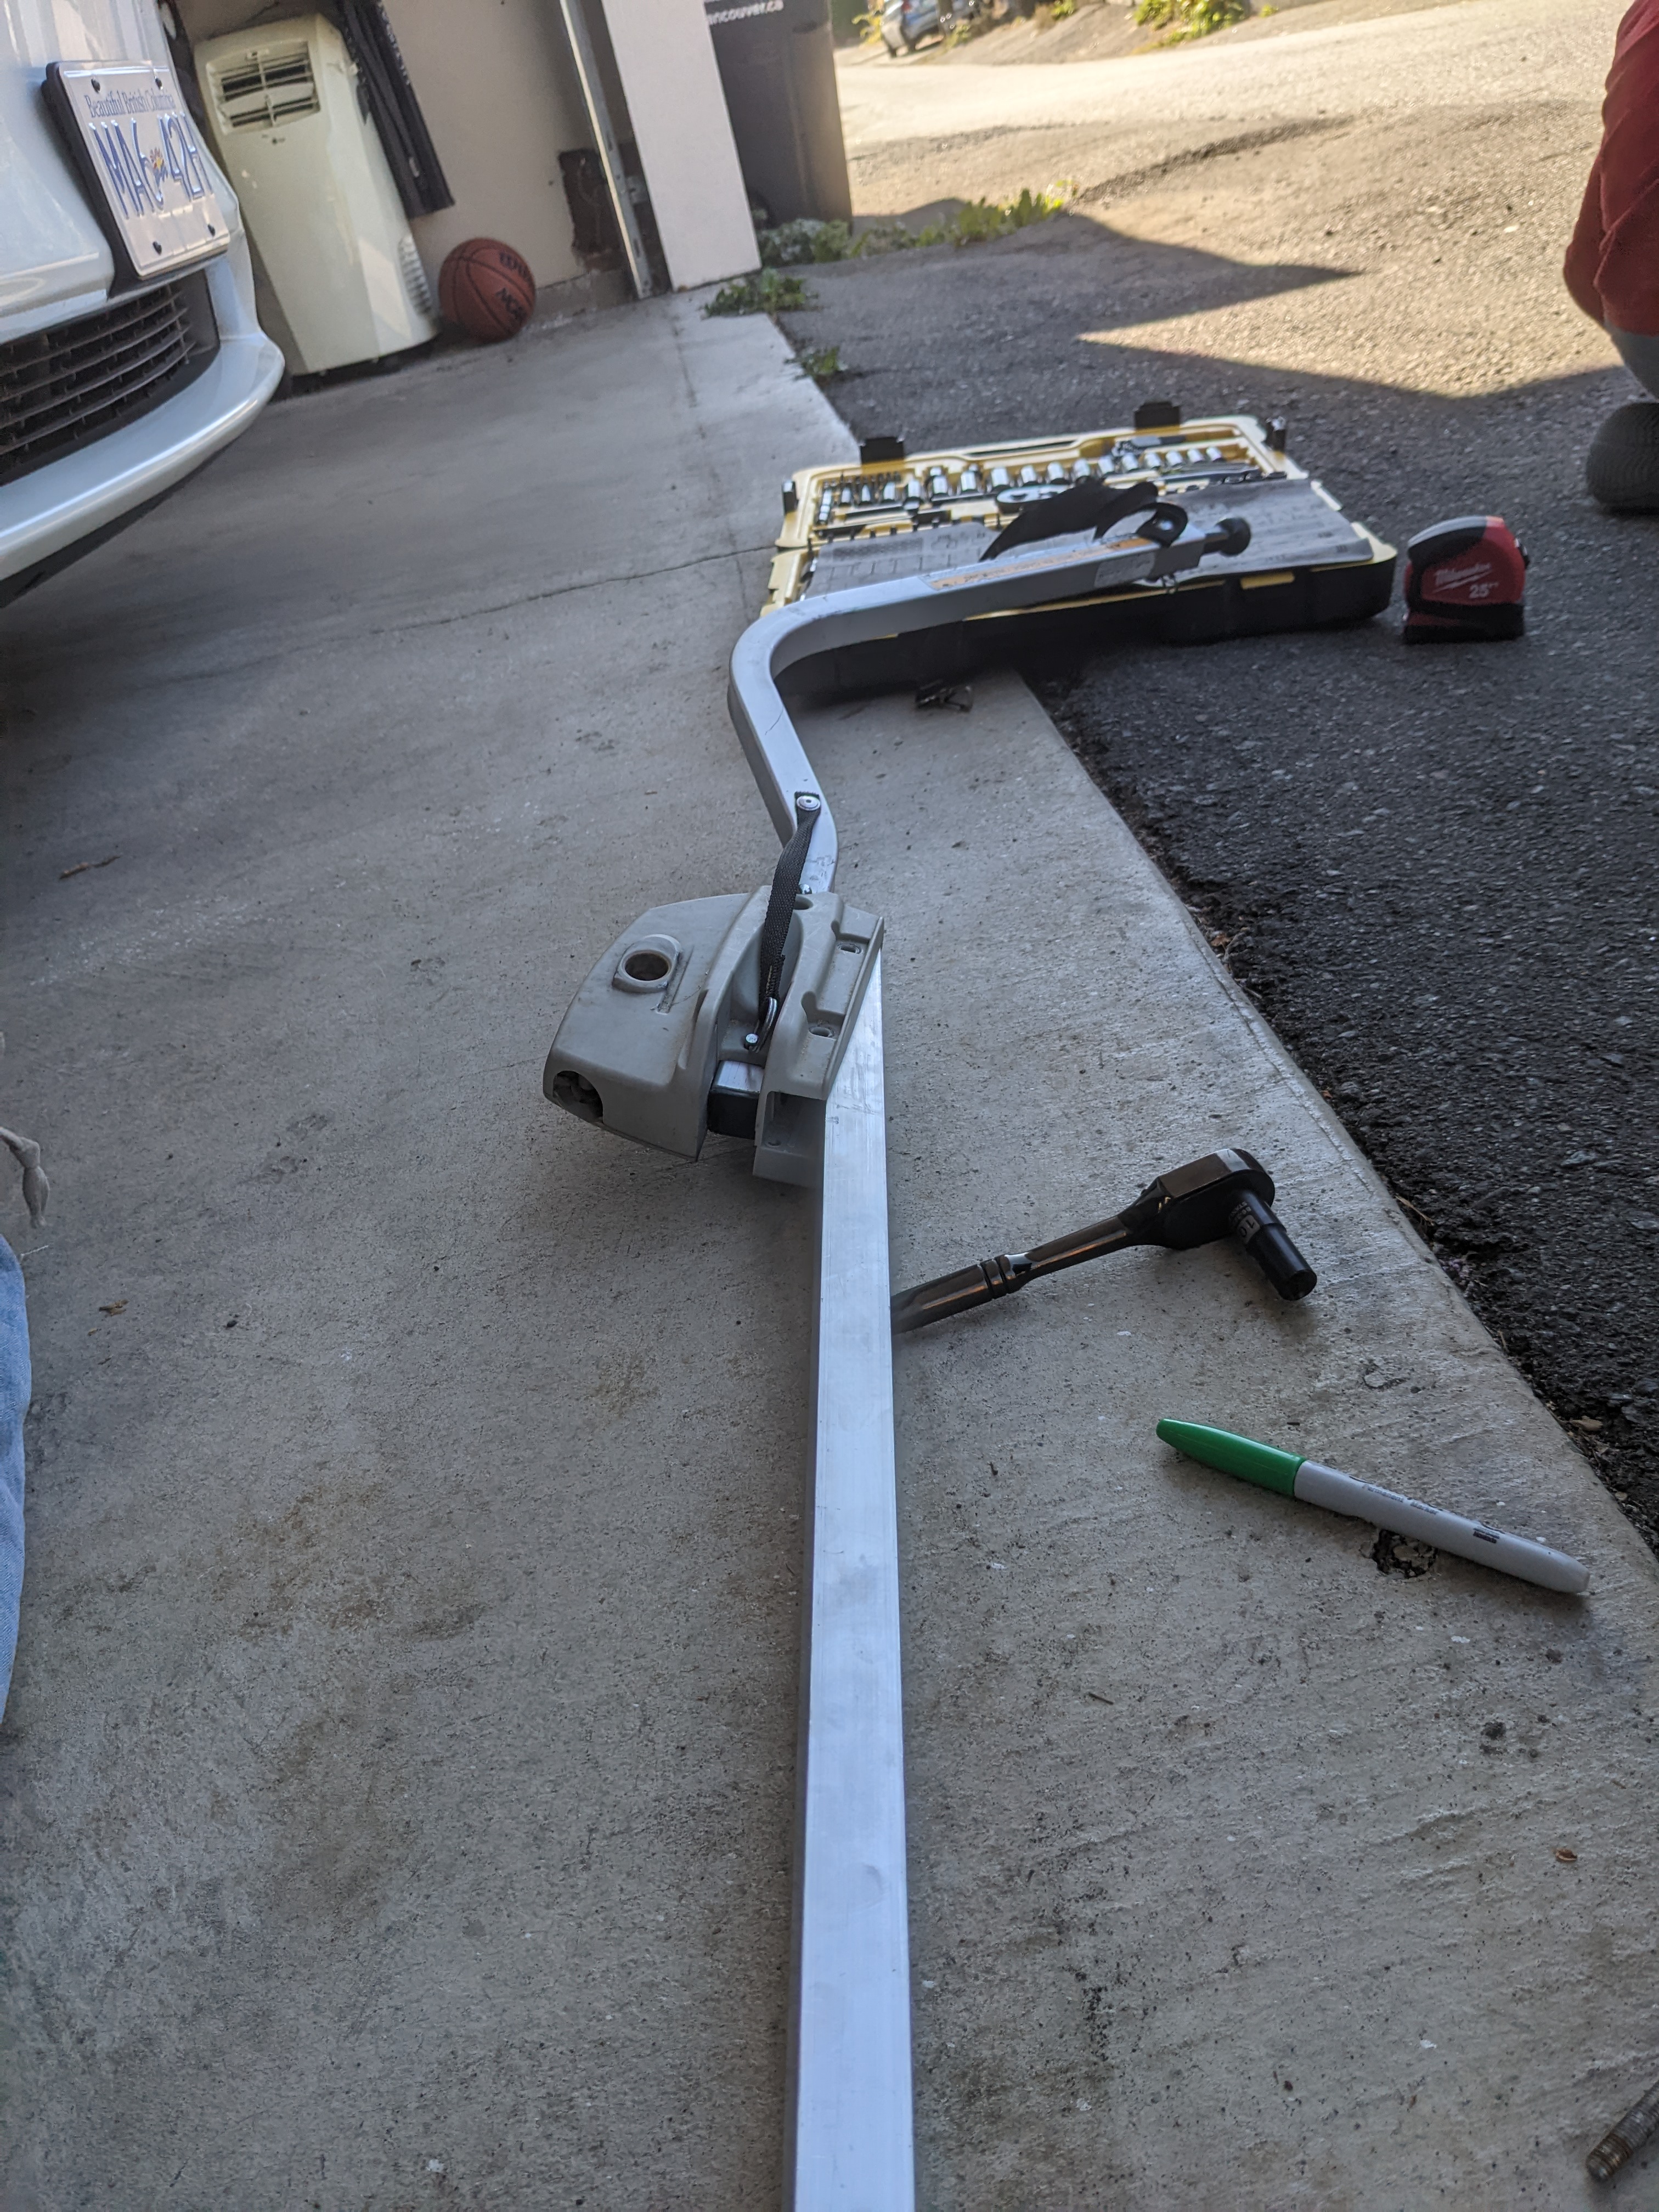
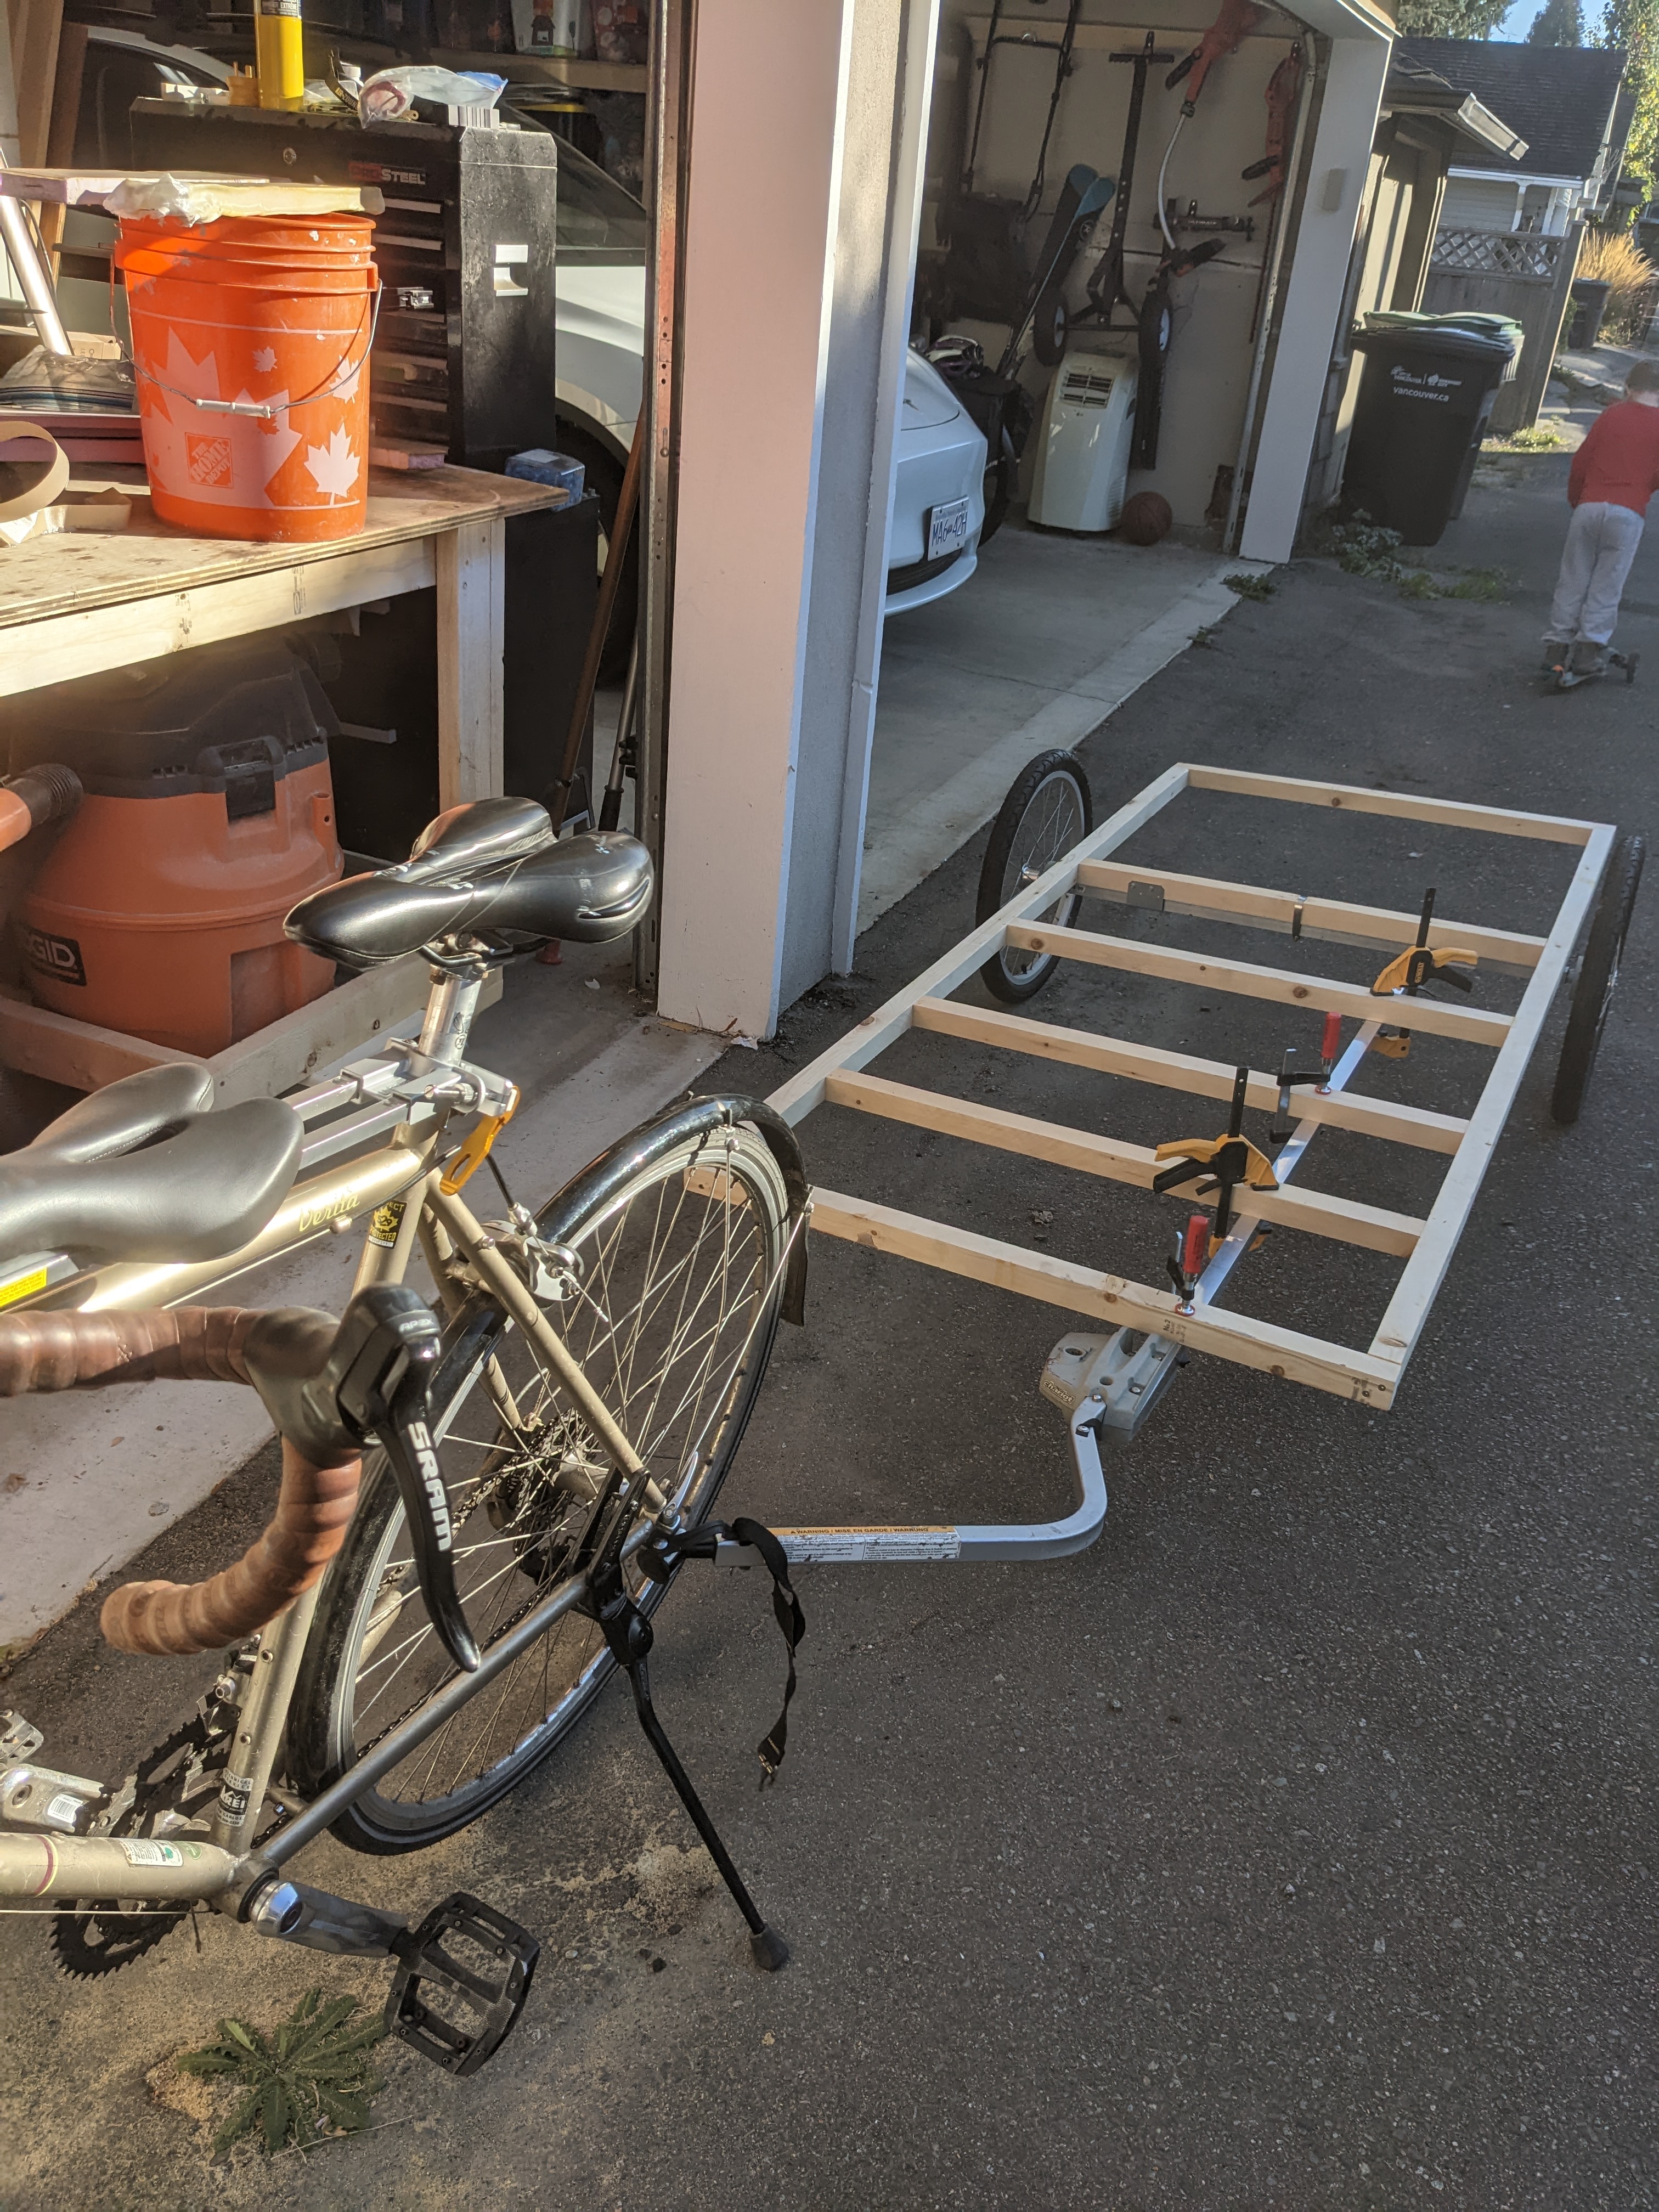
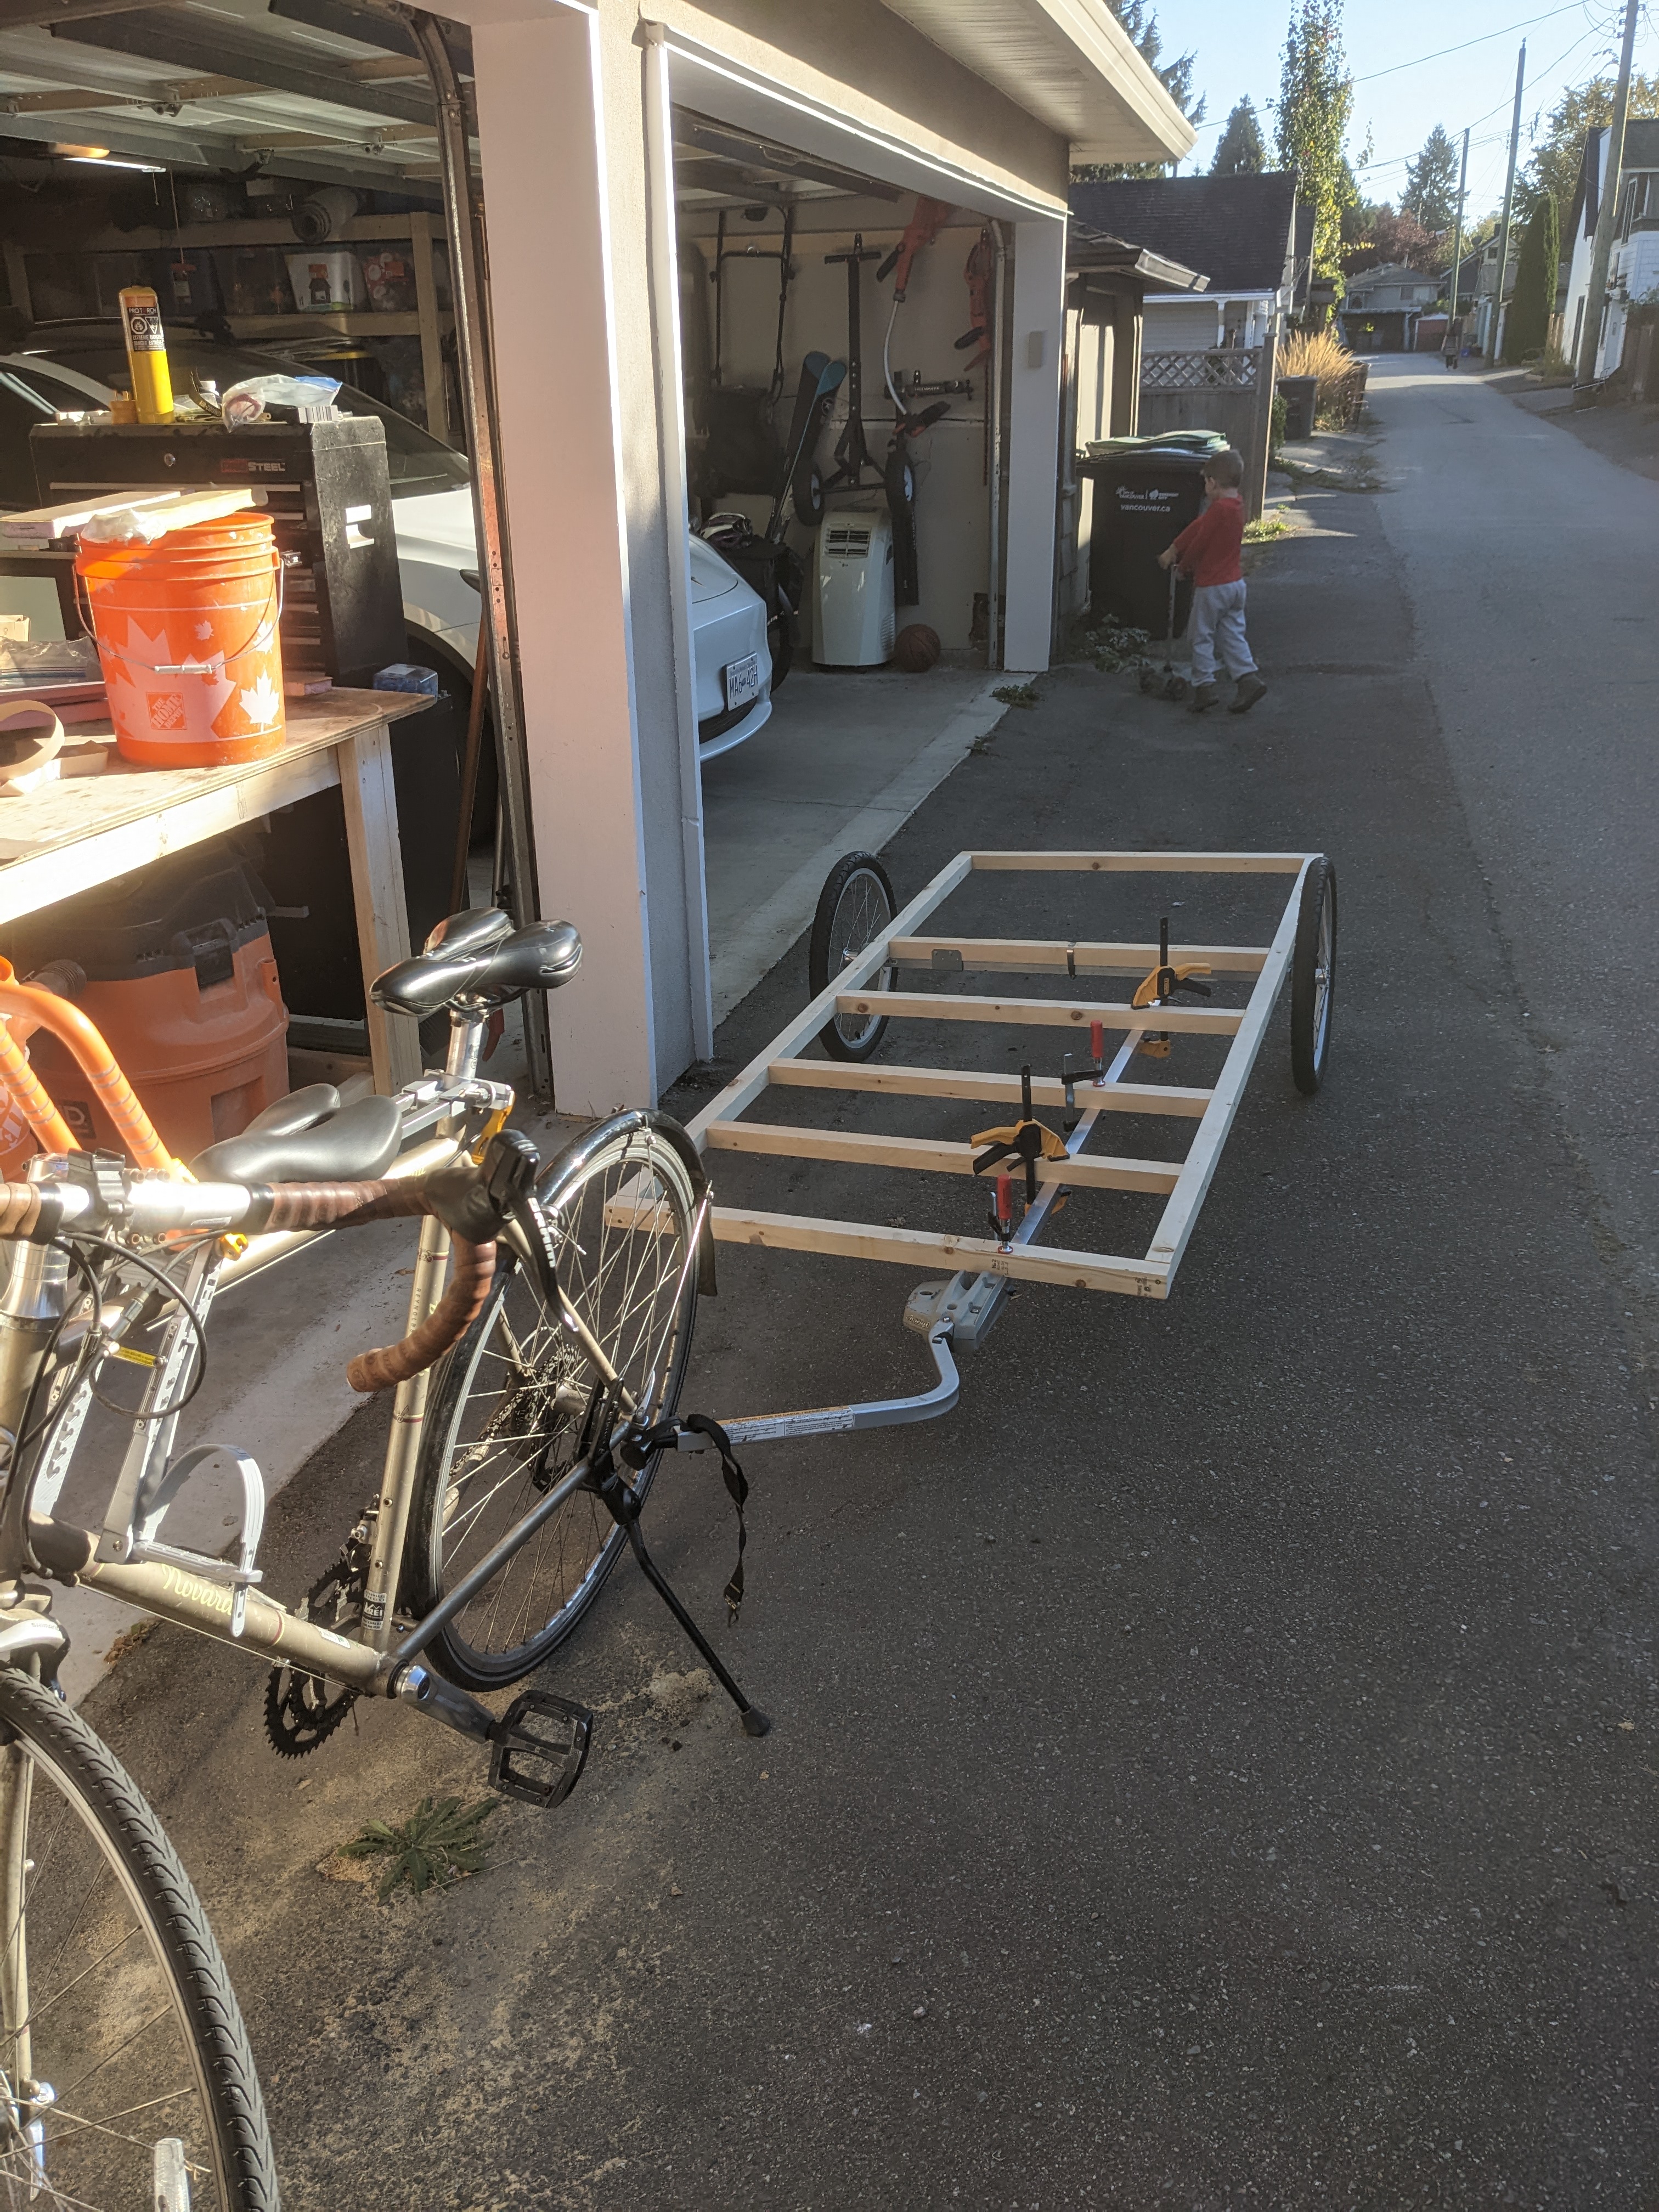
I took the frame outside to try attaching to the bike, very fortunately with the frame bar attached only with clamps. I was mostly only testing to see if it was the right offset from the middle, but as it happened I had put it on the wrong side (the cog/derailleur side of the bike), because of course the trailer was upside down! So that was a lucky break.
After a test run, found another metal tie thing lying around, and then went to get some carriage bolts to bolt the drawbar into place. I don't think it qualifies as bulletproof, but solid enough. I weighed it just after the camera died, and the total frame is just under 20 lbs, so I think the whole trailer should able to come in under 50 lbs unloaded.
Prop up the walls on the frame and floor to confirm it all fits. The unplanned door reinforcement that I added at the last minute while gluing the inside butts out, so either it or the floor will have to be trimmed where they meet.
I'm not quite sure how I'm going to actually assemble the walls at this point. I think I'll have to make a shelf at the back, and some sort of support structure at the top and maybe front so that there's some supports to clamp and rest them against.

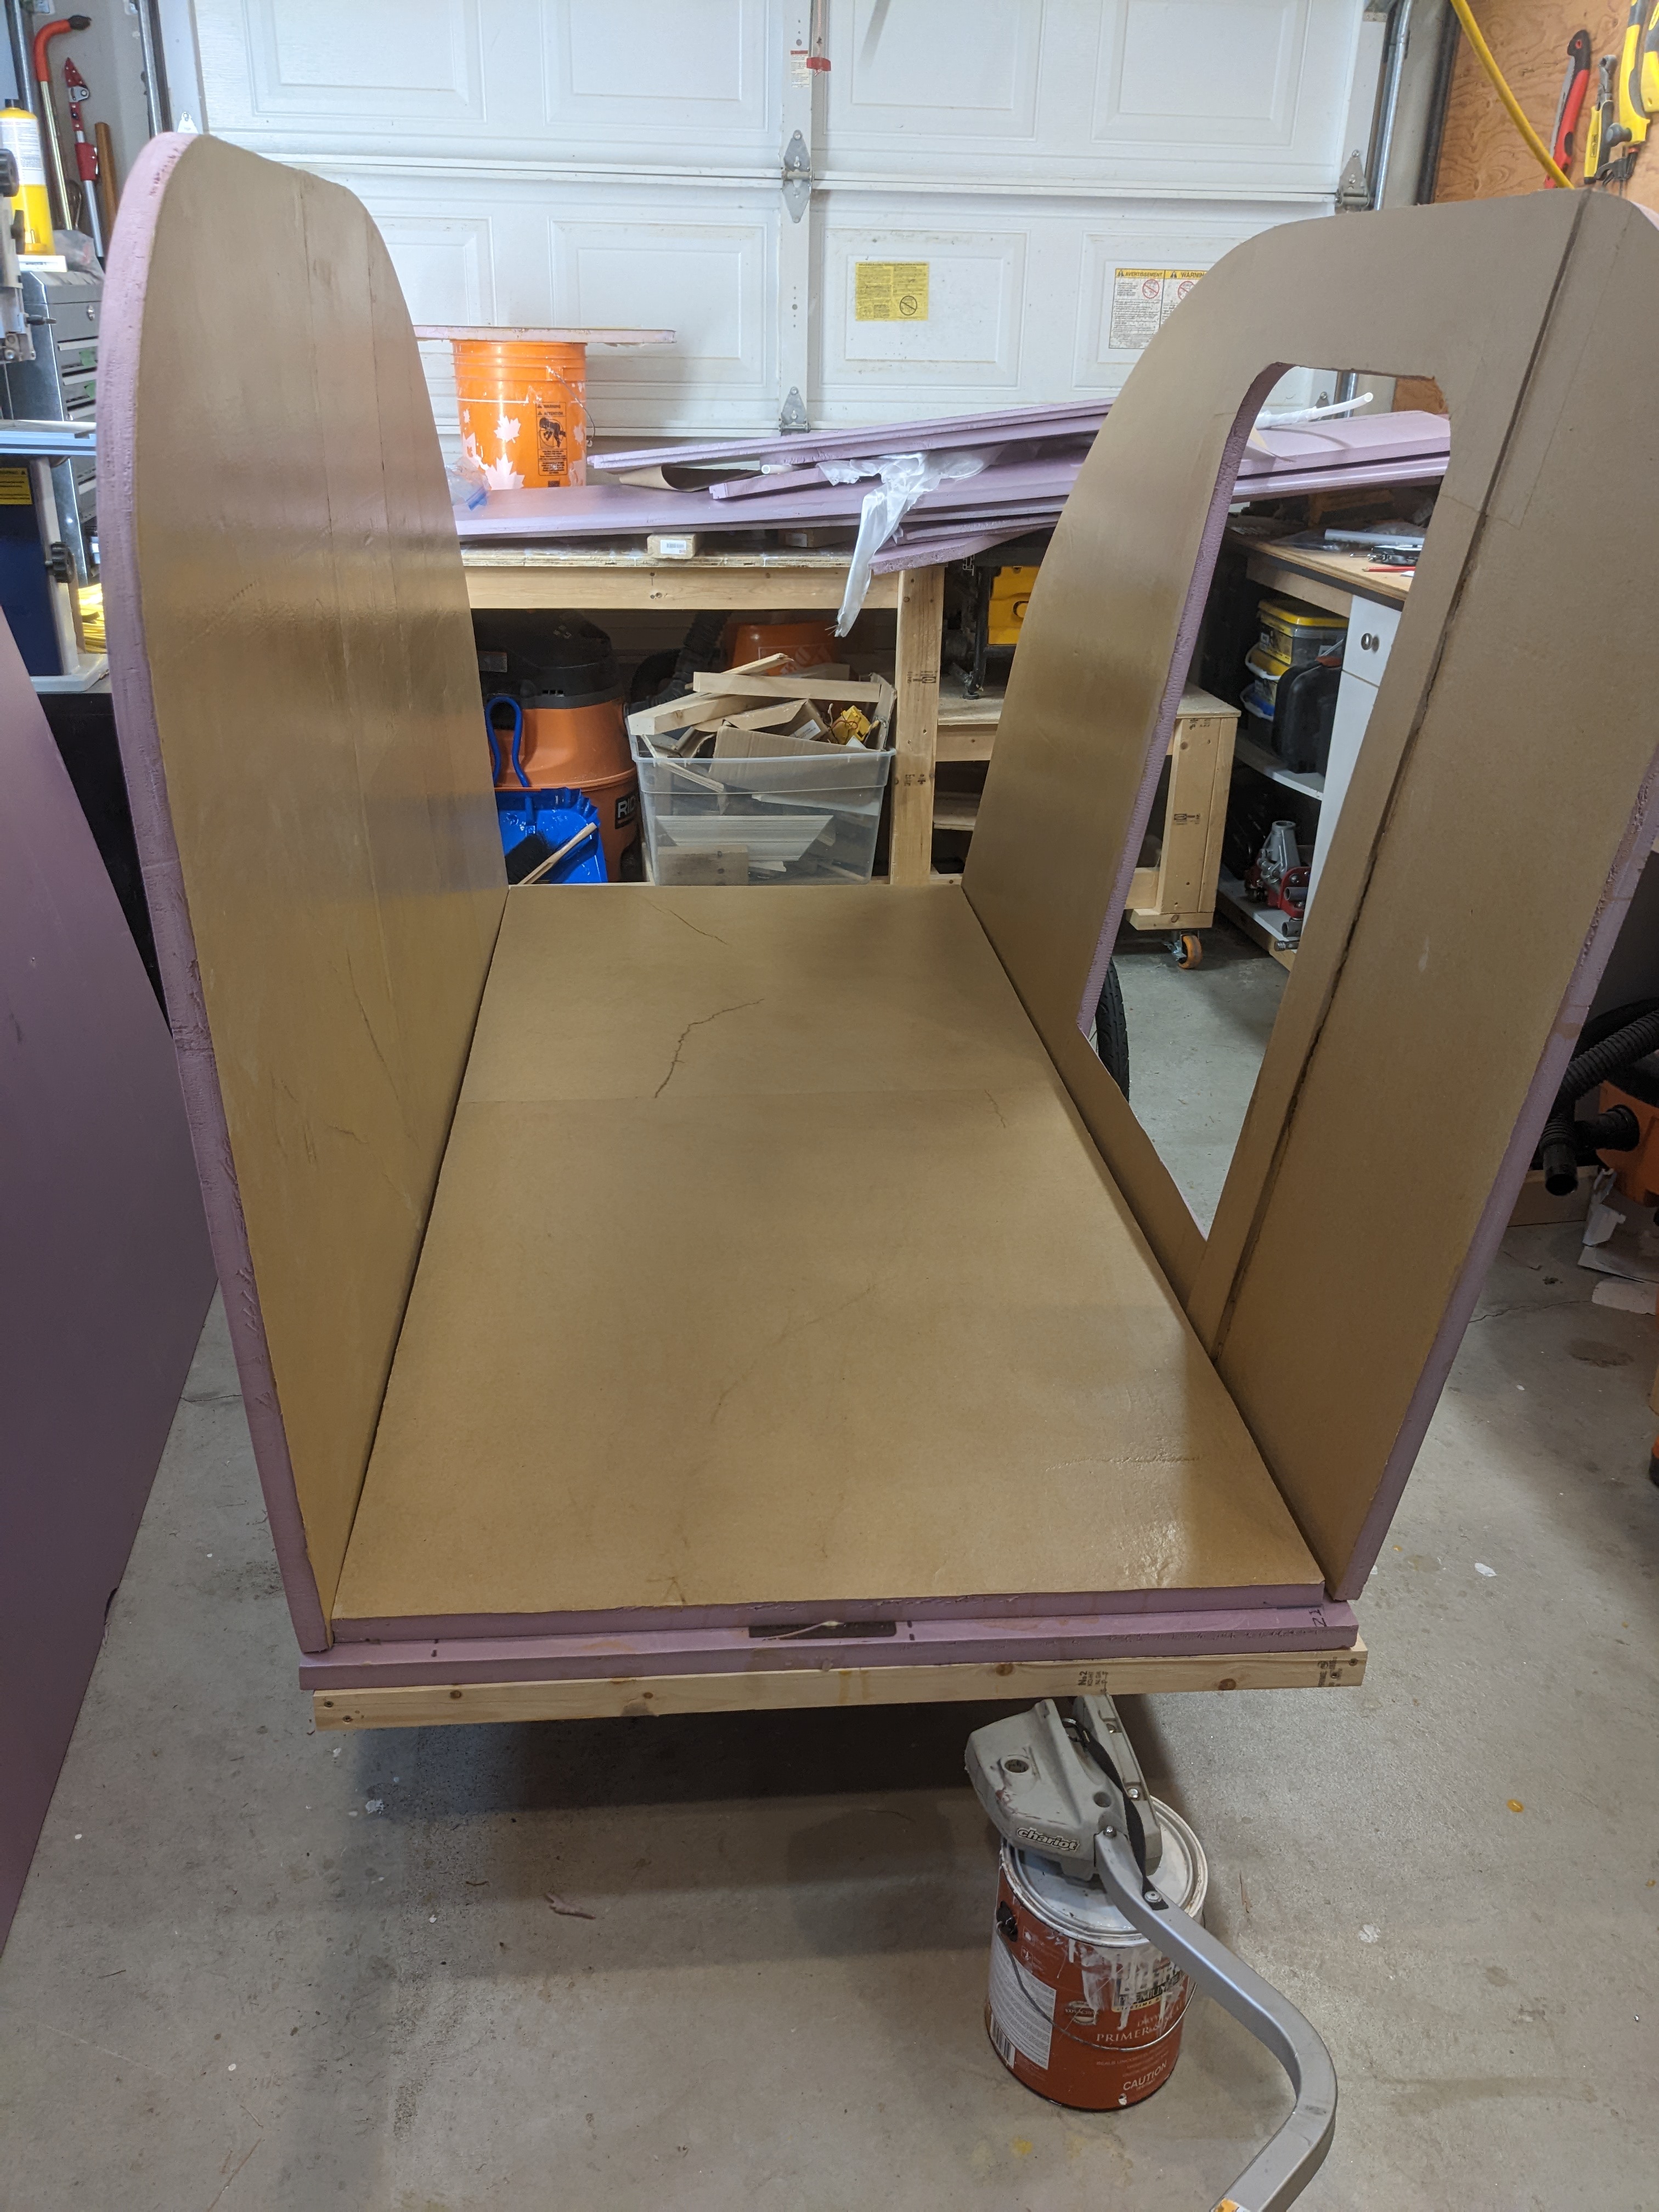

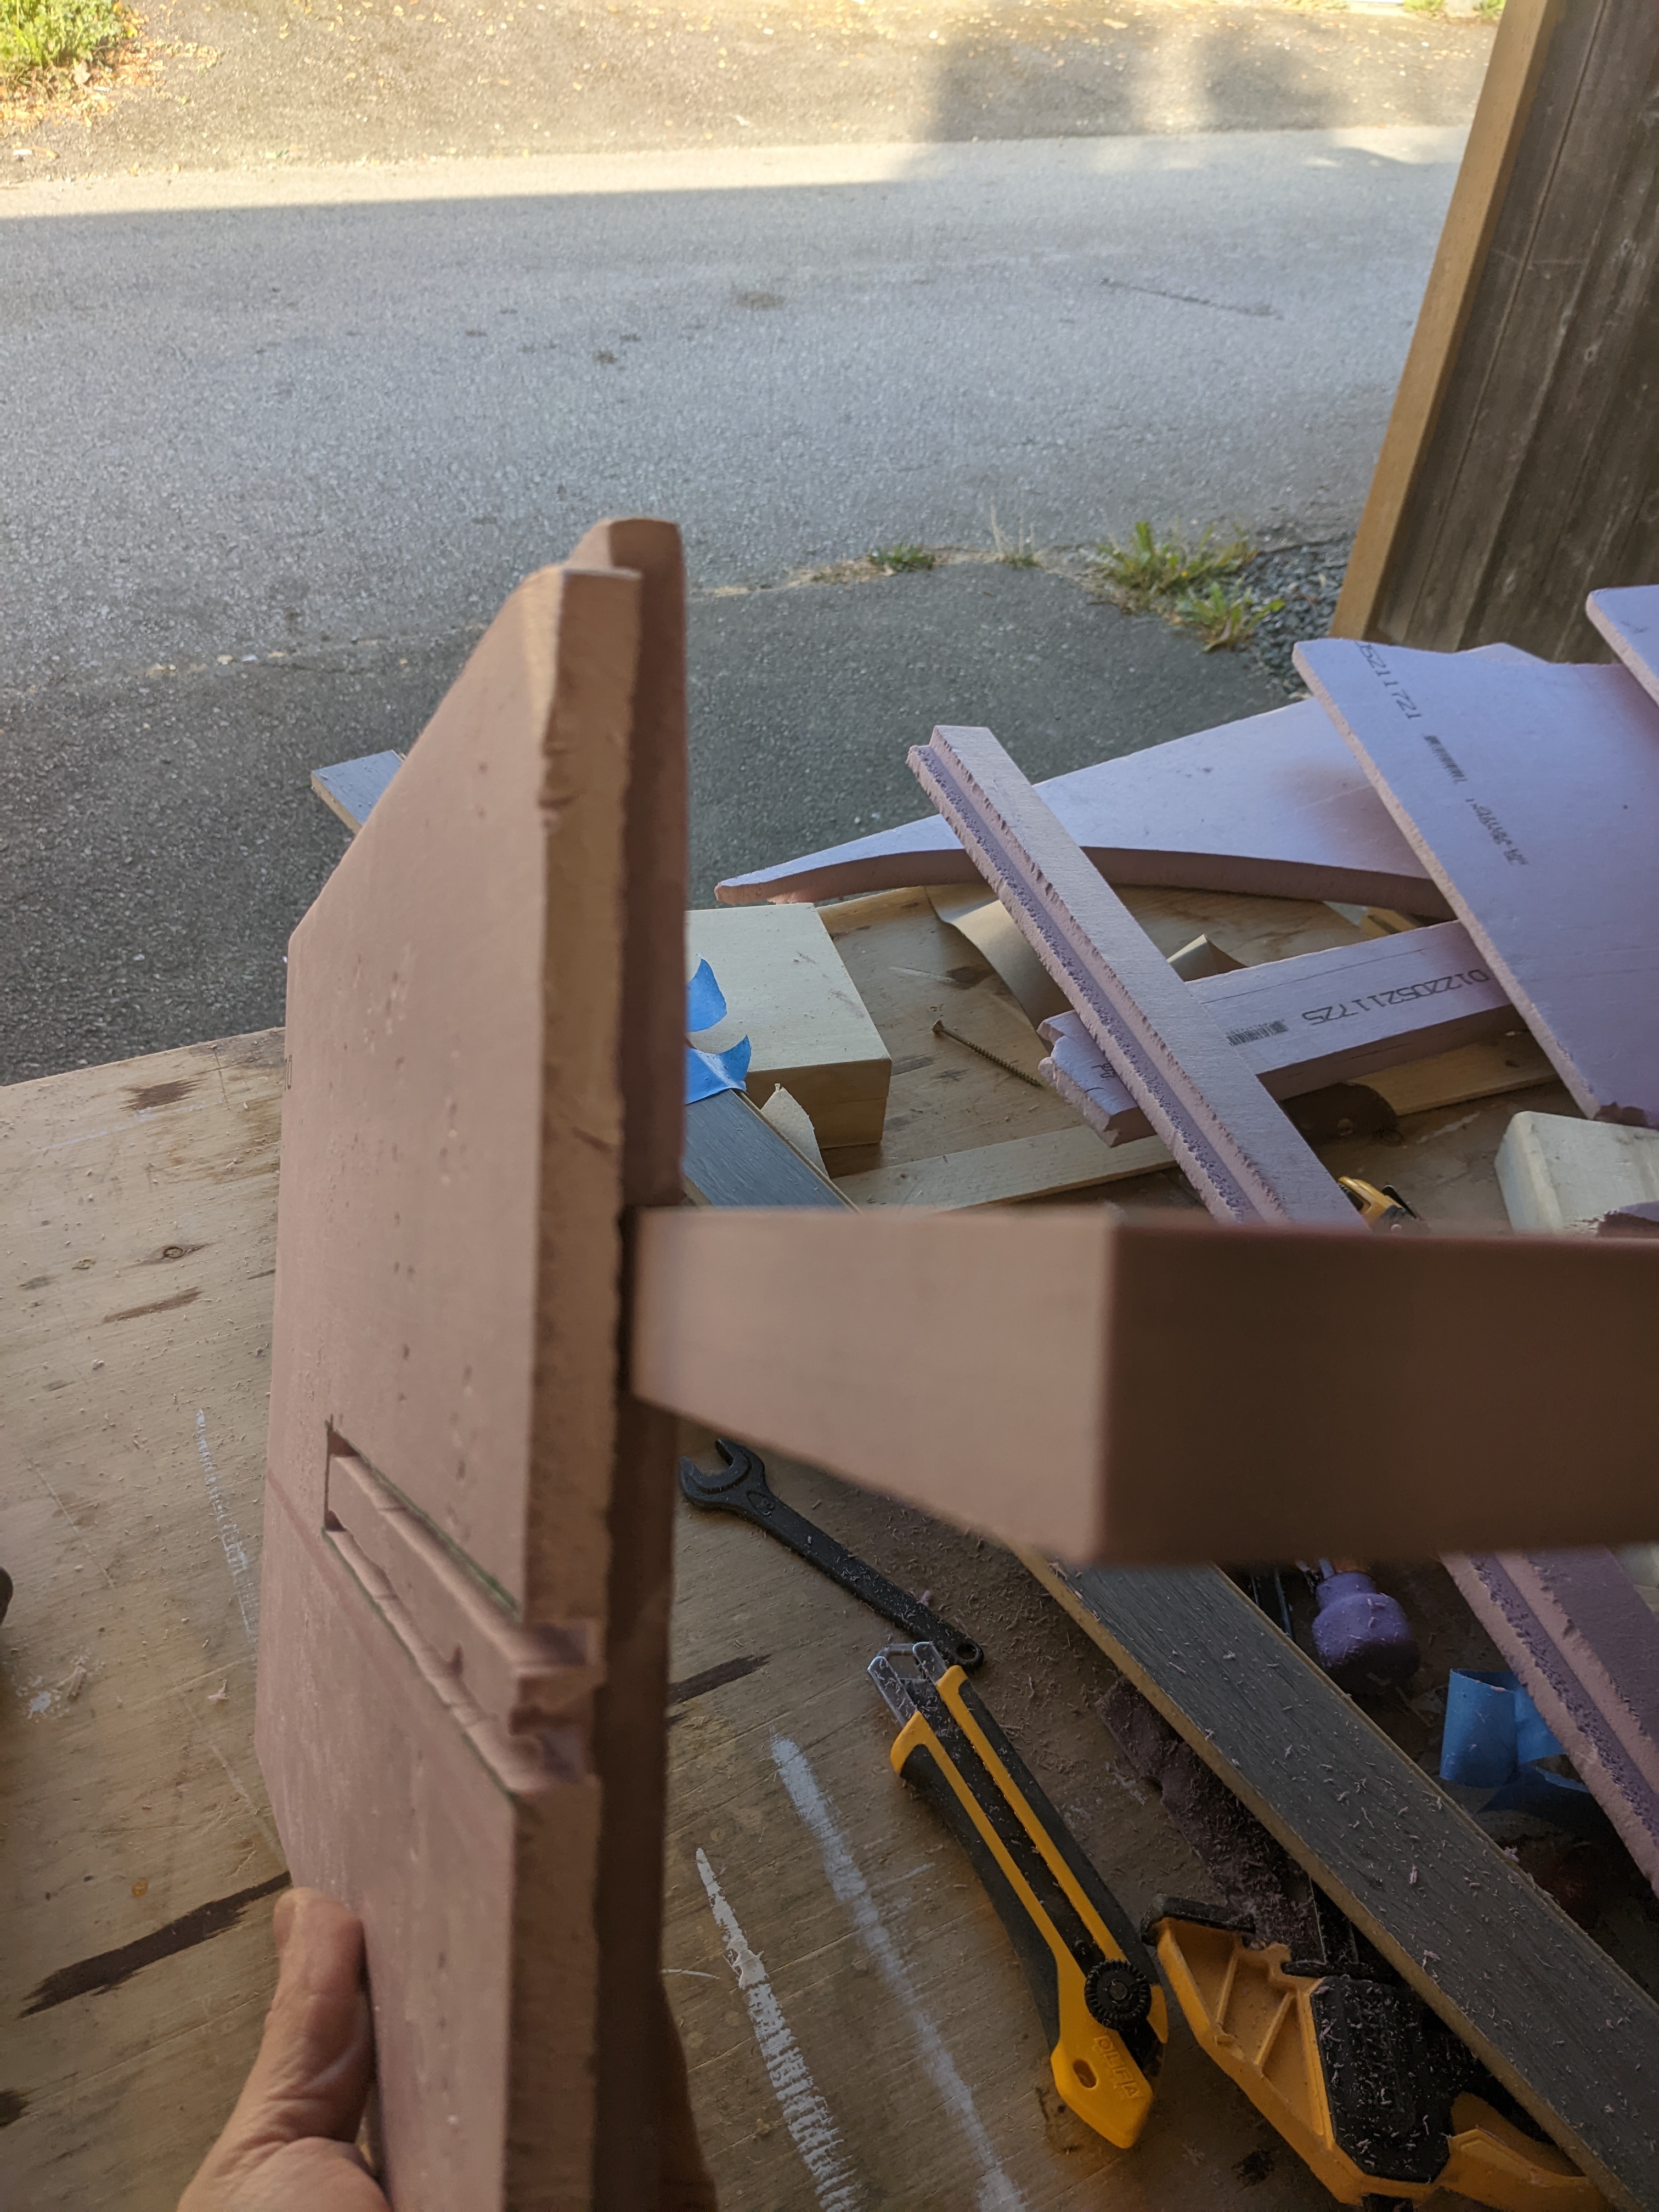


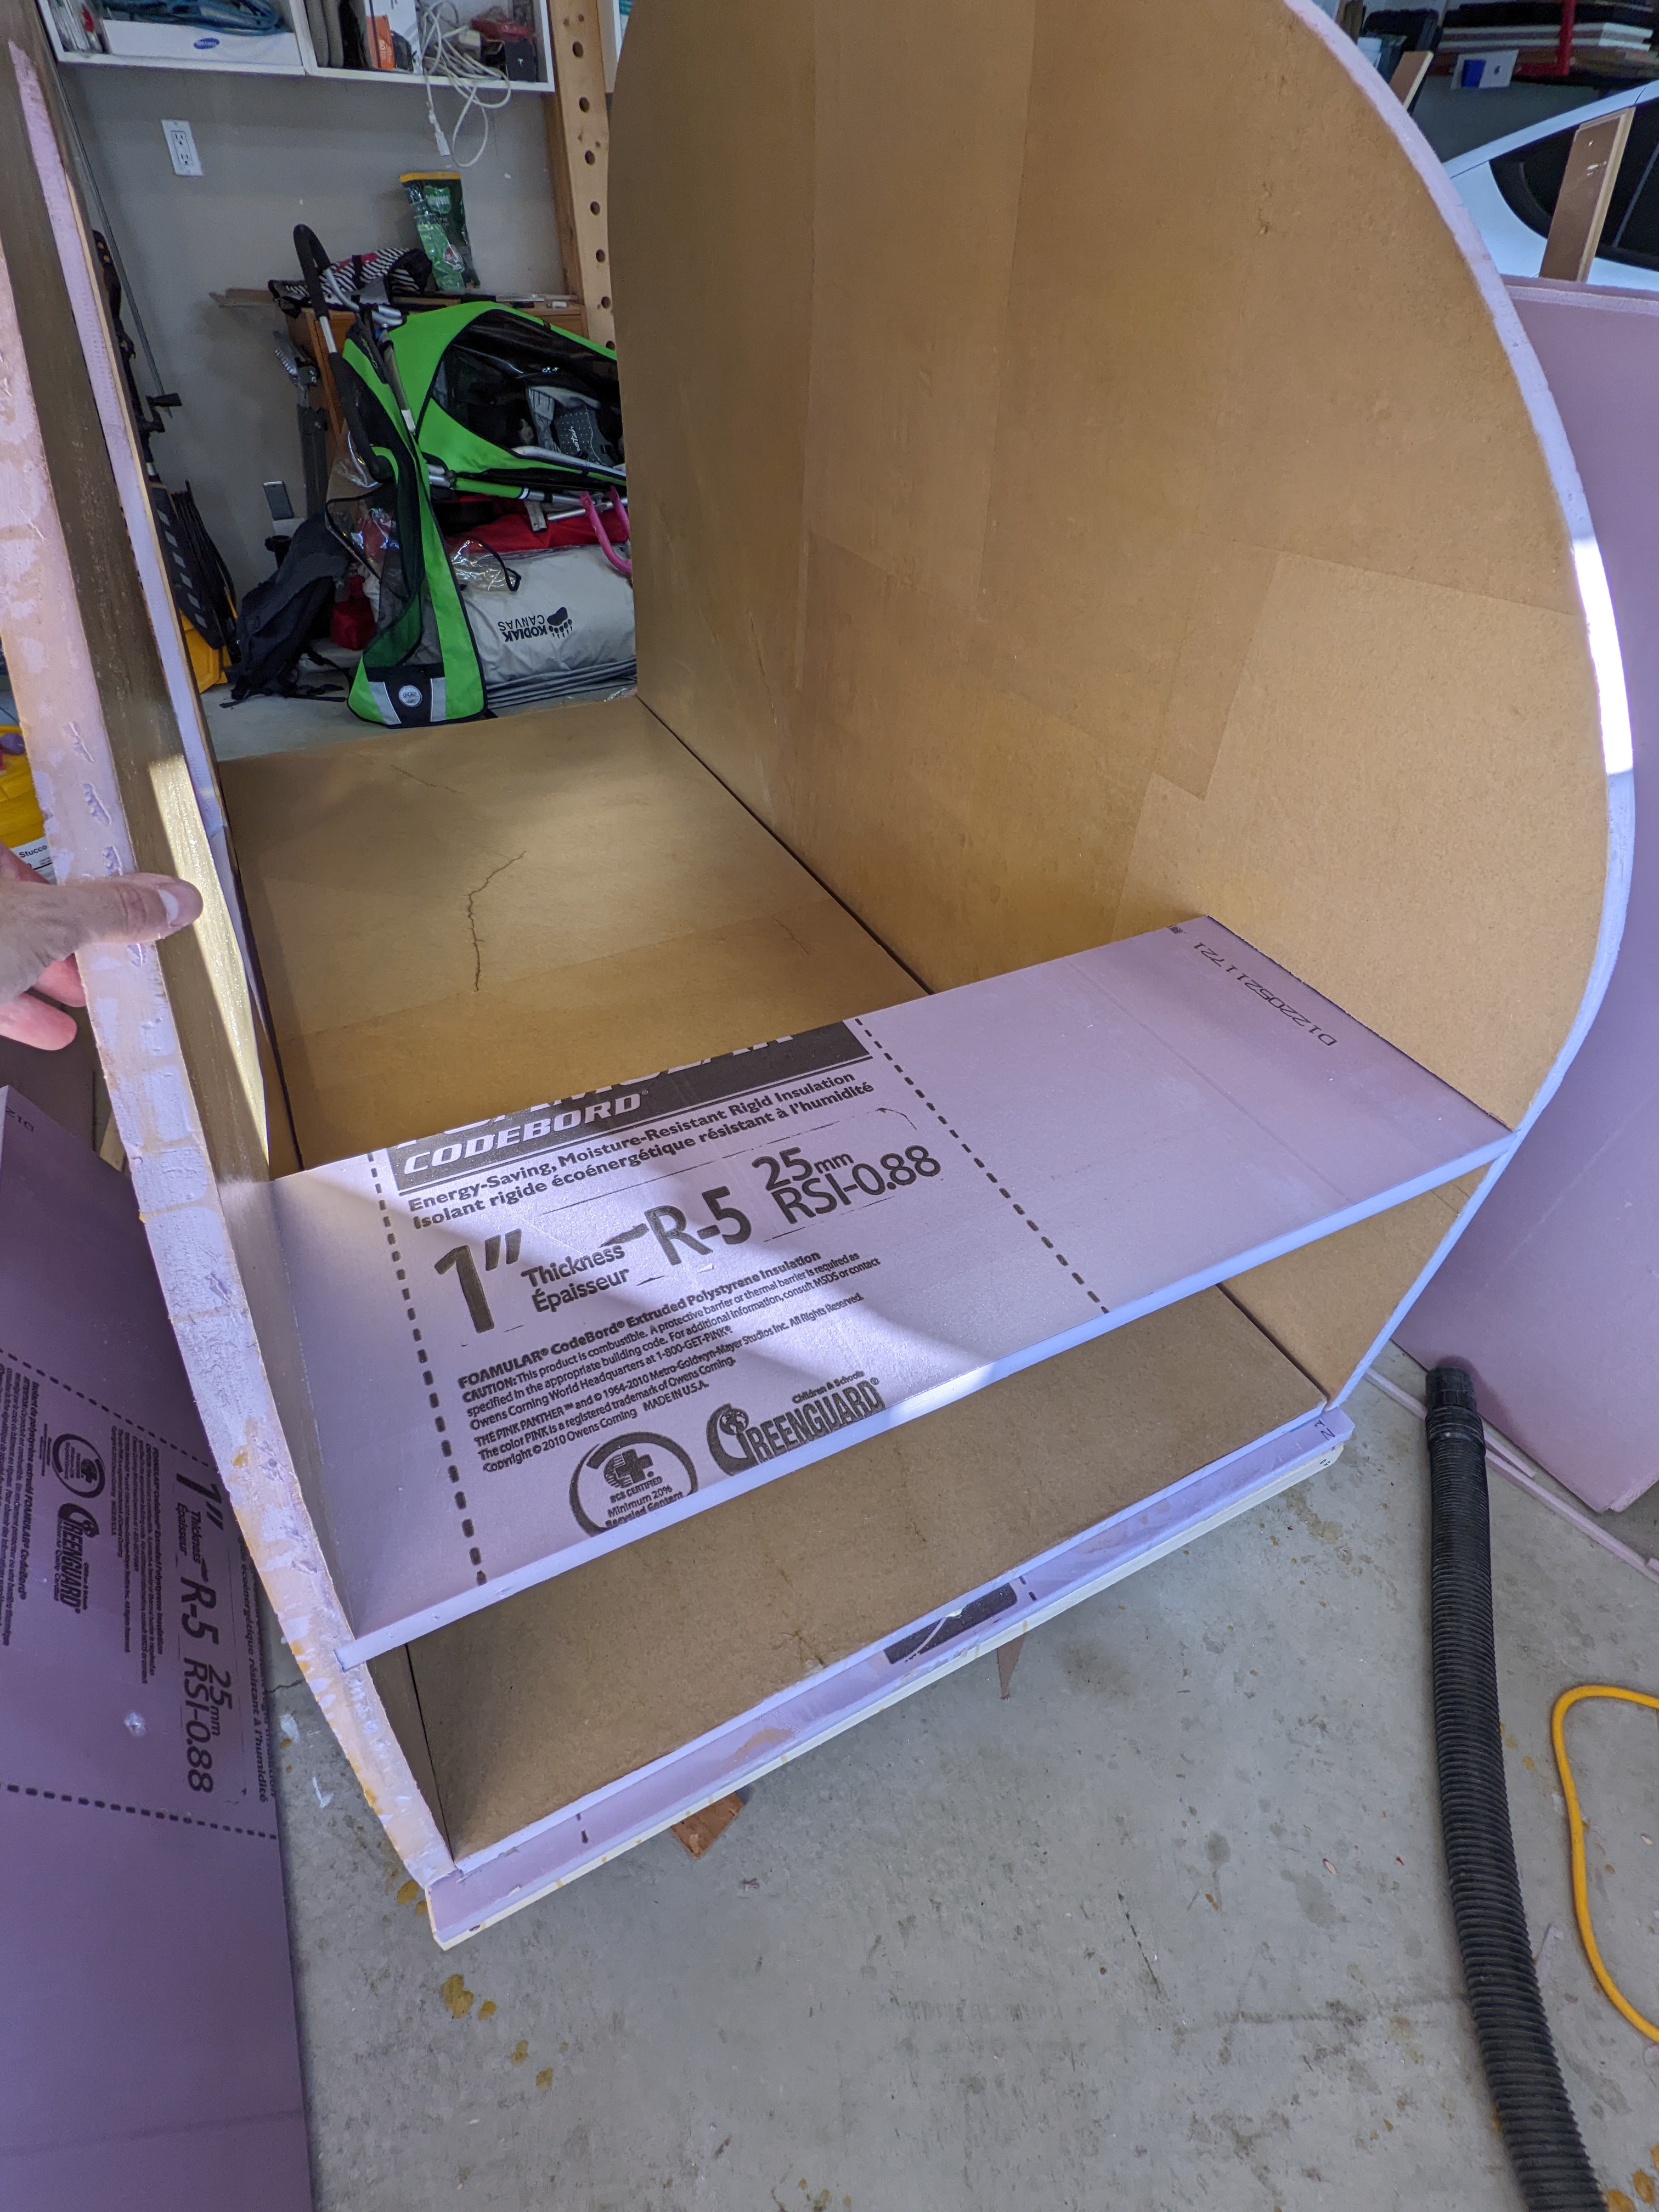
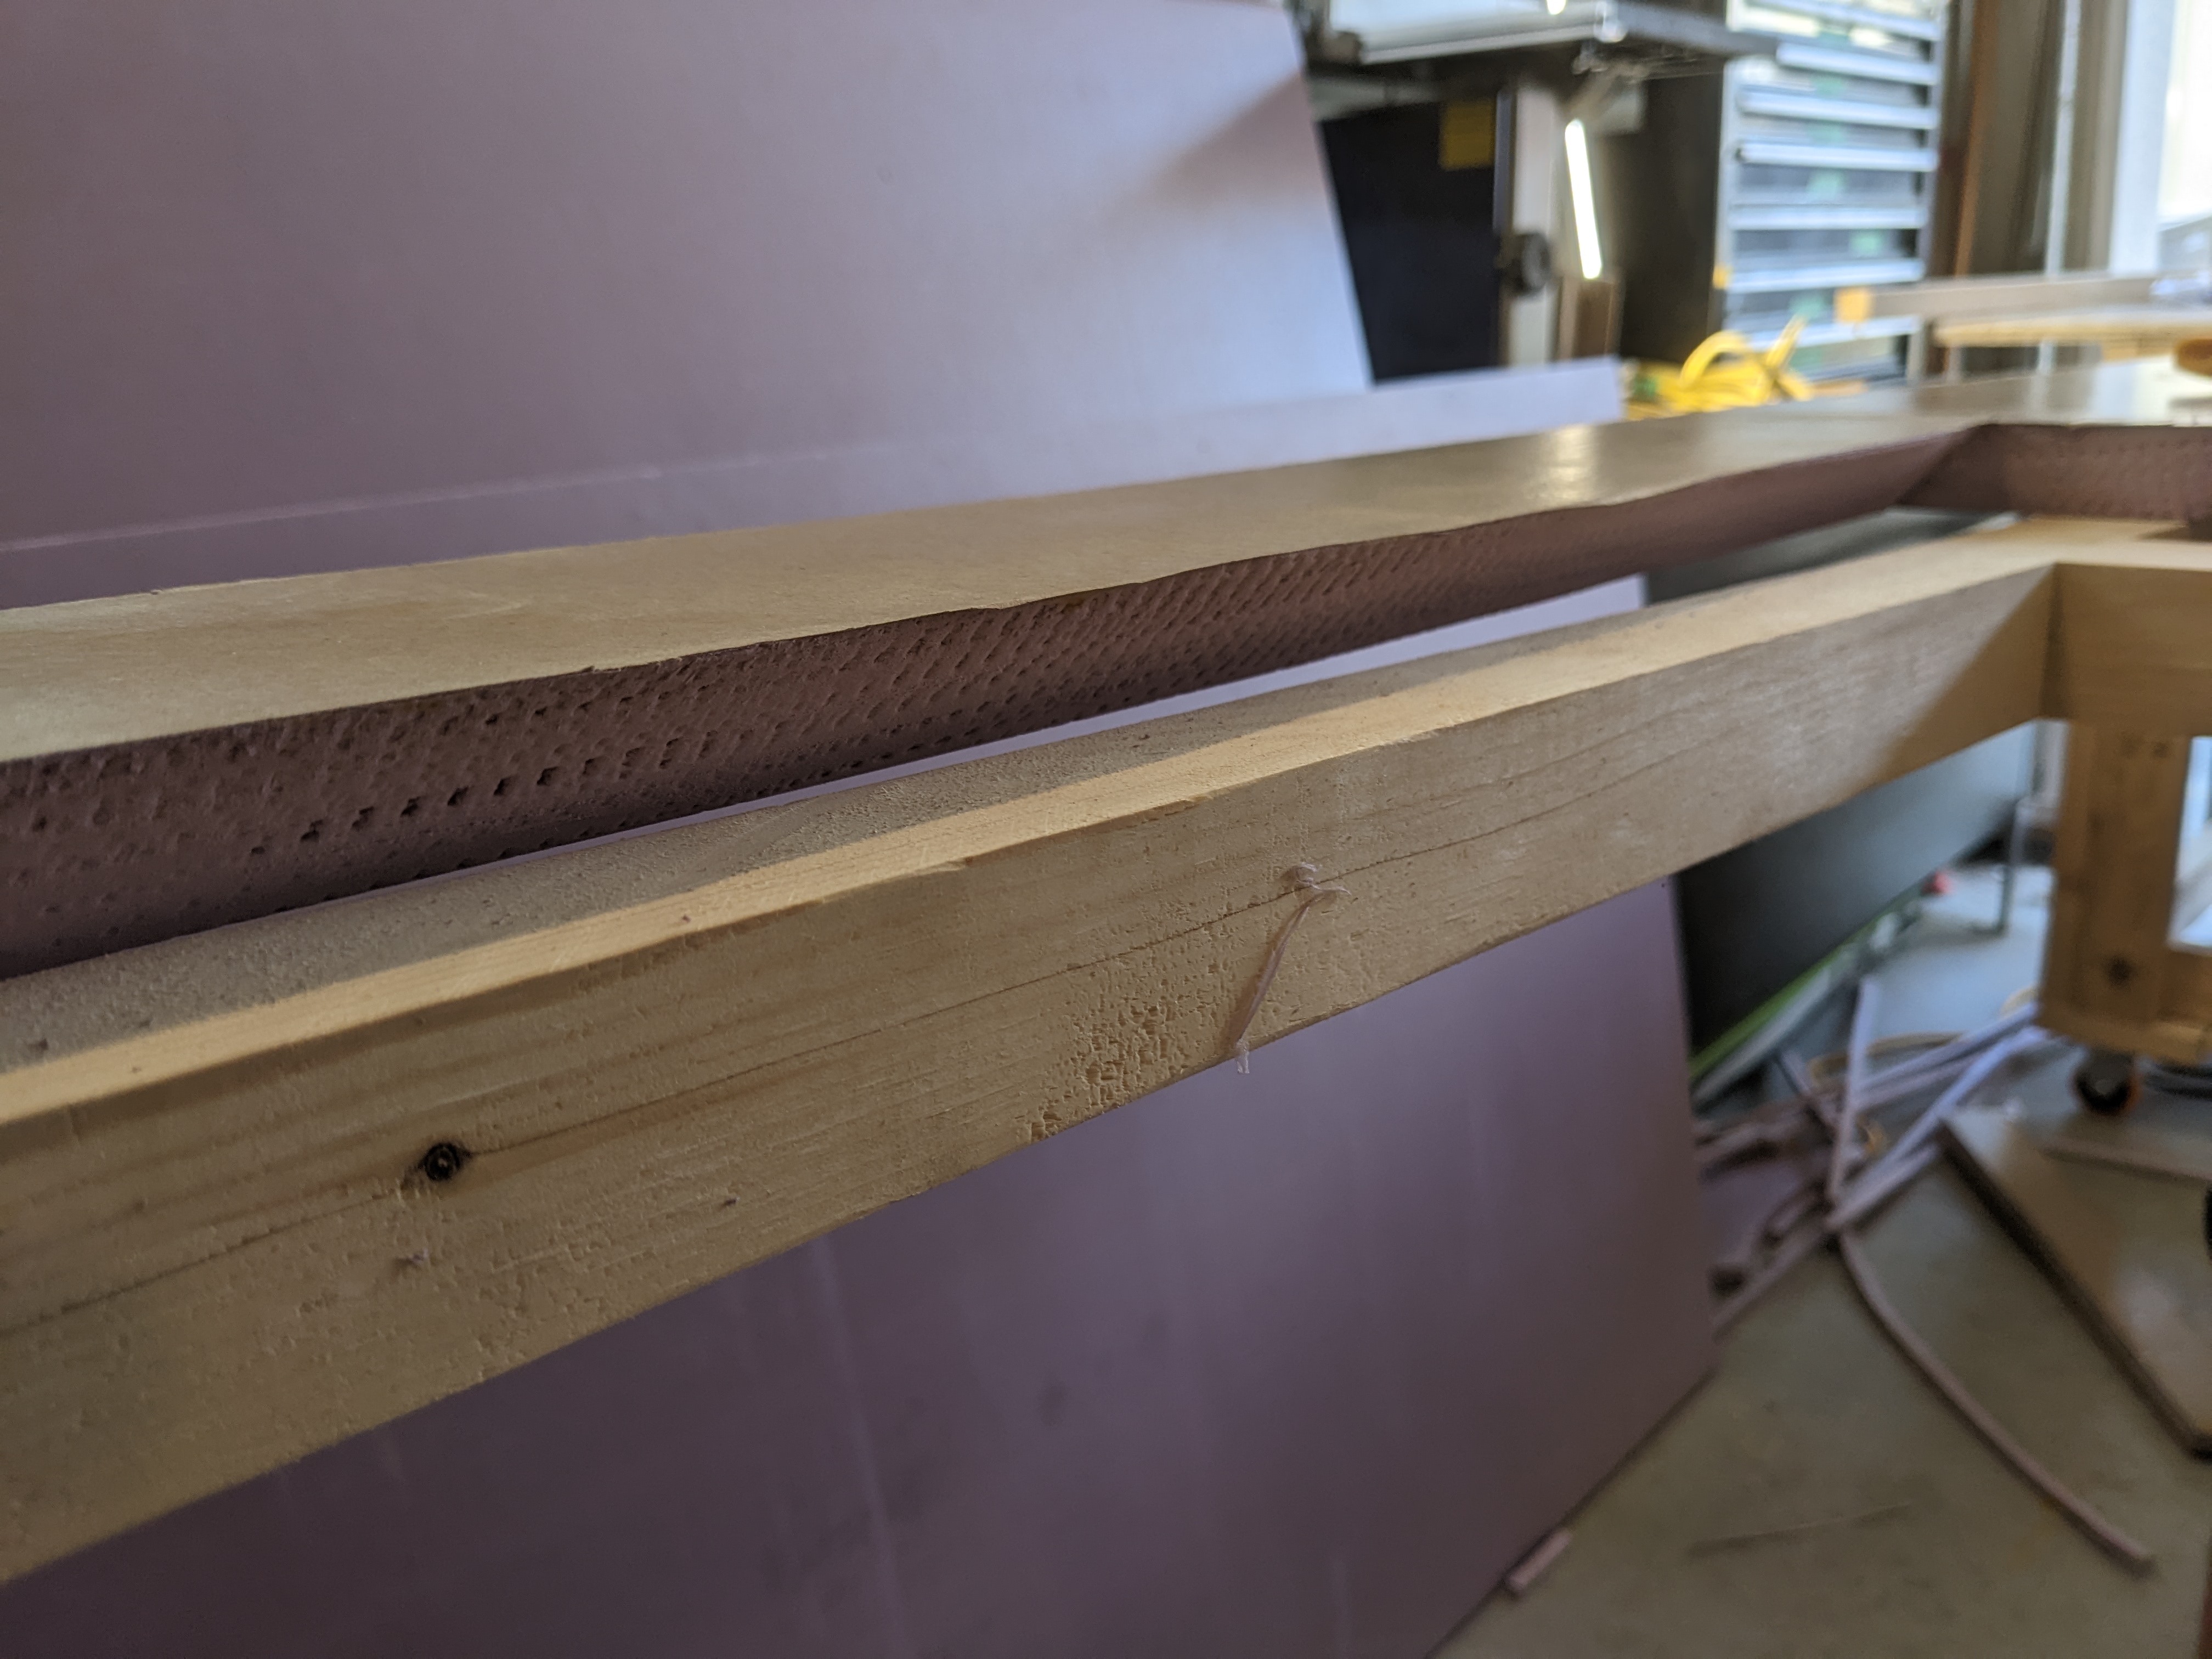
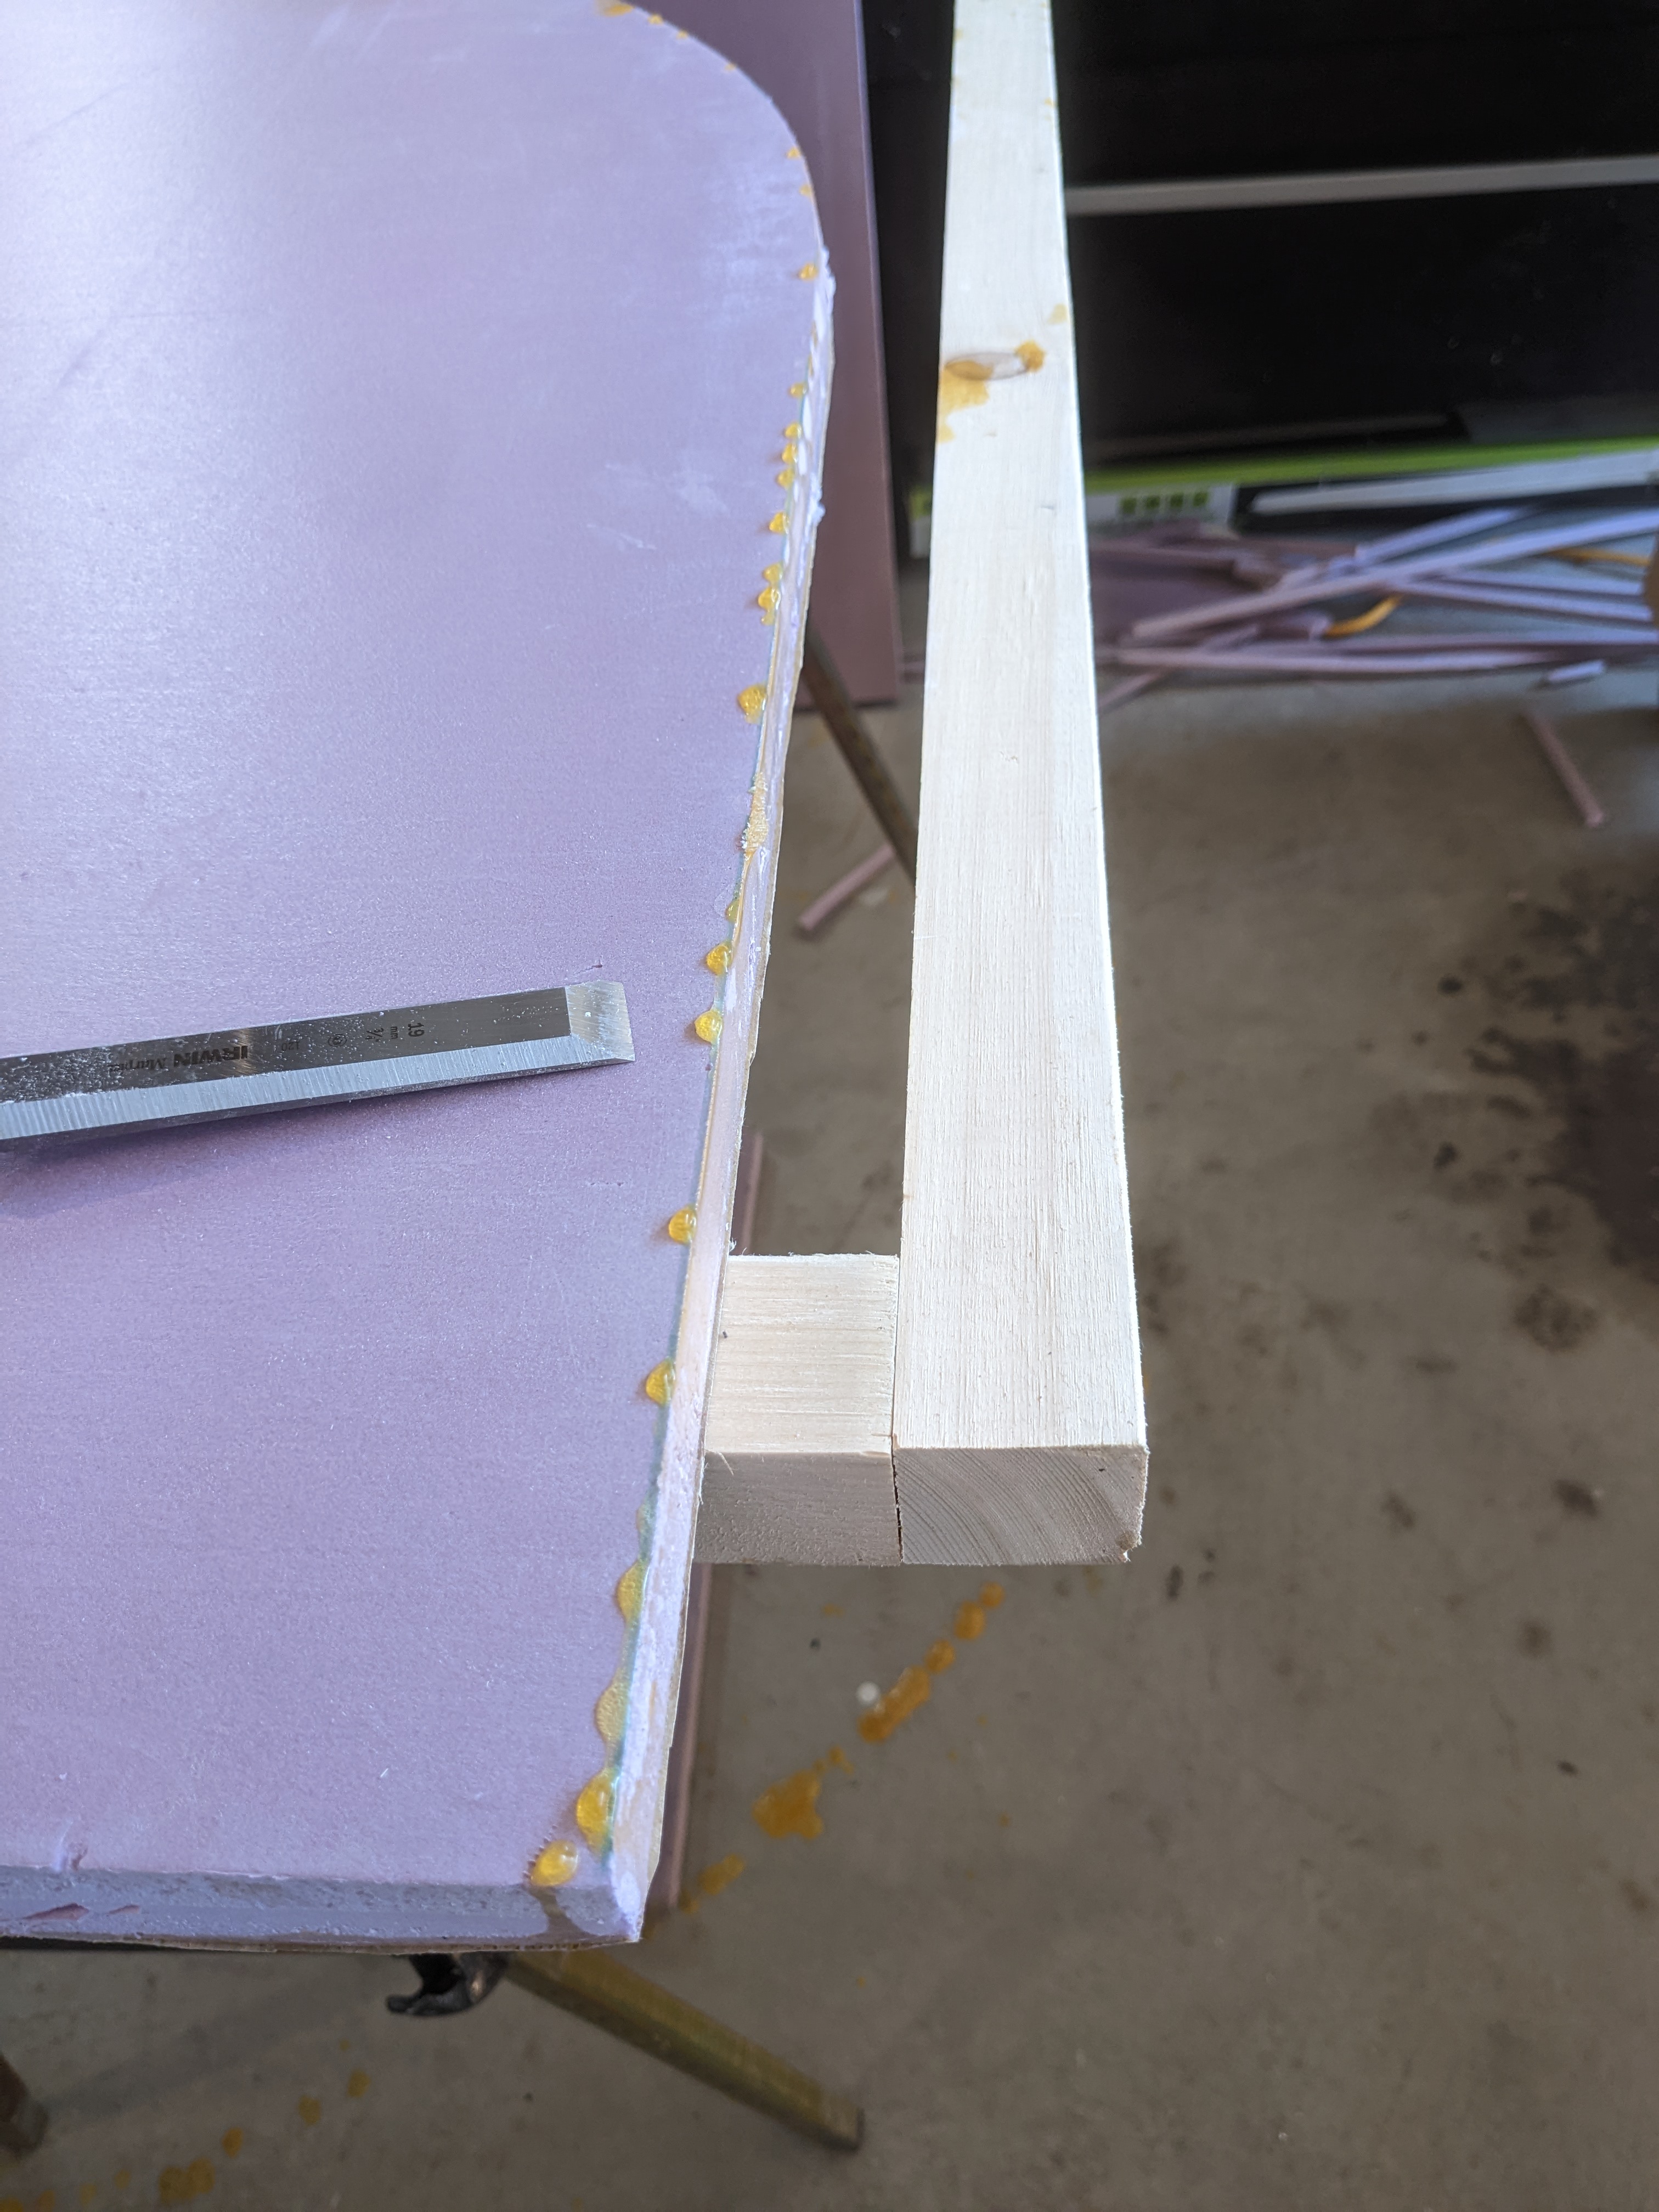
I definitely need some cross pieces to have any chance of gluing the walls to the floor. I'd been planning on a shelf above feet so making it "structural" to help hold the walls, at least during gluing seemed like it would work.
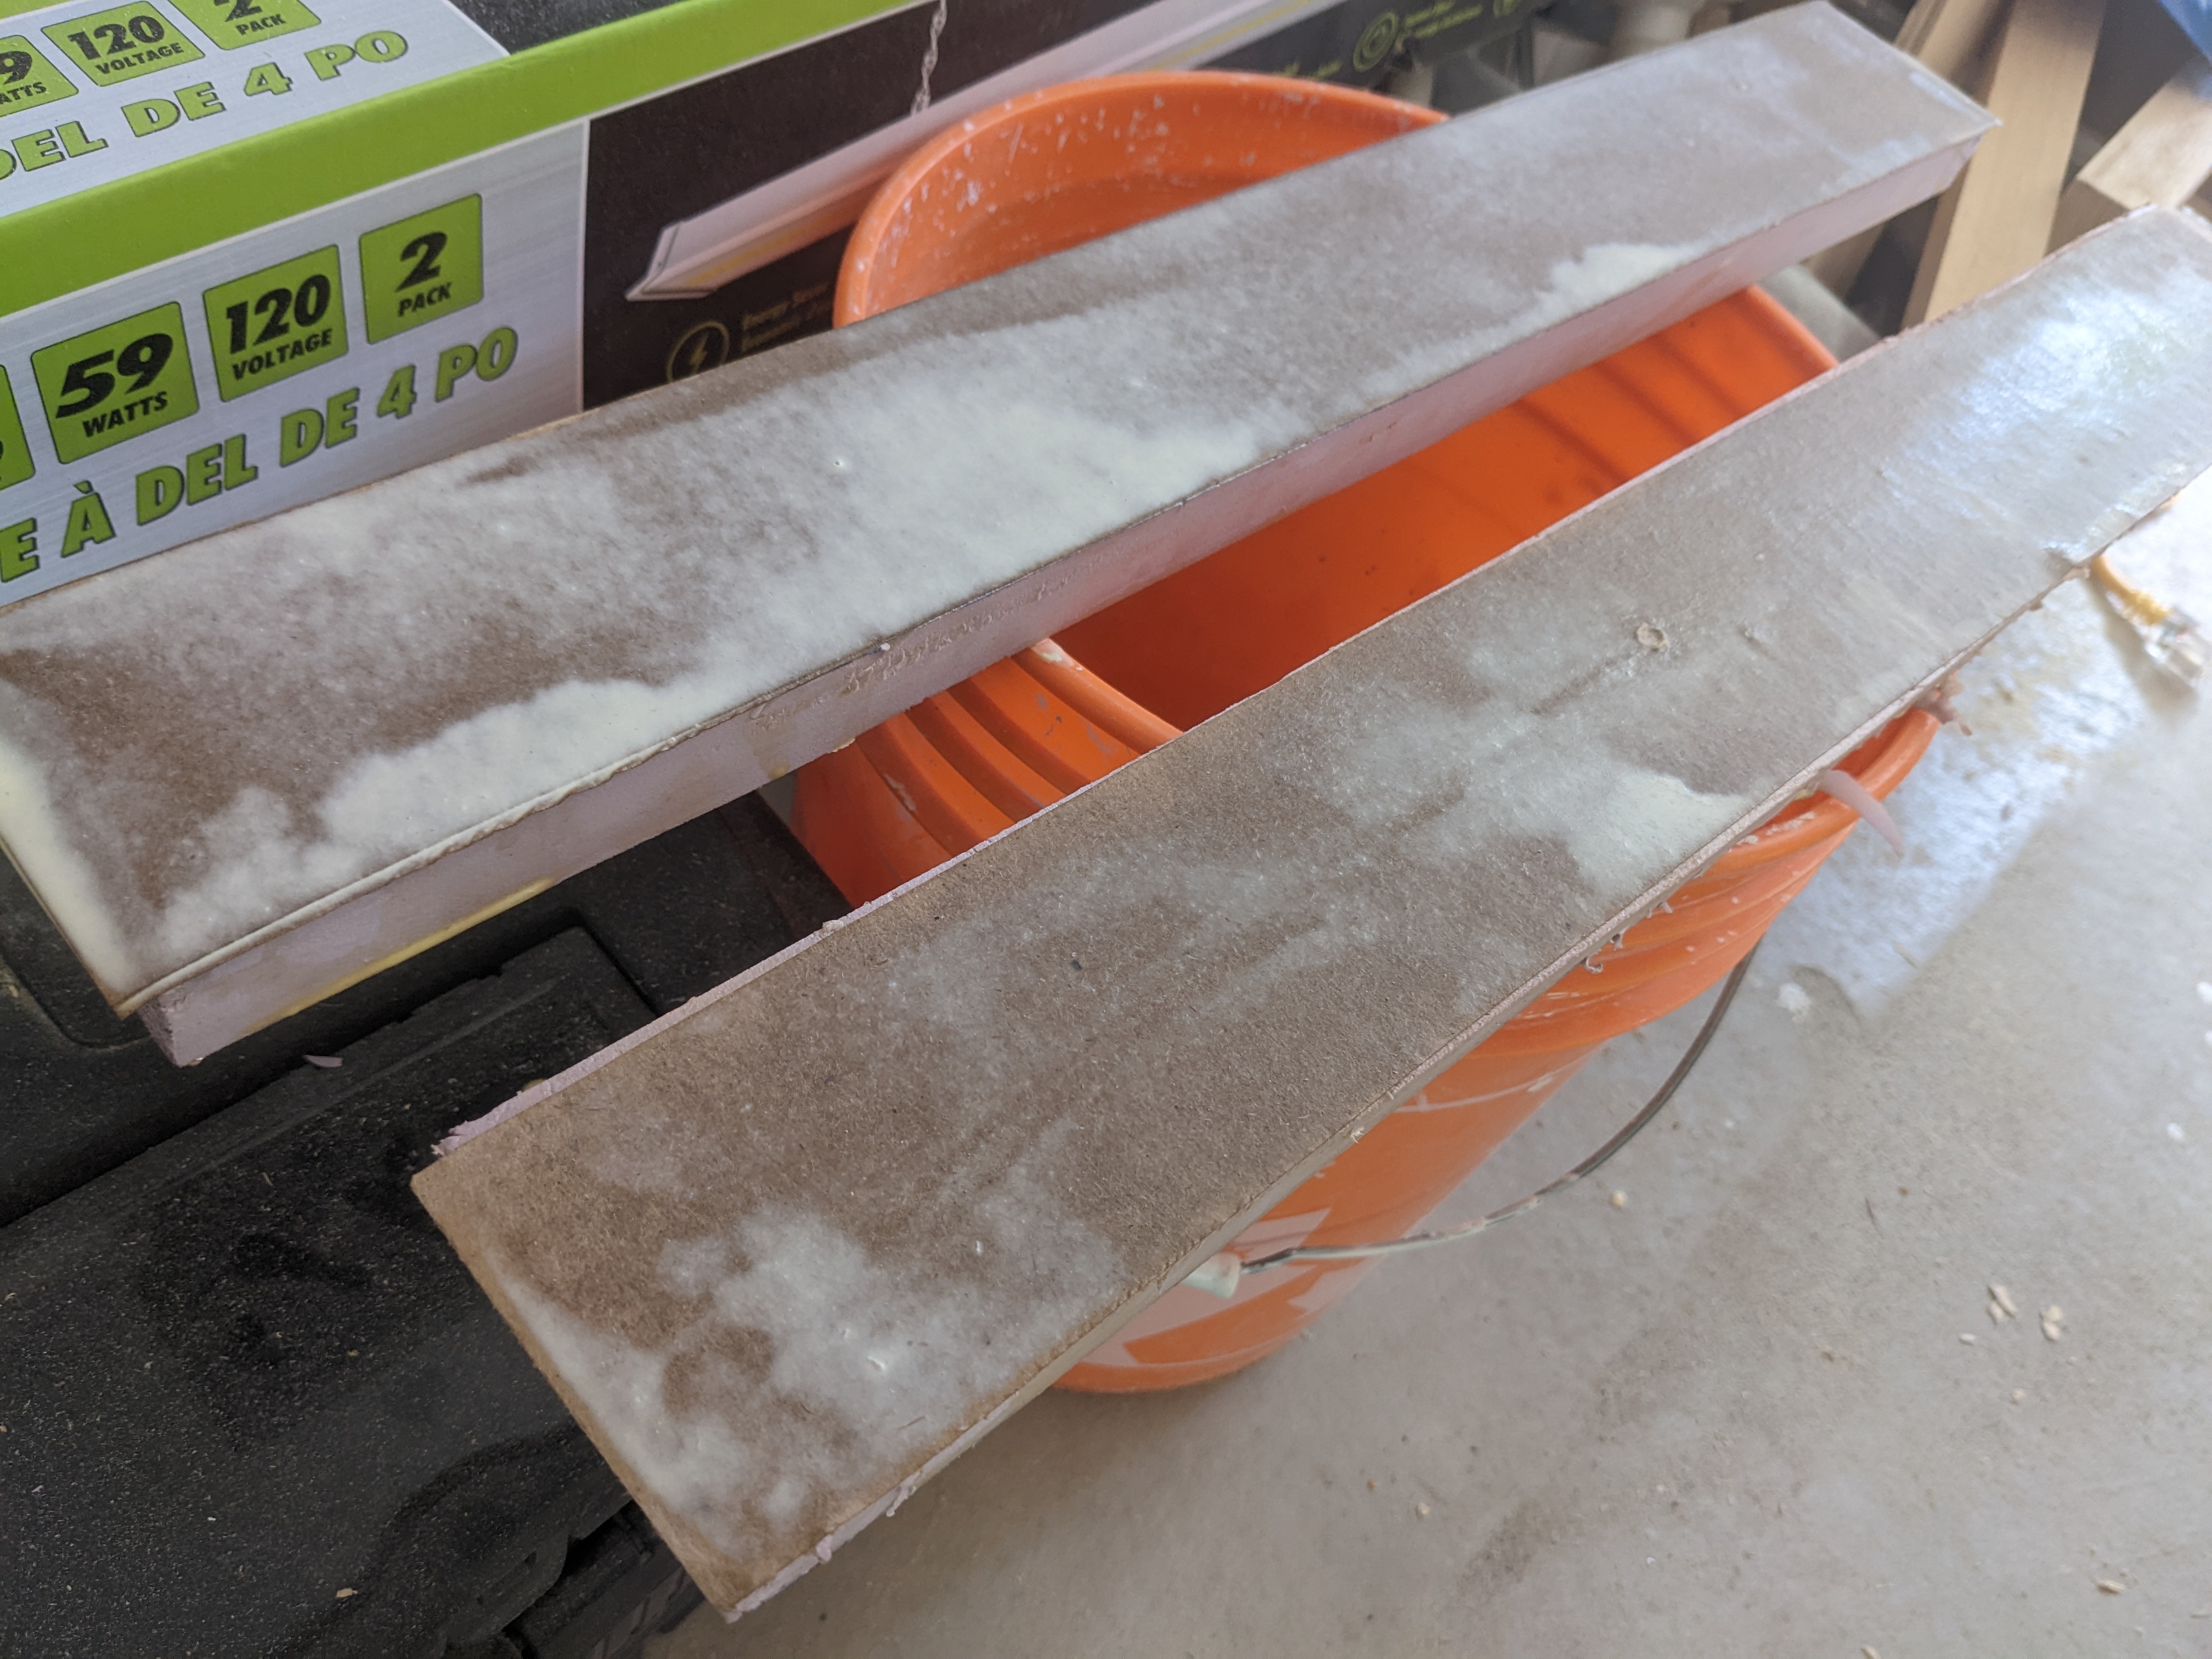
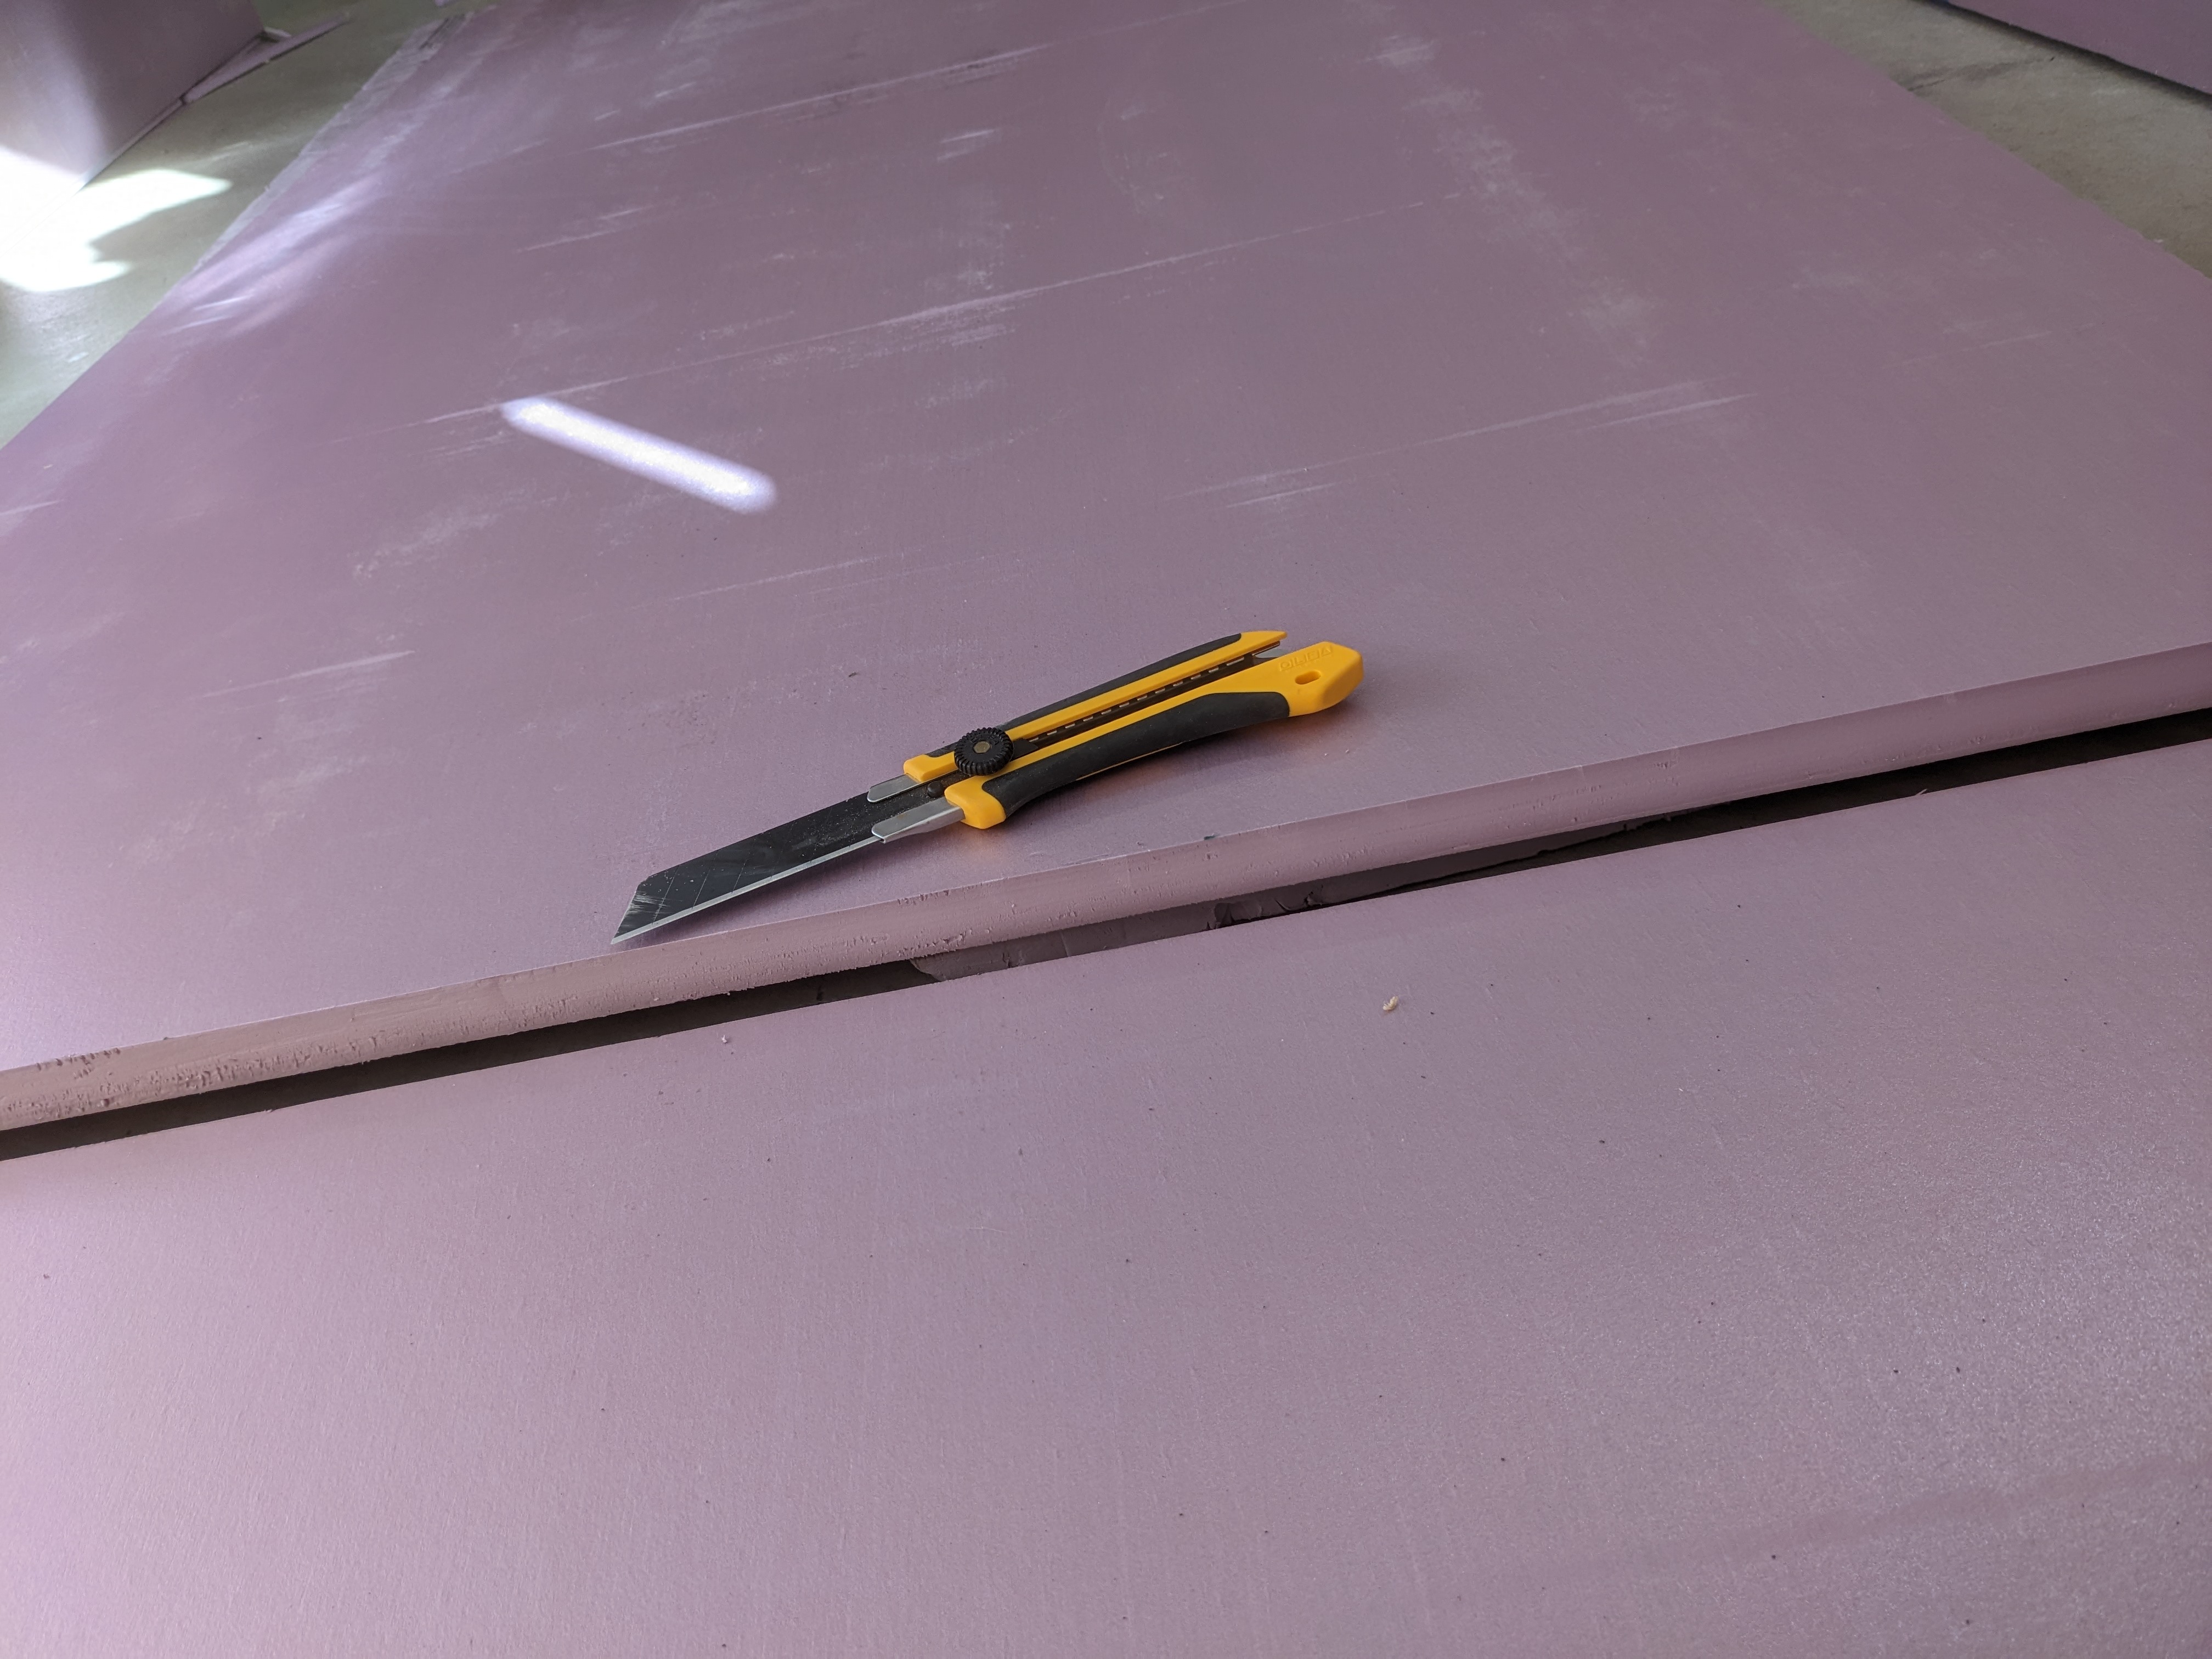
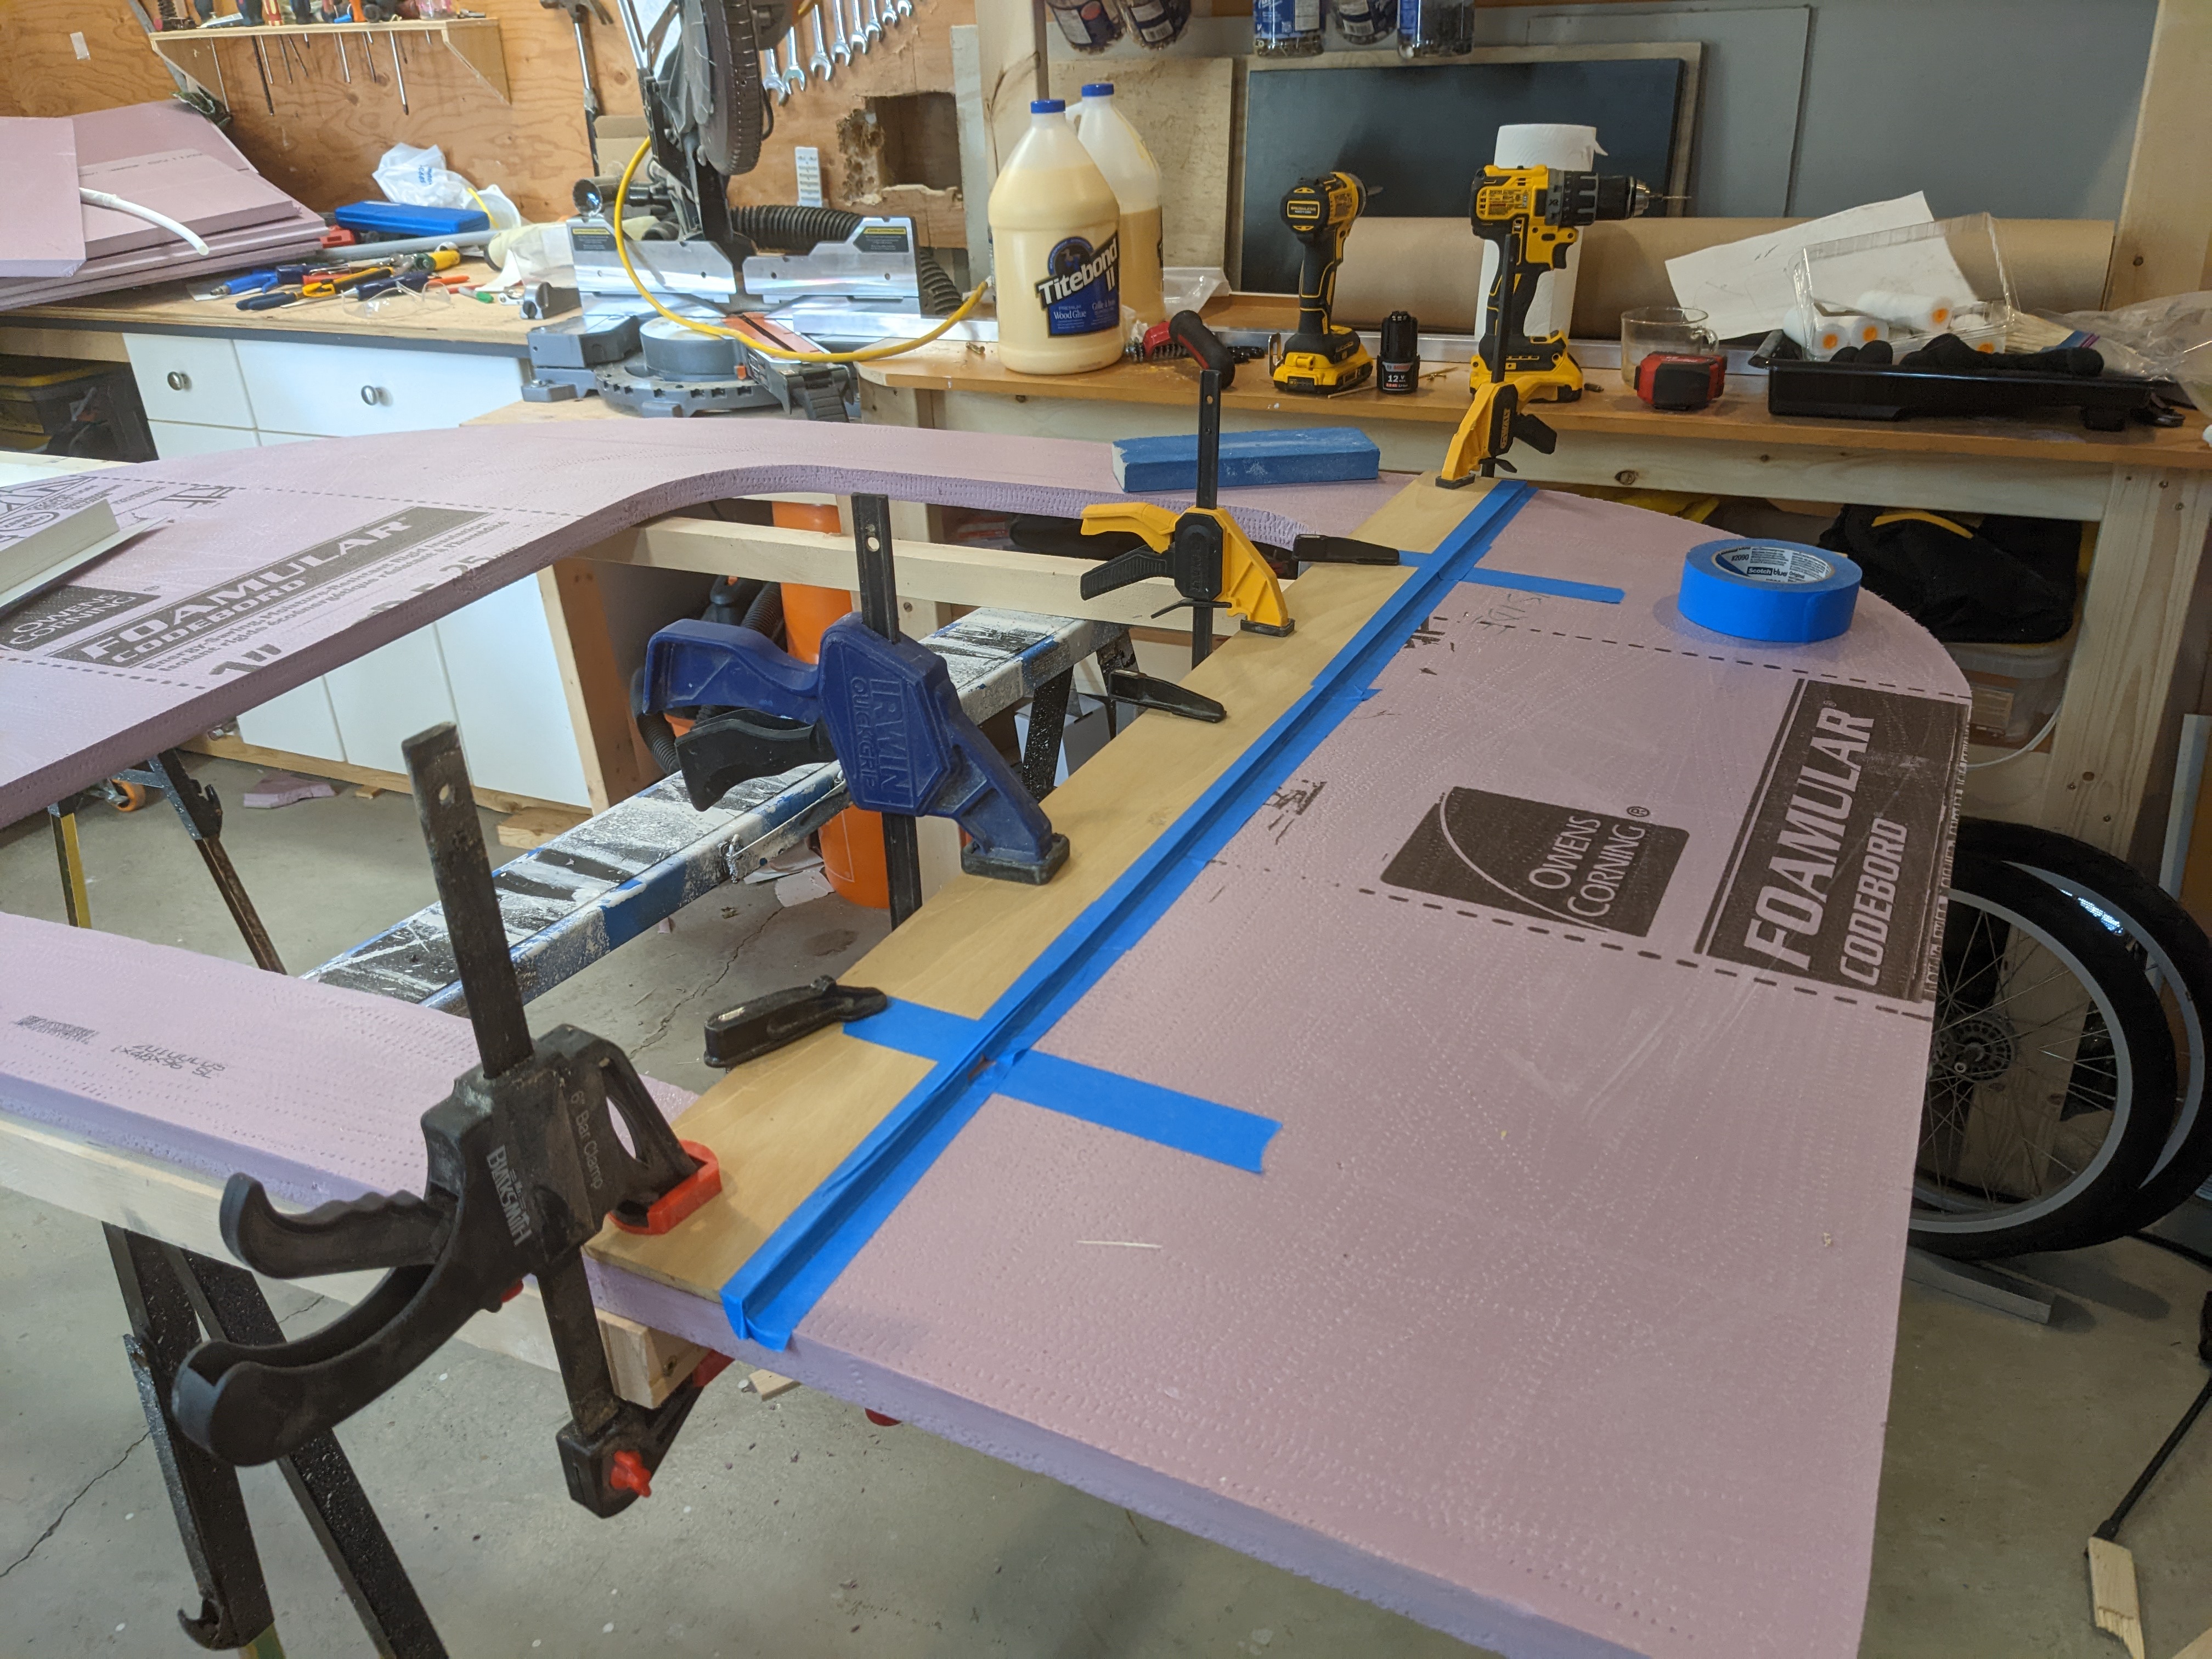
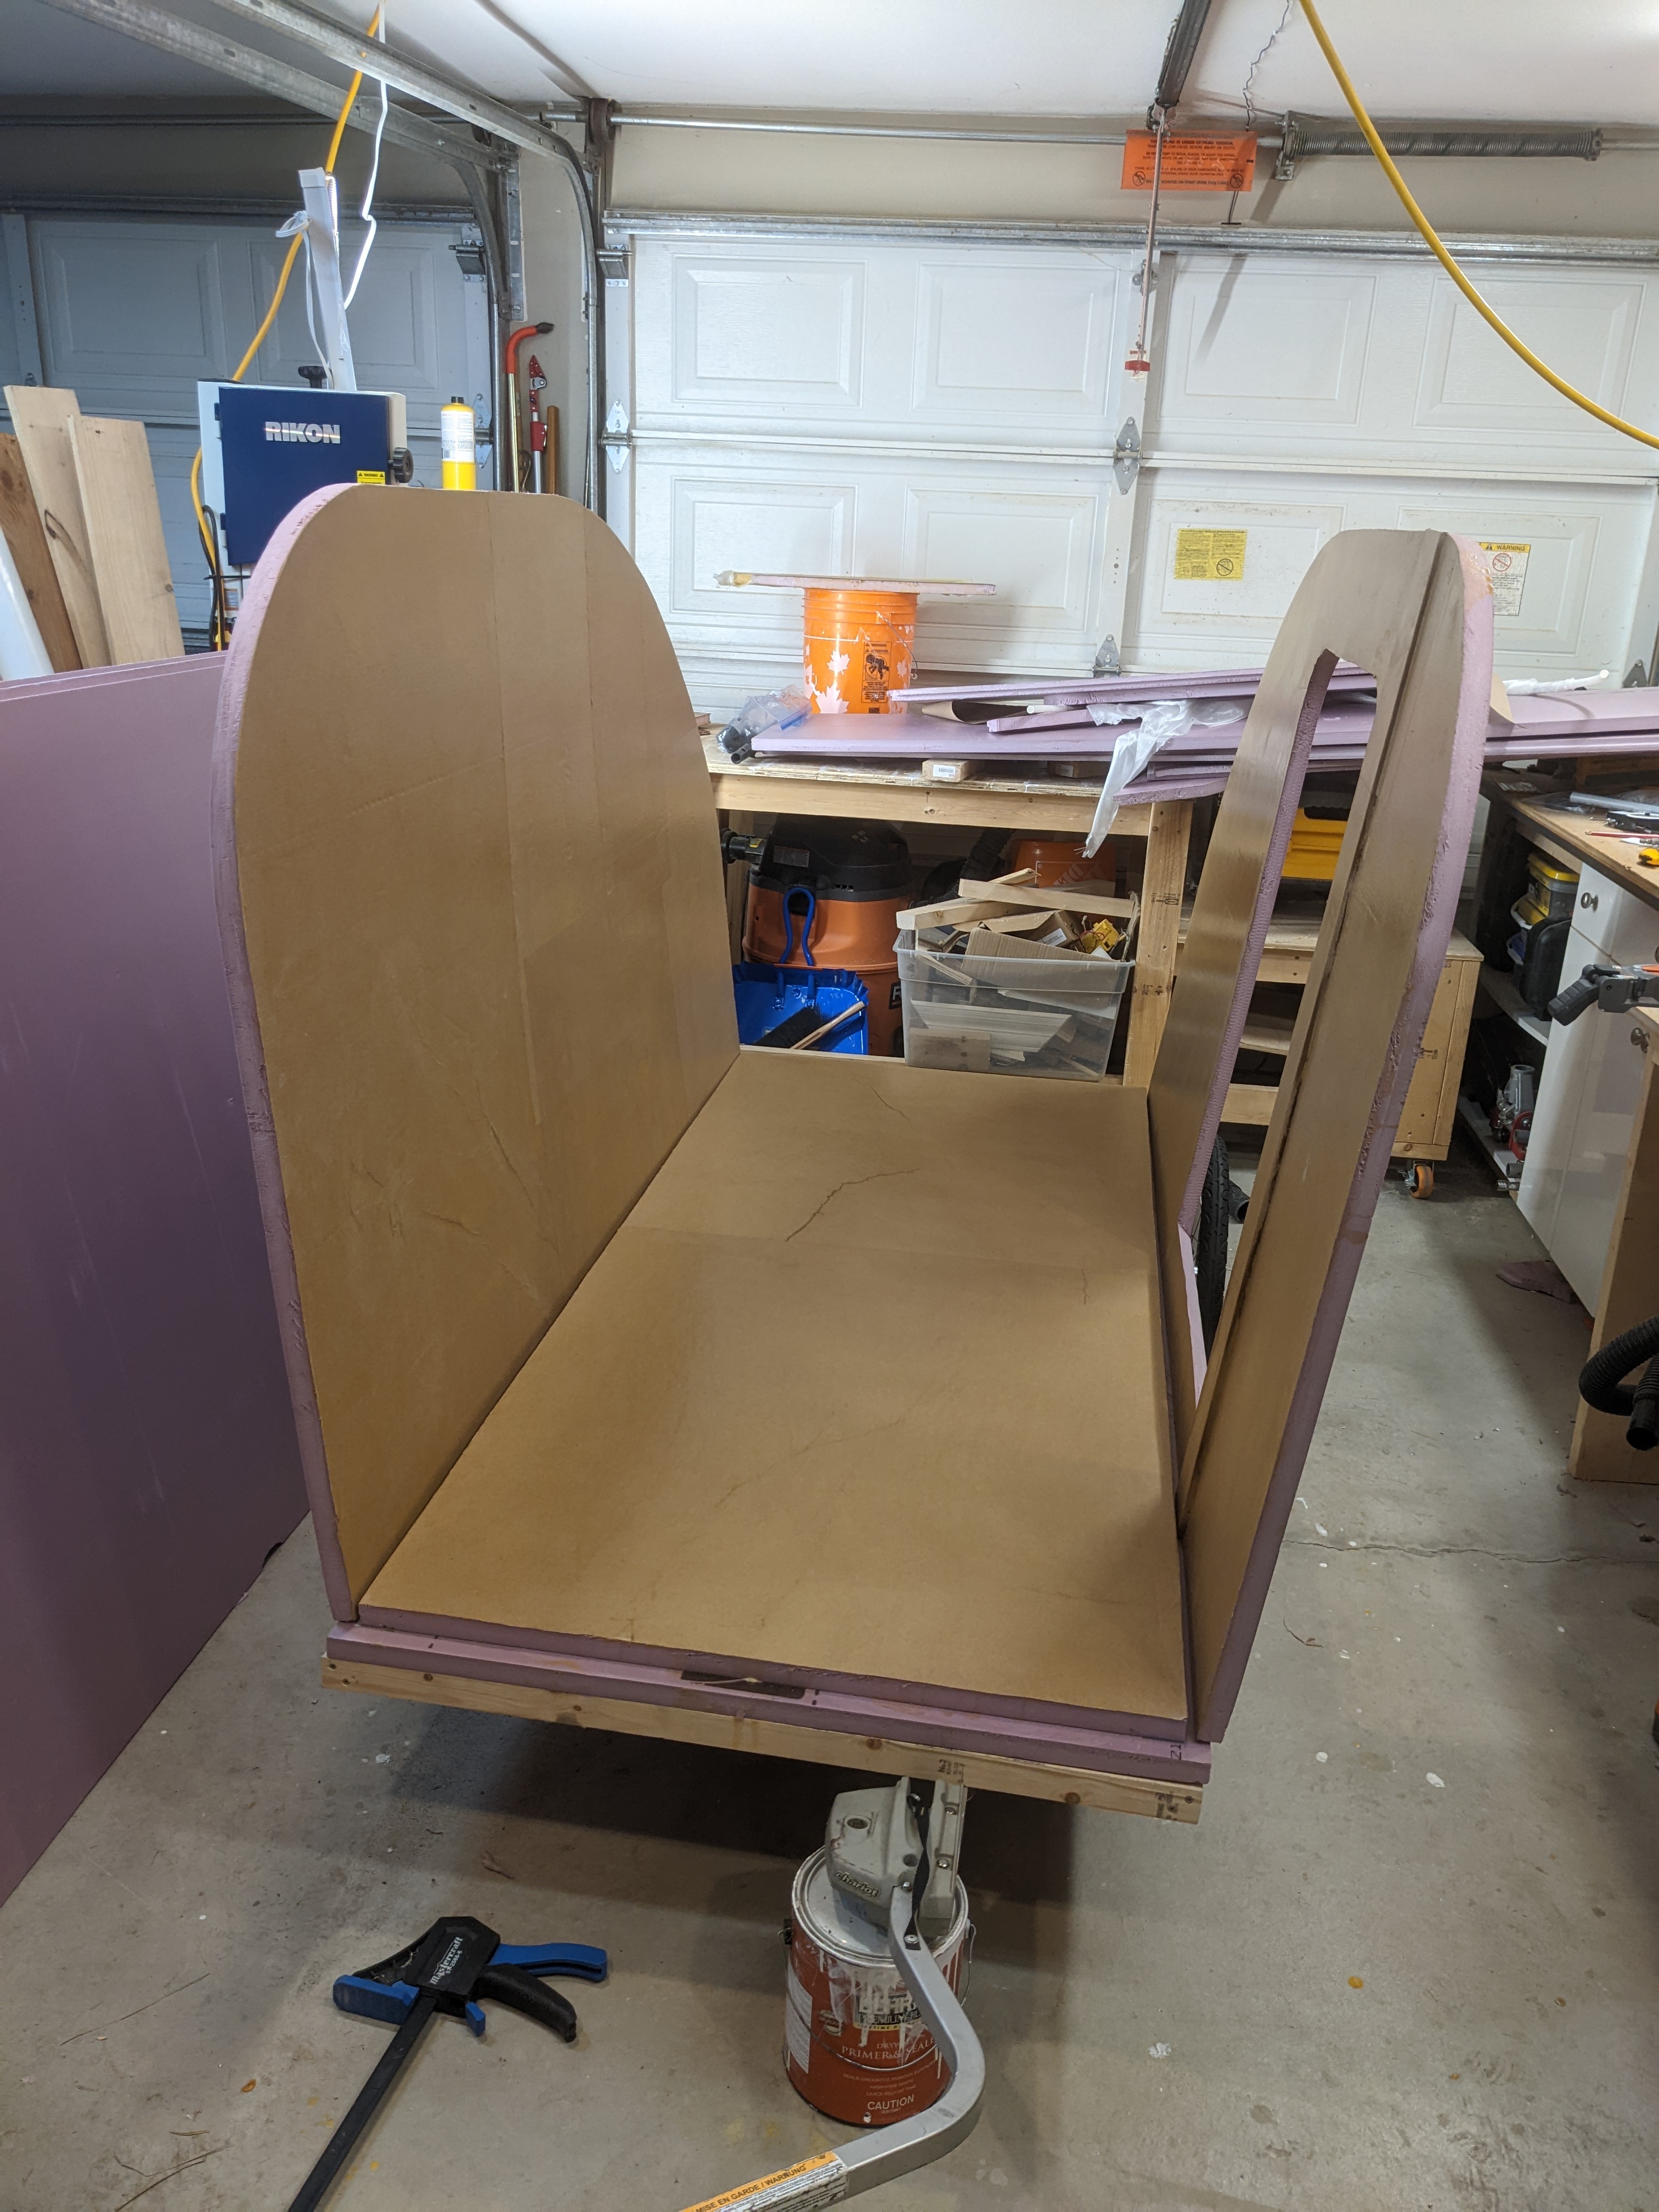
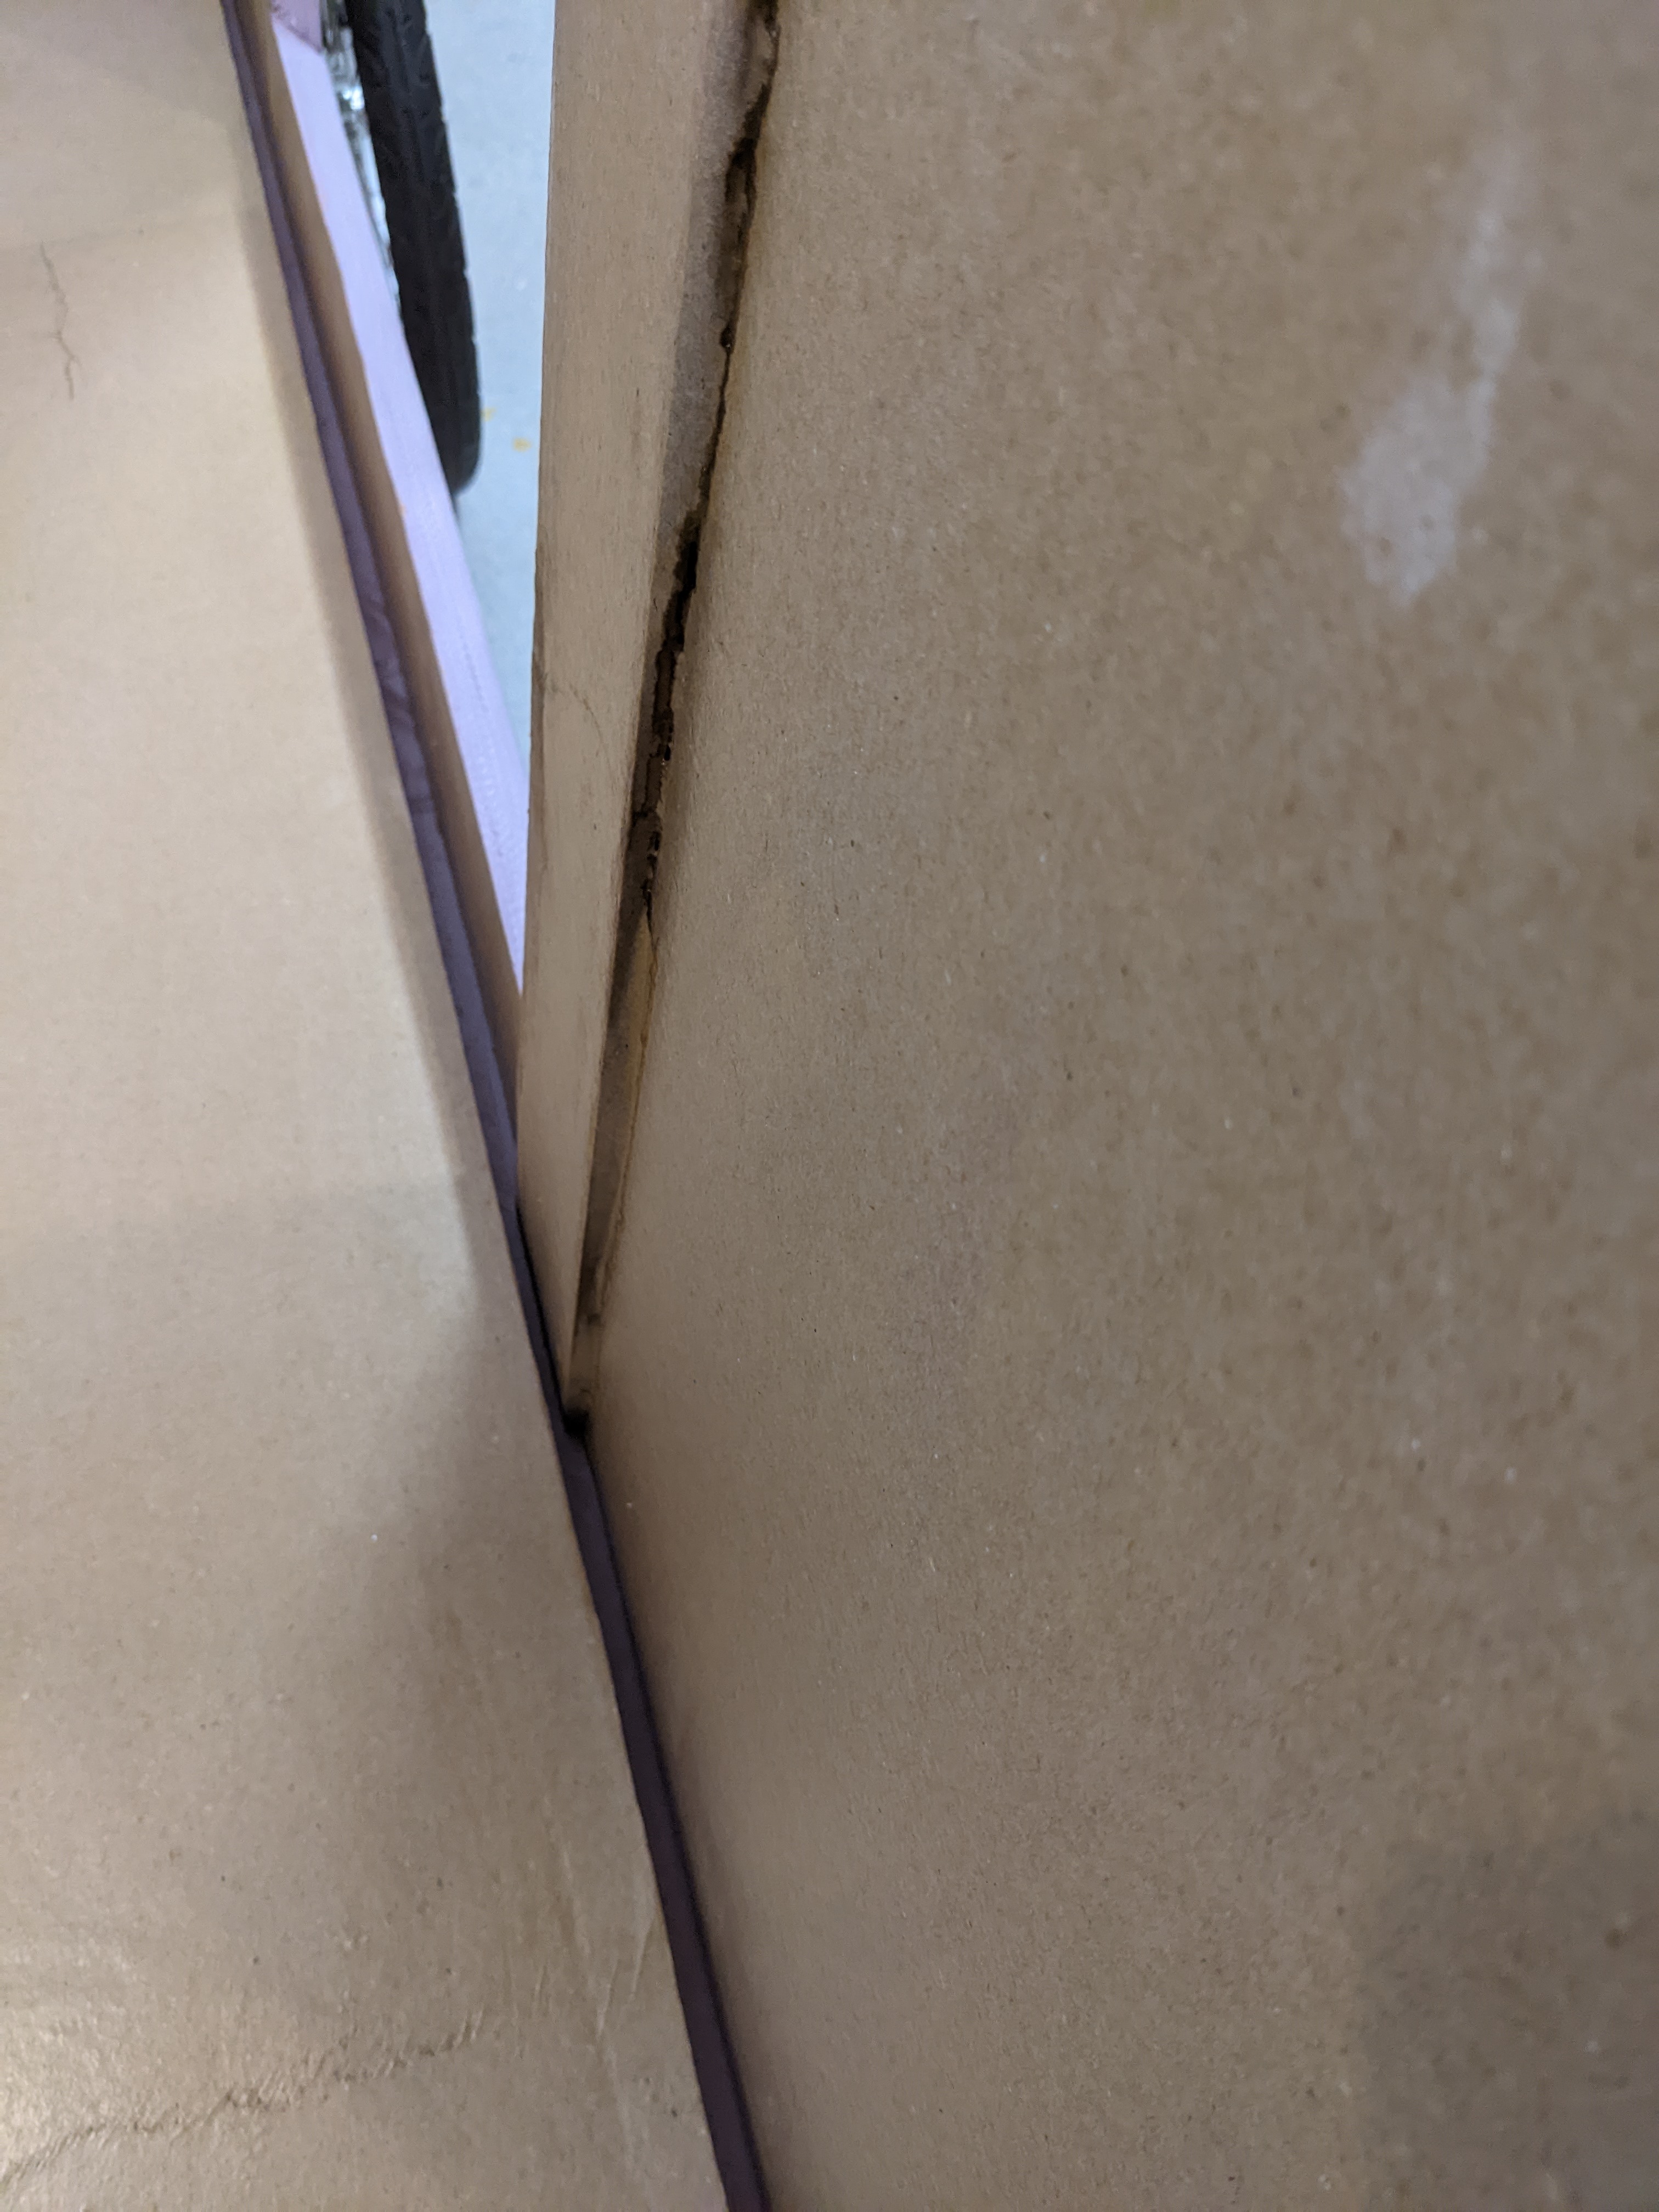
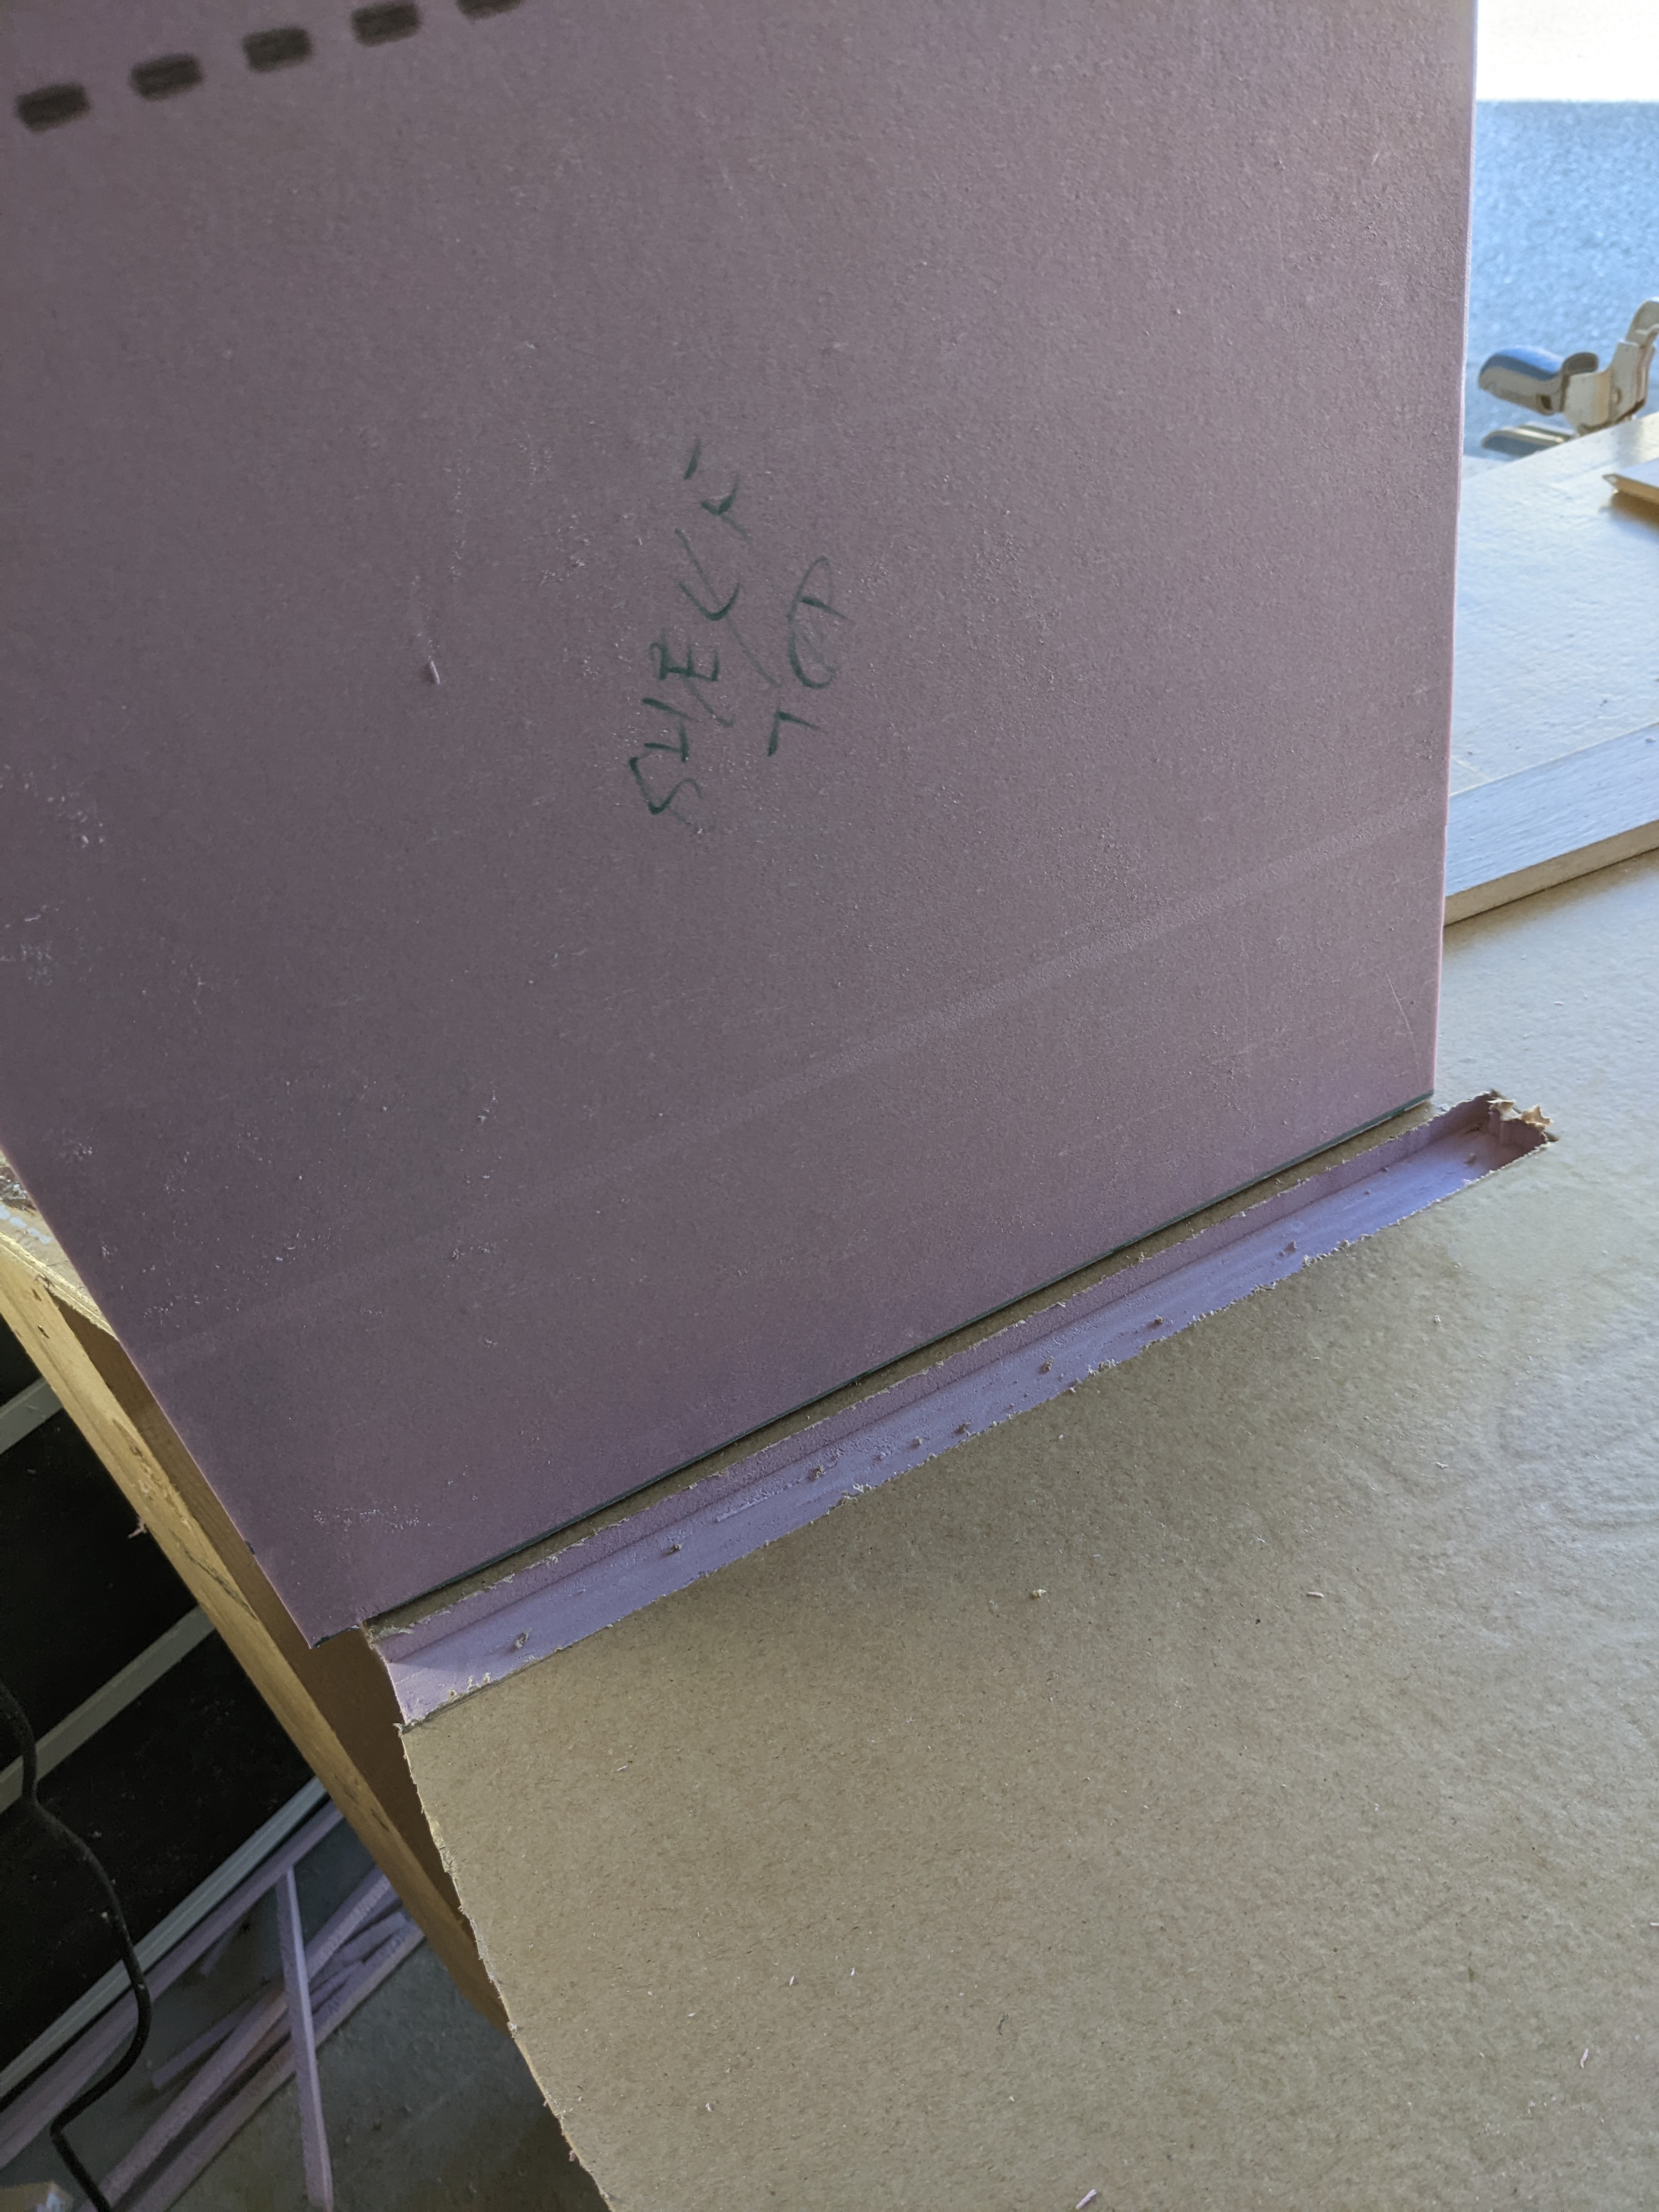
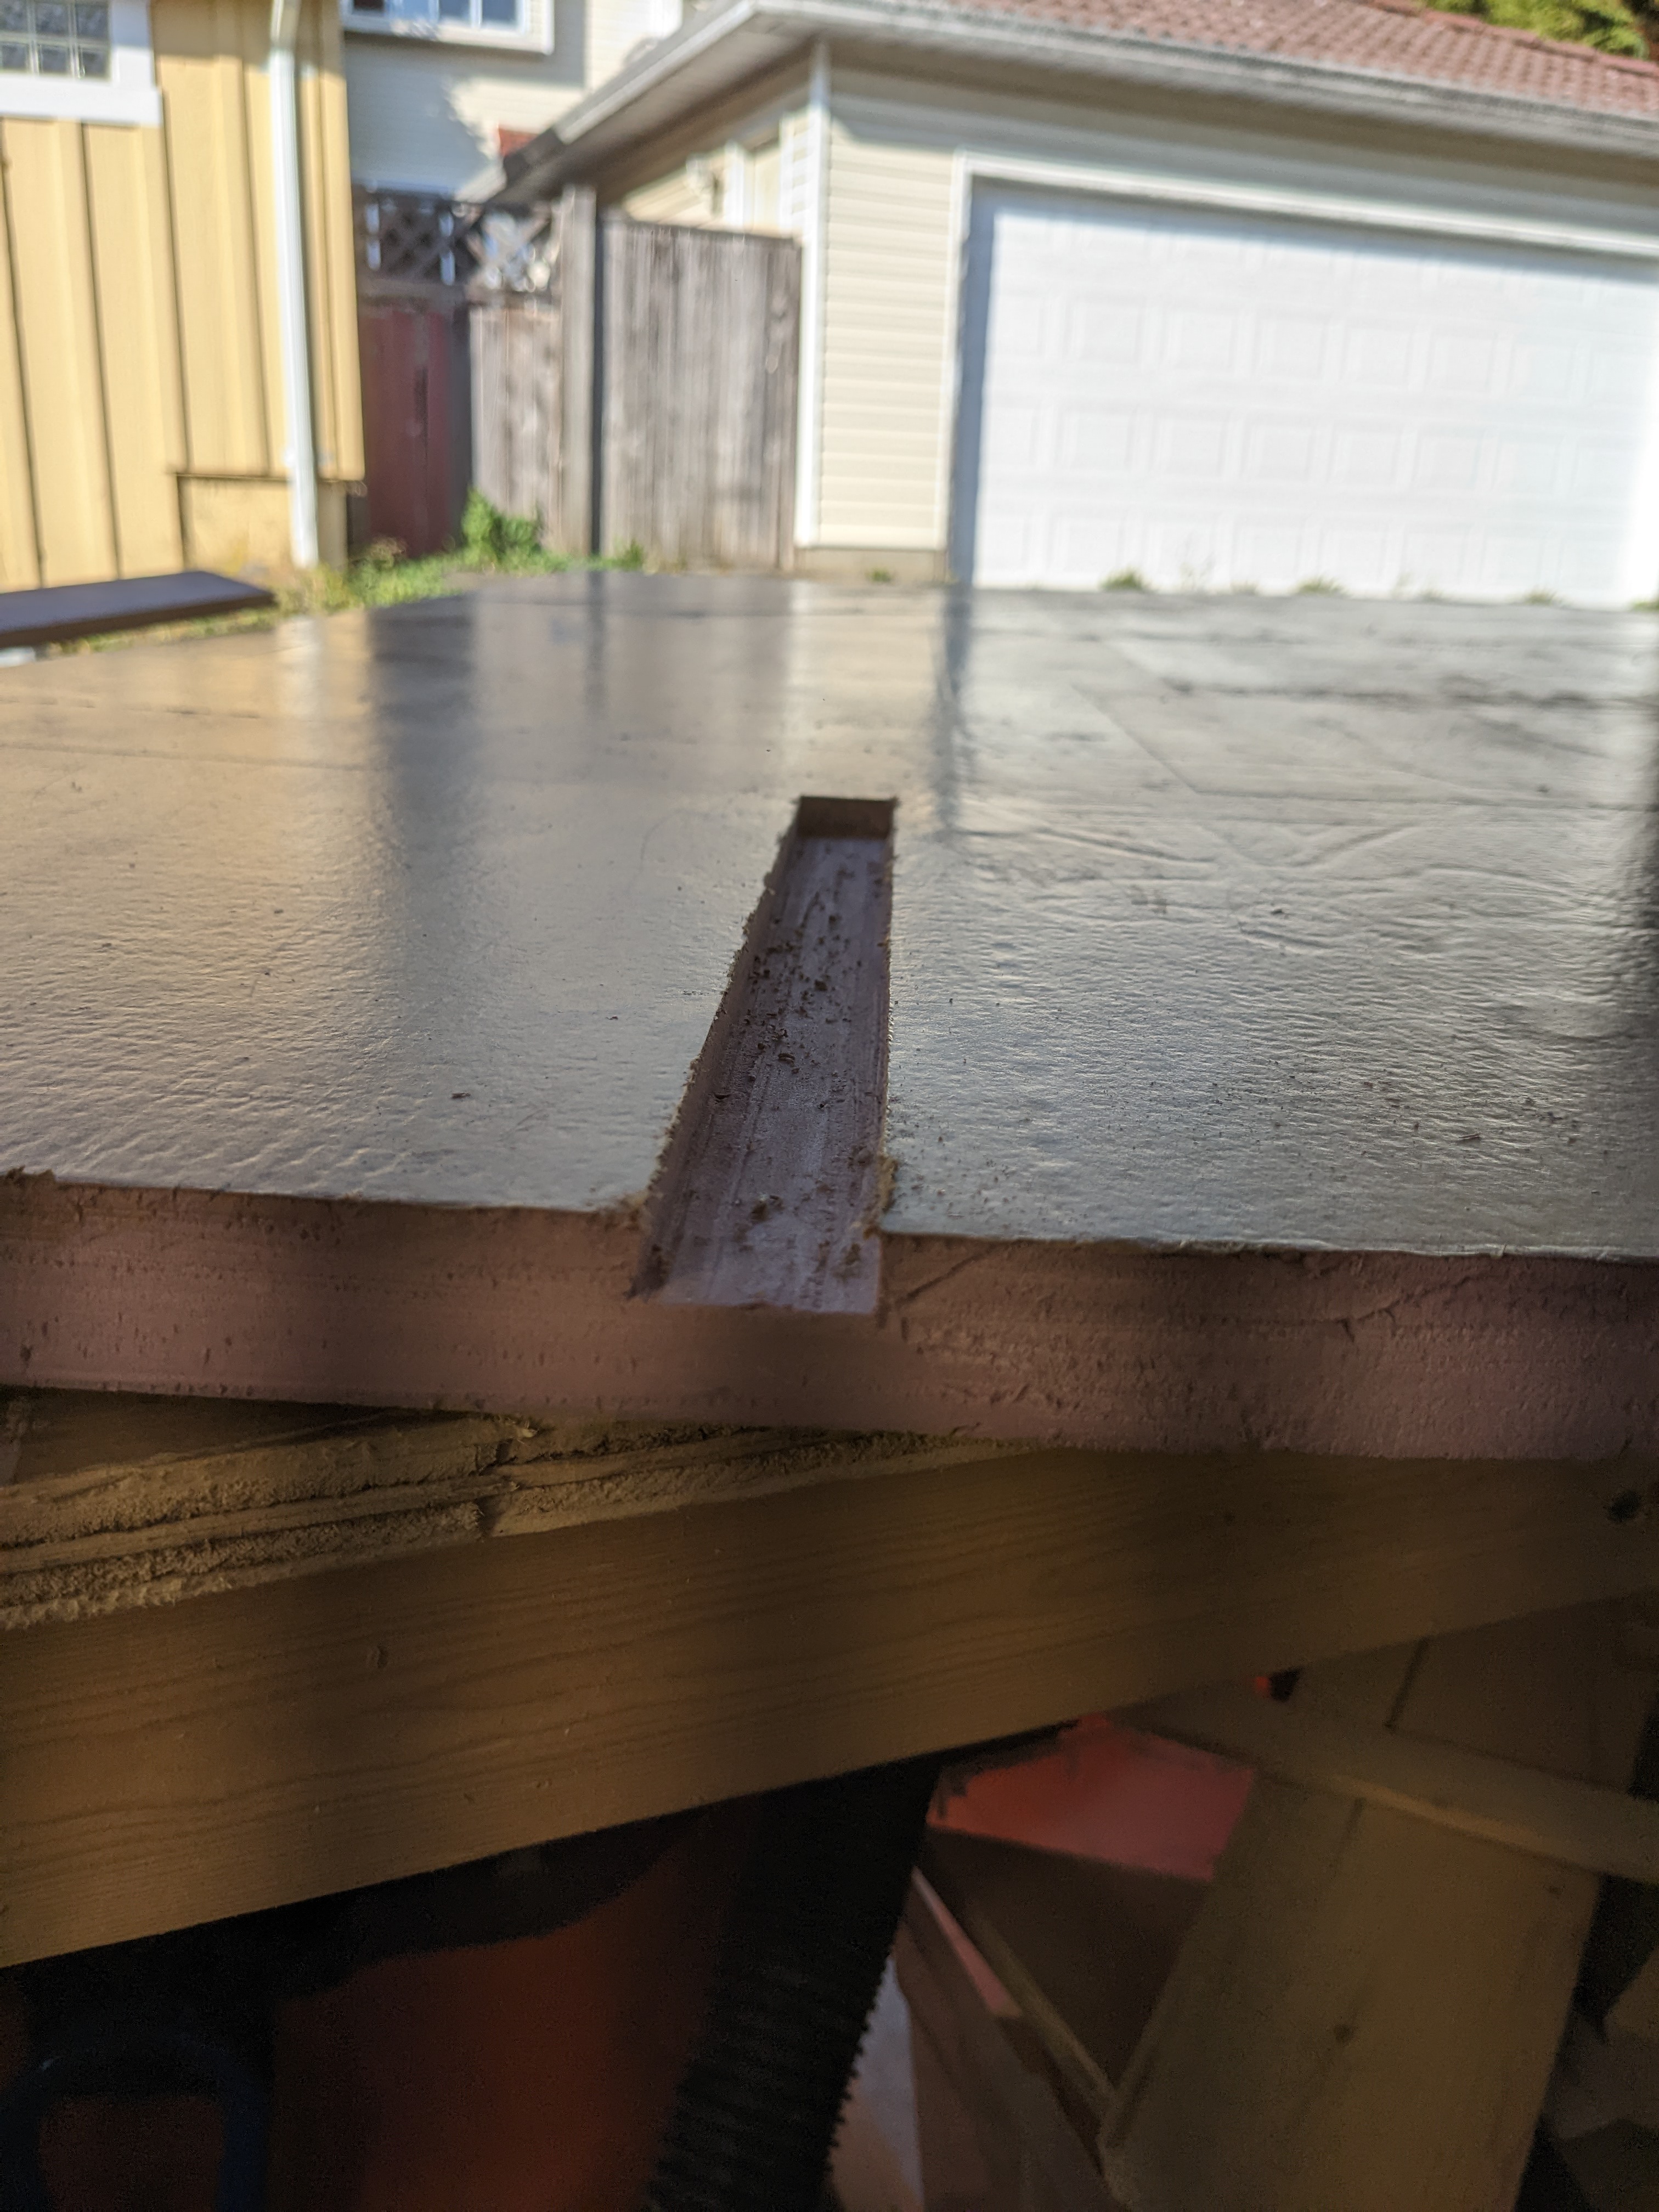
I tried a simple piece that was the width of the floor first, but that was going to be hard to use (though the glue would have held it fine I think), but then decided I'd cut out a shallow groove in the walls for the shelf to fit into.
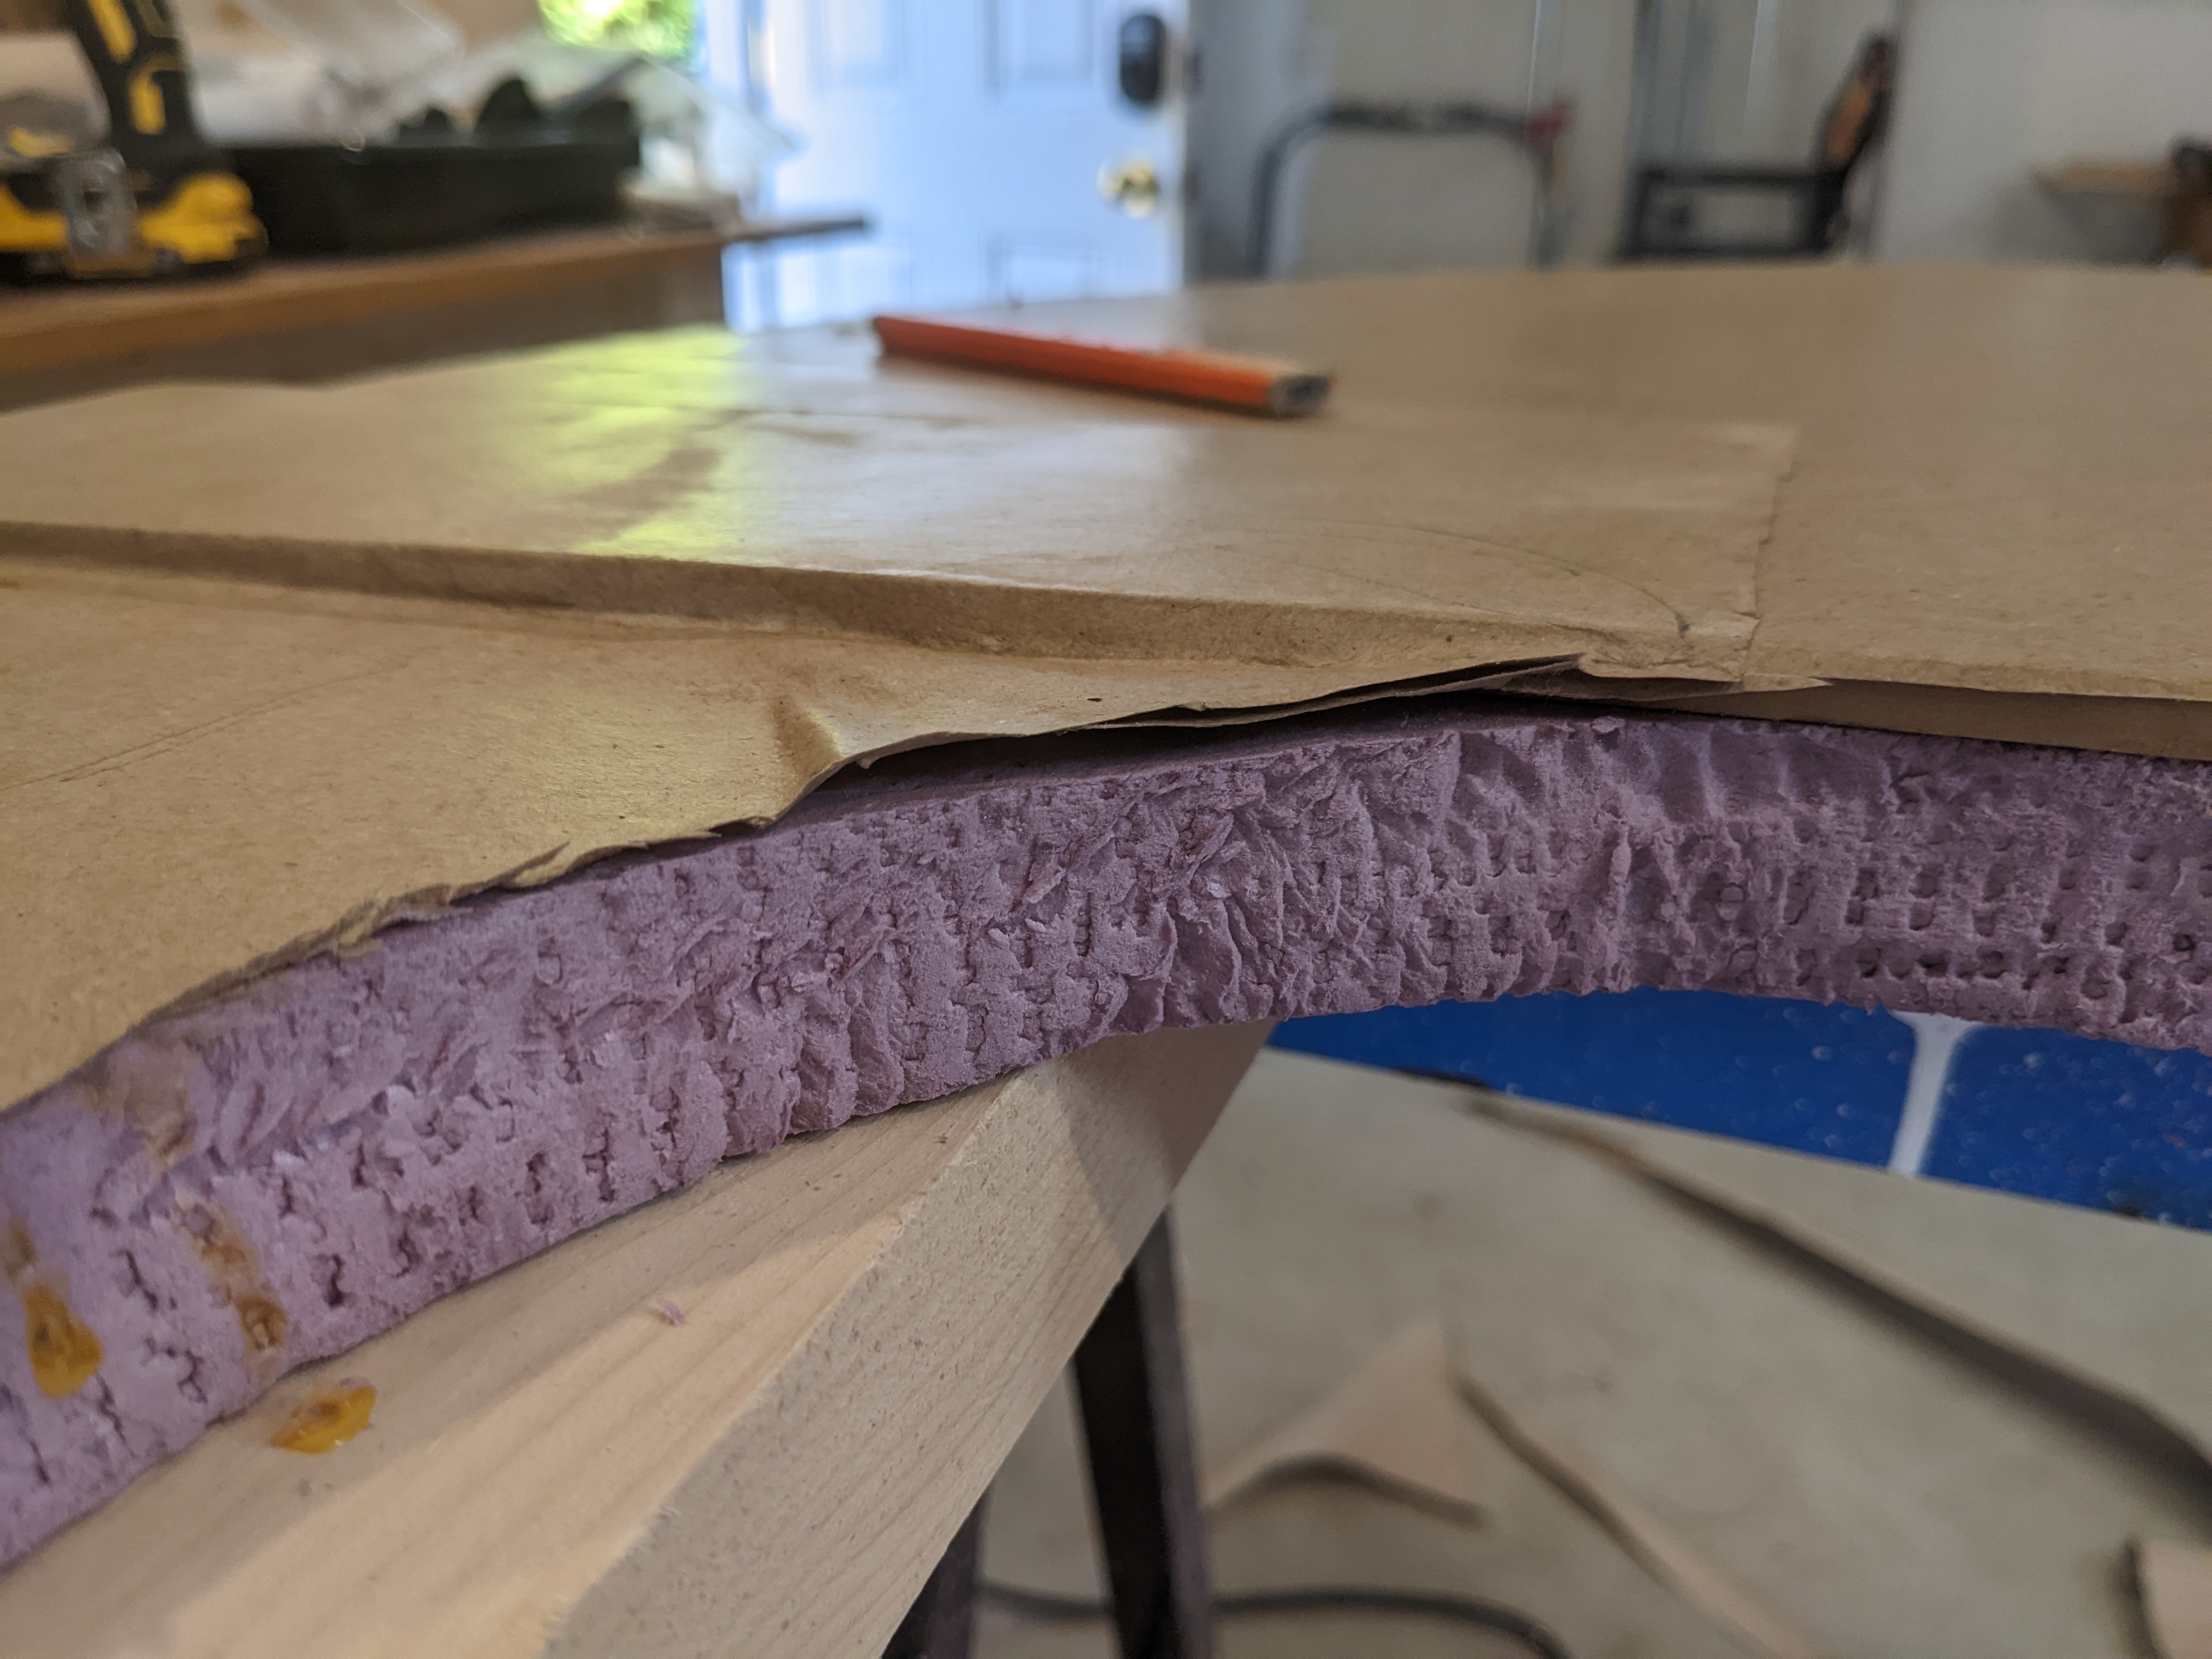
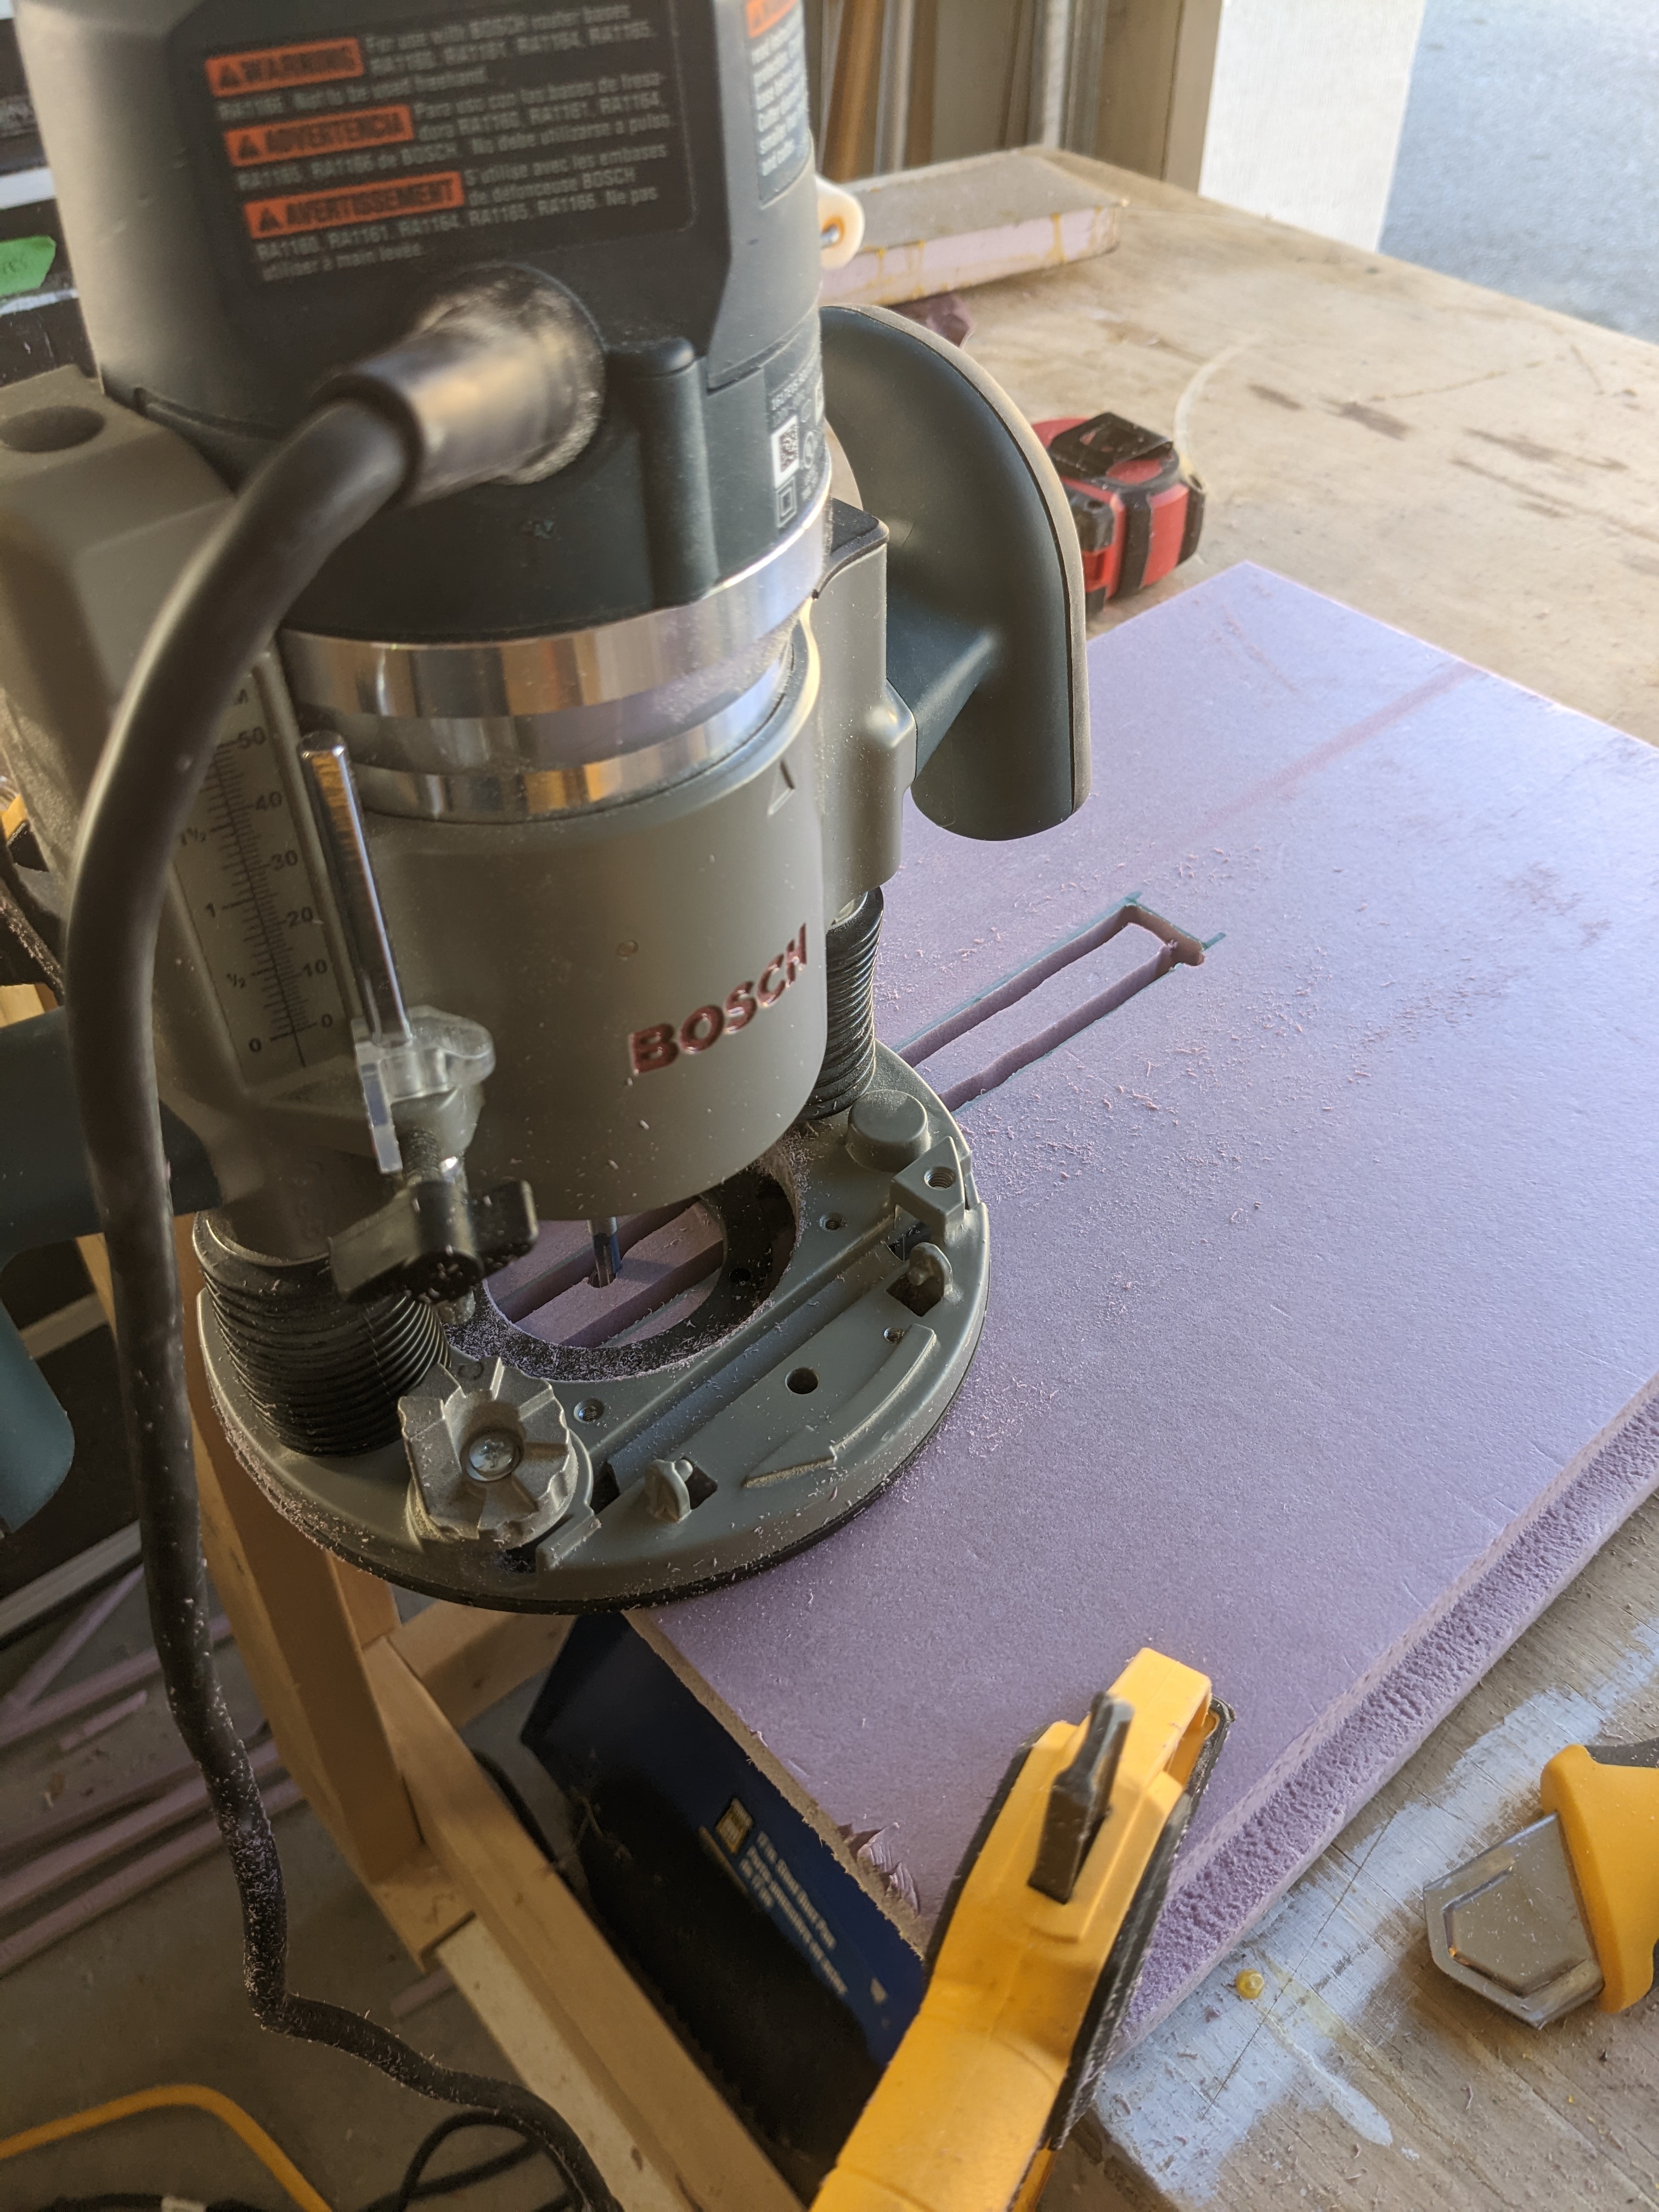
So most of this is me remembering how to use a router (you don't need to do it too "right" when routing foam, it's like it's not even there so you can go any direction and it won't pull, etc.) and then trying to figure out how to clamp a routing guide (without any long-mouthed clamps) to try to cut the groove straight.
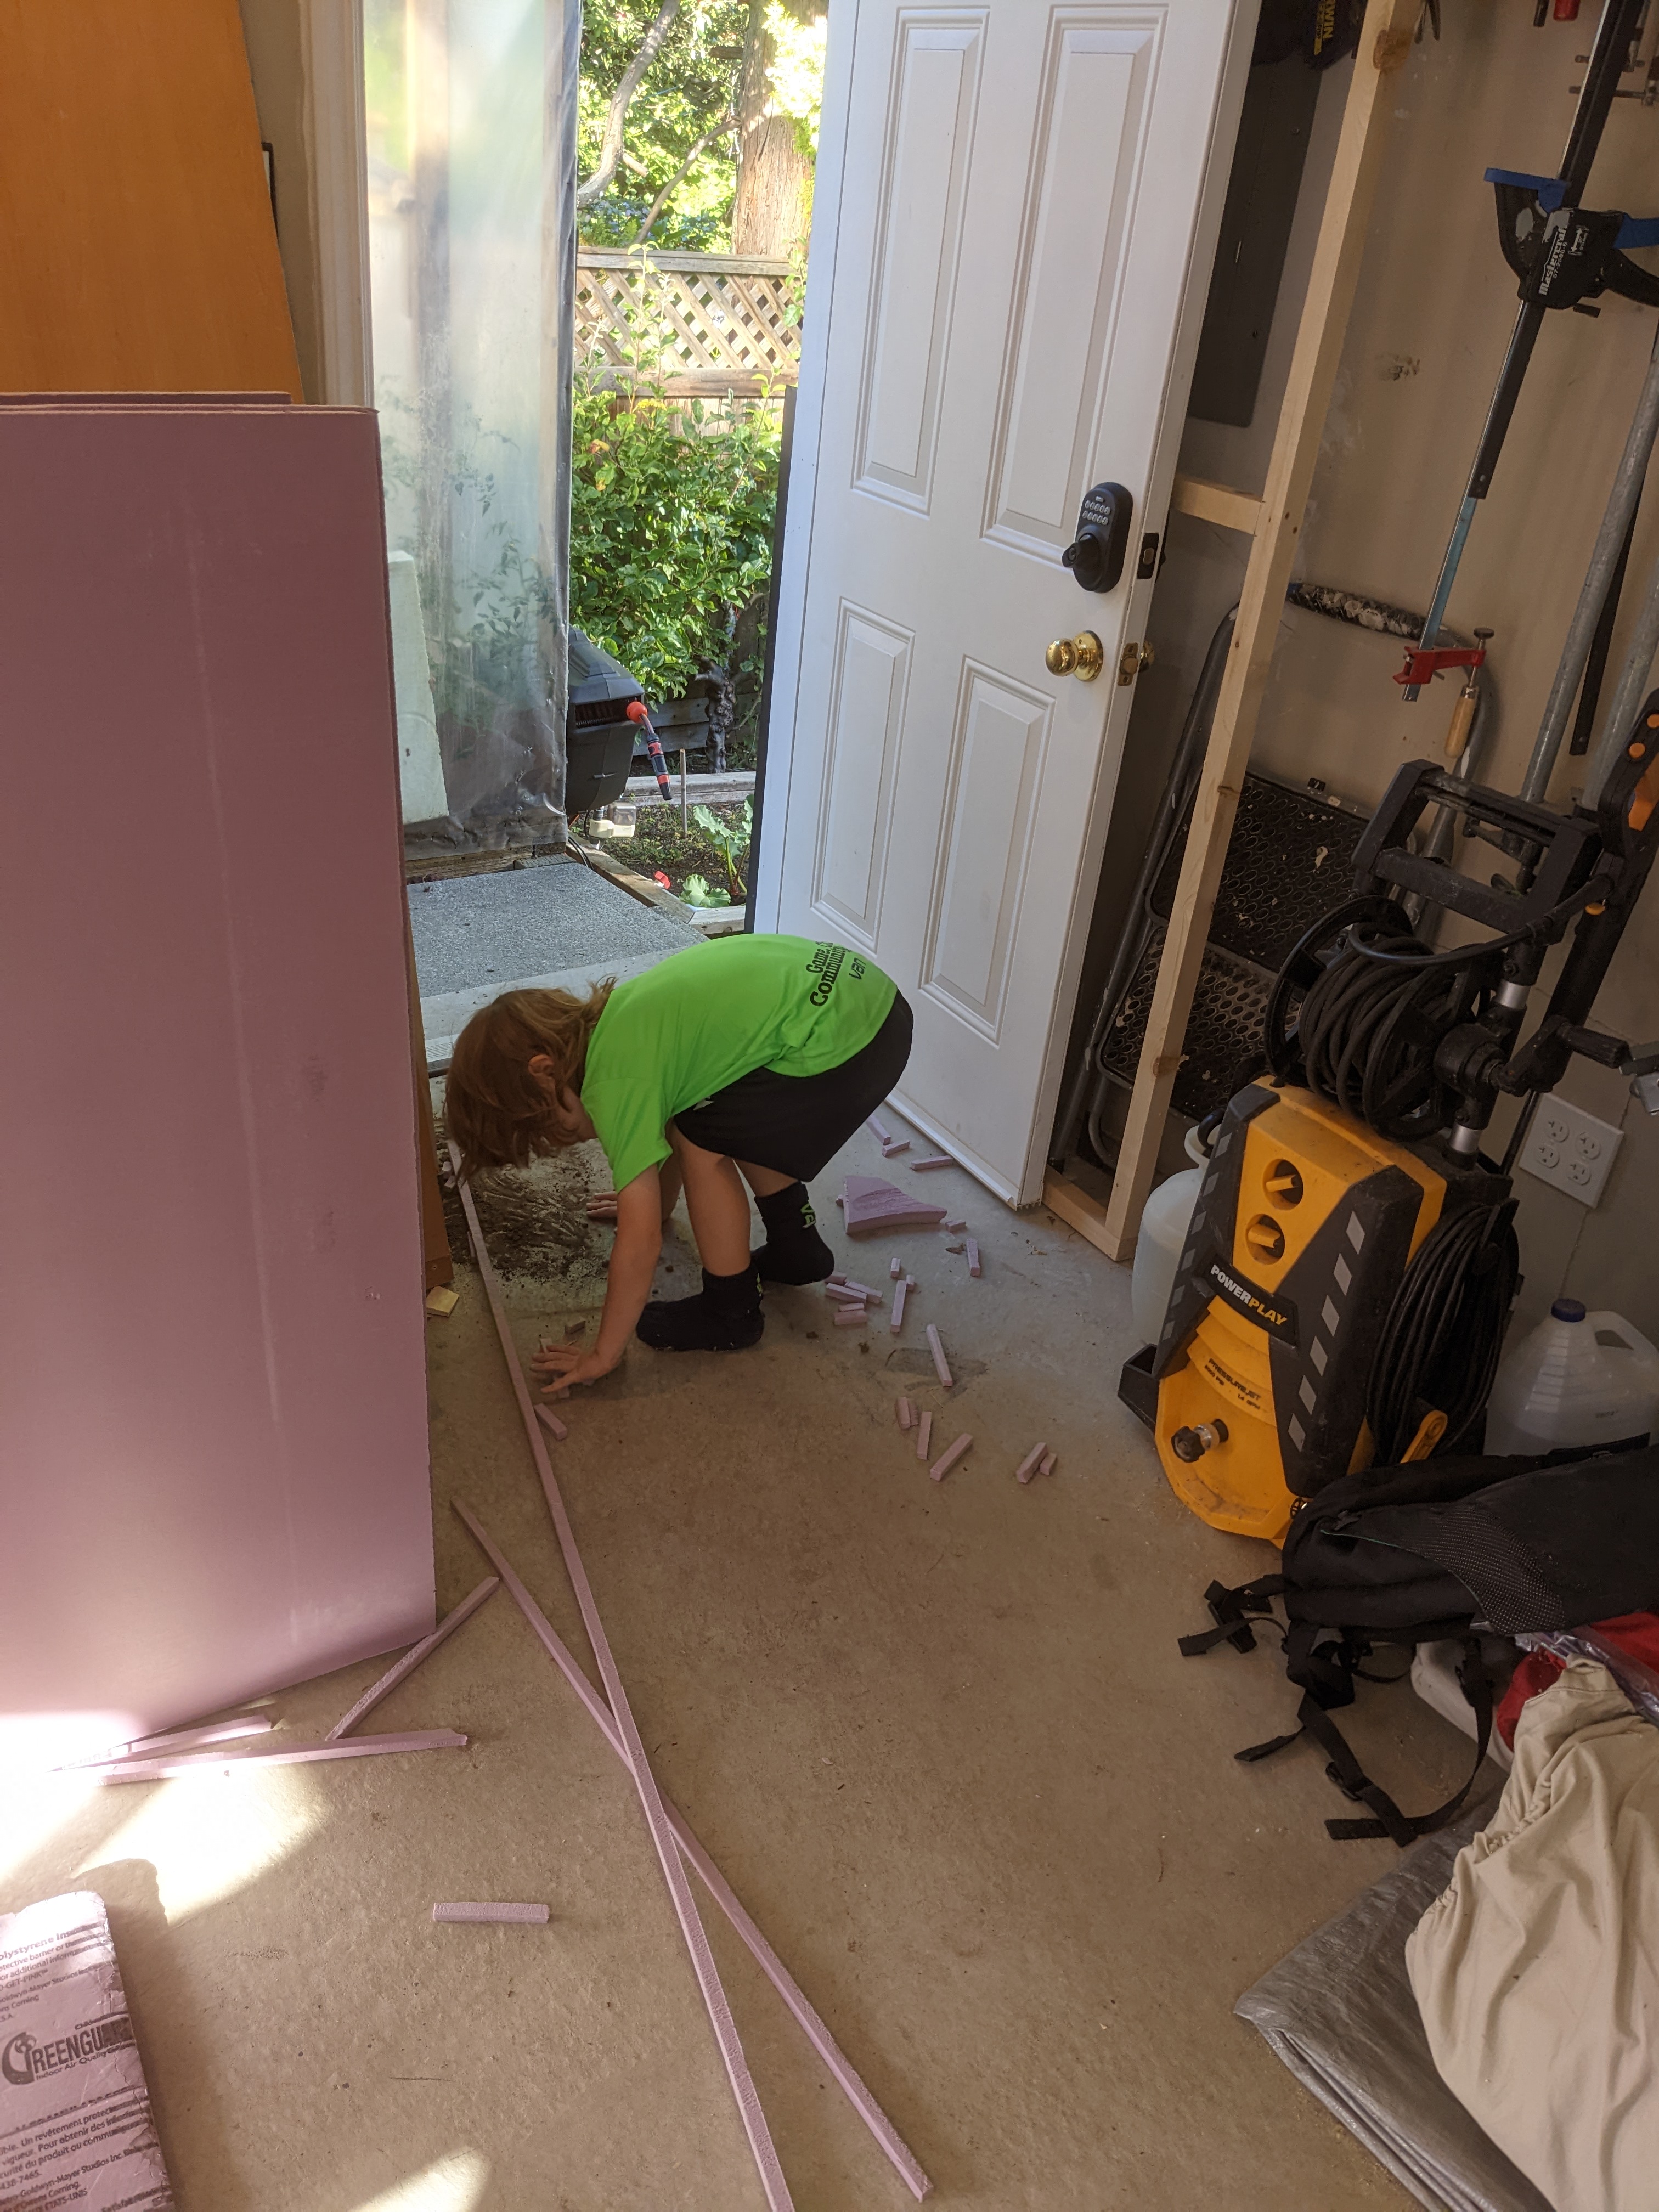
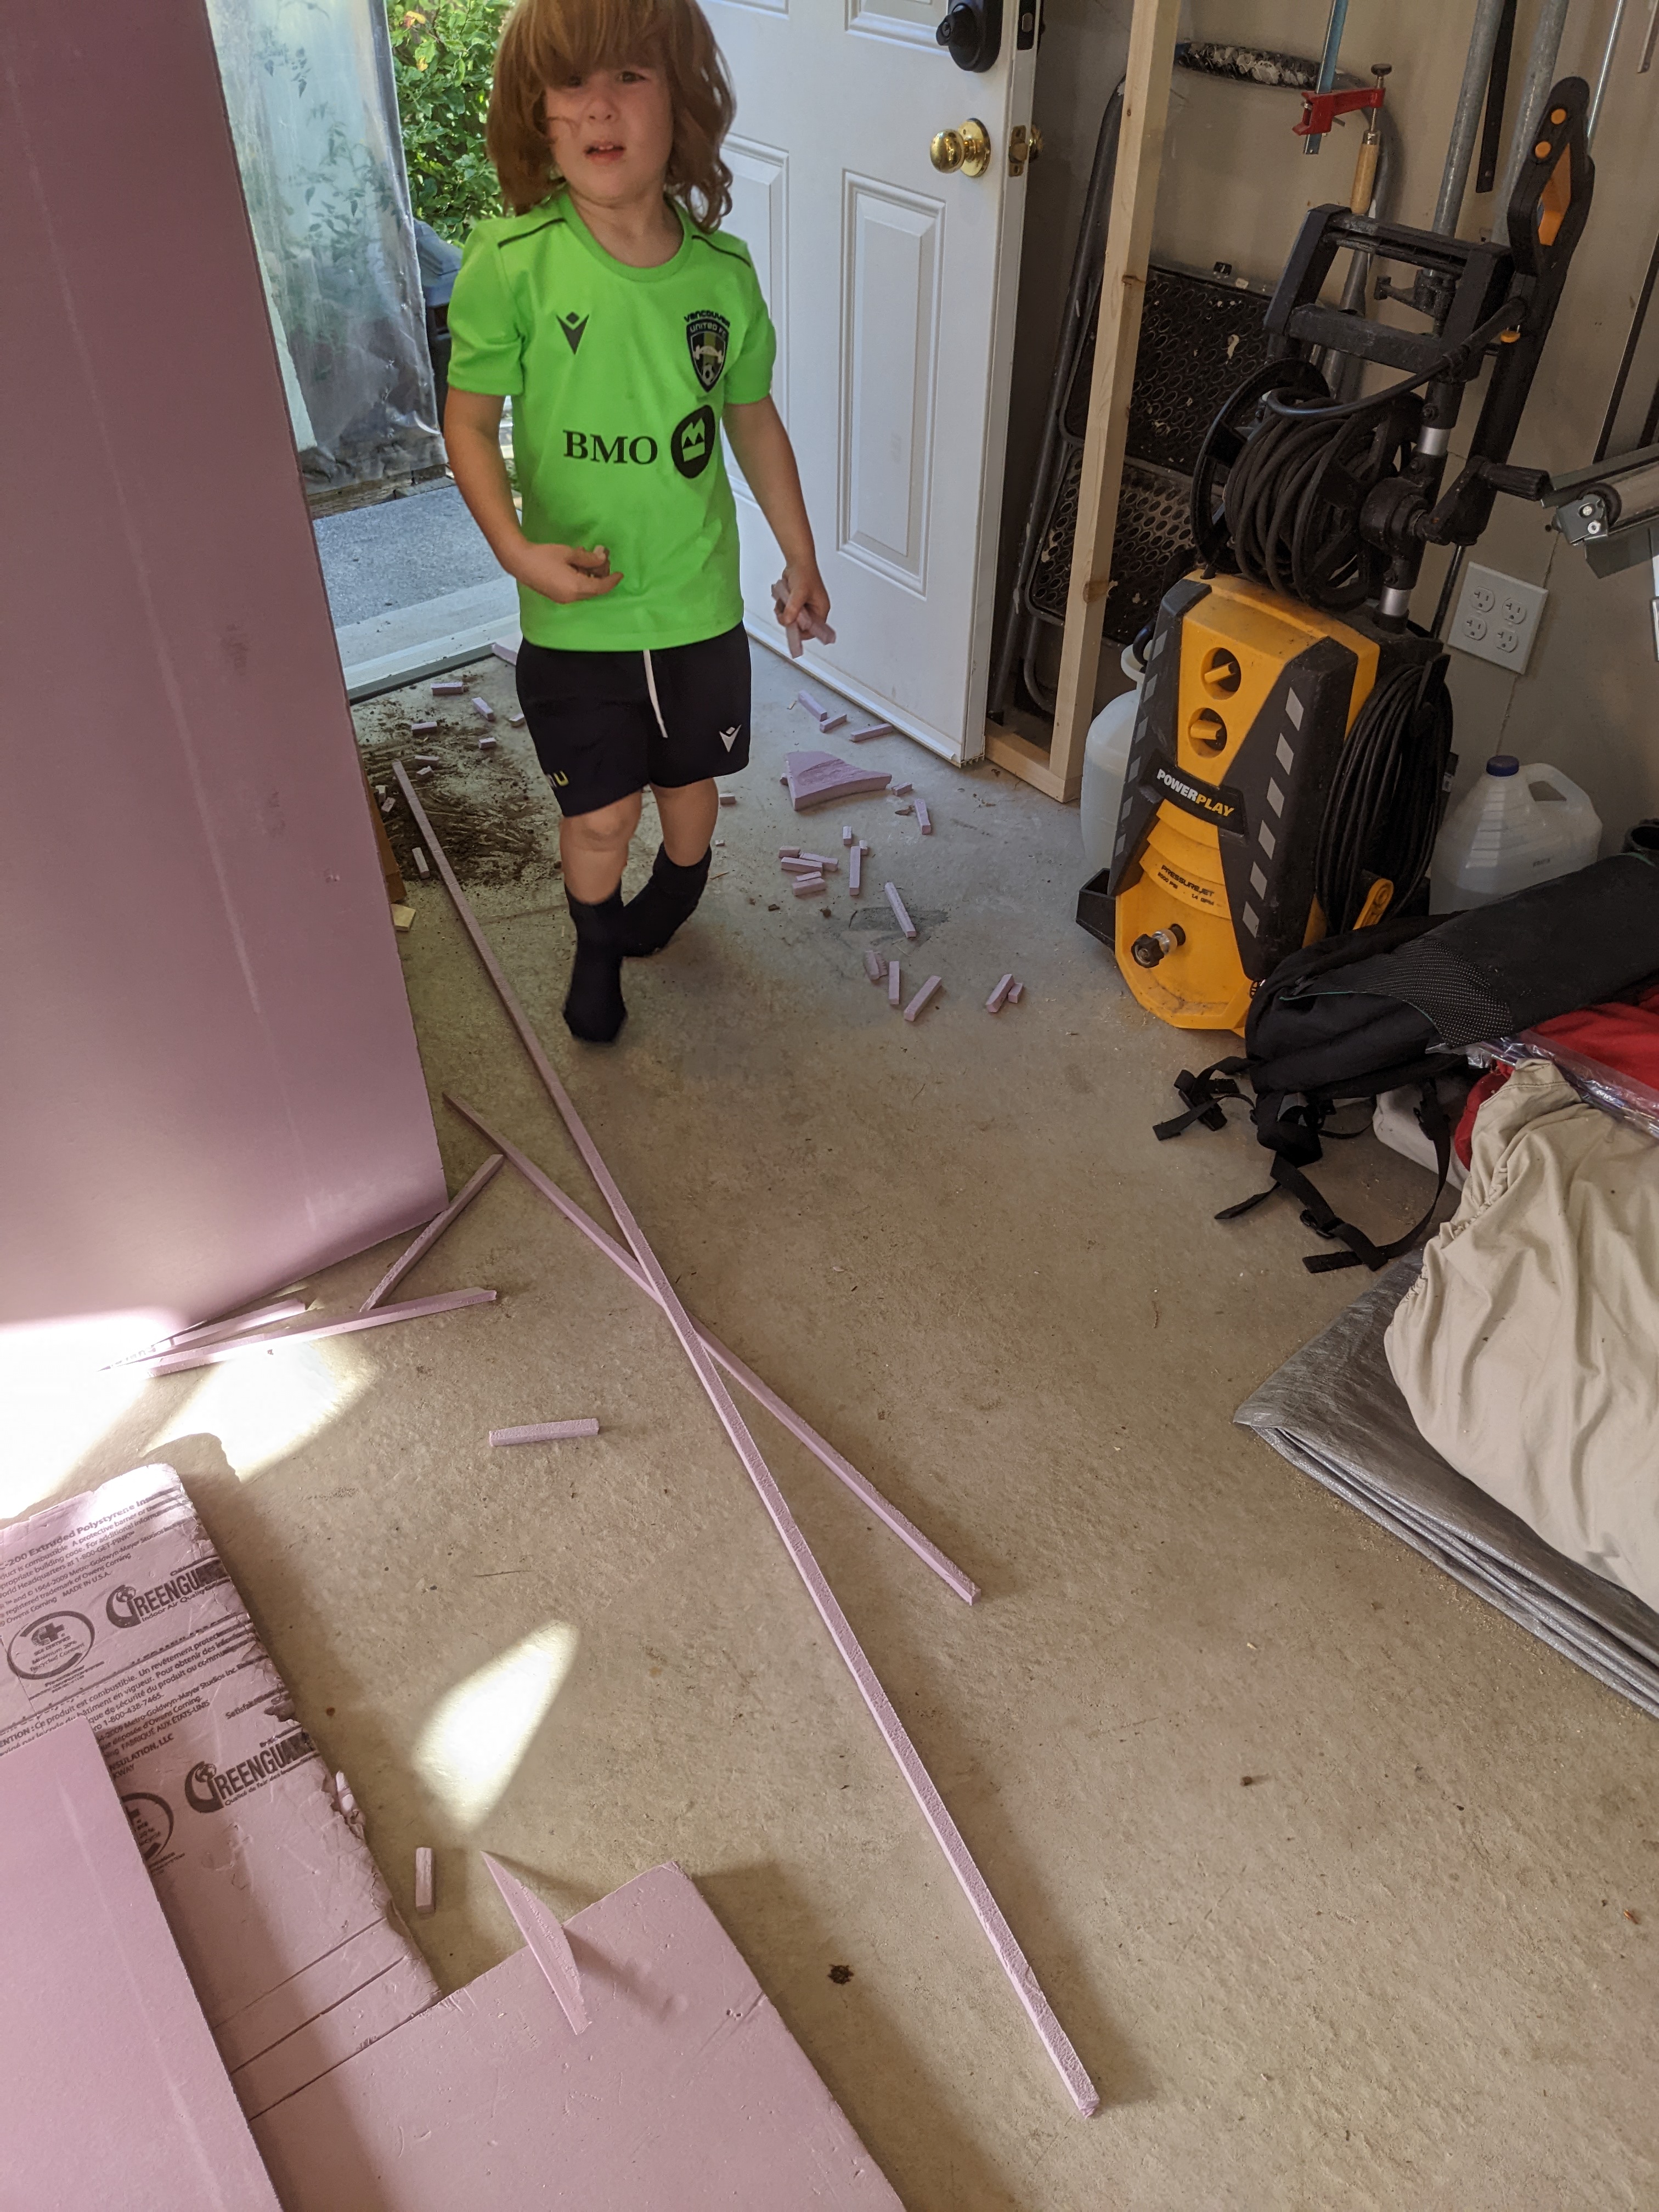
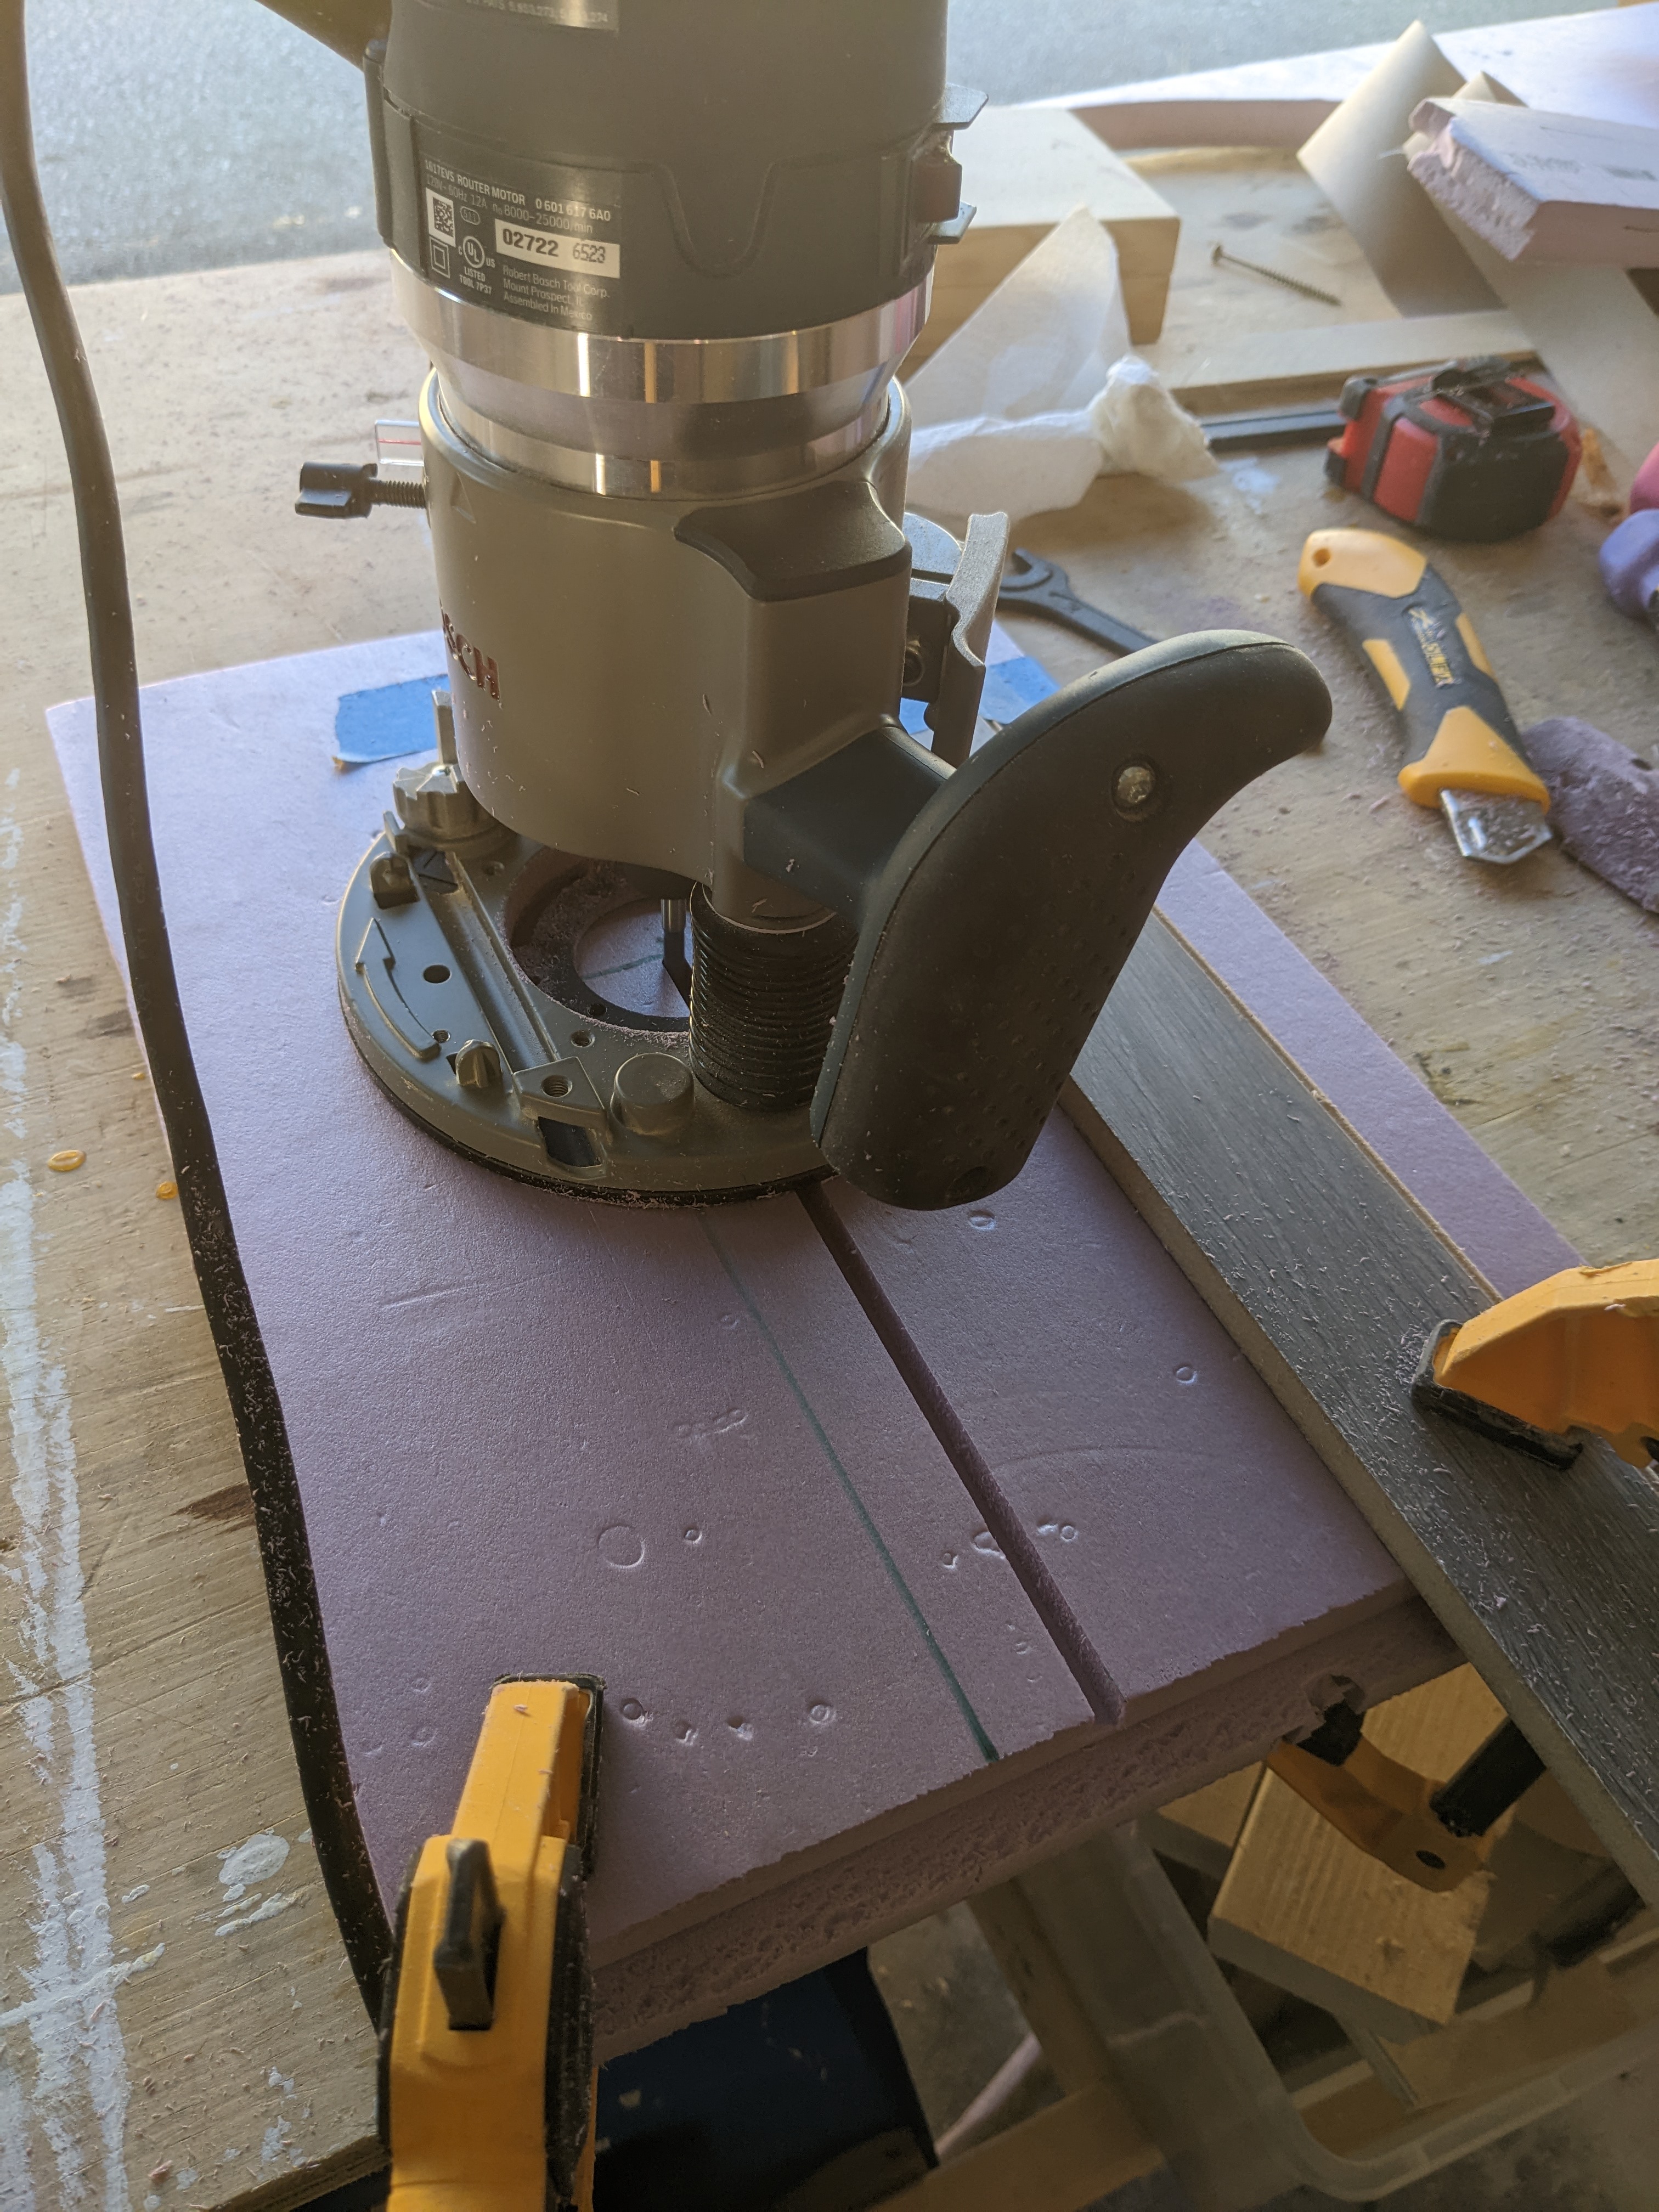
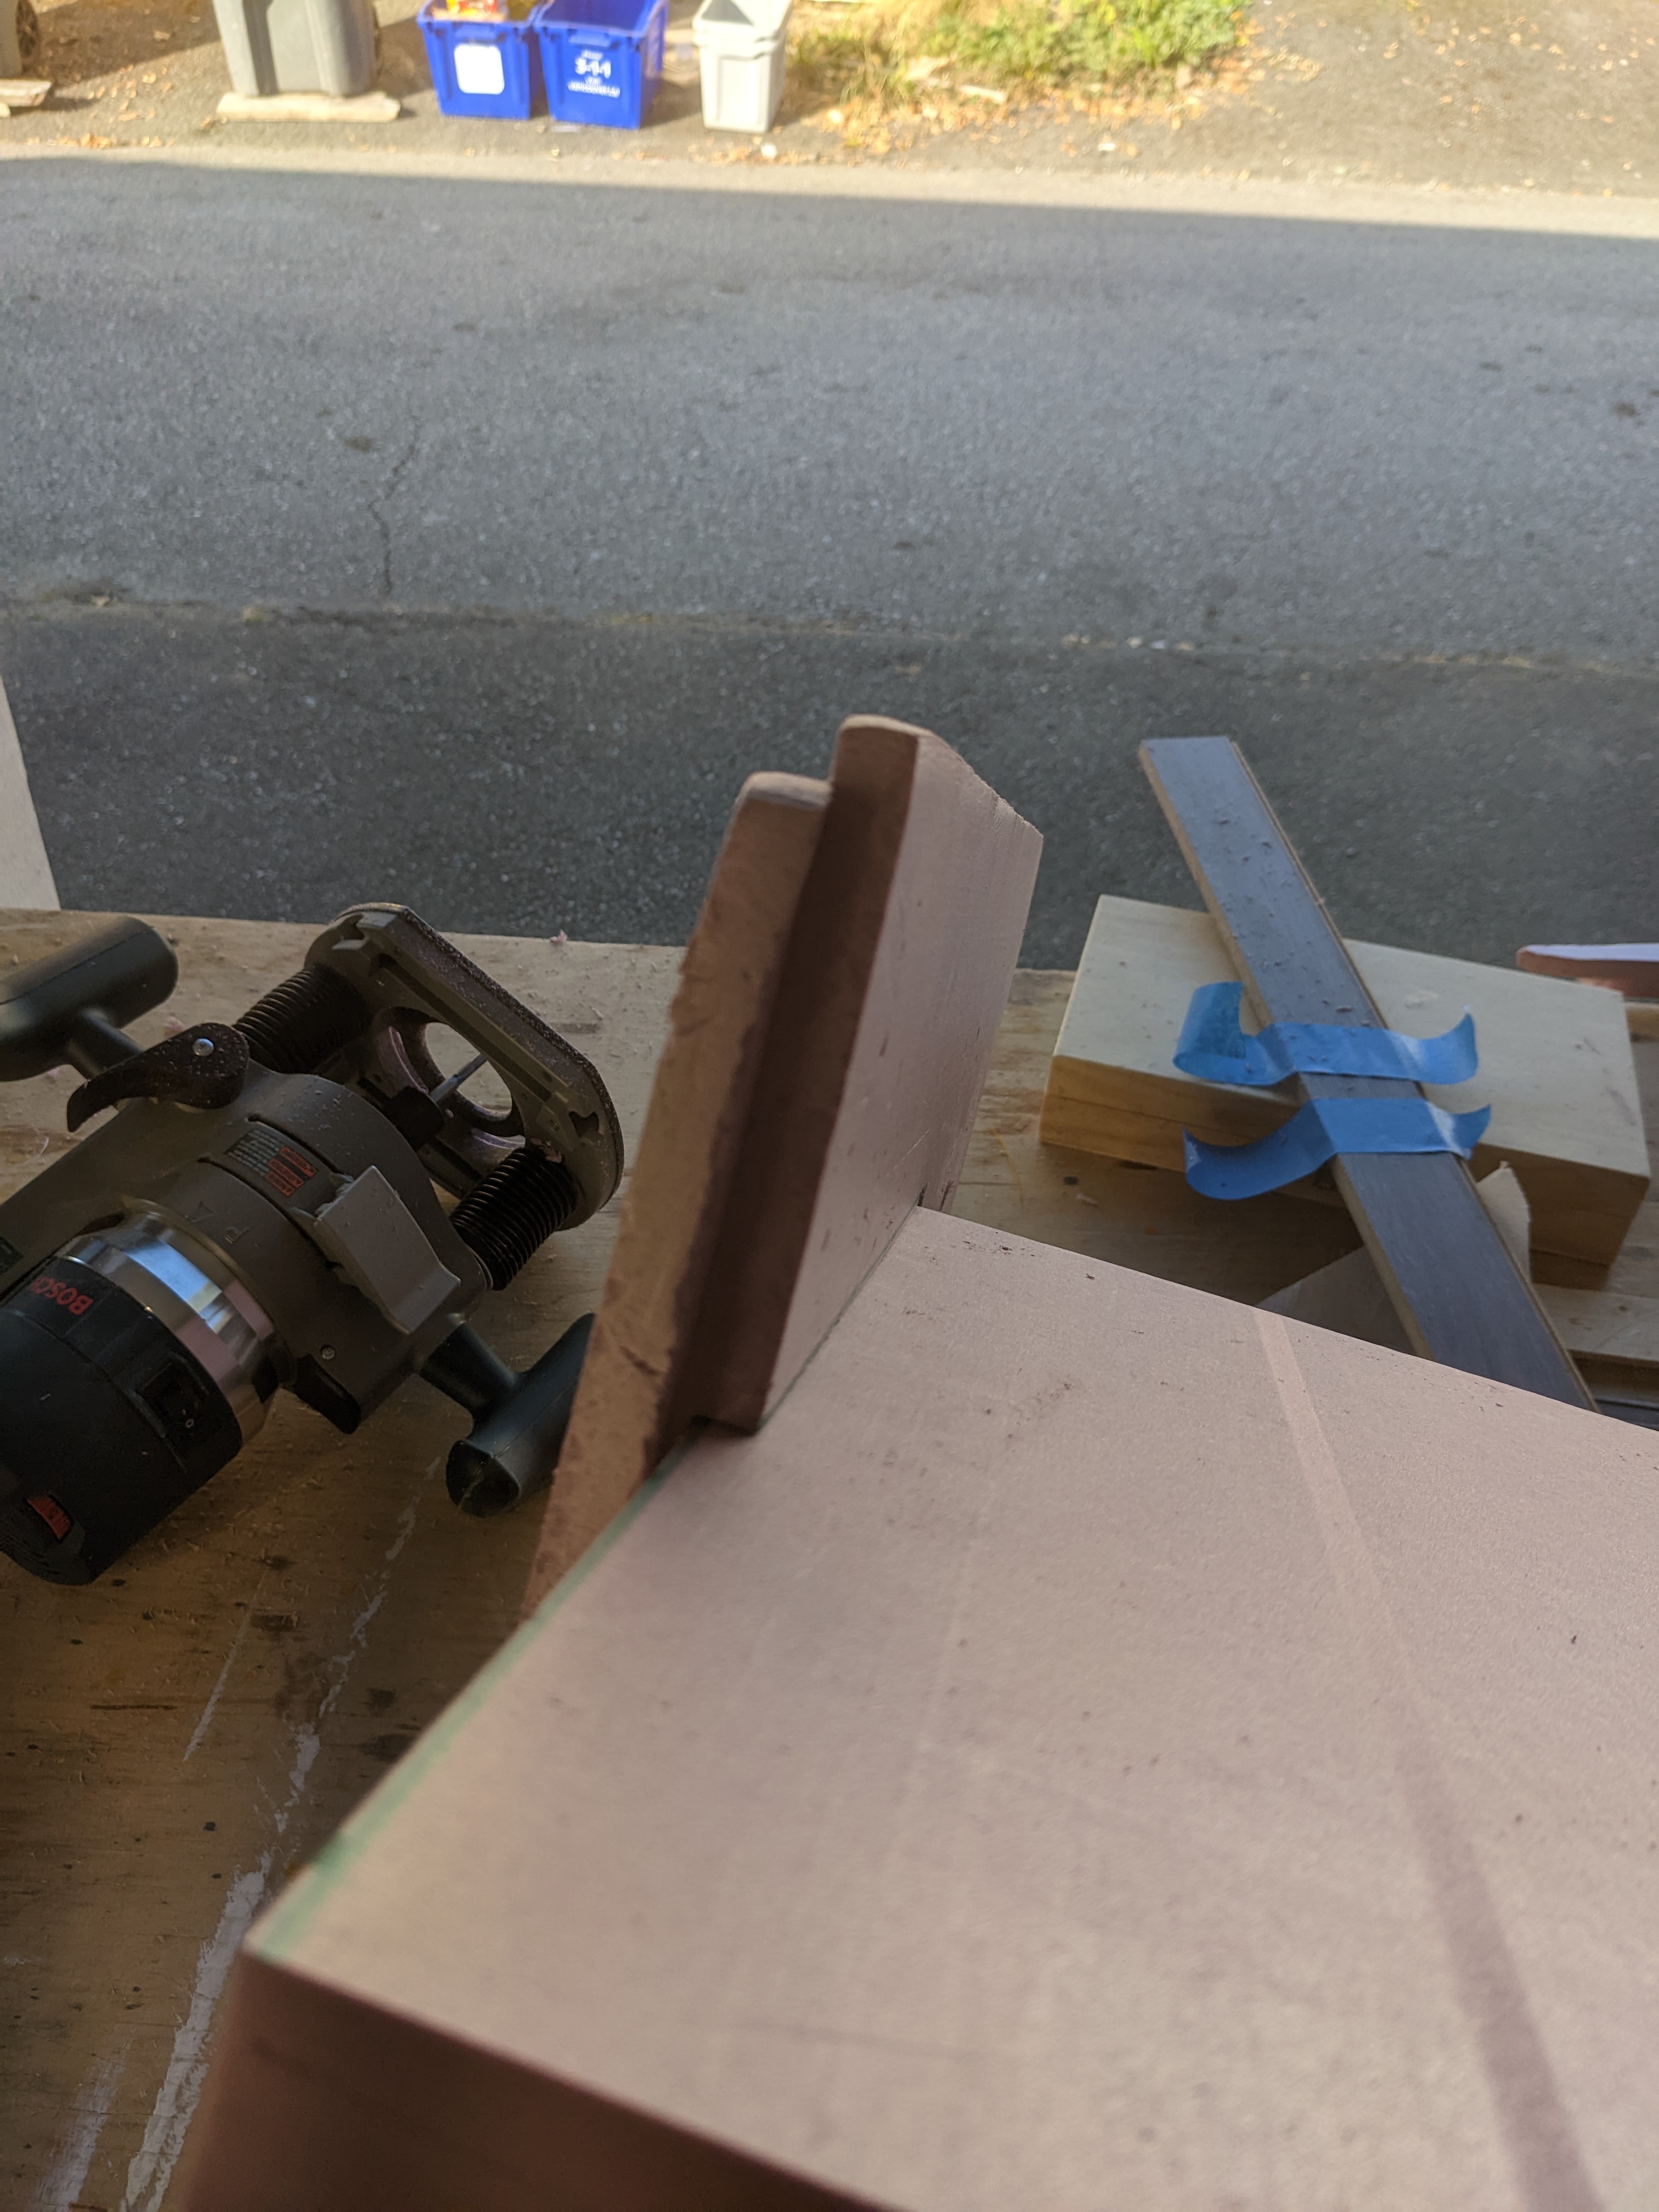
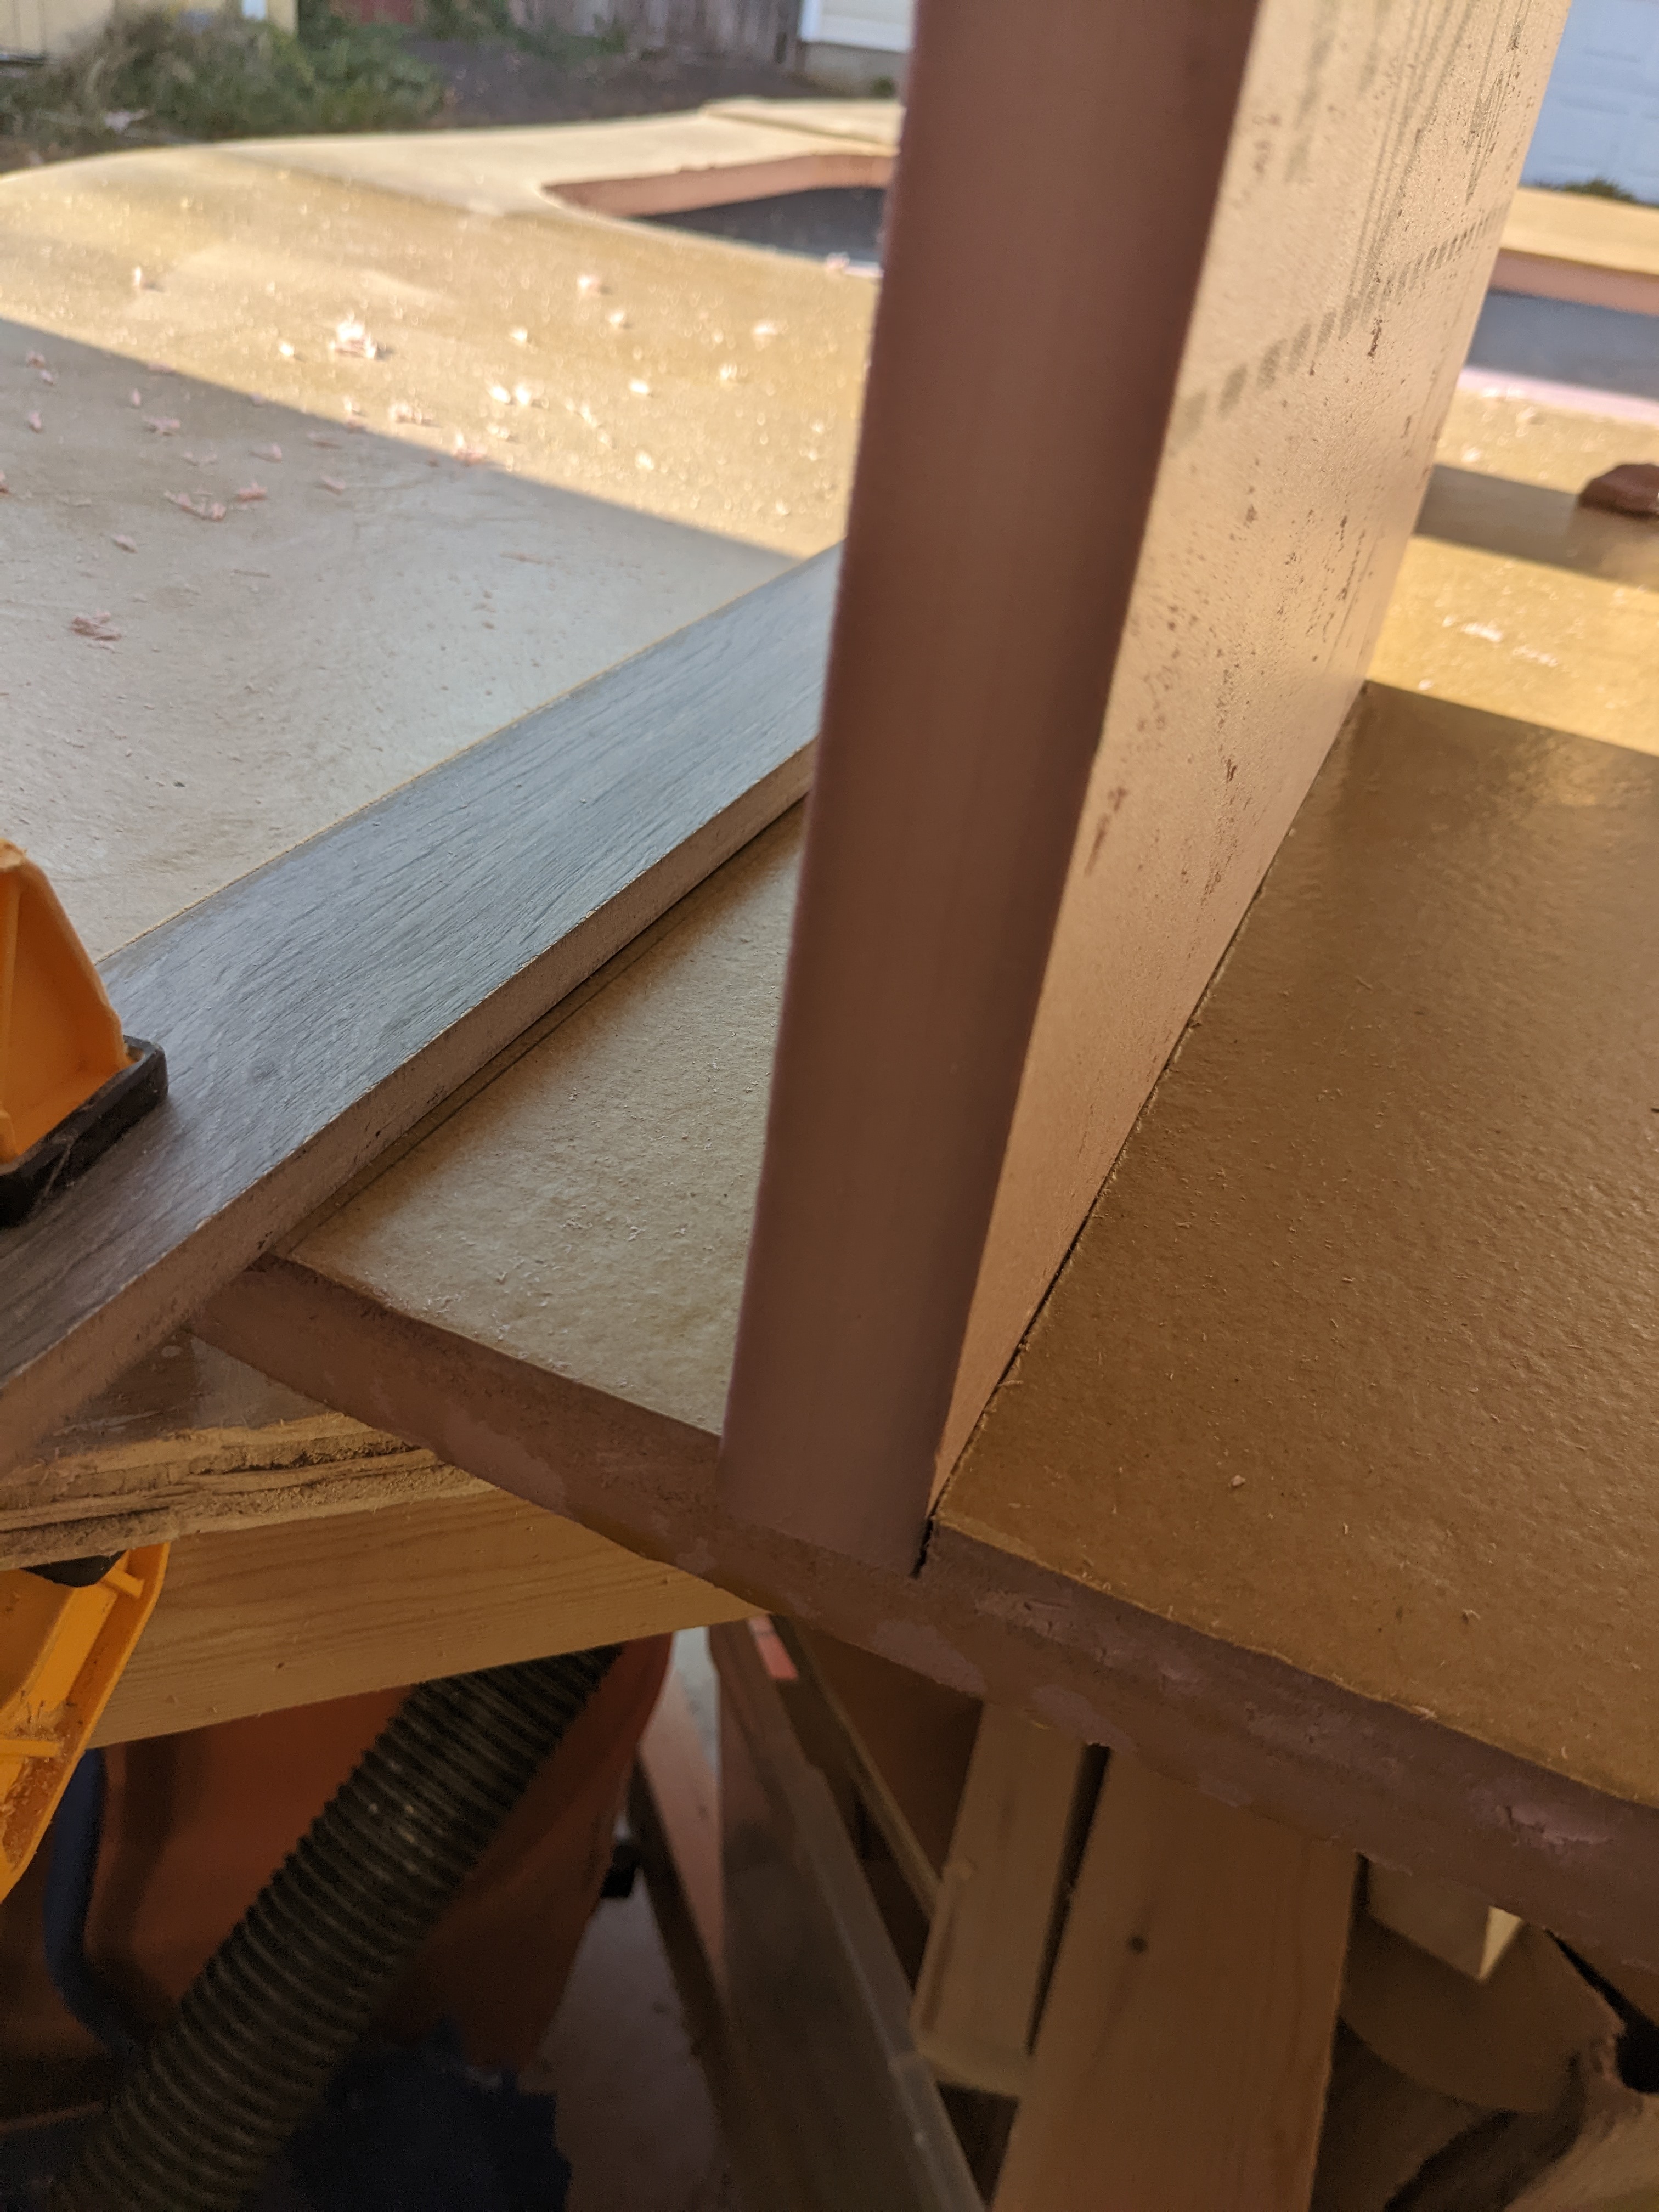
I moved the camera for the second wall, so there's a closeup of one side. It's not very obvious in the video, but it does spray quite a lot of pink "sawdust" everywhere.
It seemed to work pretty well overall so far. I'll probably need to also do something similar at the front and somewhere along the top. Not sure yet I can do something in those spots that can be functional and structural. Perhaps some extra support on the front wall for leaning up against to make that wall more durable.